Today, I will be writing a quick review of this unicomp terminal keyboard.
 Don't turn it on, take it apart
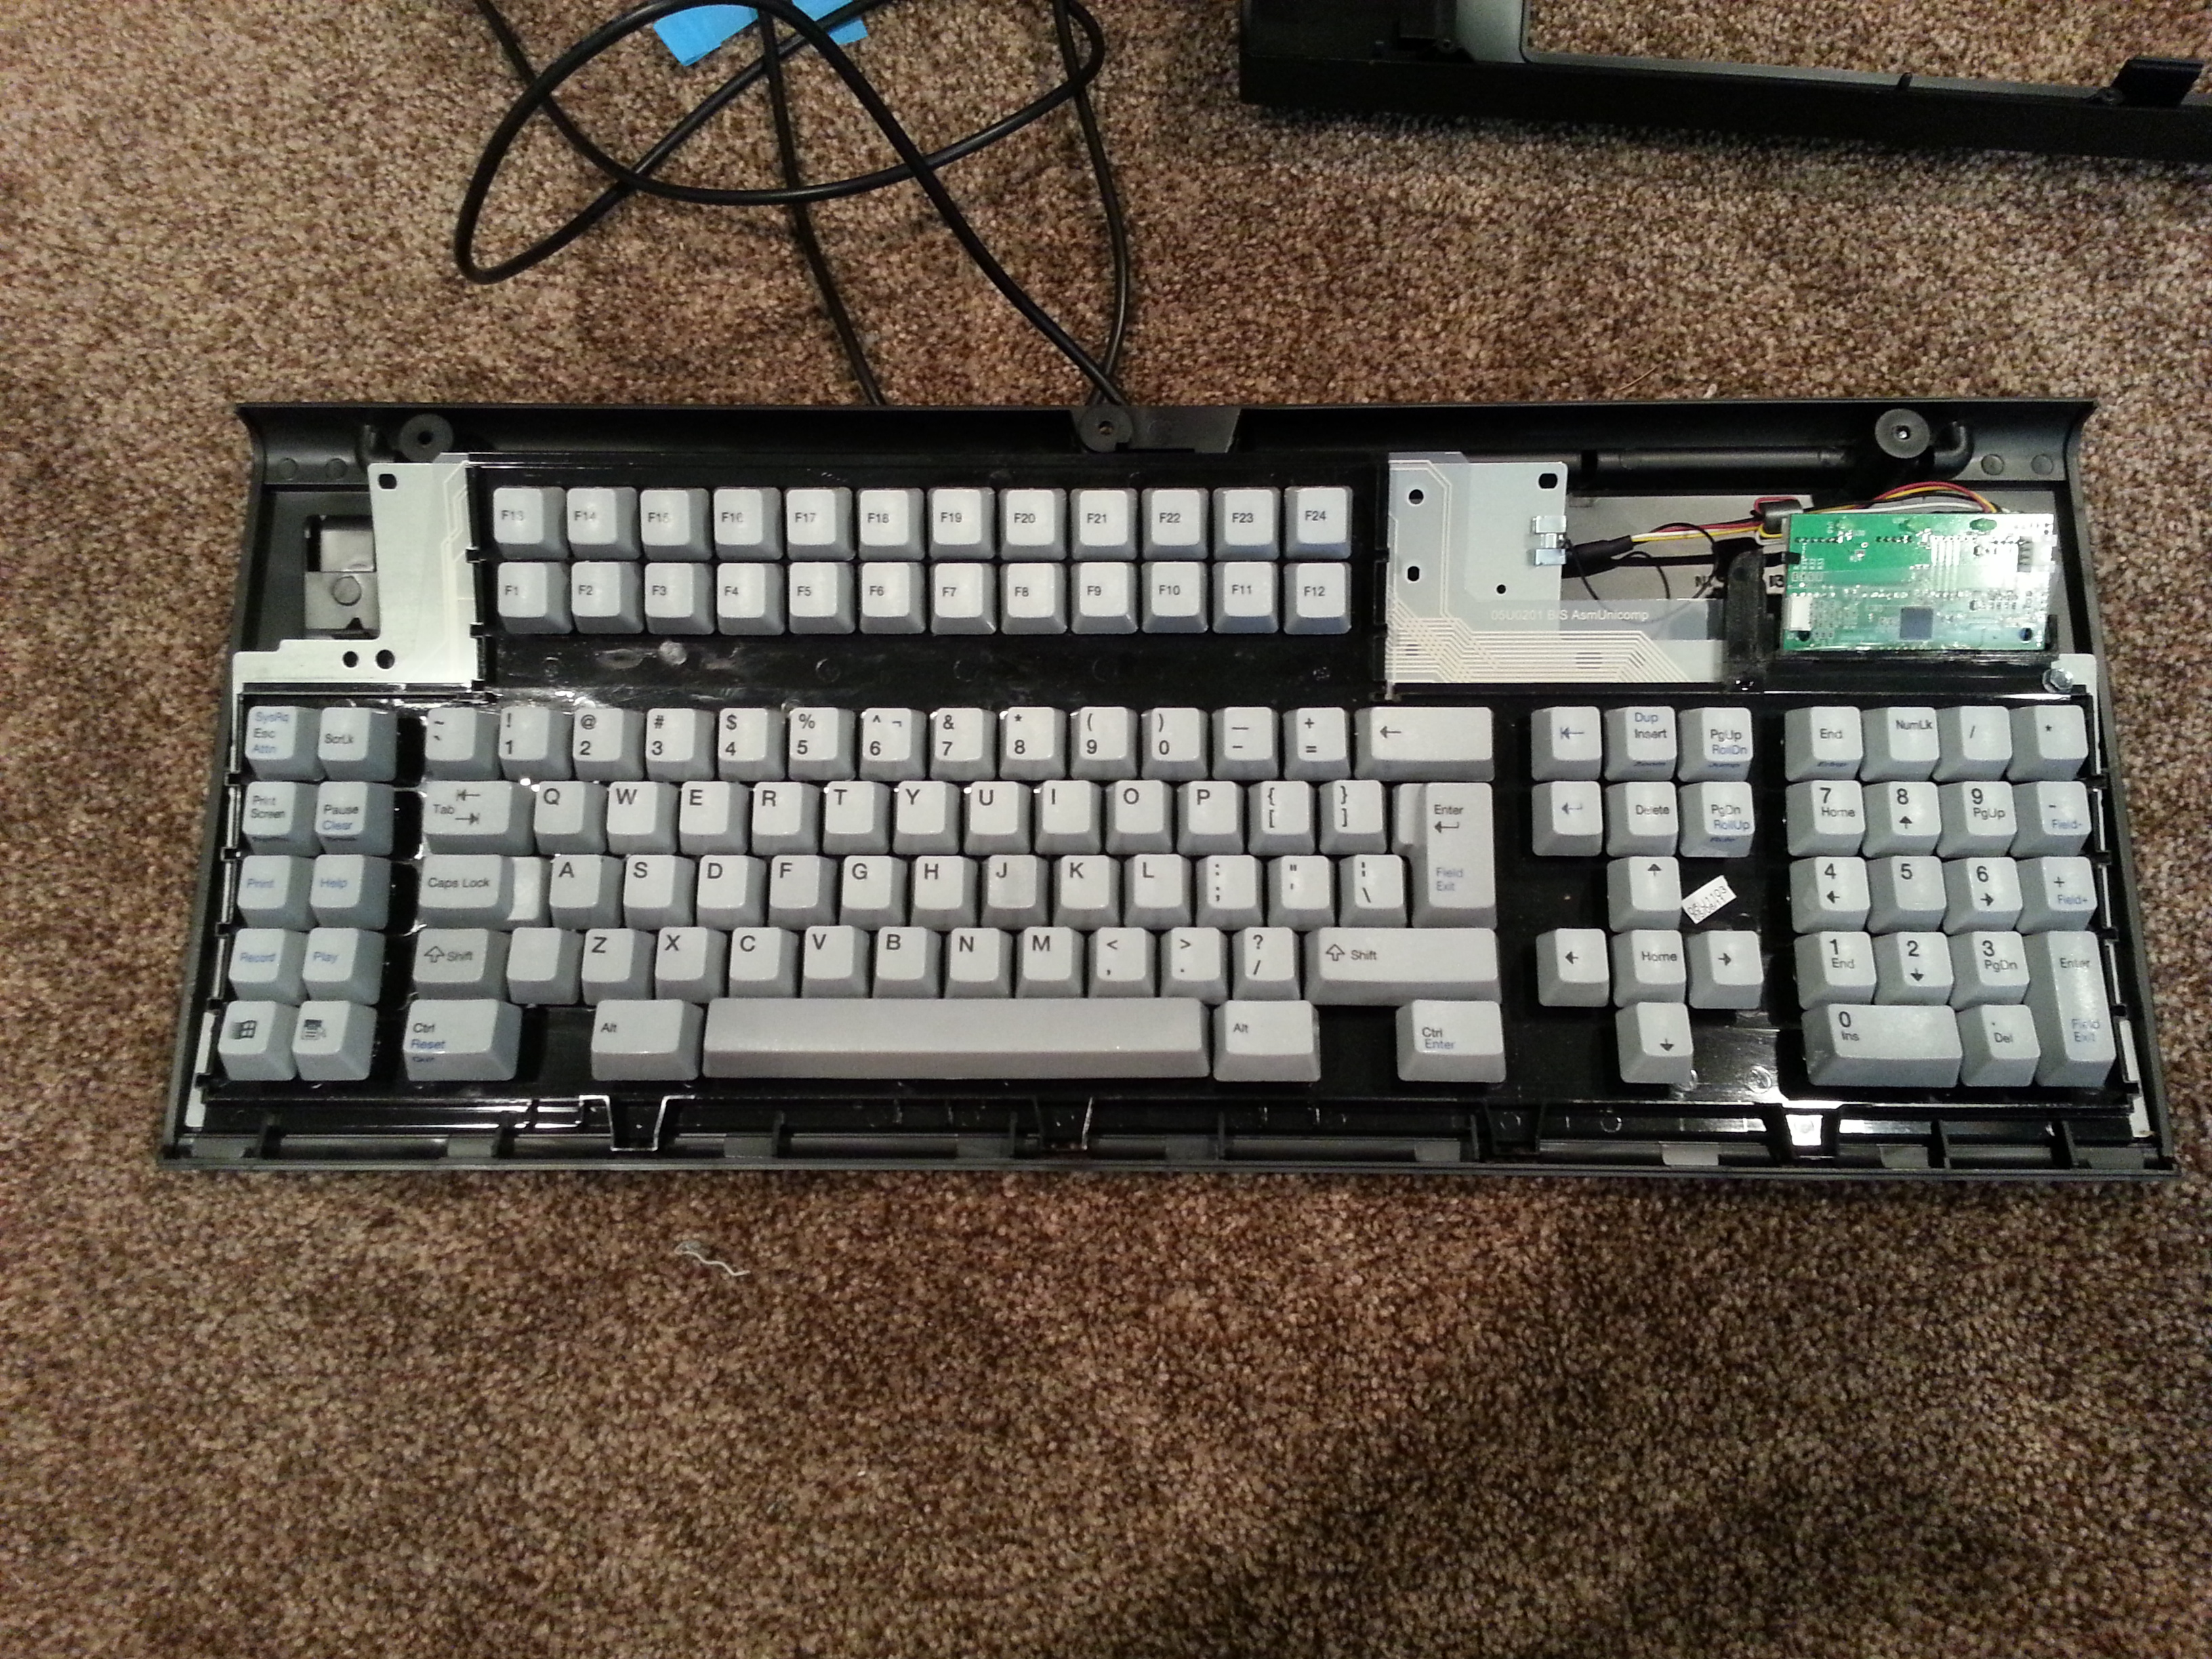
This keyboard is really a marvel. It's based on the 122-key terminal keyboards for the early 1980's. These started in January 1984 as the IBM 6110668 and later in 1984 for the IBM 611034*, Not soon later, in 1985/86 they moved to the "model M" platform for decreased costs. These are very common and usually inexpensive. If you can put up with the size, they can be a good value. Over the years they have changed case and internal designs several times. This keyboard represents the most modern variation of these that I know of.
To begin, the keyboard uses normal buckling spring over membrane "model M" switches and dye-sublimated PBT keycaps. The black legends correspond to "normal" use, the blue ones for "terminal emulator" mode. This keyboard was received new in box, and the keyfeel is quite snappy: on par with other unicomps (note the "thin plate" for unicomp does impact the feel compared with a model M, but I feel that the thinner, springier, "blanket" changes it more.) This keyboard has 2KRO.
 Grade "A" Unicomp nonsense
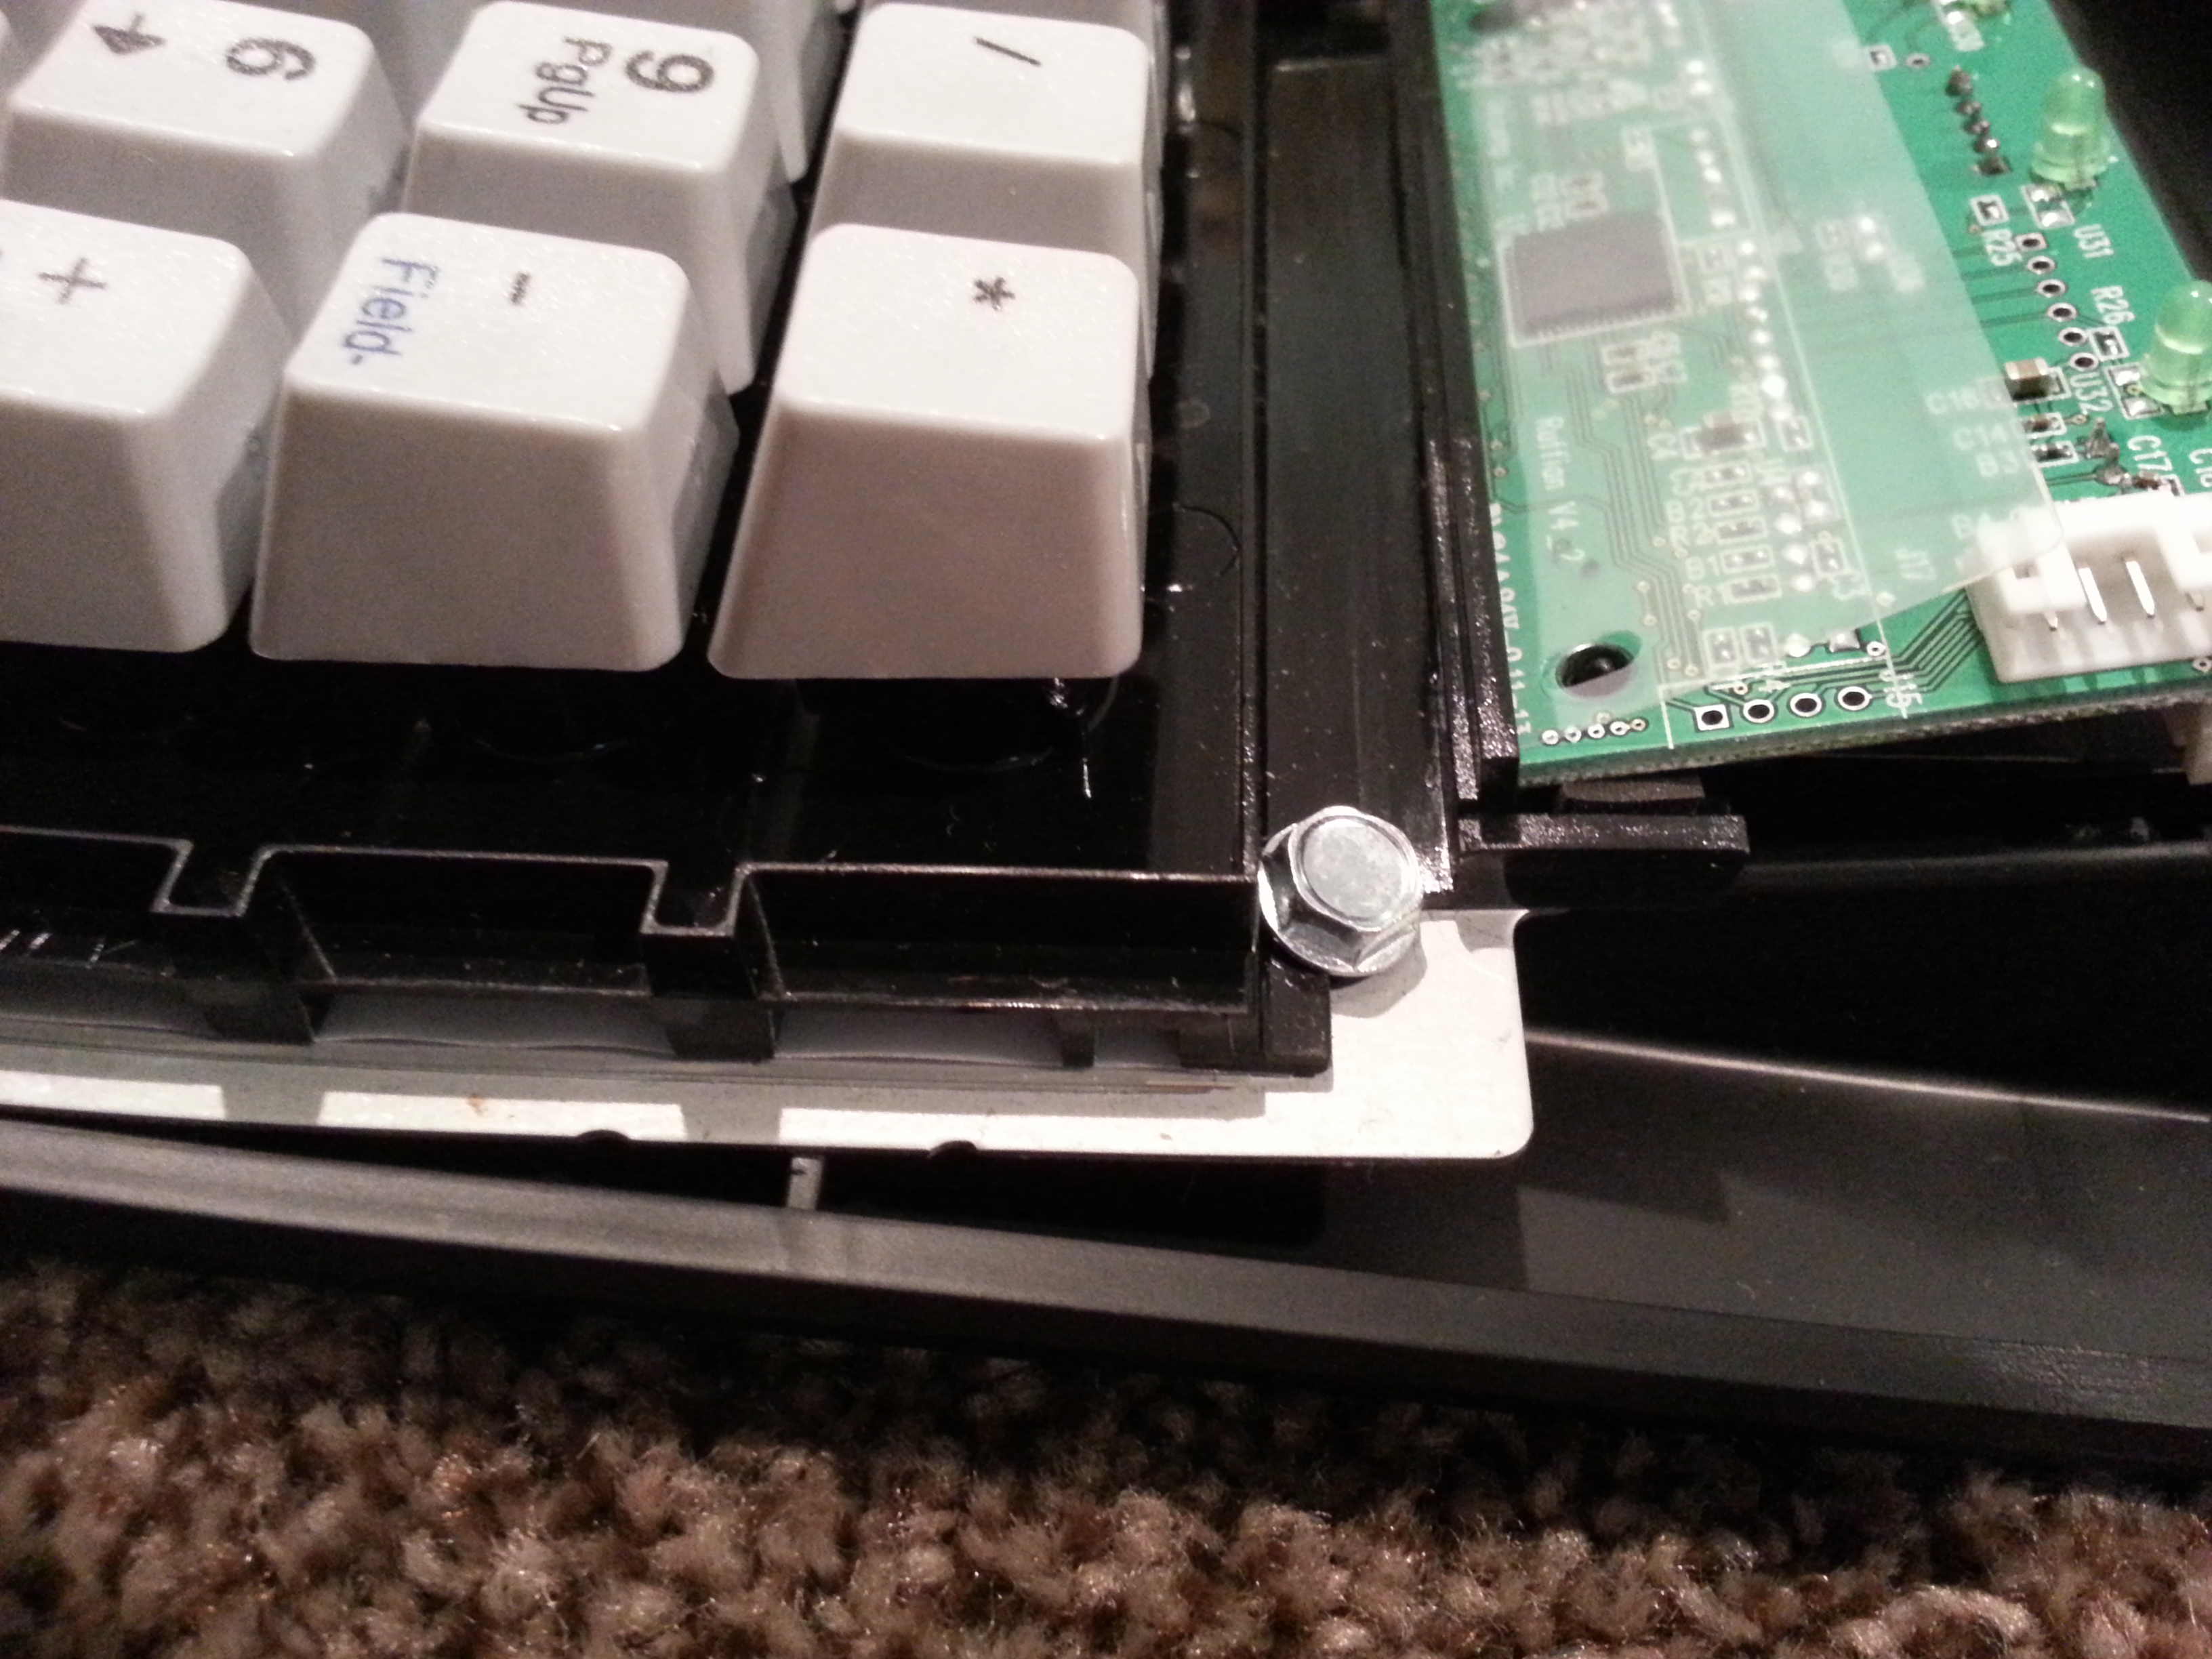
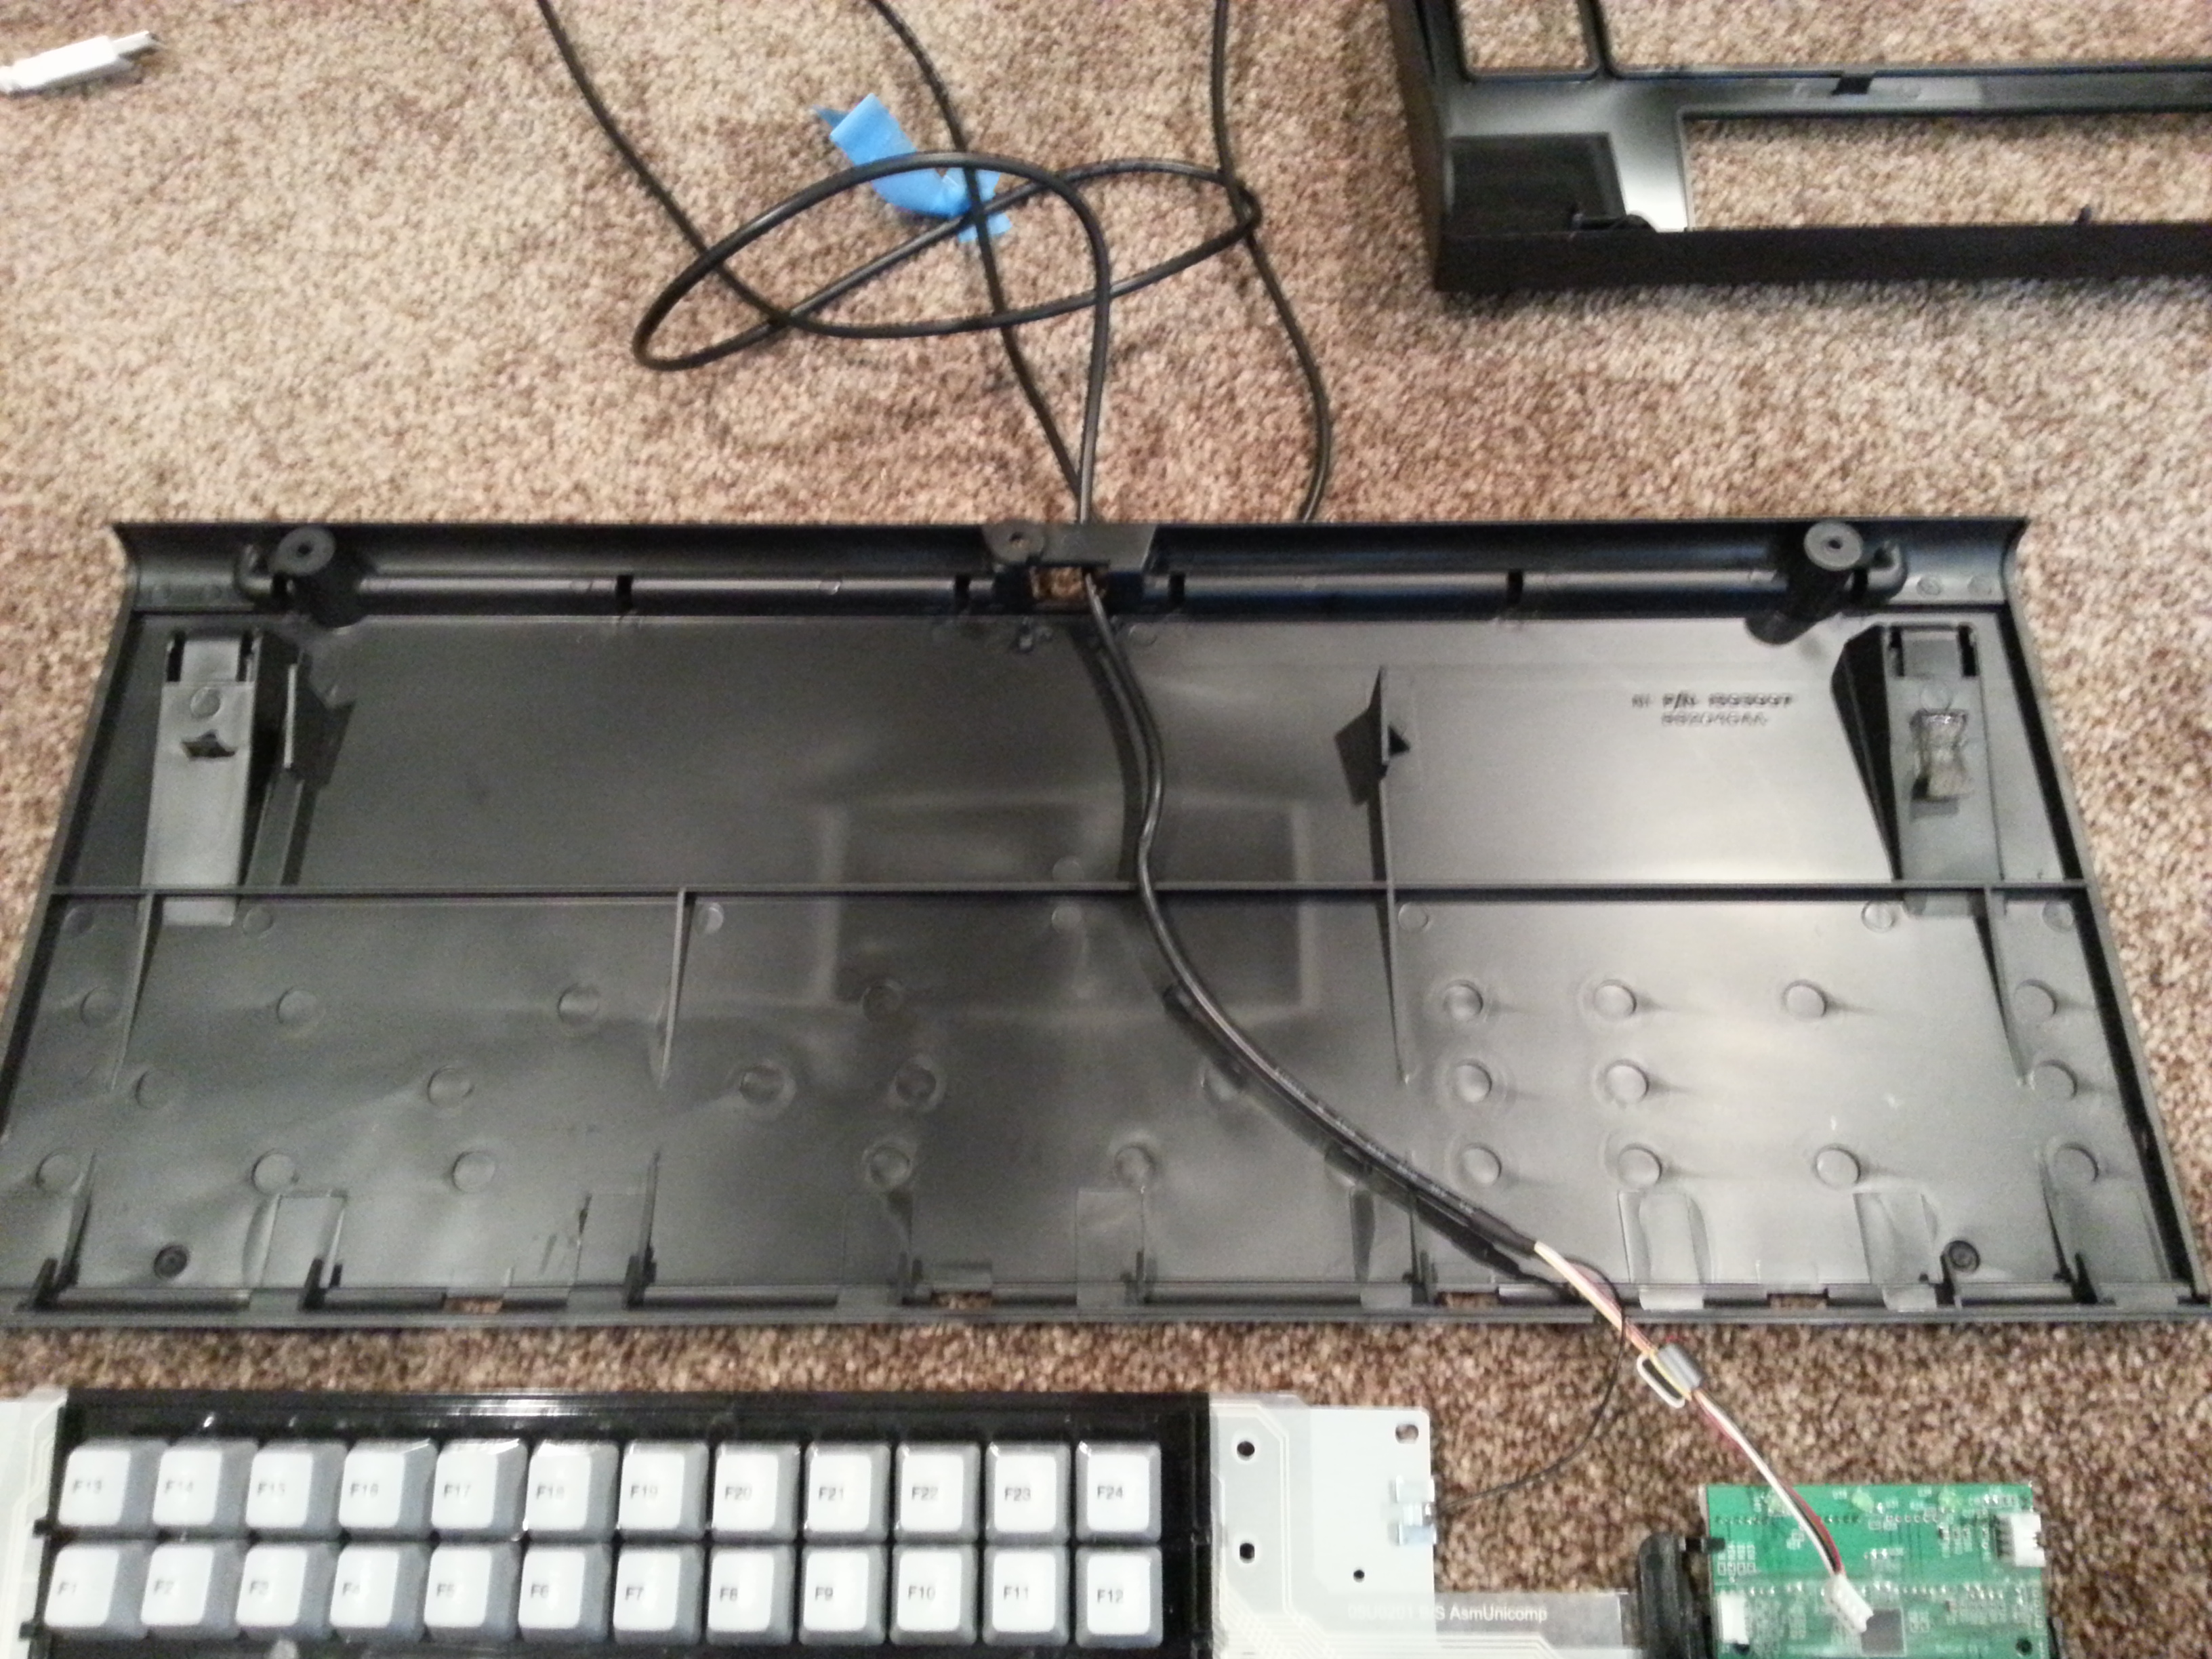
There are three outer screws holding the top case on. They are 5/32, but a 5.5mm nut driver works perfectly. This is a picture of a 1/4" screw that they have driven through the barrel frame and into the plate. I can only guess as to why, but my suspicion is to hold the assembly together better during the melting of the rivets. As you can see it's not even driven in straight. The screw is a stripping screw, and I suppose they installed it manually. I removed mine and threw it away, and I recommend that others do the same.
Also in the picture you can see part of the controller. It's in a different location here than in older IBM designs. This was likely a cost-saving technique on the part of unicomp. They were able to eliminate connectors for the membranes, instead using a more modern design for membrane keyboards. These things are a pain to reinstall correctly once they've been removed. I'm not touching it. It'll also make it harder to mod this to TKL, but that's life.
 Cheap unicomp cable
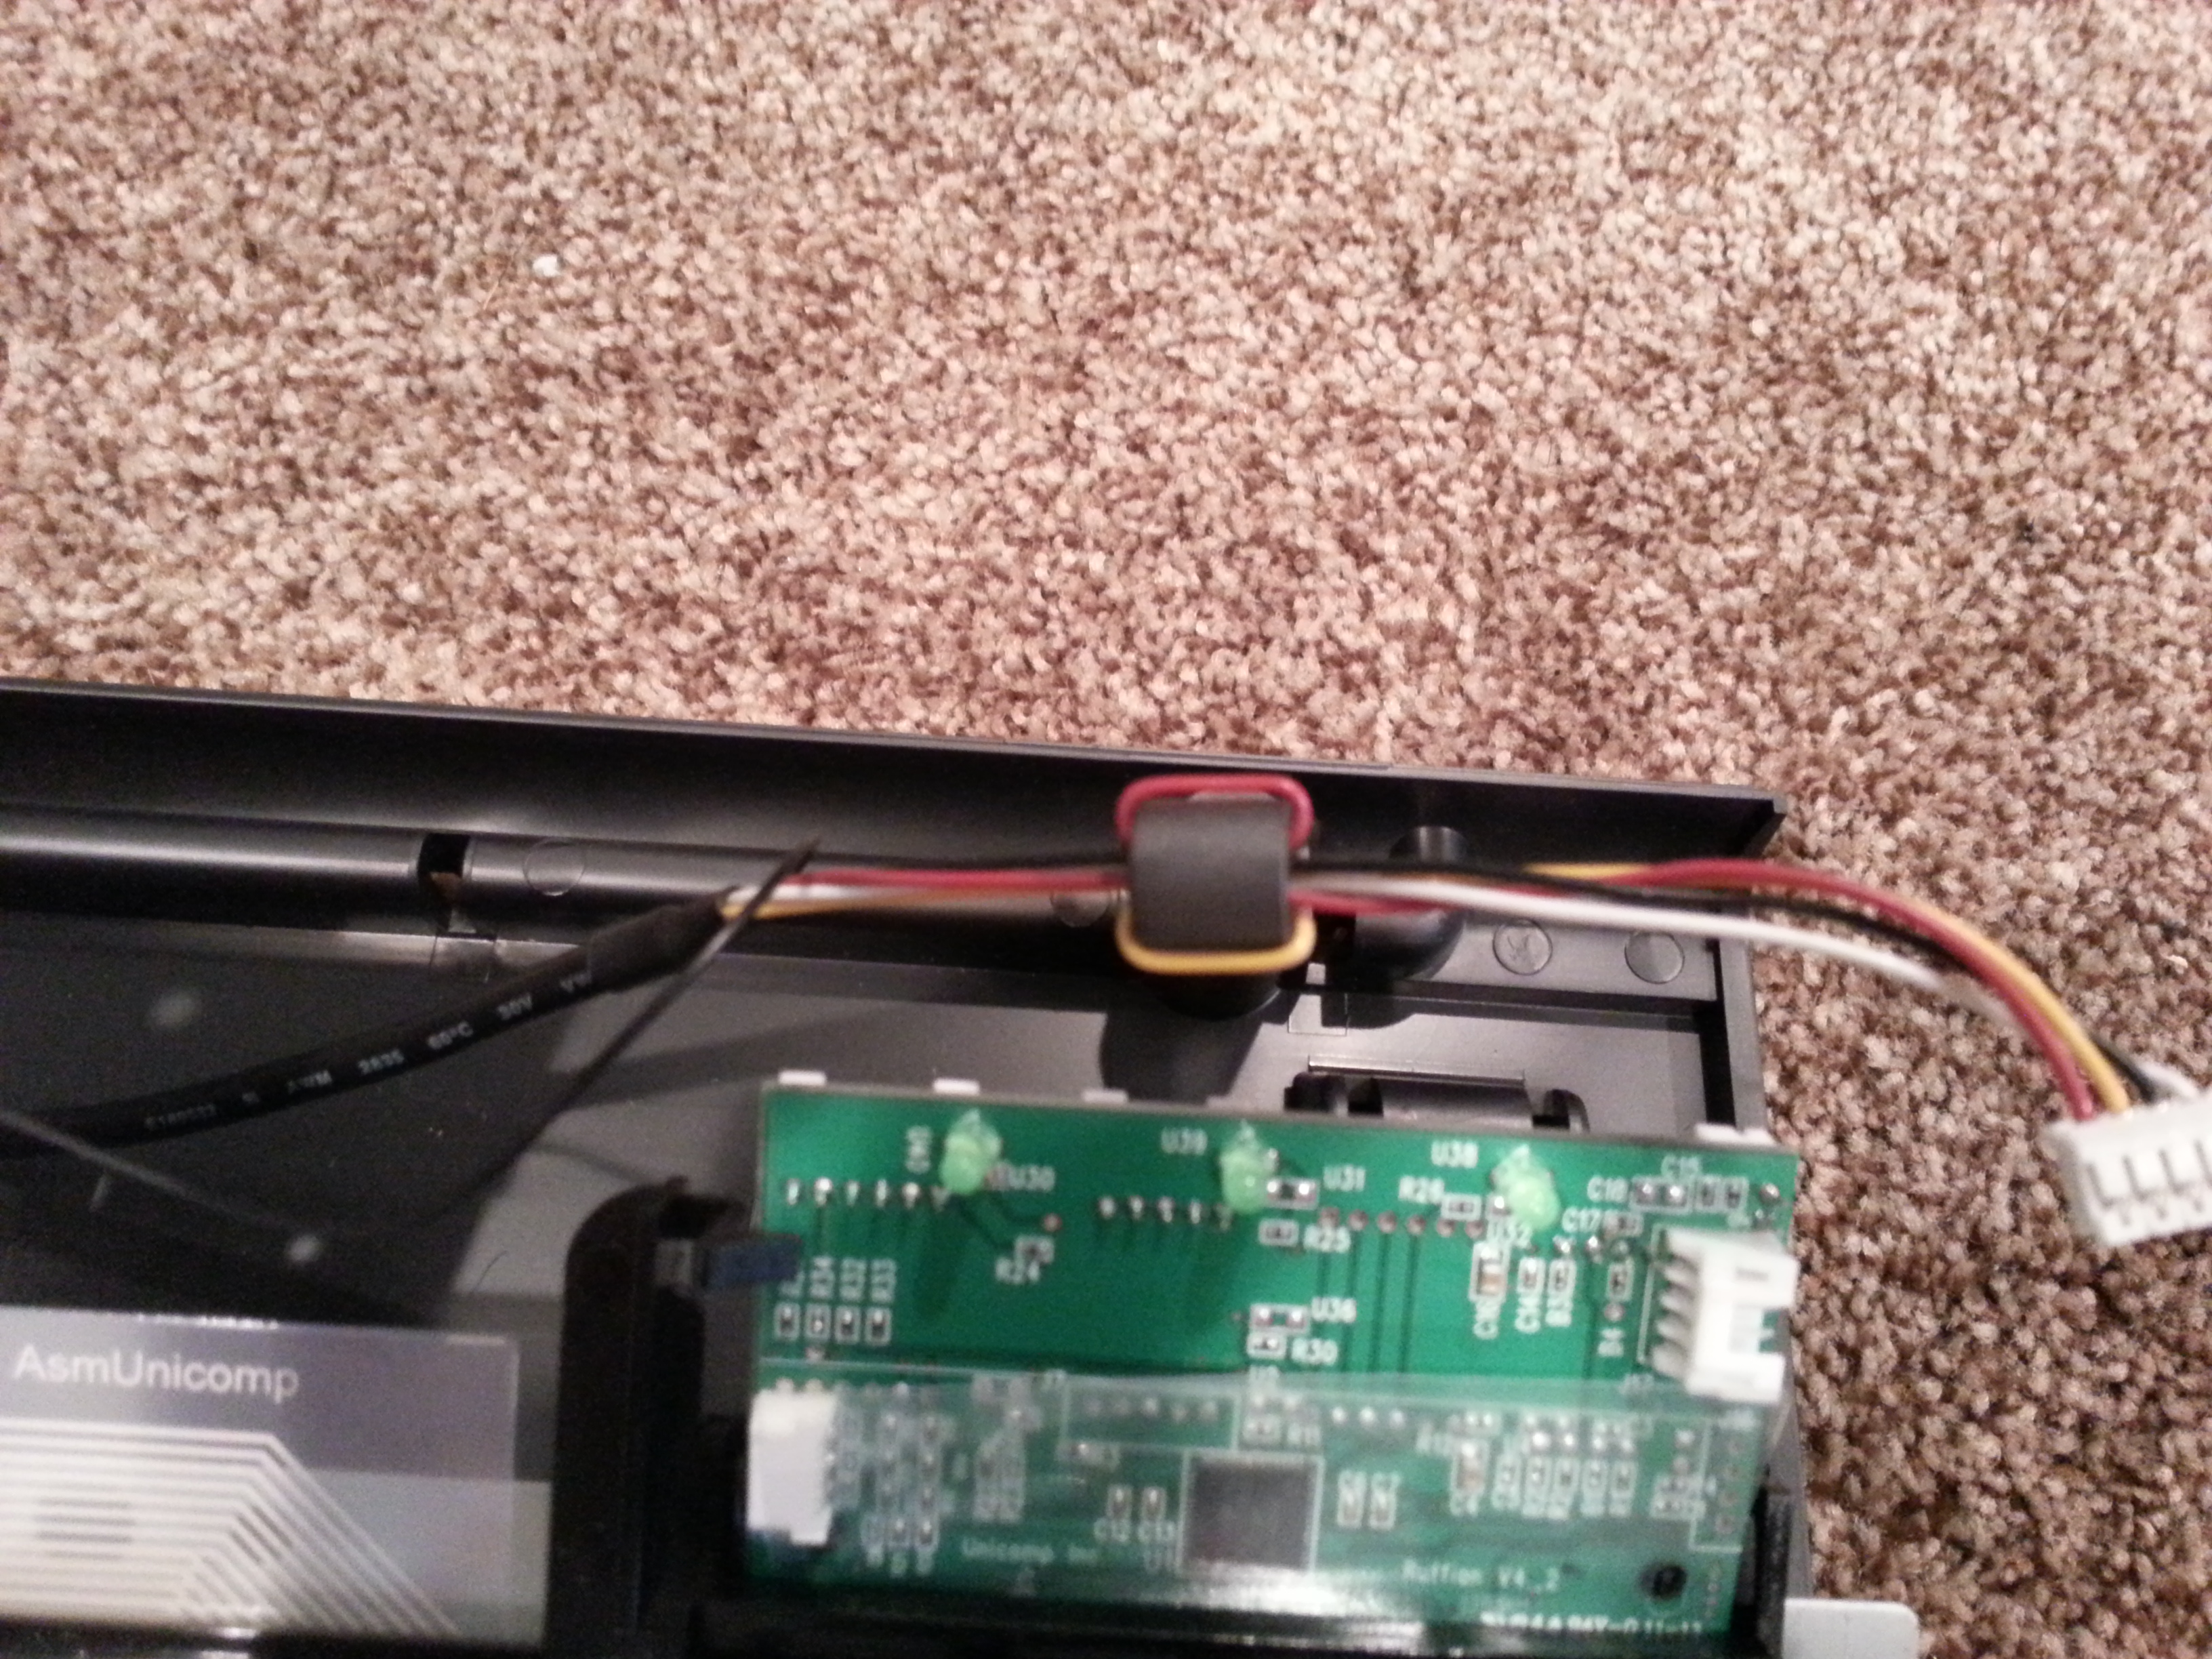
This is an out-of focus picture of the cable. It's very cheap, using thin wire and cheap insulation. This make sit more stiff. The ground clip is very well secured and nicely soldered though. At least it's got a ferrite, so a bonus point for that. You will see why I couldn't just get a better picture later.
 Shield strap, connects to the shielding of the cable and (presumably) the shell of the USB connector.
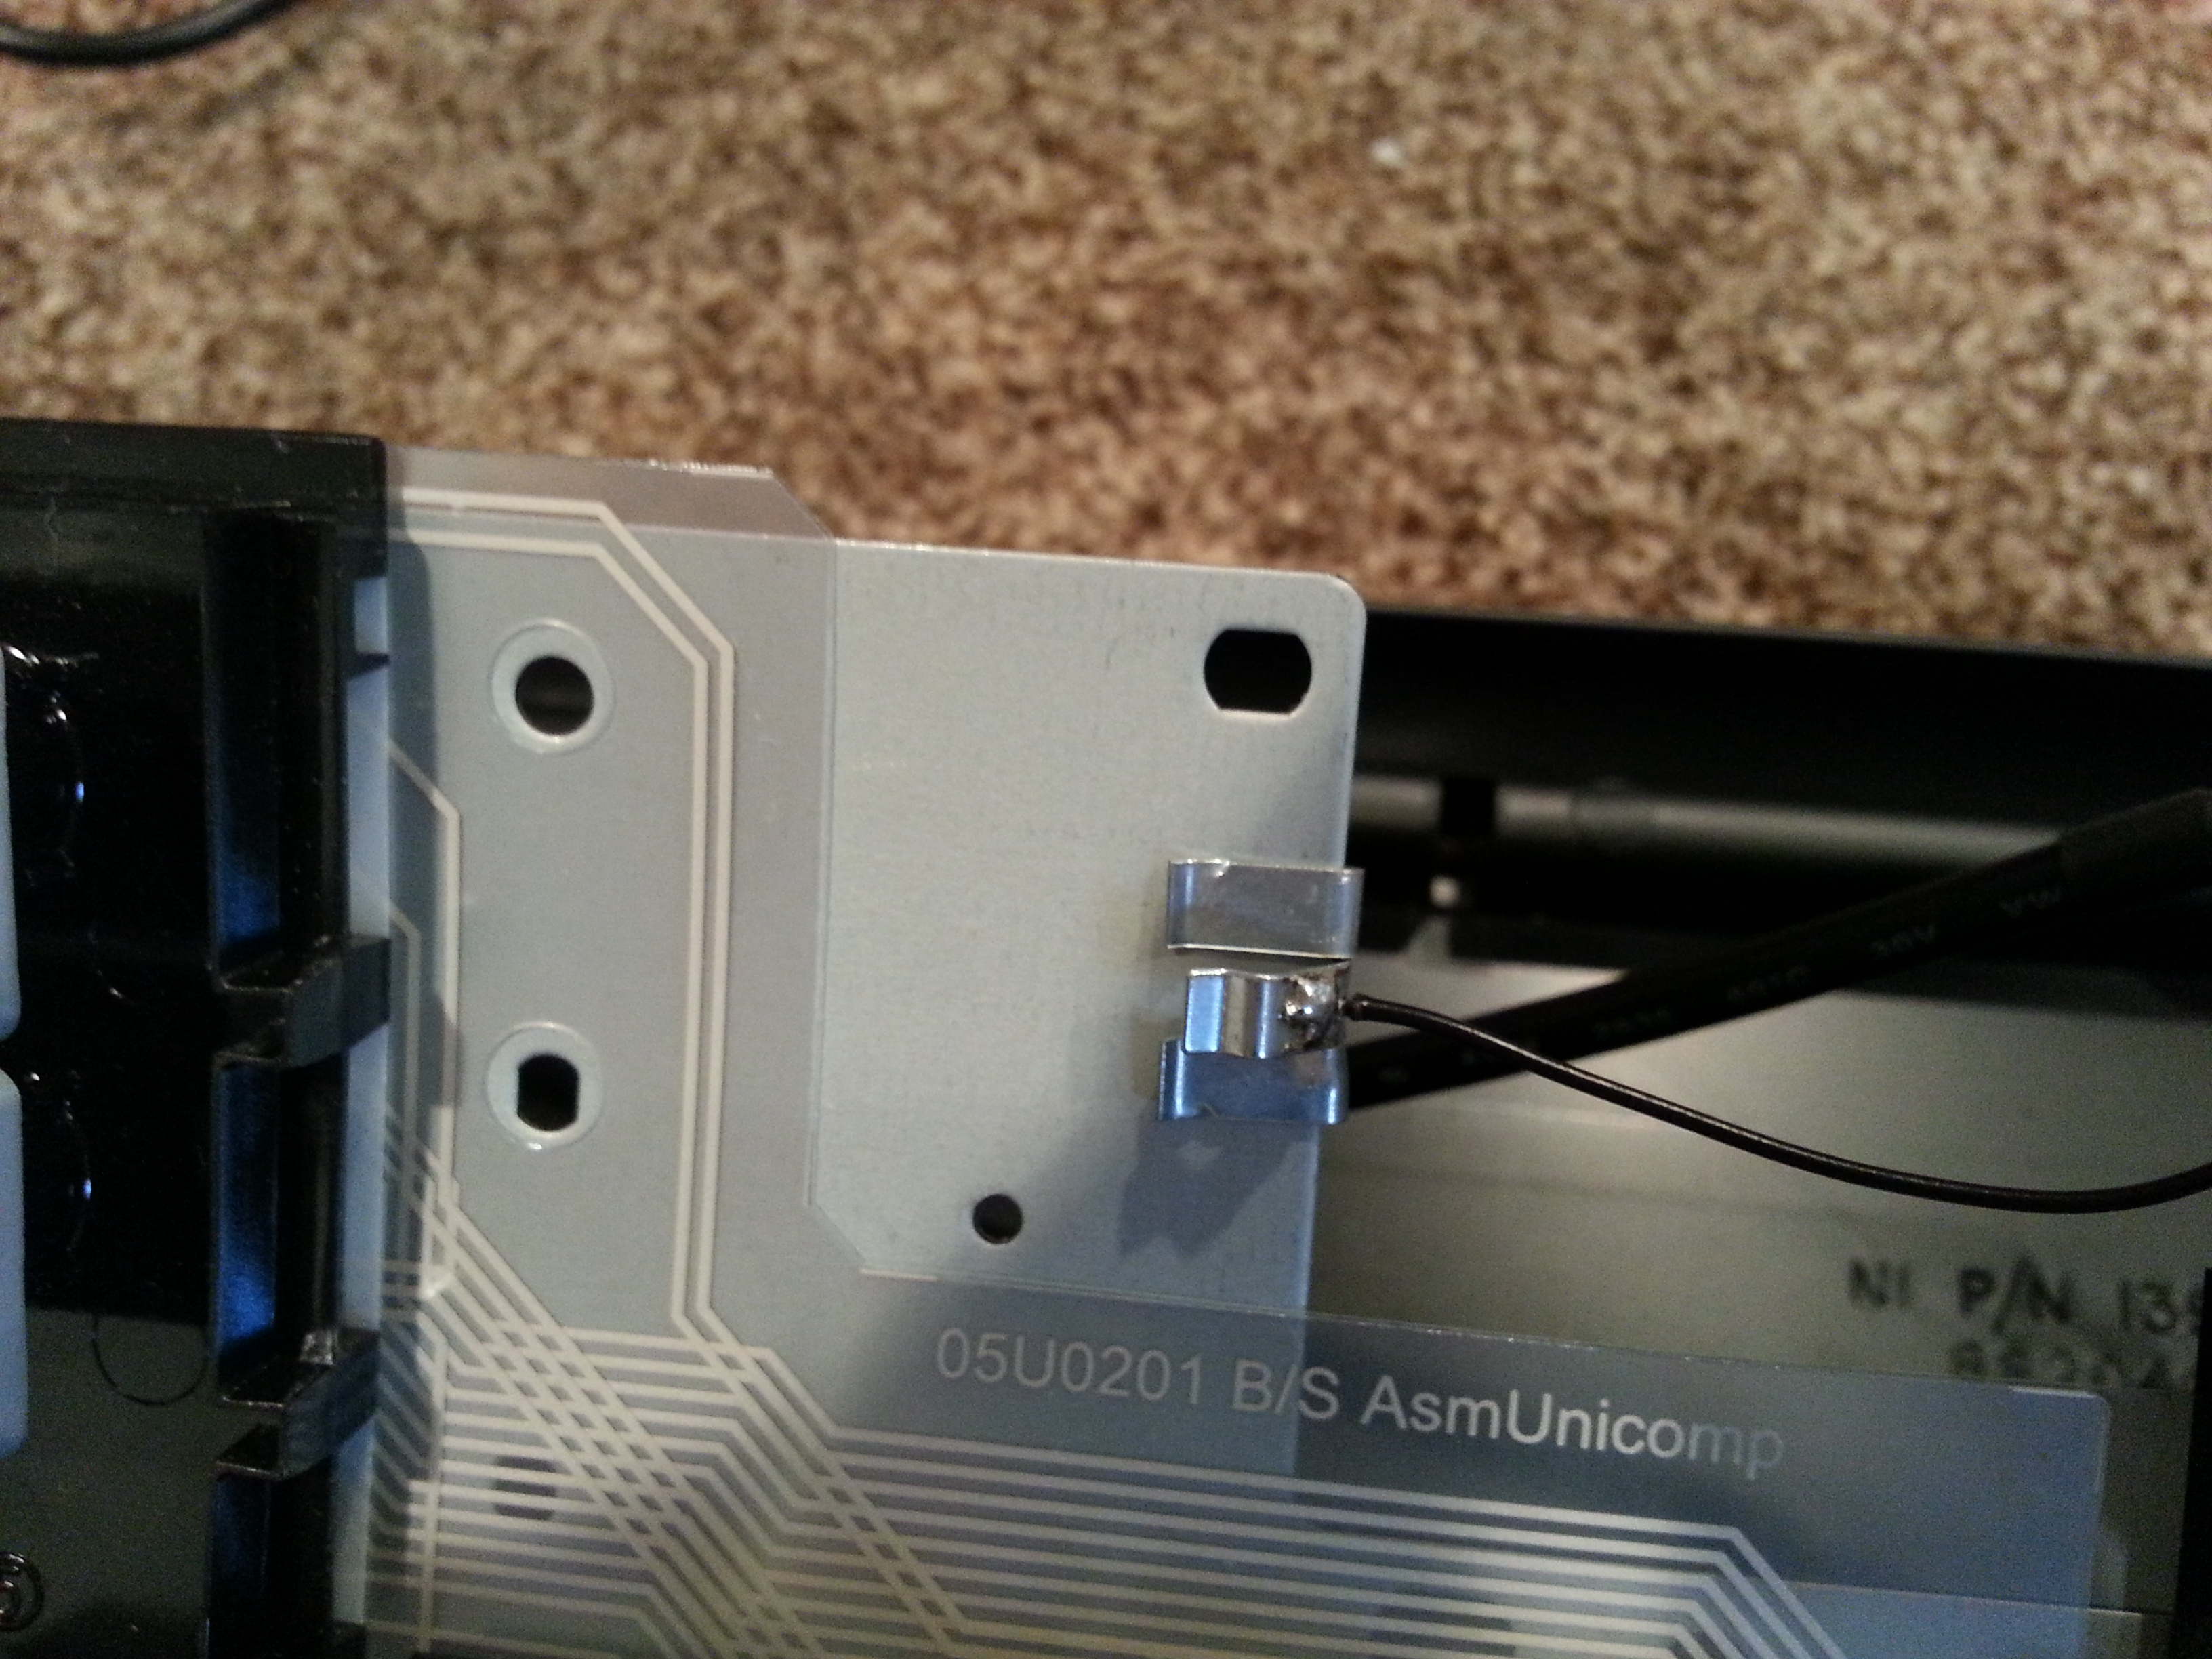
Look at that ground clip! Very nice. I couldn't move it very easily, so it's making a good connection for sure. One of the first signs of quality. Good to see someone still cares about quality grounding.
 cheap unicomp bottom panel
The cable gland had been removed at this point. It falls off easily once the top case is off (that's all that holds it in place). You can see the hole in the bottom case where it exits. The cable gland is solid plastic, appears to be the same material as the case, and is one of the cheapest designs I've seen. There is some sticky foam that holds the PCB-area to the bottom case.
 bottom of the cheap controller
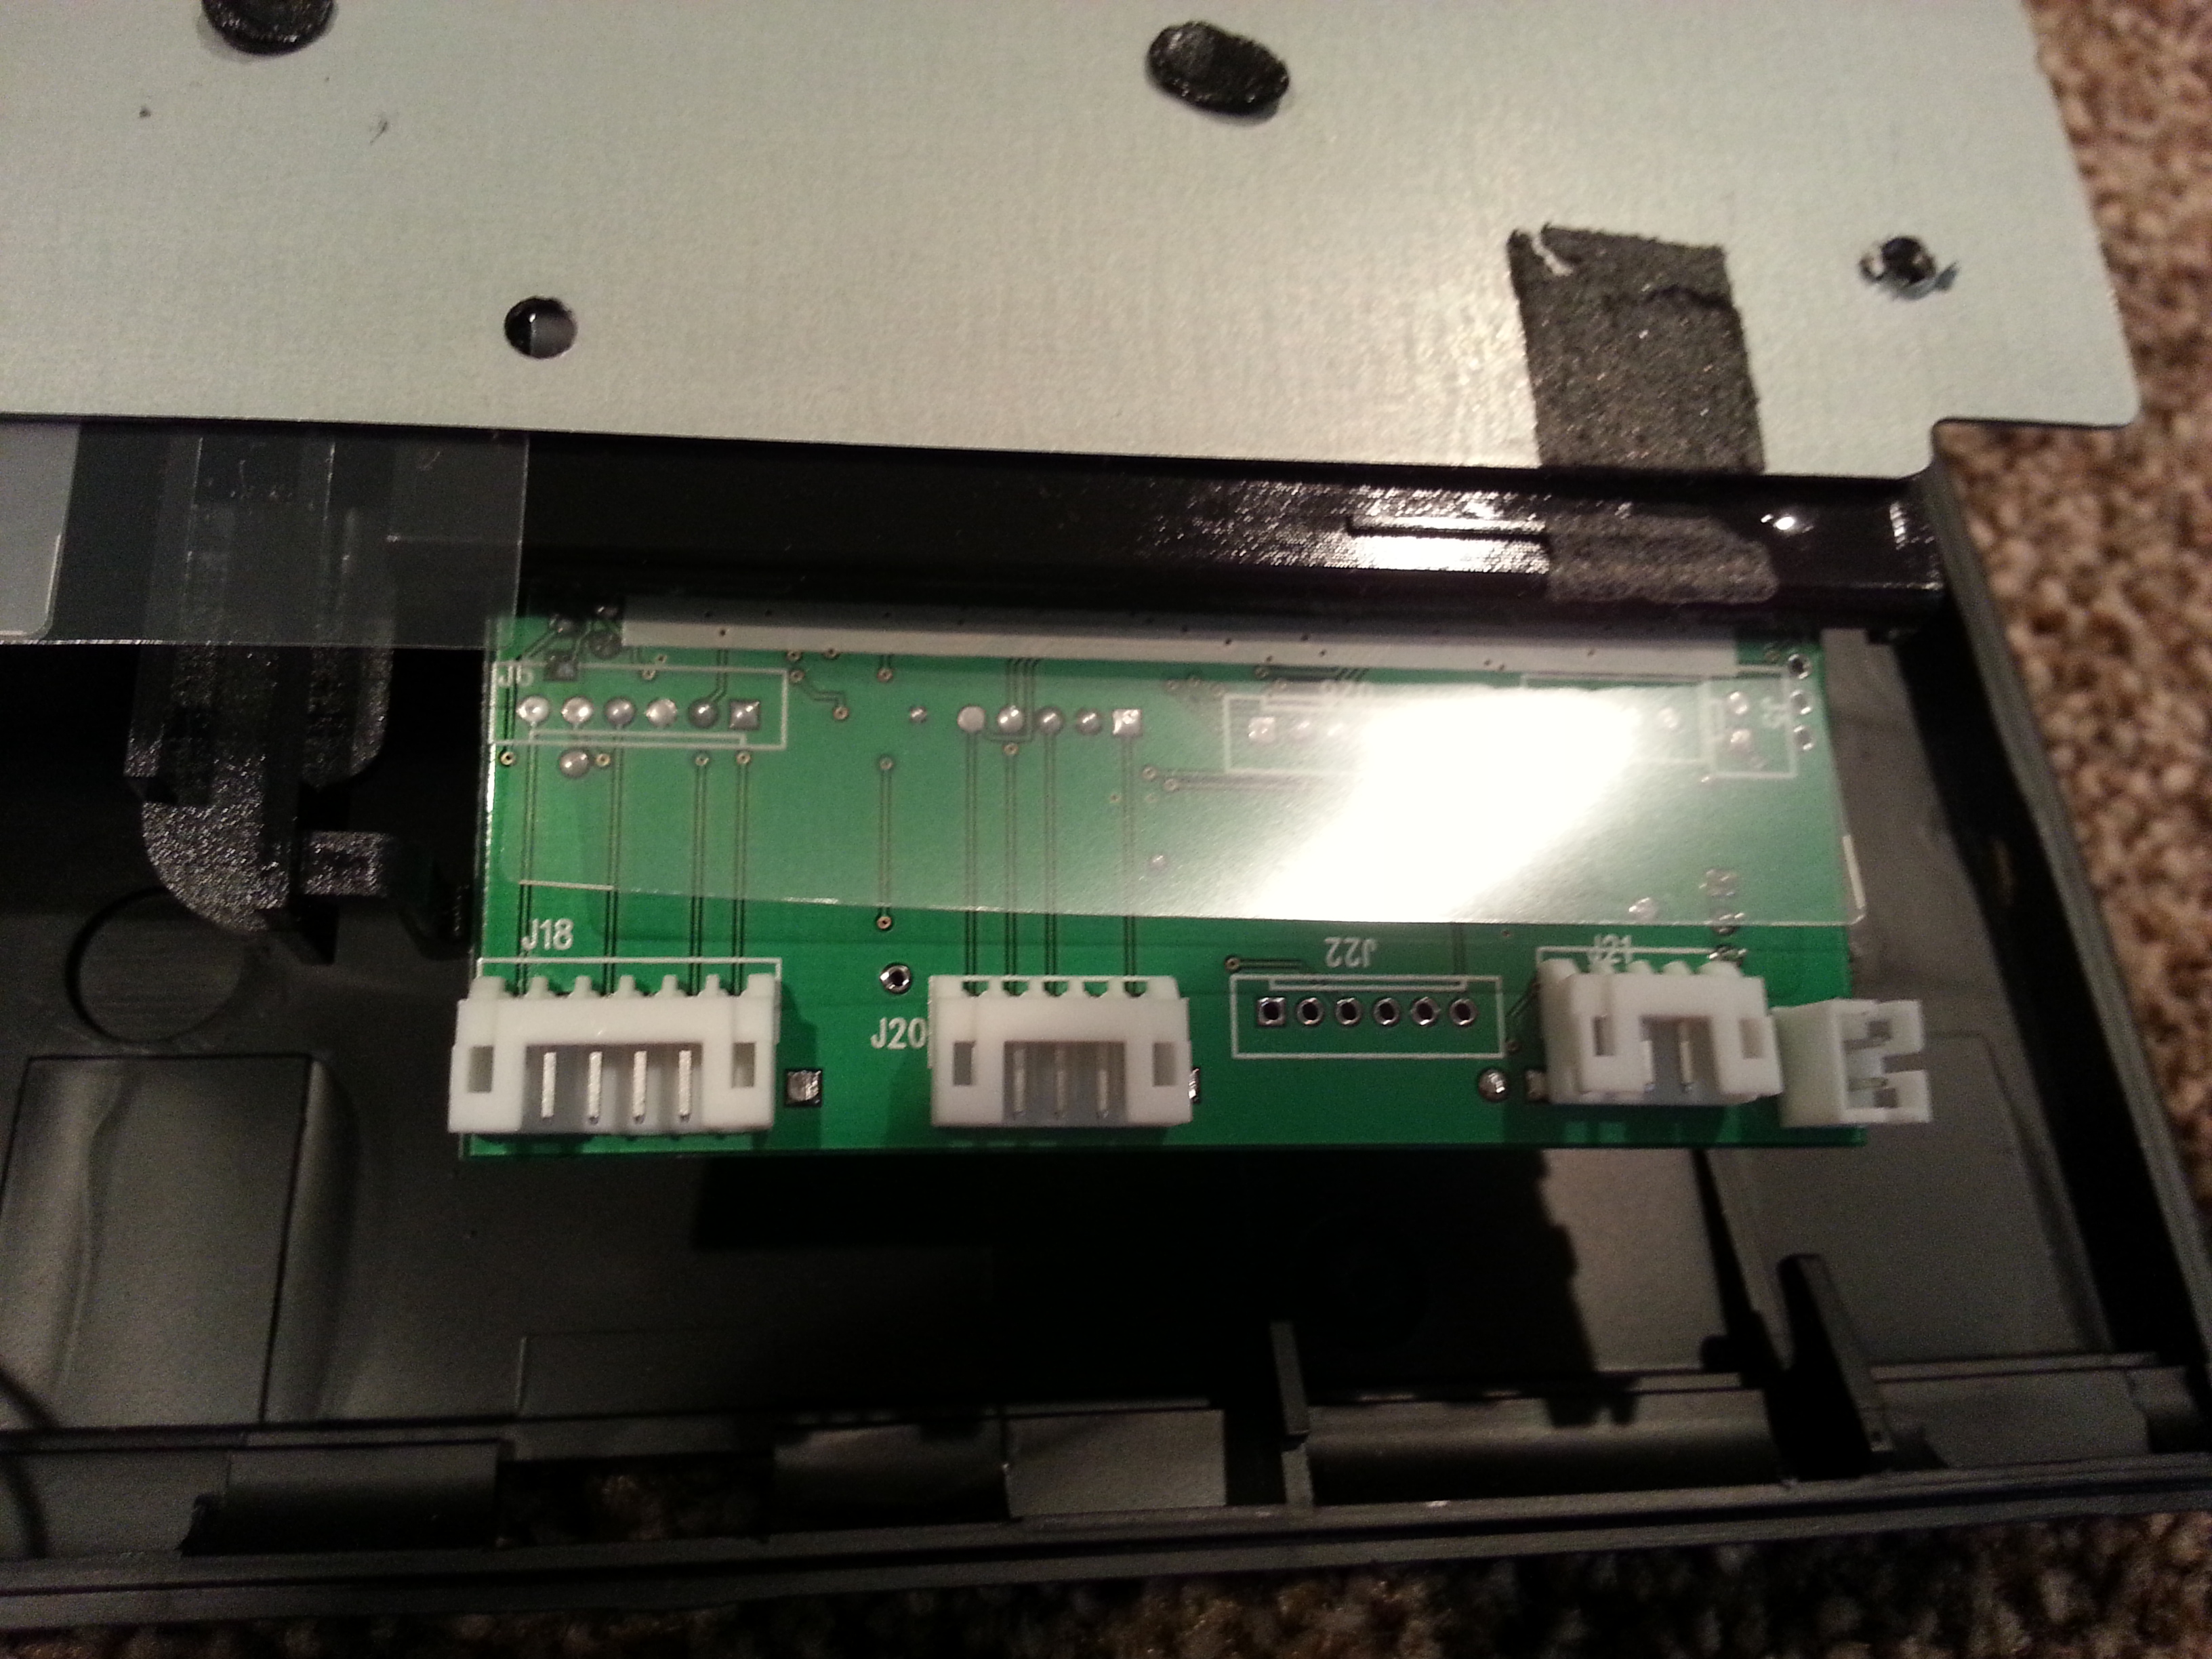
The bottom of the controller reveals some more jacks. The one on the left is for the 4-pin USB. I assume the one on the right is for a PS/2 or terminal connector. There are places on the PCB for more jacks but they are just a different location (they are connected to the same pins as the jacks you see here). There are balls of solder on them, likely from how they cheaply soldered it. The plastic to make sure nothing bridges anything it's not supposed to is largely unnecessary, but a nice touch.
 This is why you don't use cables this cheap unicomp!
This picture shows the shield clip wire having broken off the rest of the cable. It may have been soldered improperly to the shield, or perhaps it's the "drain" wire that contacts the shield. It is very brittle. It took no force to remove, and just fell out when I removed the cable from the jack. Fortunately it's not really necessary for operation. The KB still works fine.
 Keycaps black and blue on metallic grey
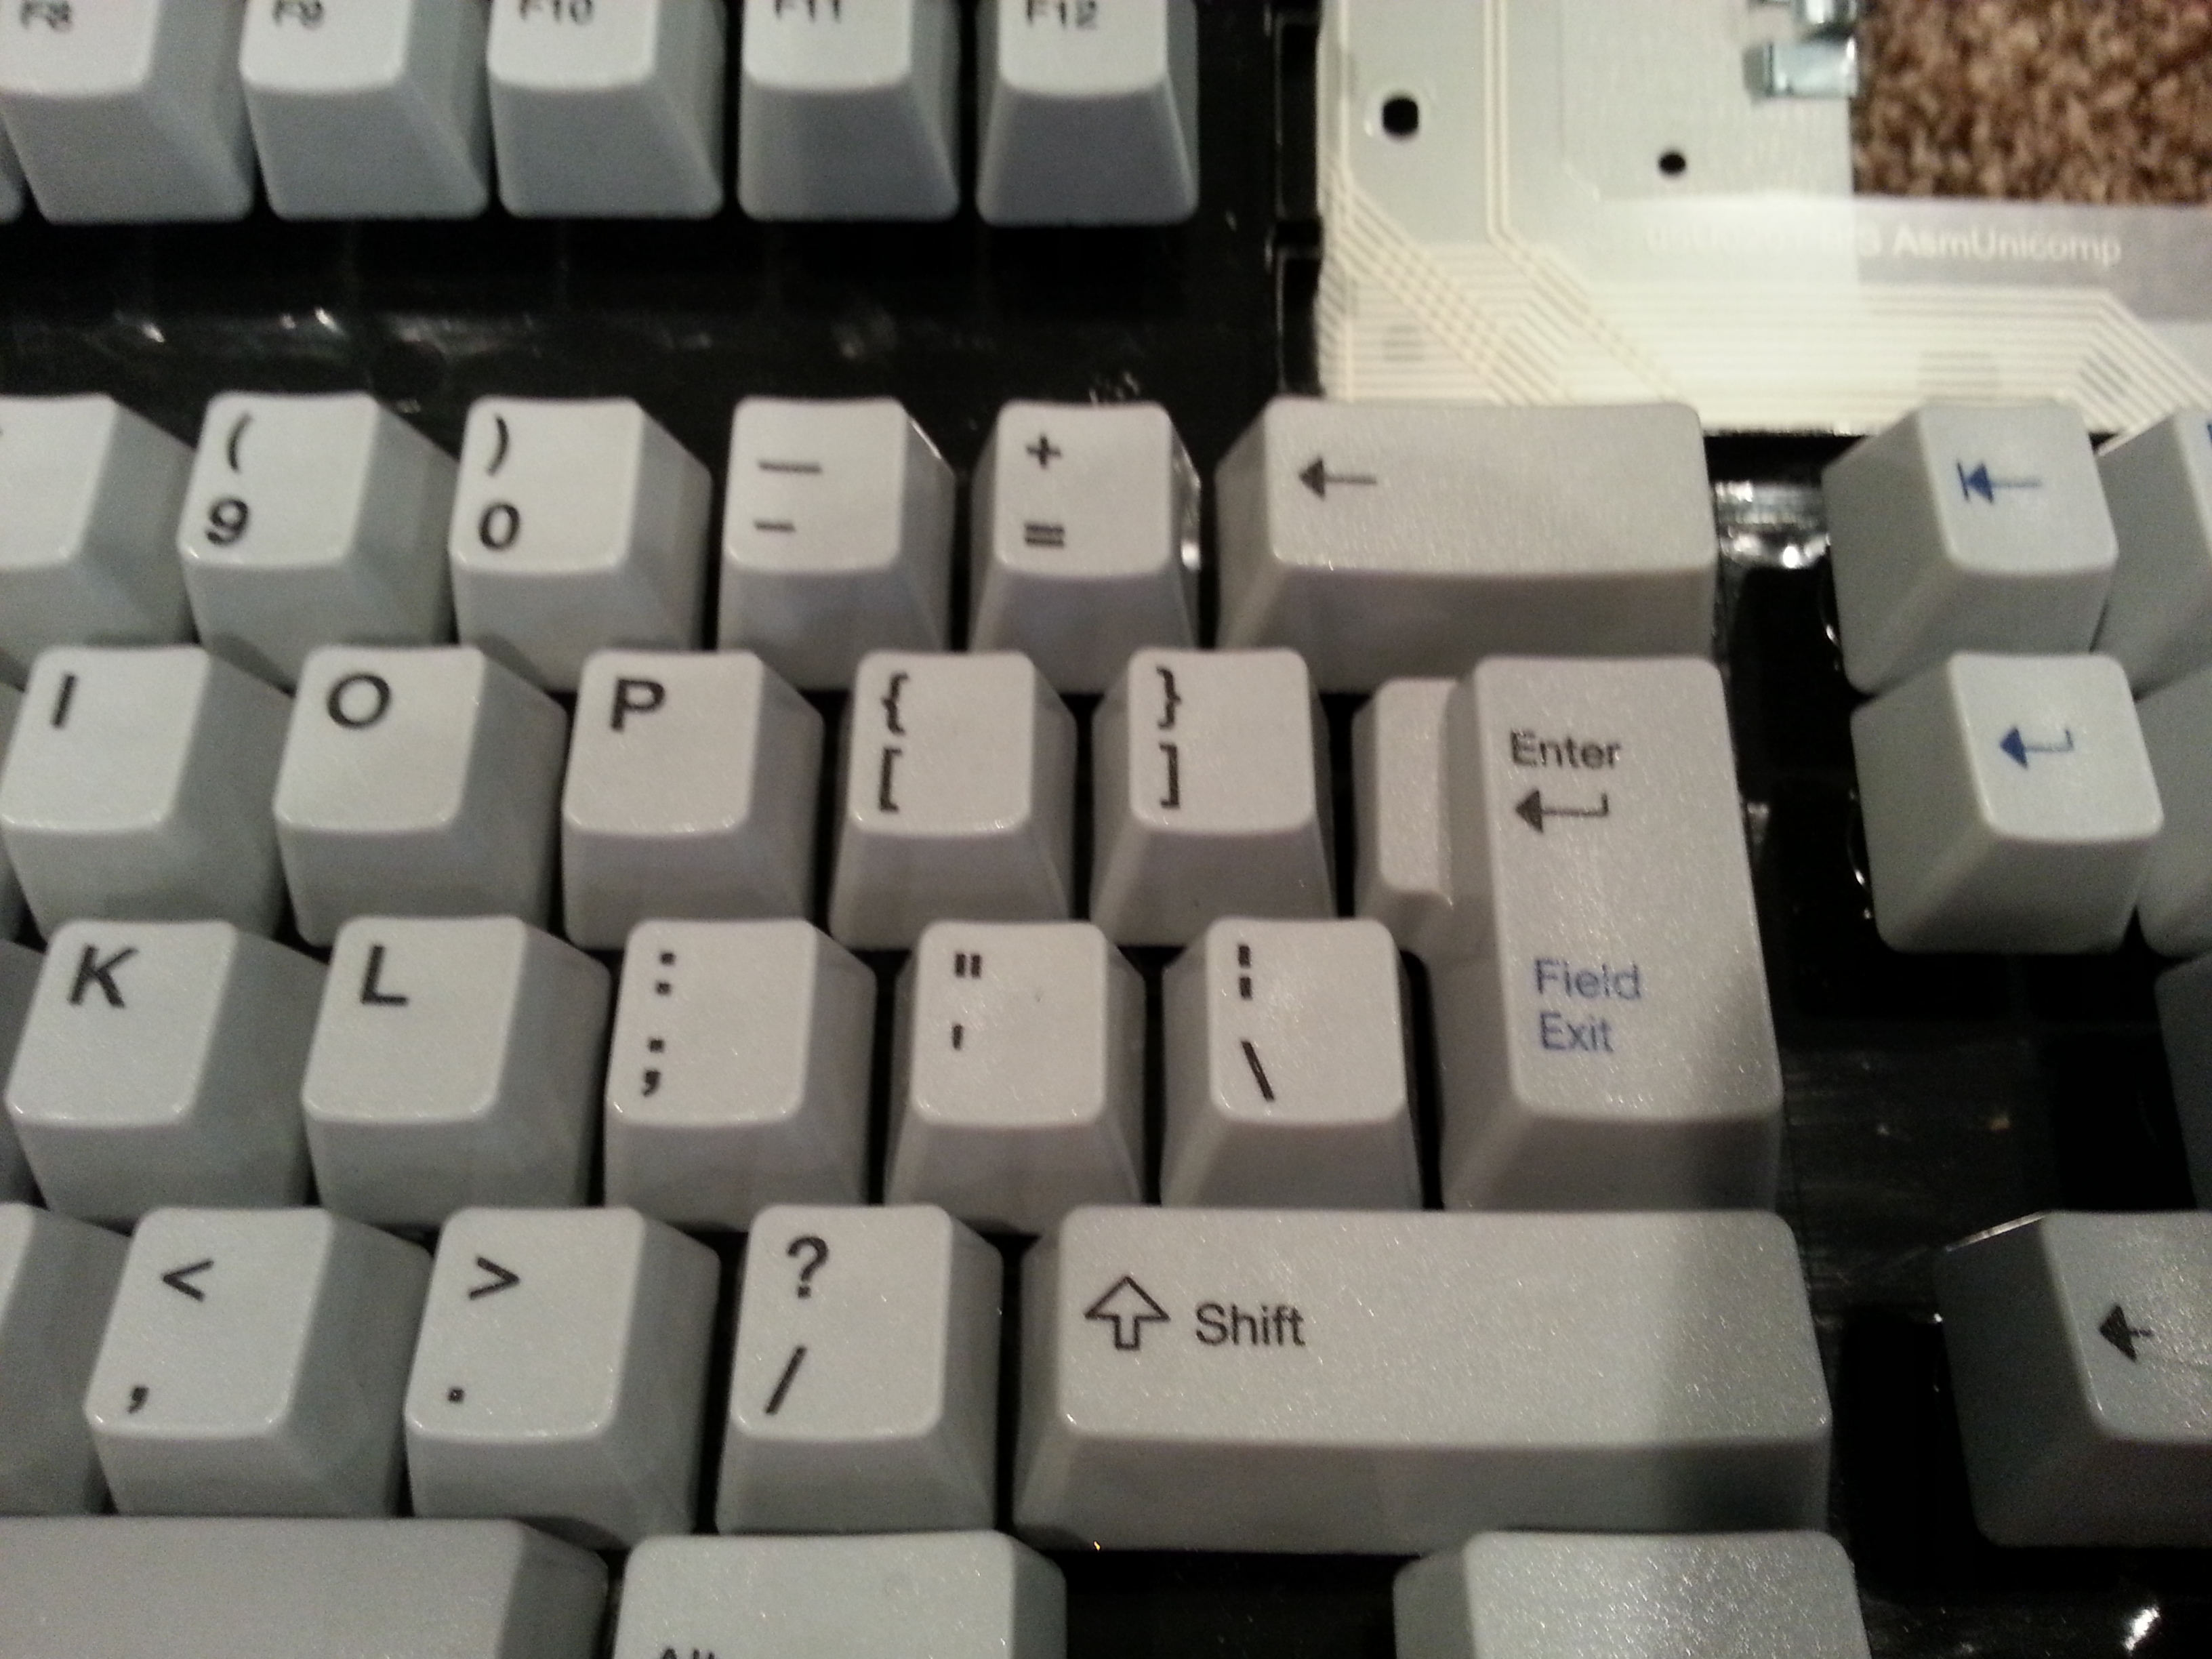
Legendary unicomp printing. The legends are big and bold. Unicomp have opted to use large legends and make full use of their keycap, with the legends going just about to the edge. Printing on modifiers is nice and thin. I don't detect any bleed you sometimes get with dyesub. We'll see in 30 years.
 Tenkey legends
It's really odd seeing center aligned legends for the "words" on the navigation part of the tenkey, but having the arrows be bottom aligned. Not a fan, but unicomp has always been "creative" with their alignment.
 Unicomp, why?
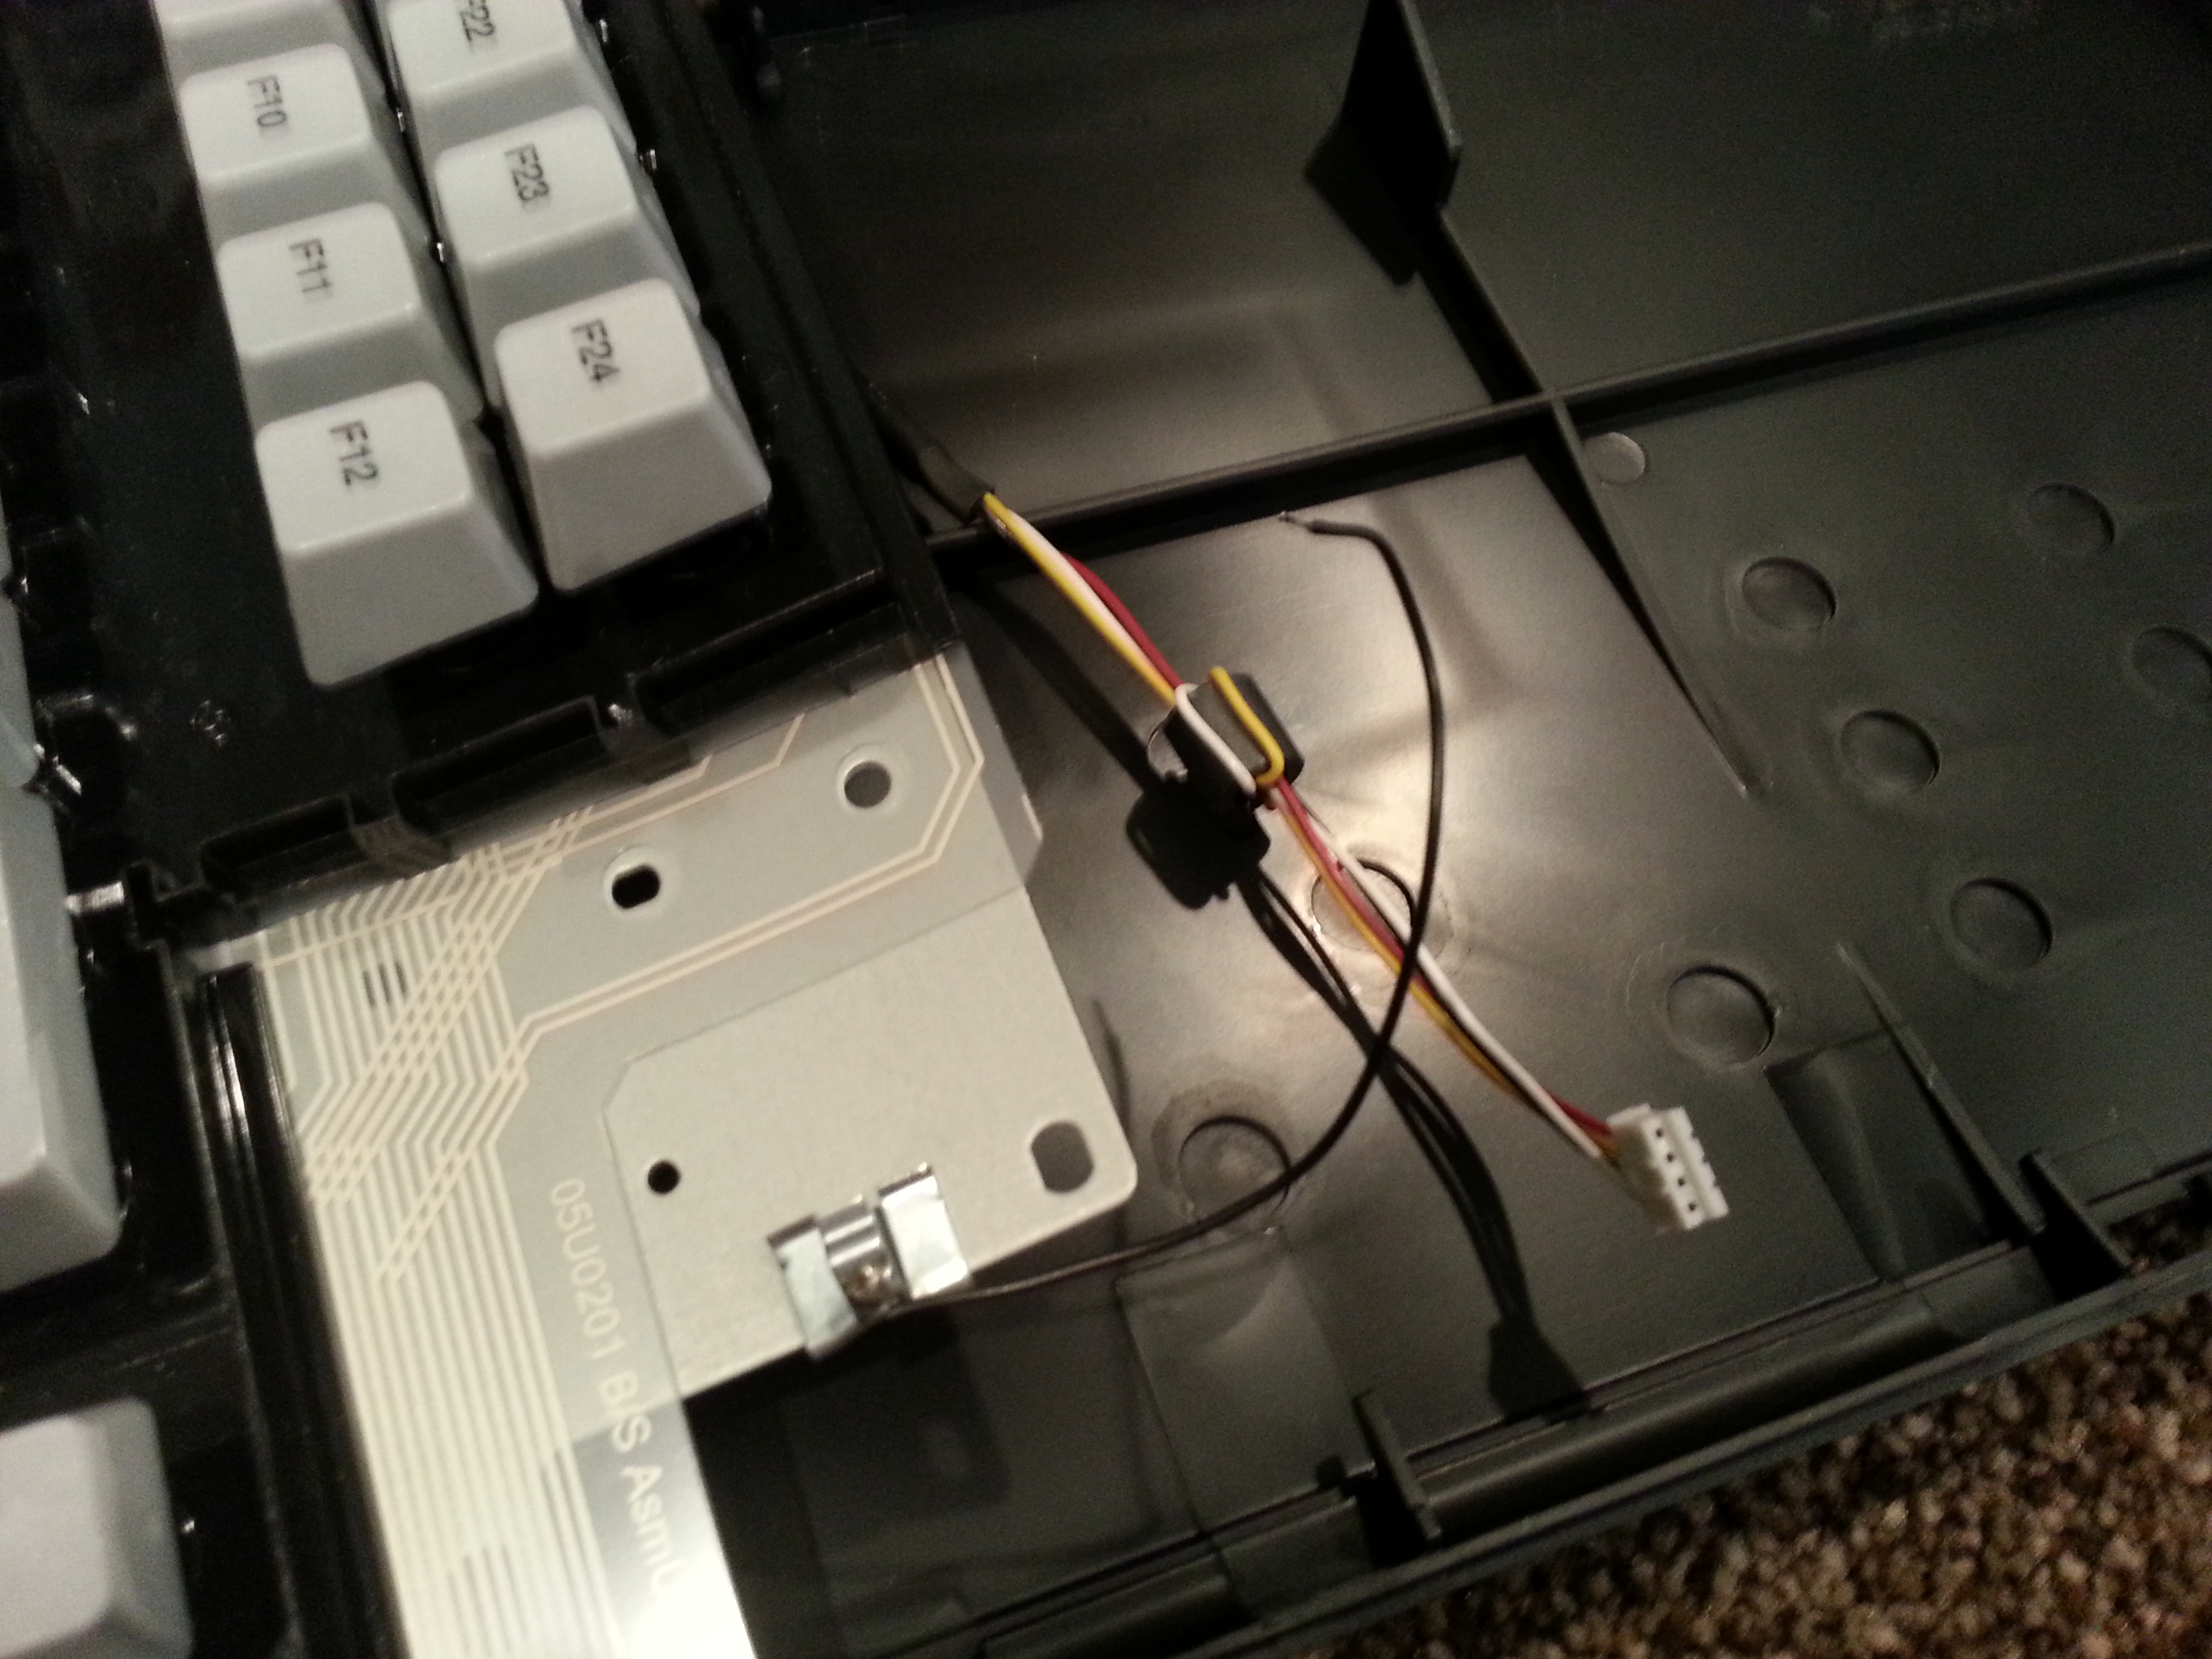
Here's that shield clip wire all forlorn and alone now that it's separated from the cable. I'm deciding if I want to repair that cable or just replace it with a better one. The ZIF socket on the left side of the controller appears to be for a trackpoint. I bet they use this same controller for their endurapro. I'm really digging the alignment on the "numlk" key (not really).
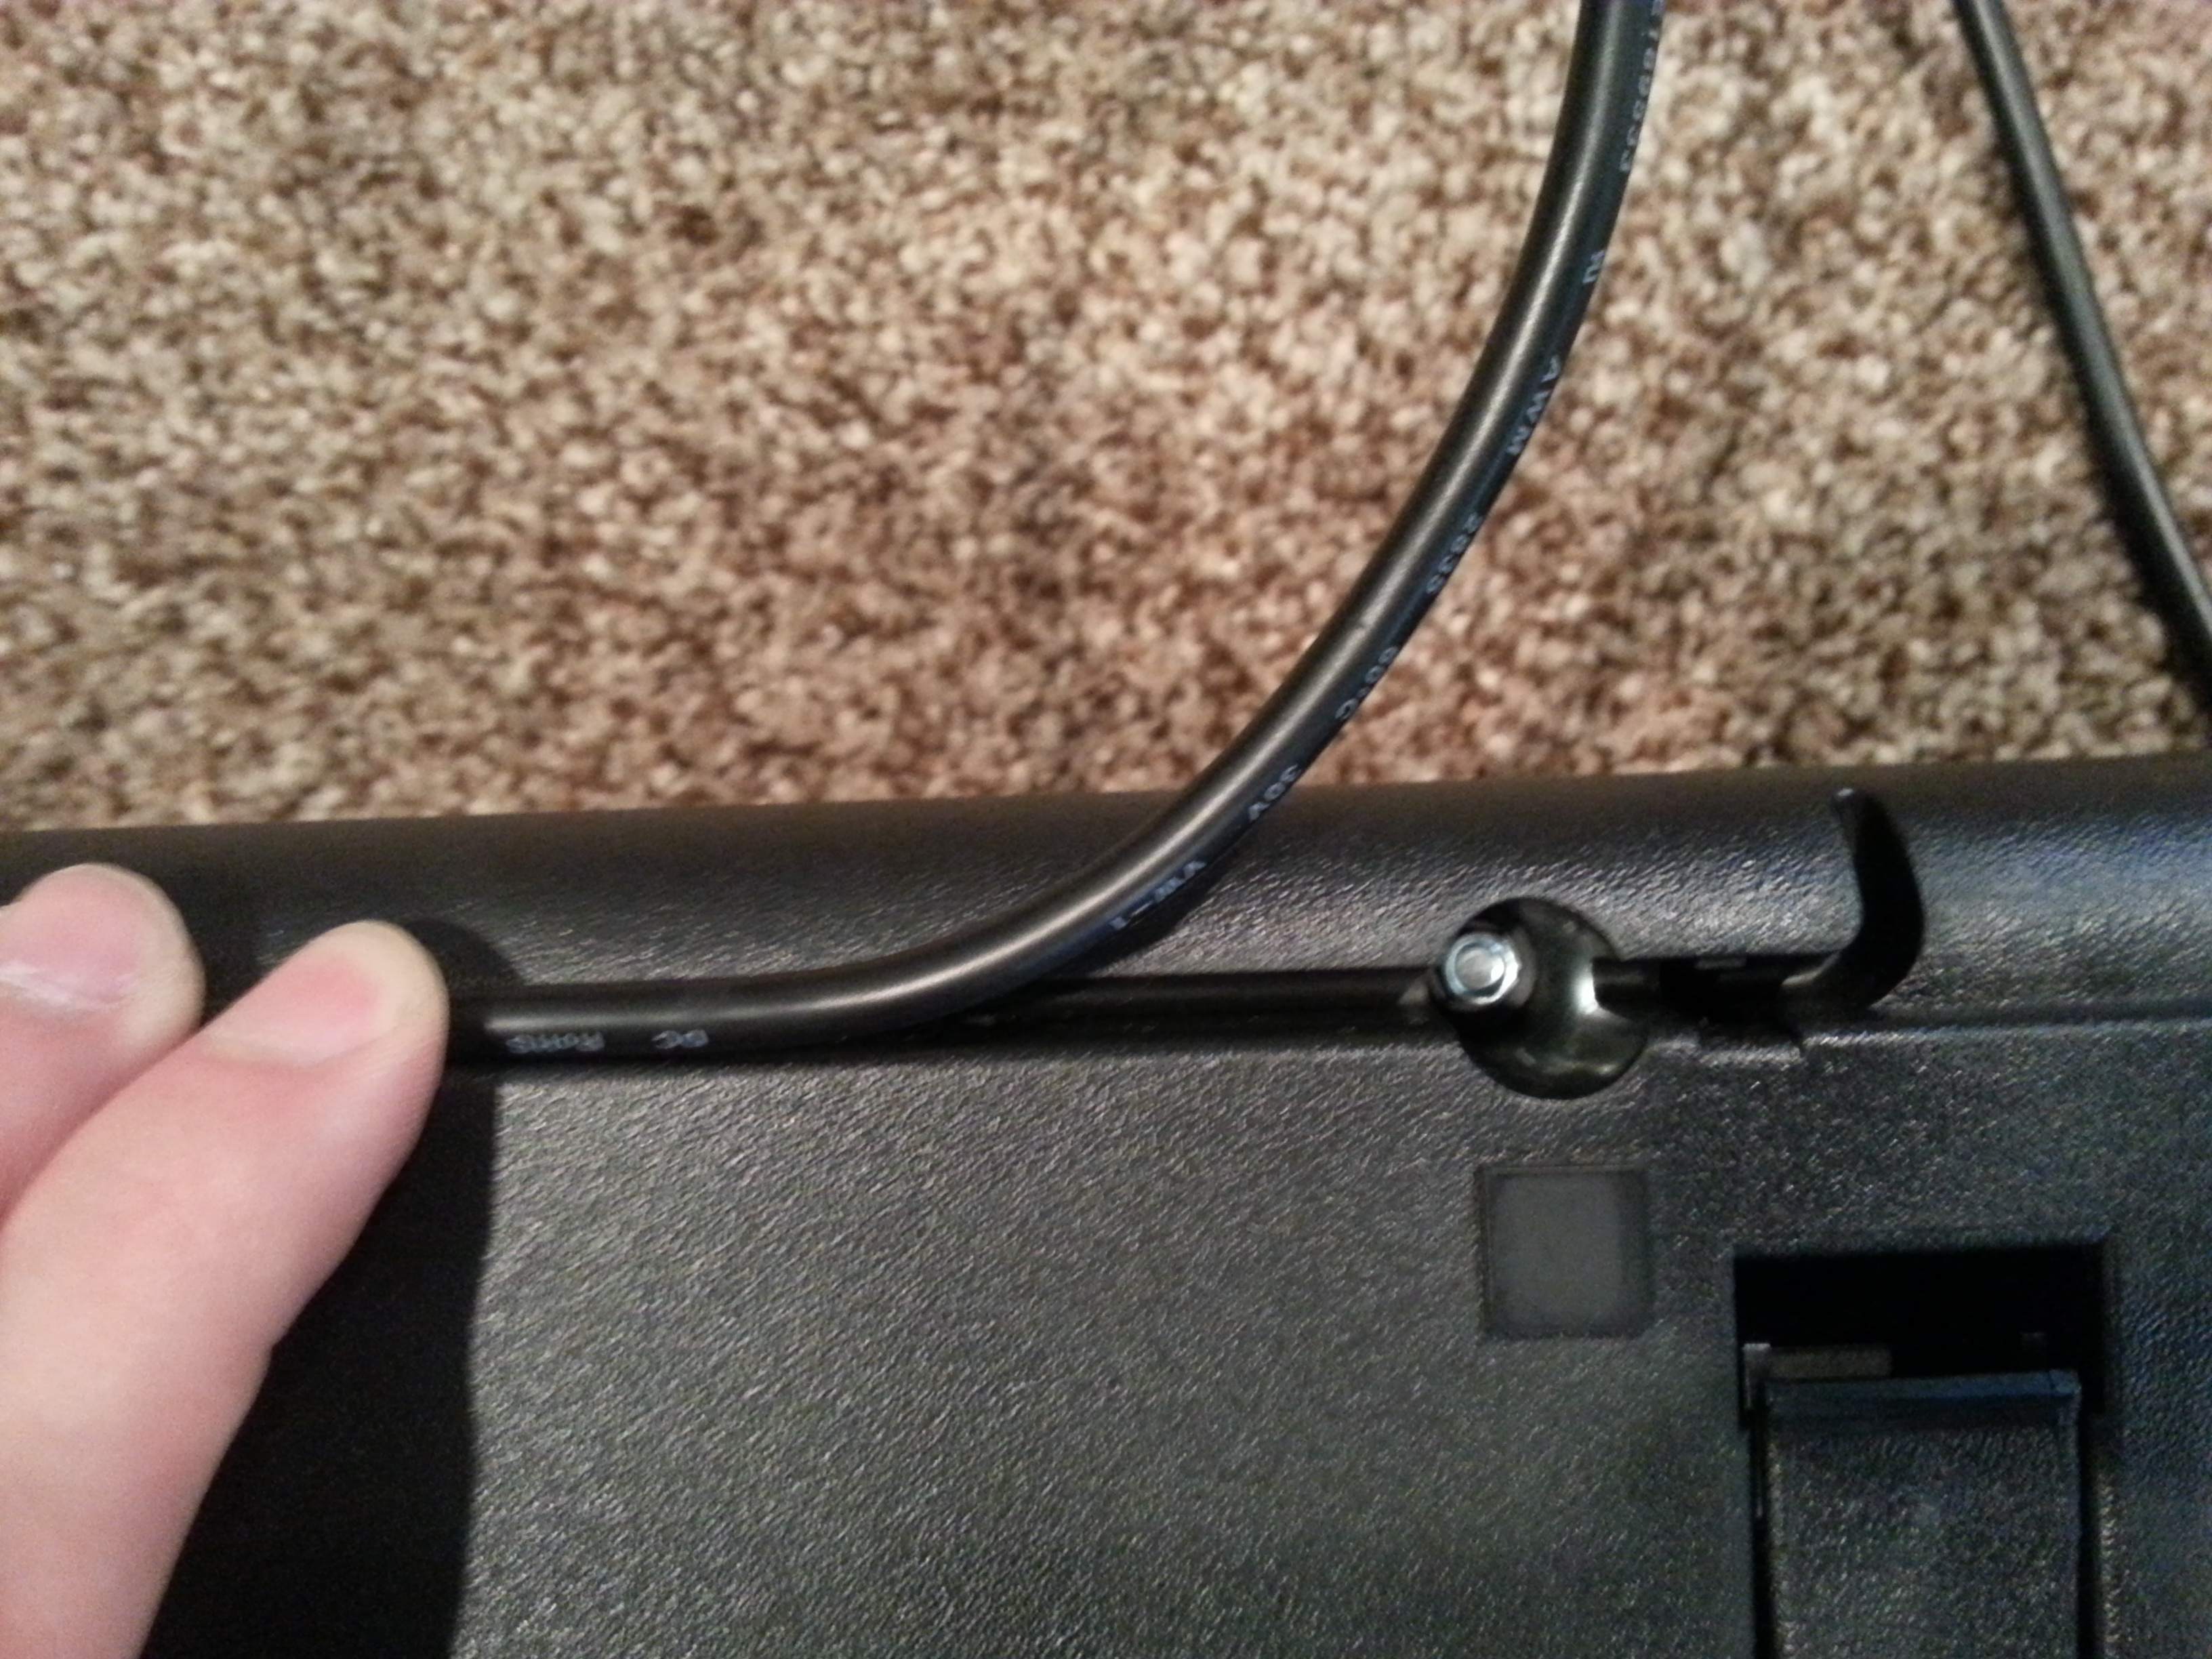 unicomp cheap cable channel
Here's a shot of the cable channels. They are (of course) too narrow to accept the cable that comes on this keyboard. I'm not even sure they will fit a cable of any size (as they are angled in) The upshot is that it would have been much cheaper to mould.
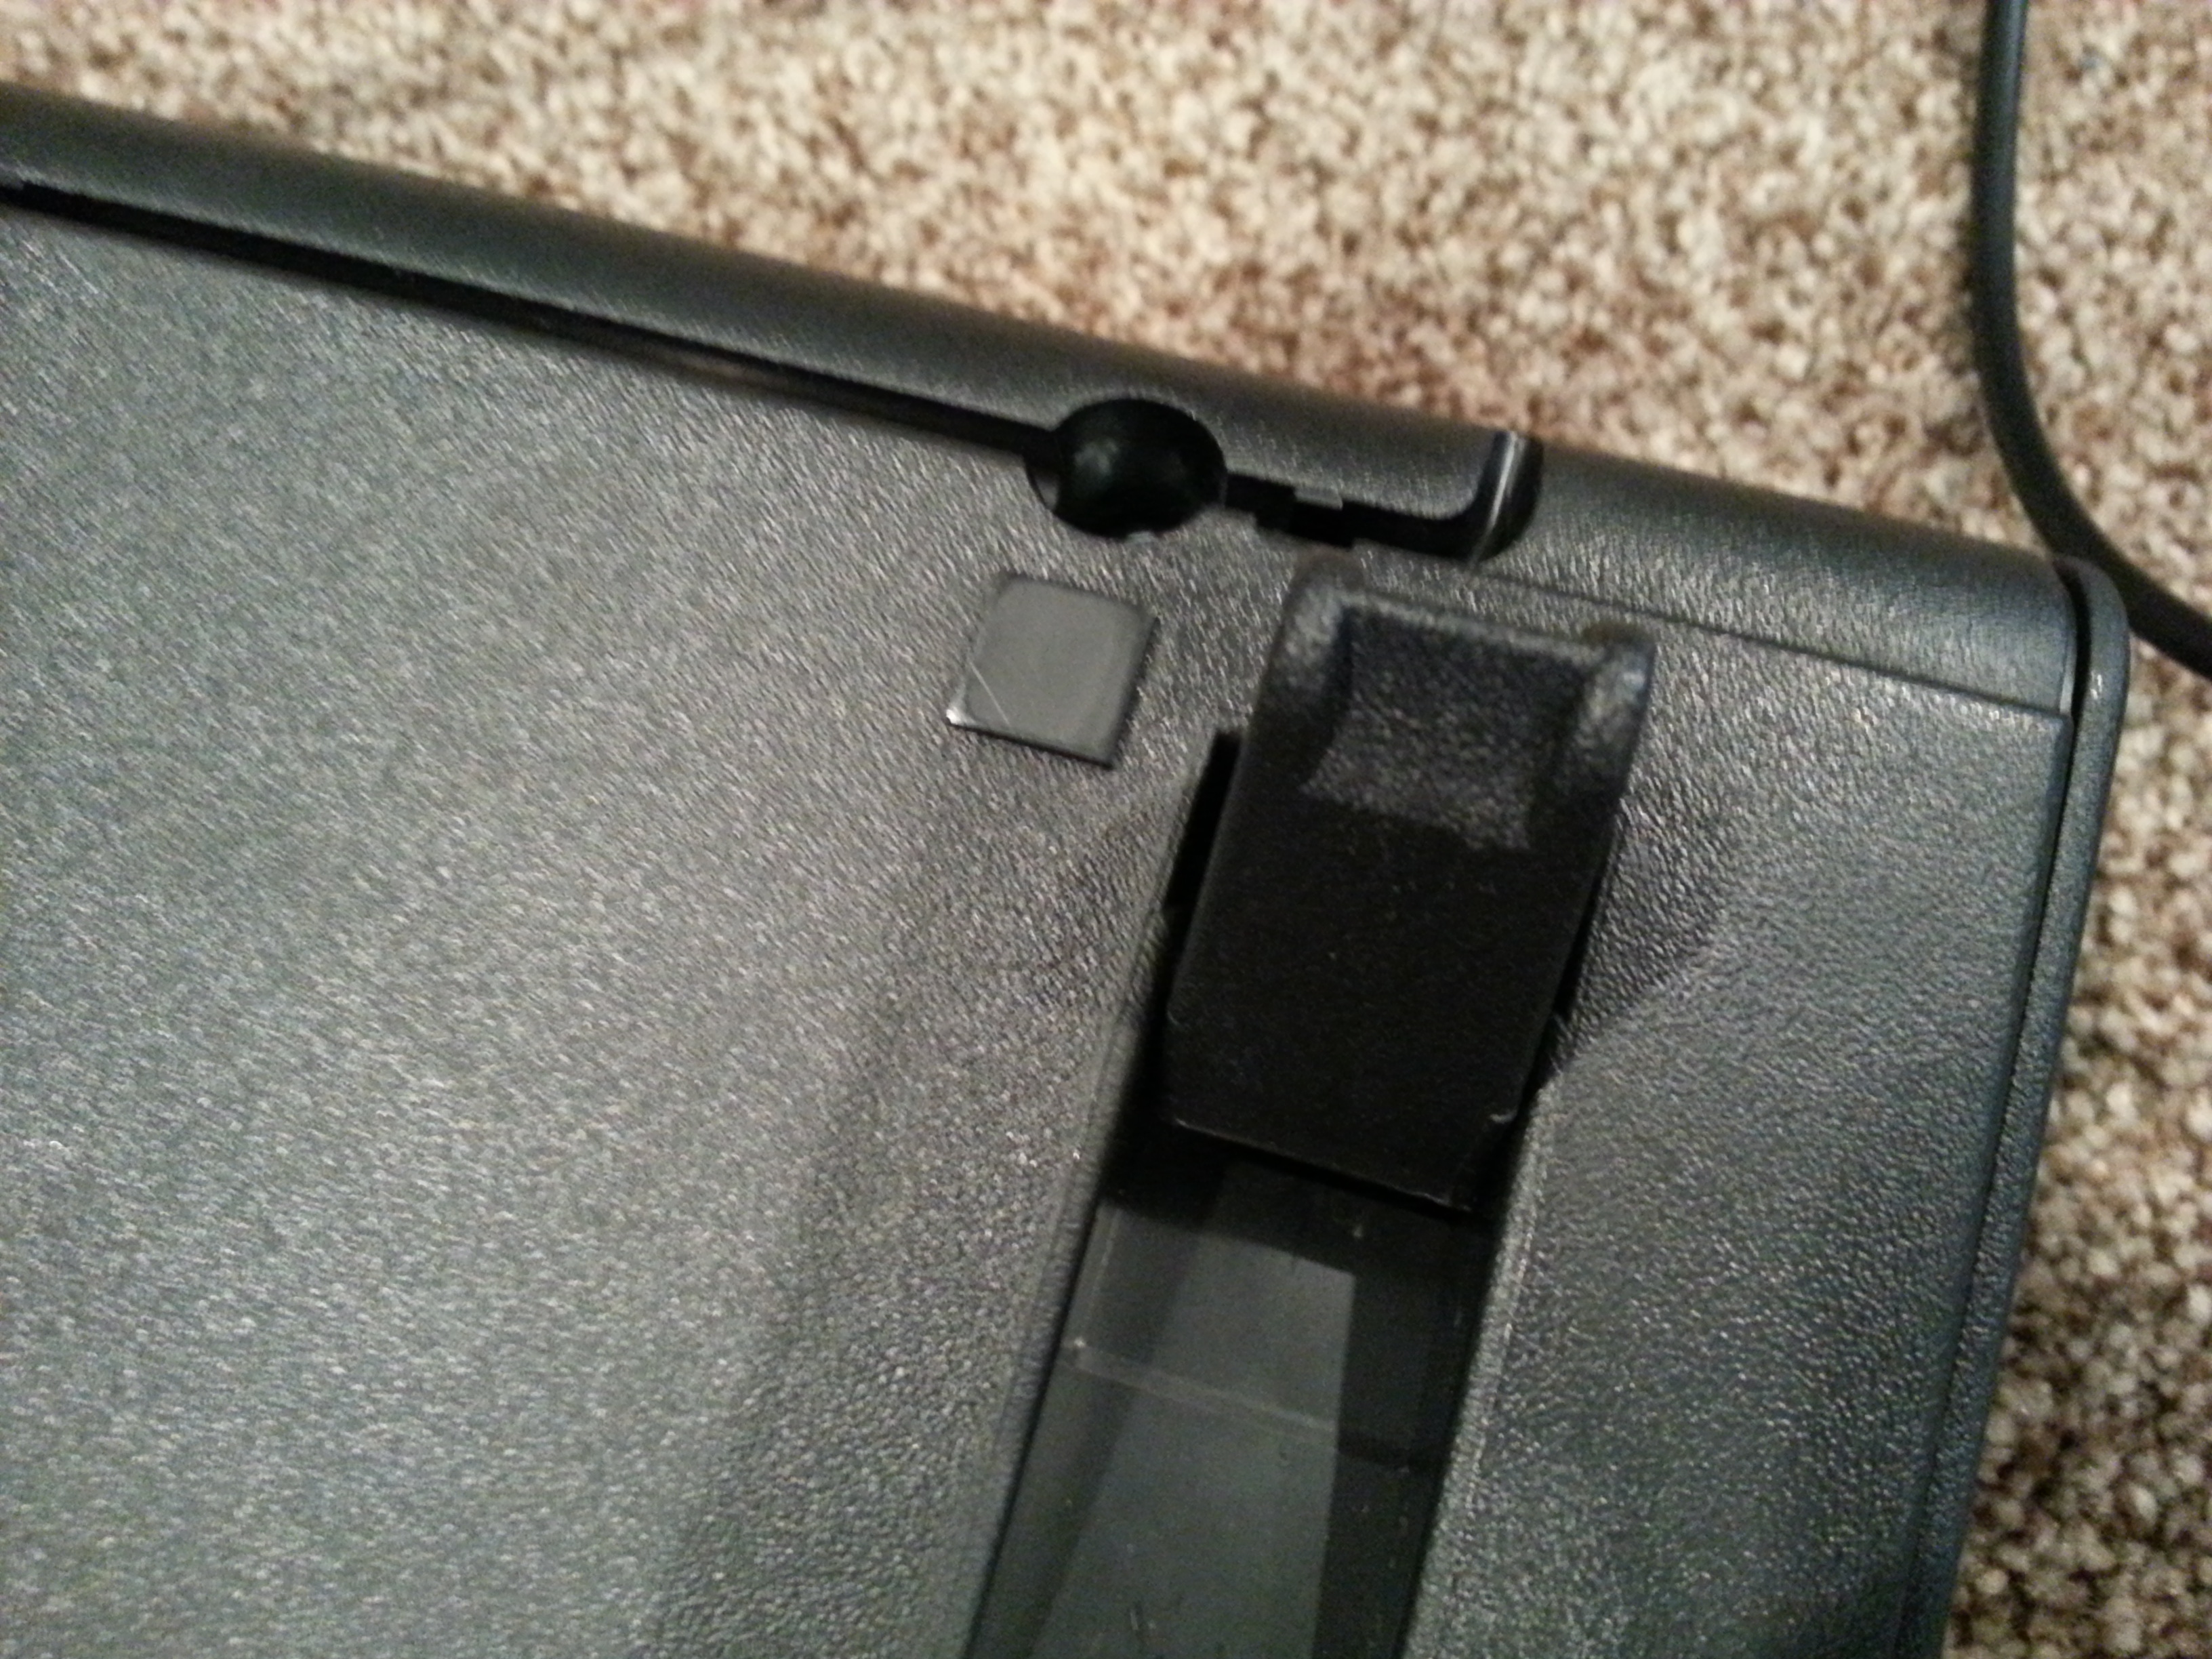 cheap unicomp feet
These feet are much different from standard IBM feet. They feel a lot cheaper, but they do seem to latch into place well.
Overall, it feels nice to type on, is huge, and has lots of keycaps. It was manufactured in such a way as to save lots of money, and I imagine it did well for unicomp. I'm deciding if it's worth it to modify this to a tenkeyless design.
overall score:
cheap/10Thanks for reading.


