Model M bolt mod tips and tricks.
I will be thoroughly documenting my model M bolt mod. I've done a bunch of these, and picked up some tips. Why publish an extensively photographed guide? My hope is to make it easier for people to see how I recommend doing it, and can see the effect of some of the tips I mention. With luck, this will remove the blocks for some people and allow them to start bolting their own model Ms. I think the hardest part is the actual drilling, so Most of these tips are geared toward making that part as quick and easy as possible. Enjoy!
Tools:
5.5mm or
5/32" 7/32" thinwall nut driver.
knife or sharp chisel
flush cutters
rotary tool
"ball end" bit
1/16 drill bit
screwdriver for M2 bolts
Parts:
m2 nut (1.6mm)
Mcmaster: 90592A004m2*8mm bolt
Mcmaster: 92005A029Model M keyboard

This is what we have to start with: Model M 1391401 from 1989. Missing keycaps and very dirty. Take the screws out with the nutdriver.
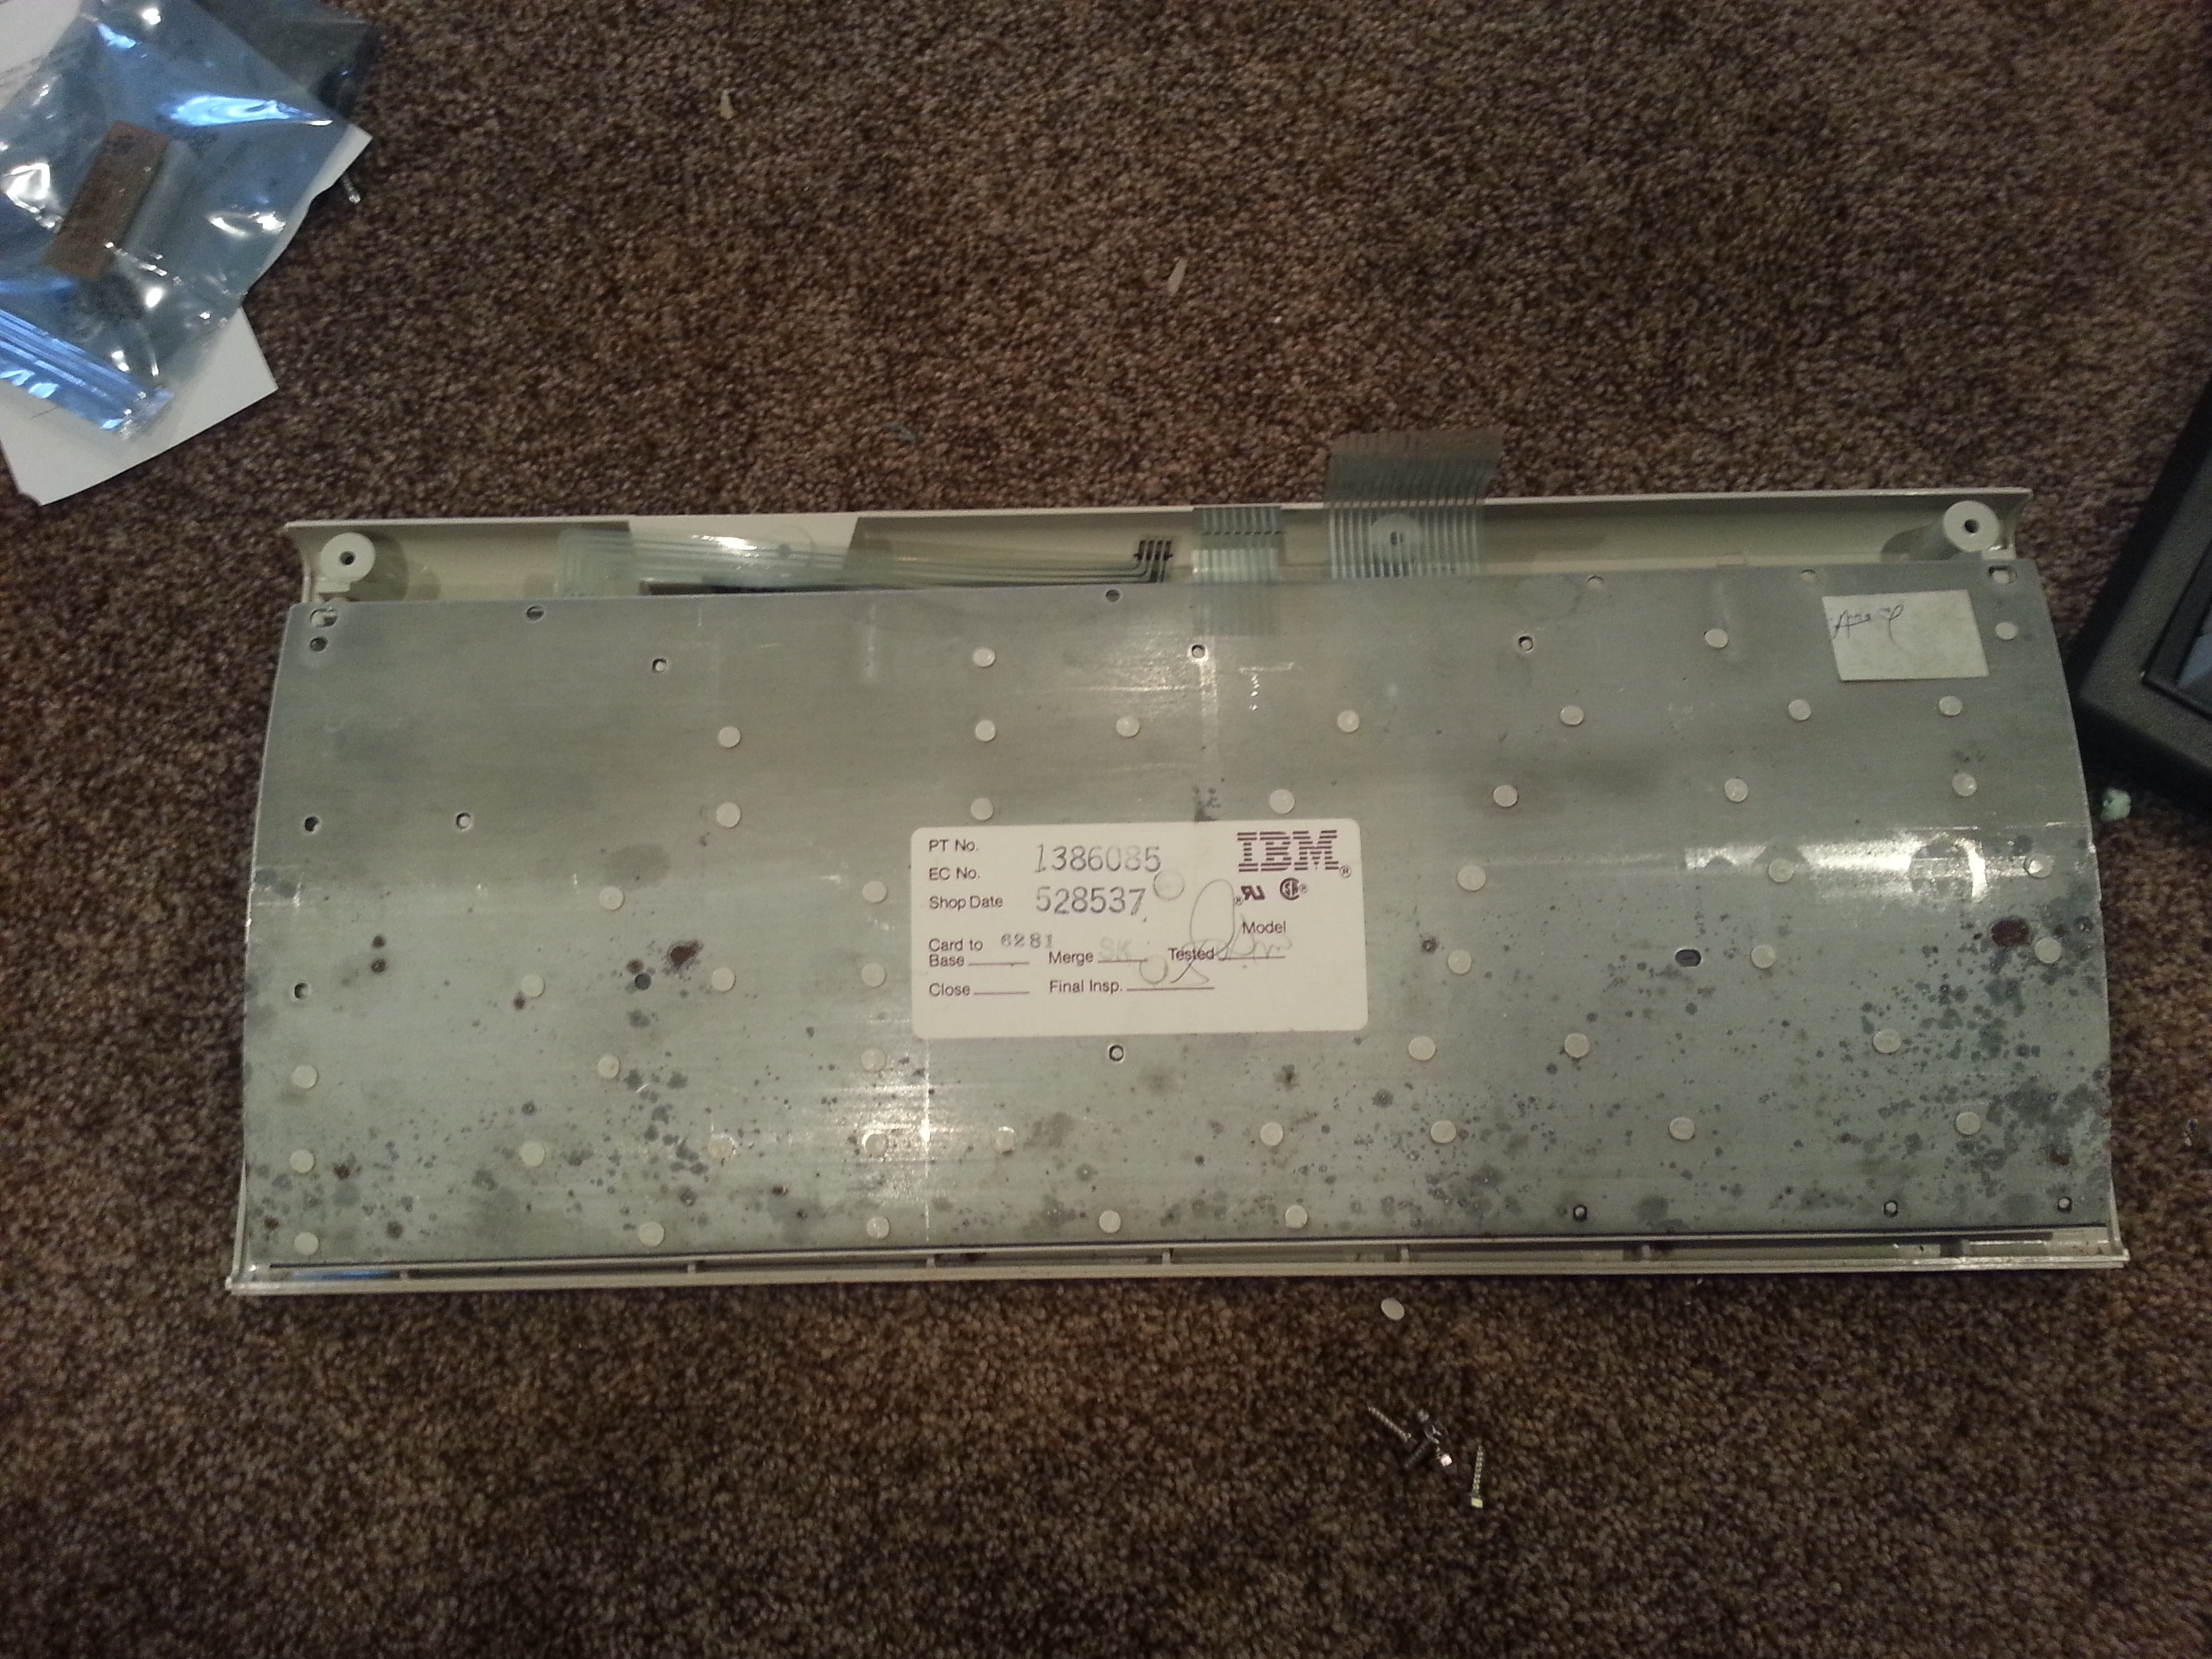
Notice the backplate has some corrosion on it


A closeup on the corrosion.
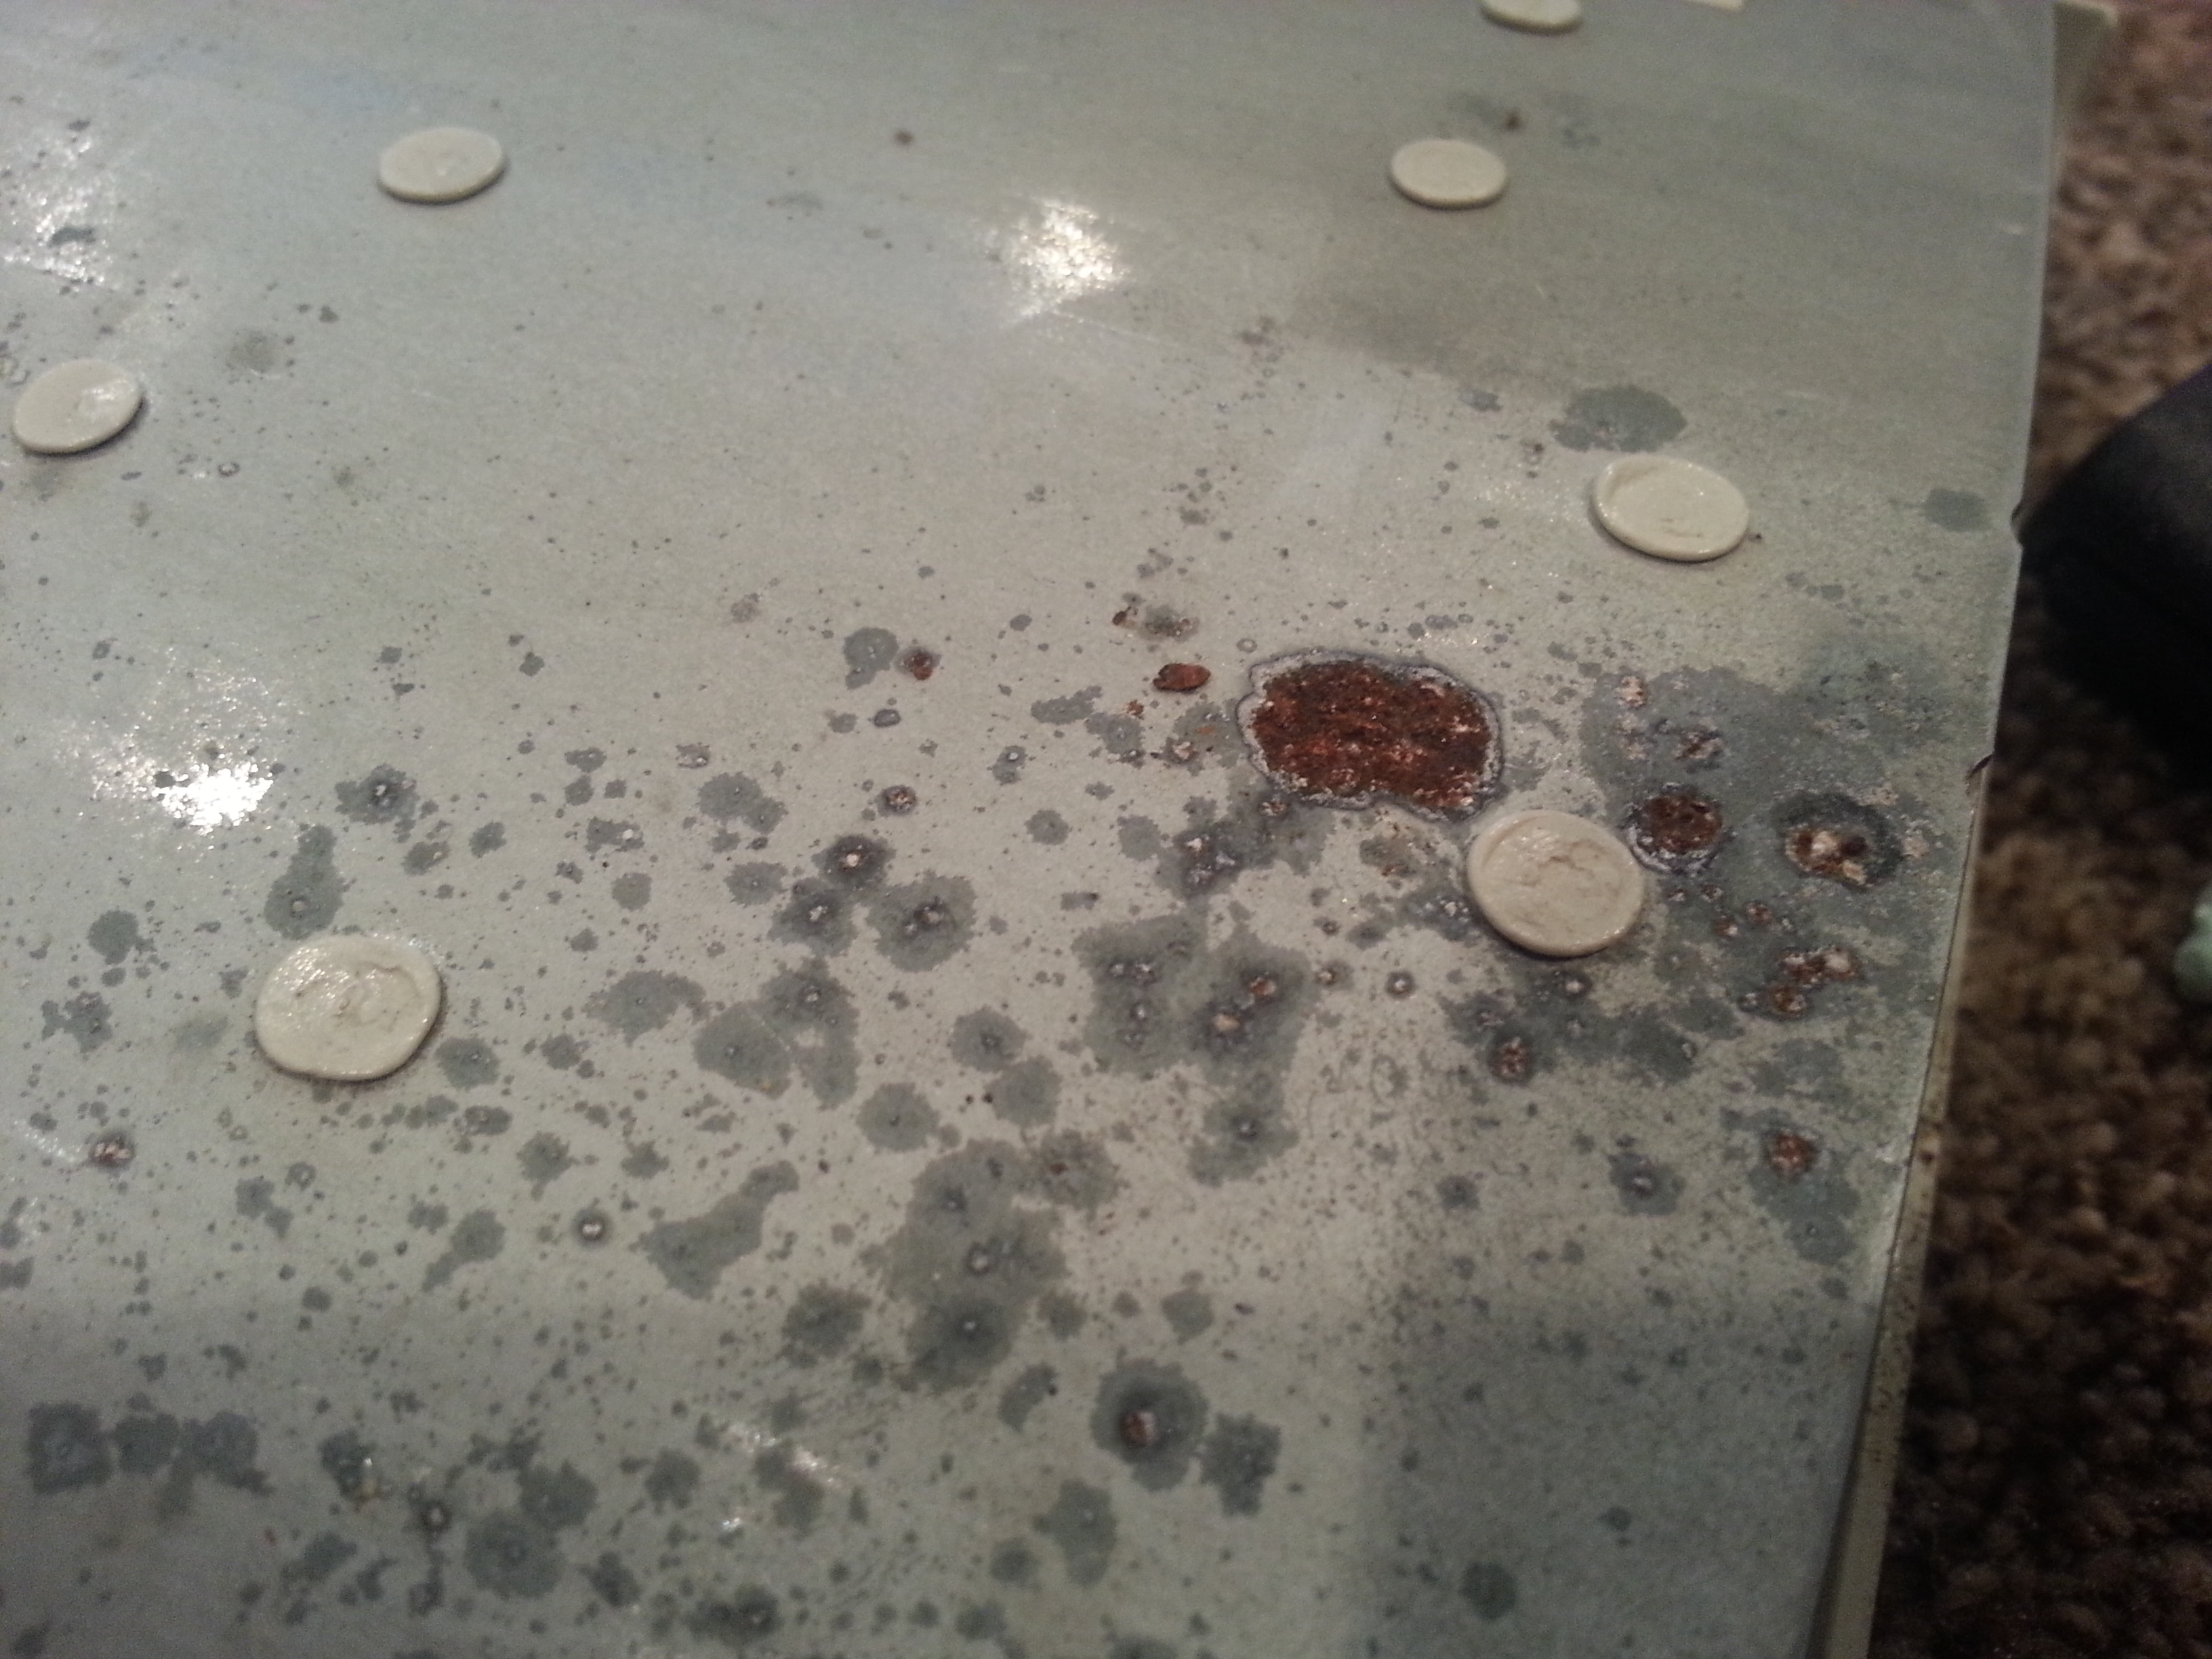
Some more corrosion in a different area.
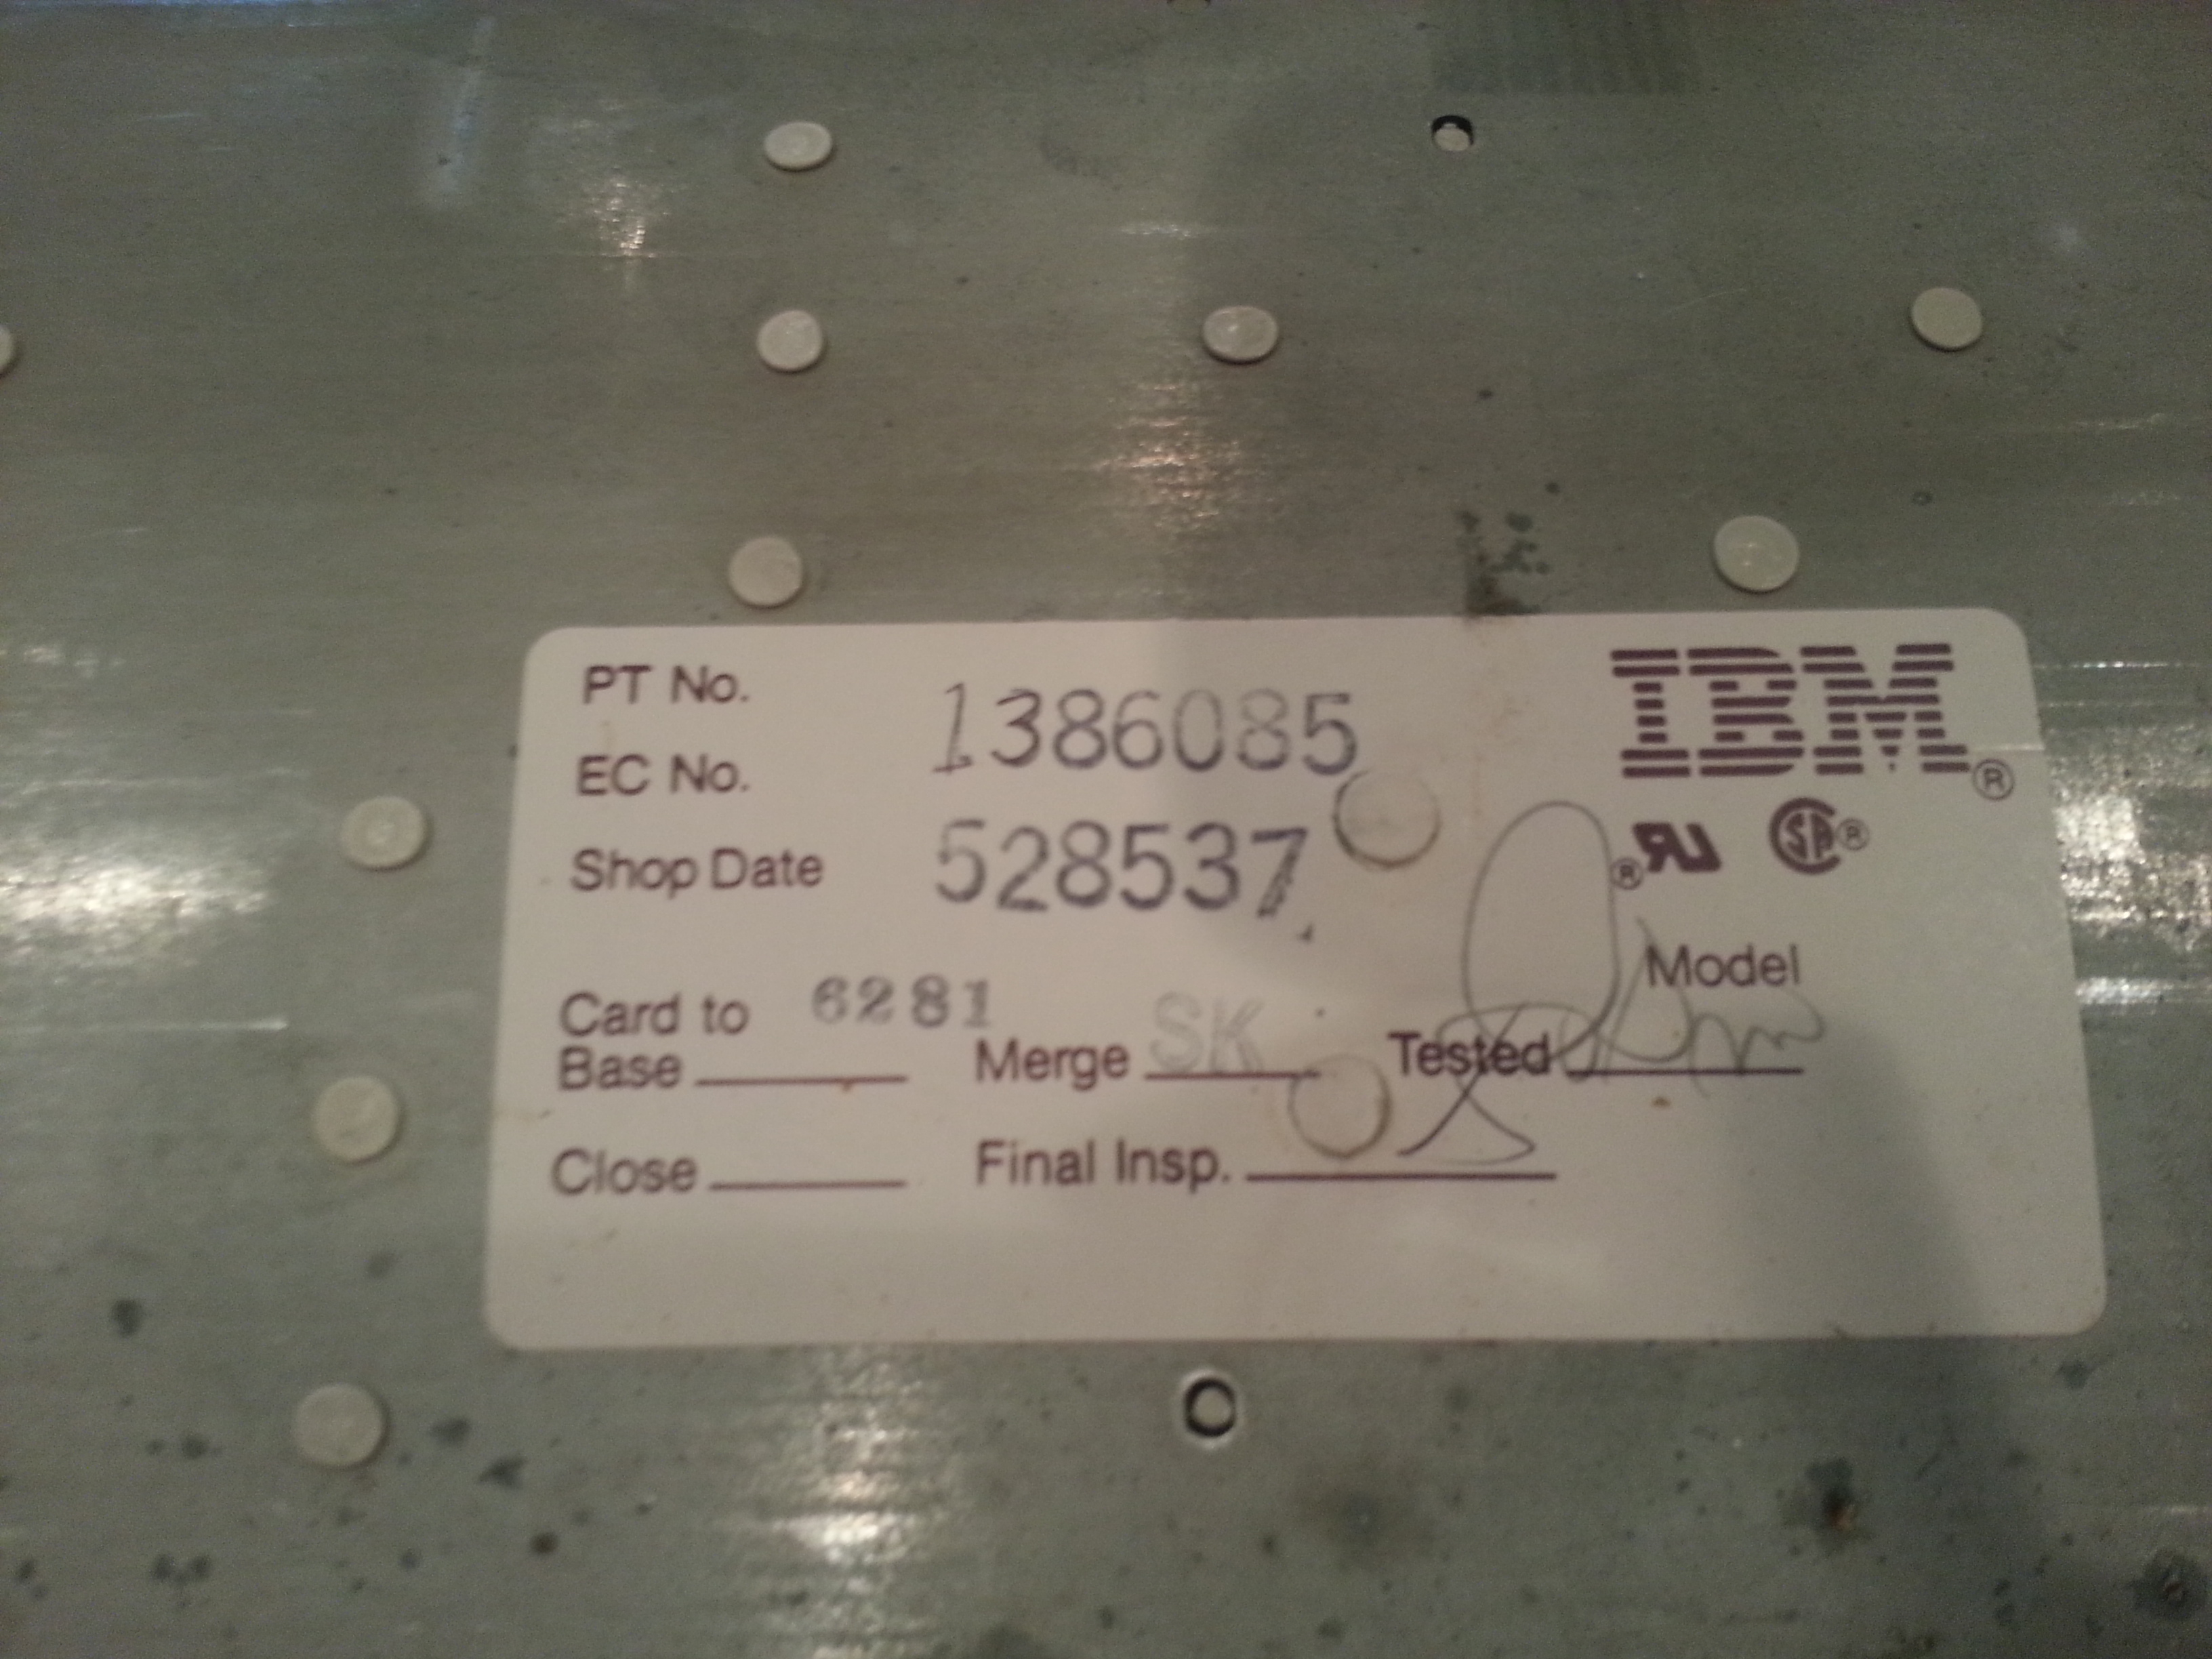
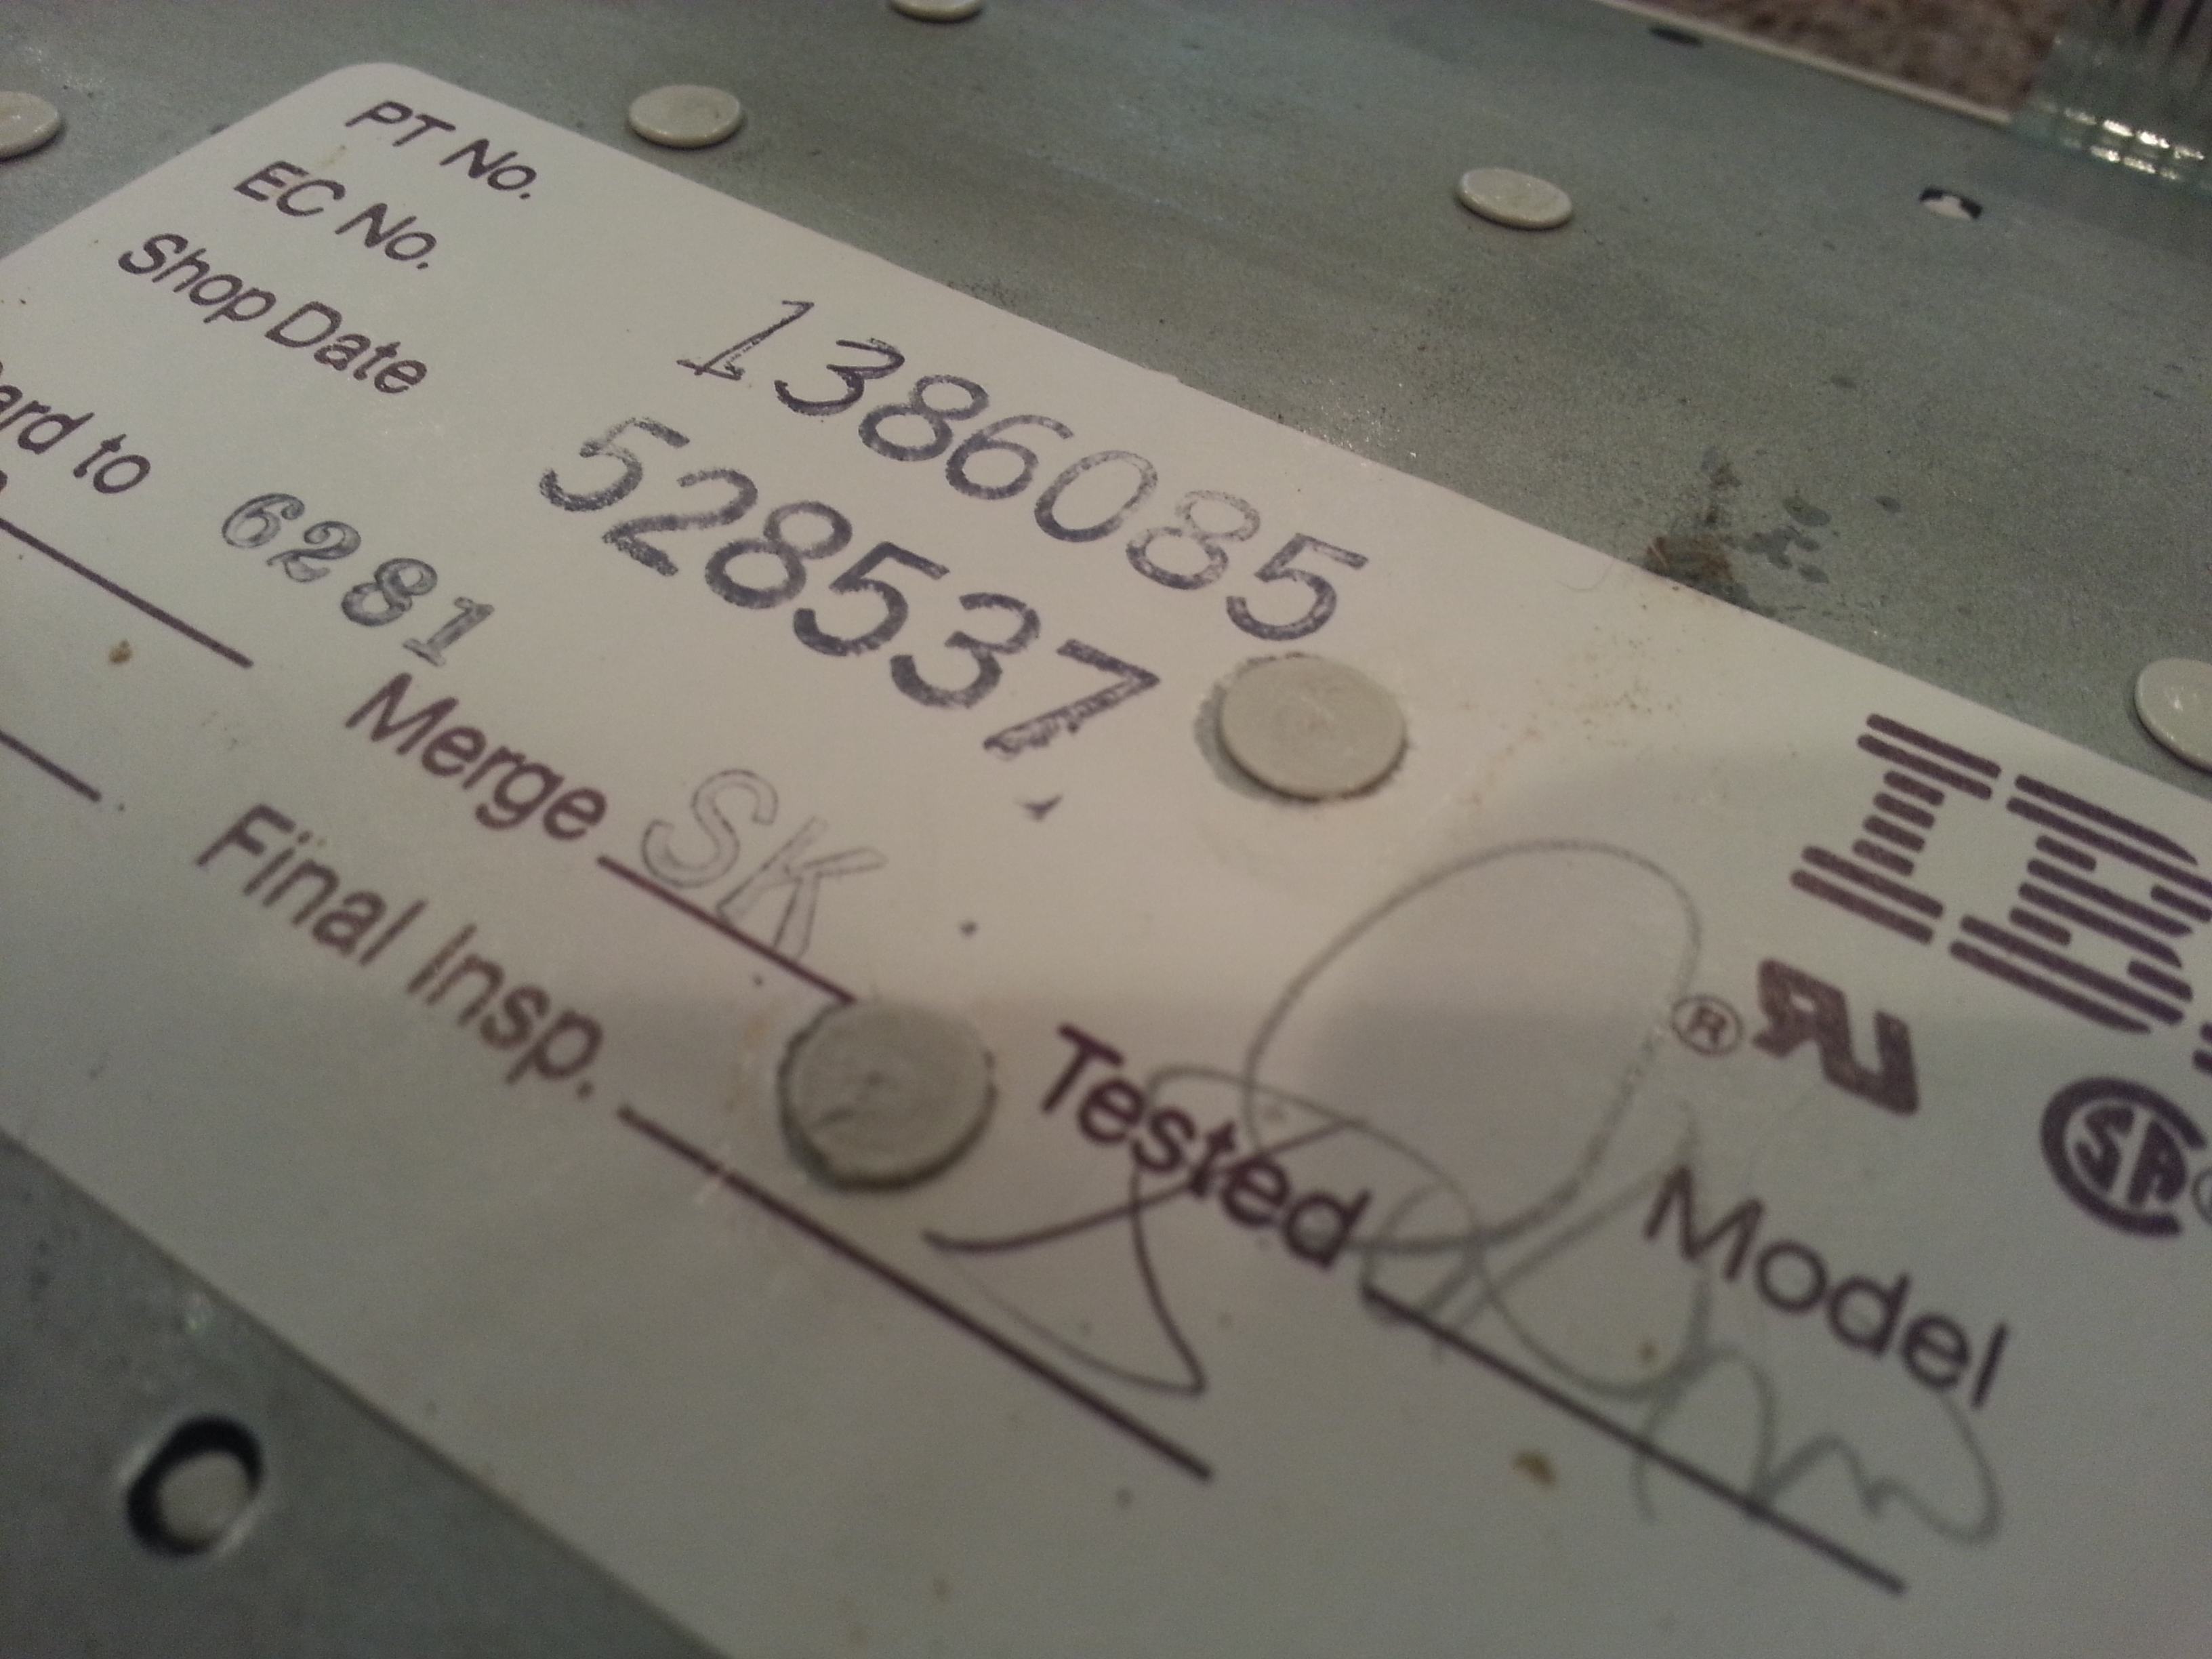
Picture of the label: note the stamp didn't fully strike and the number was fixed by hand with a pen! These guys took pride in their work.
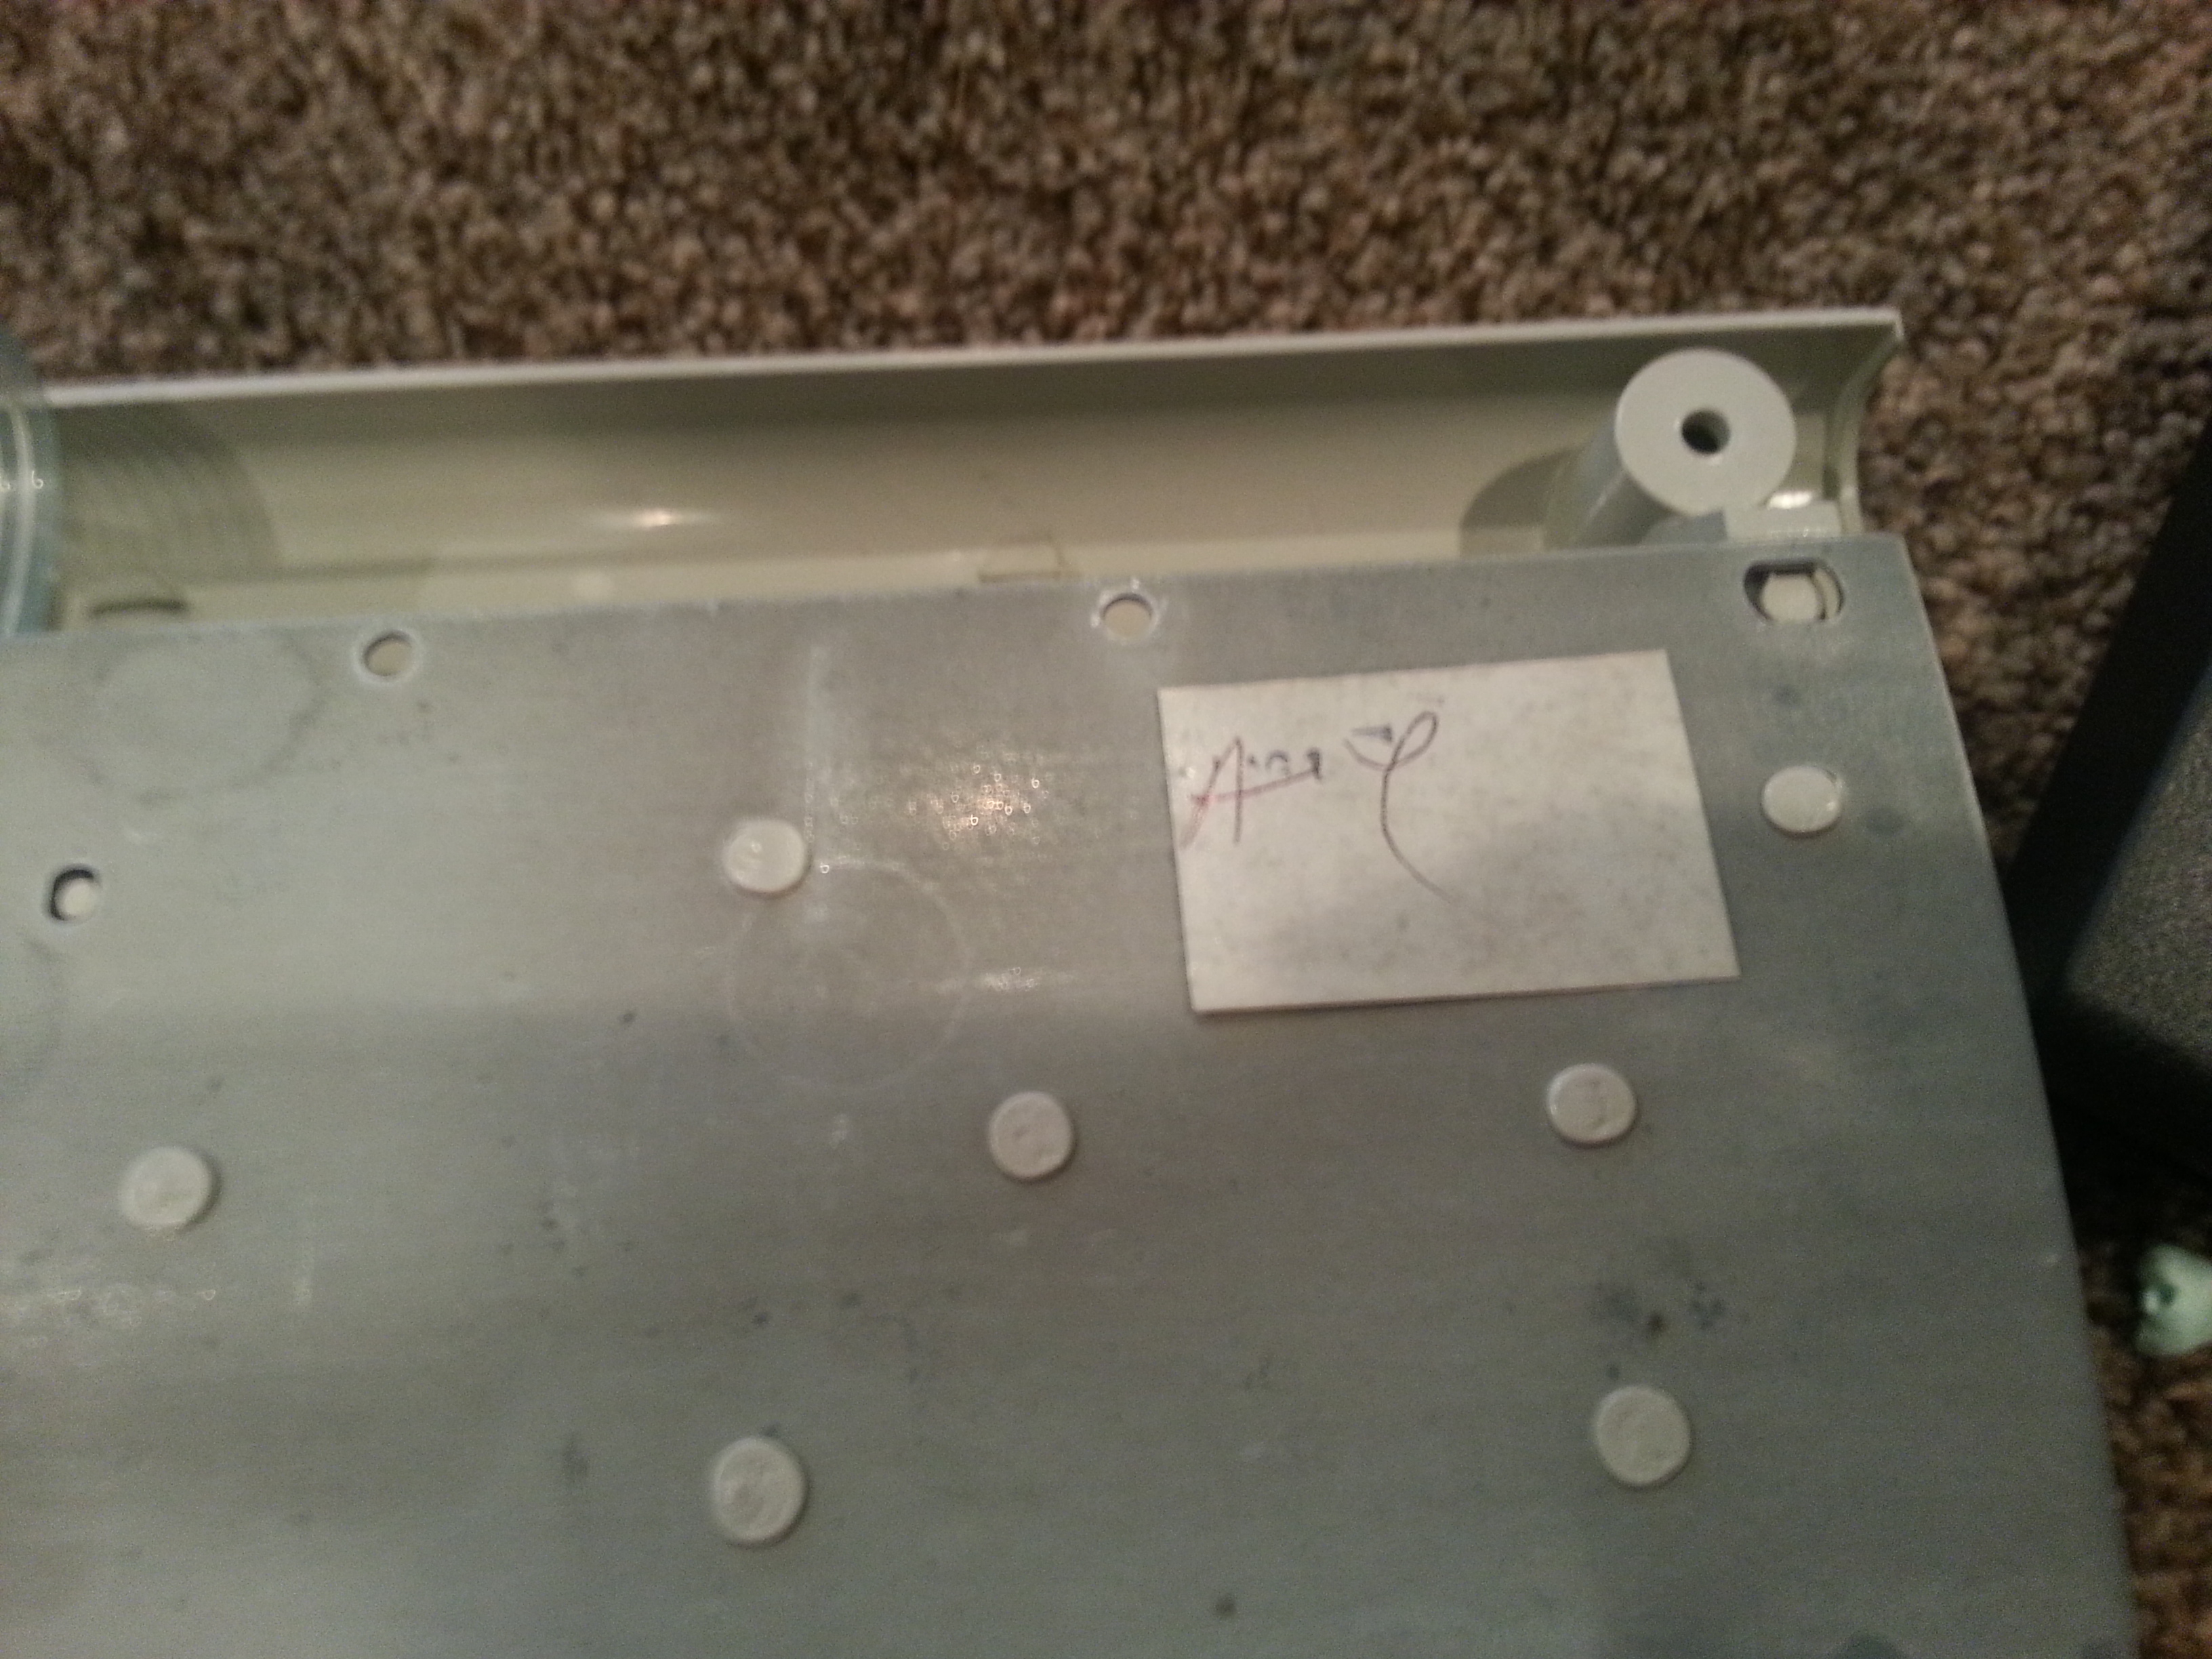
Smaller label in the corner.

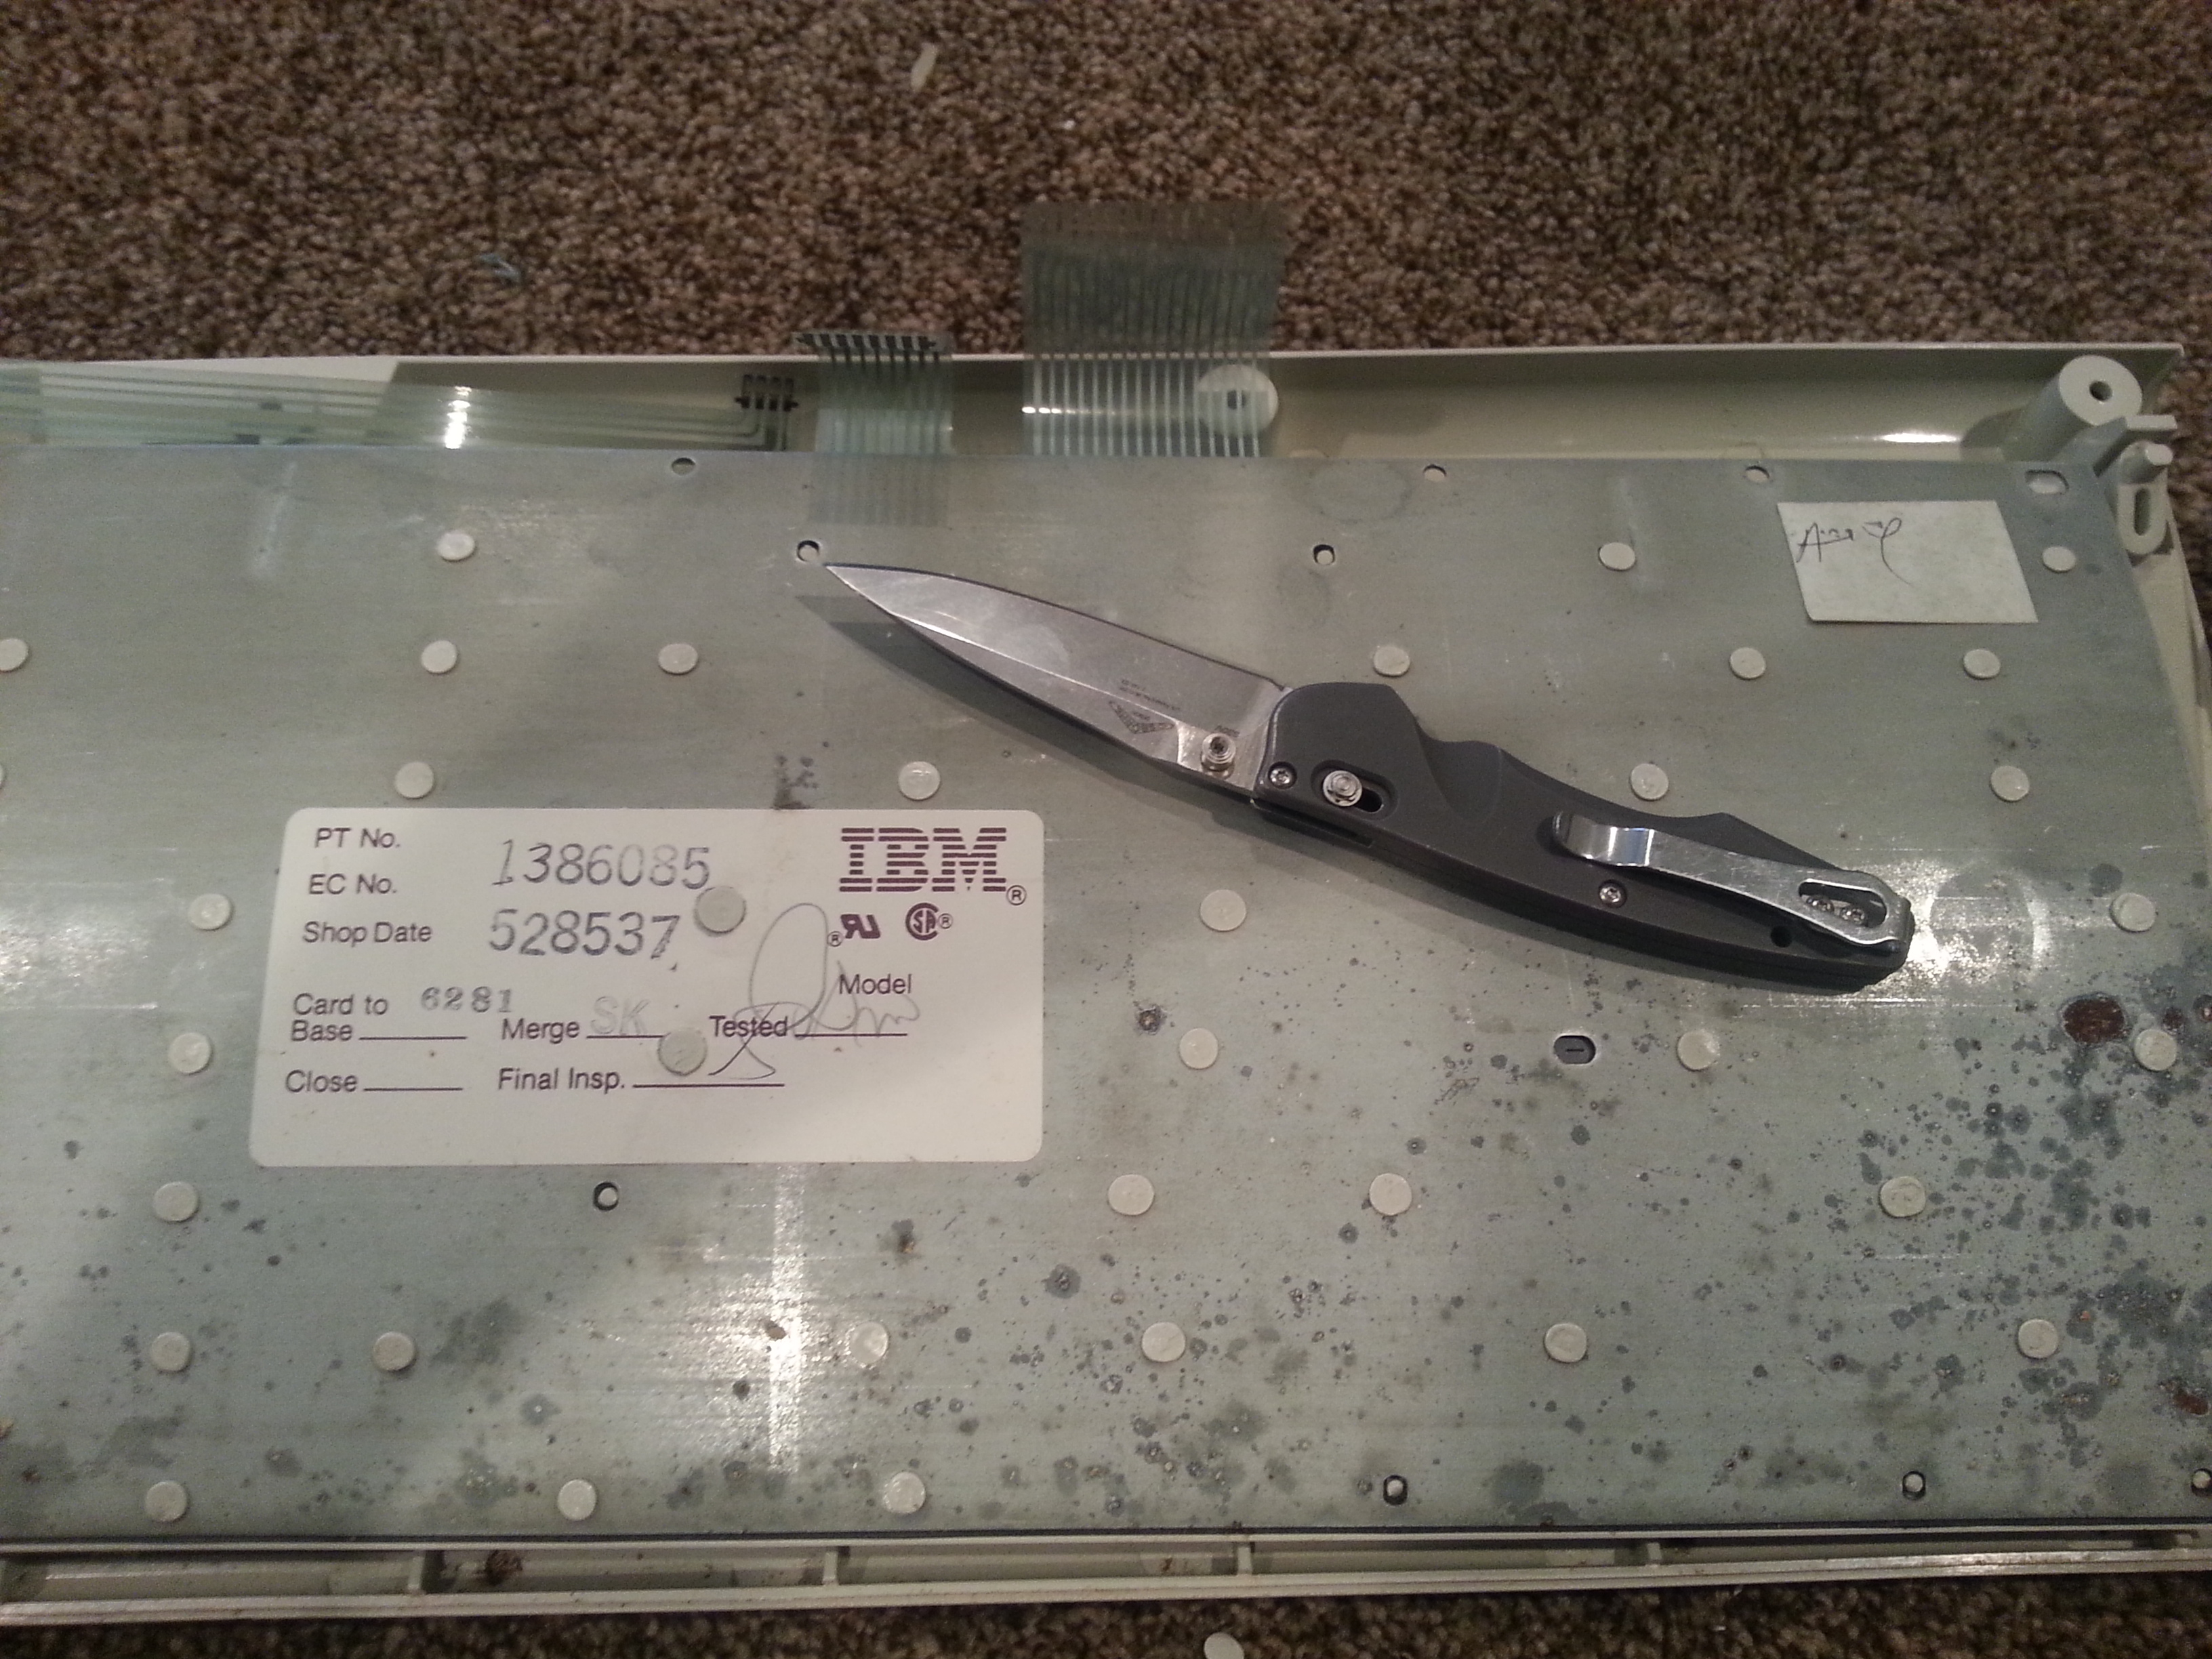
To start, I edge around the two rivets under the label with a fingernail (flathead screwdriver works too). I'll remove just this piece. I like to keep the label in as good shape as I can, but I don't mind the small hole in it.
Label with rivets showing.
Now, to remove the rivets! I grab a recently sharpened knife and get started
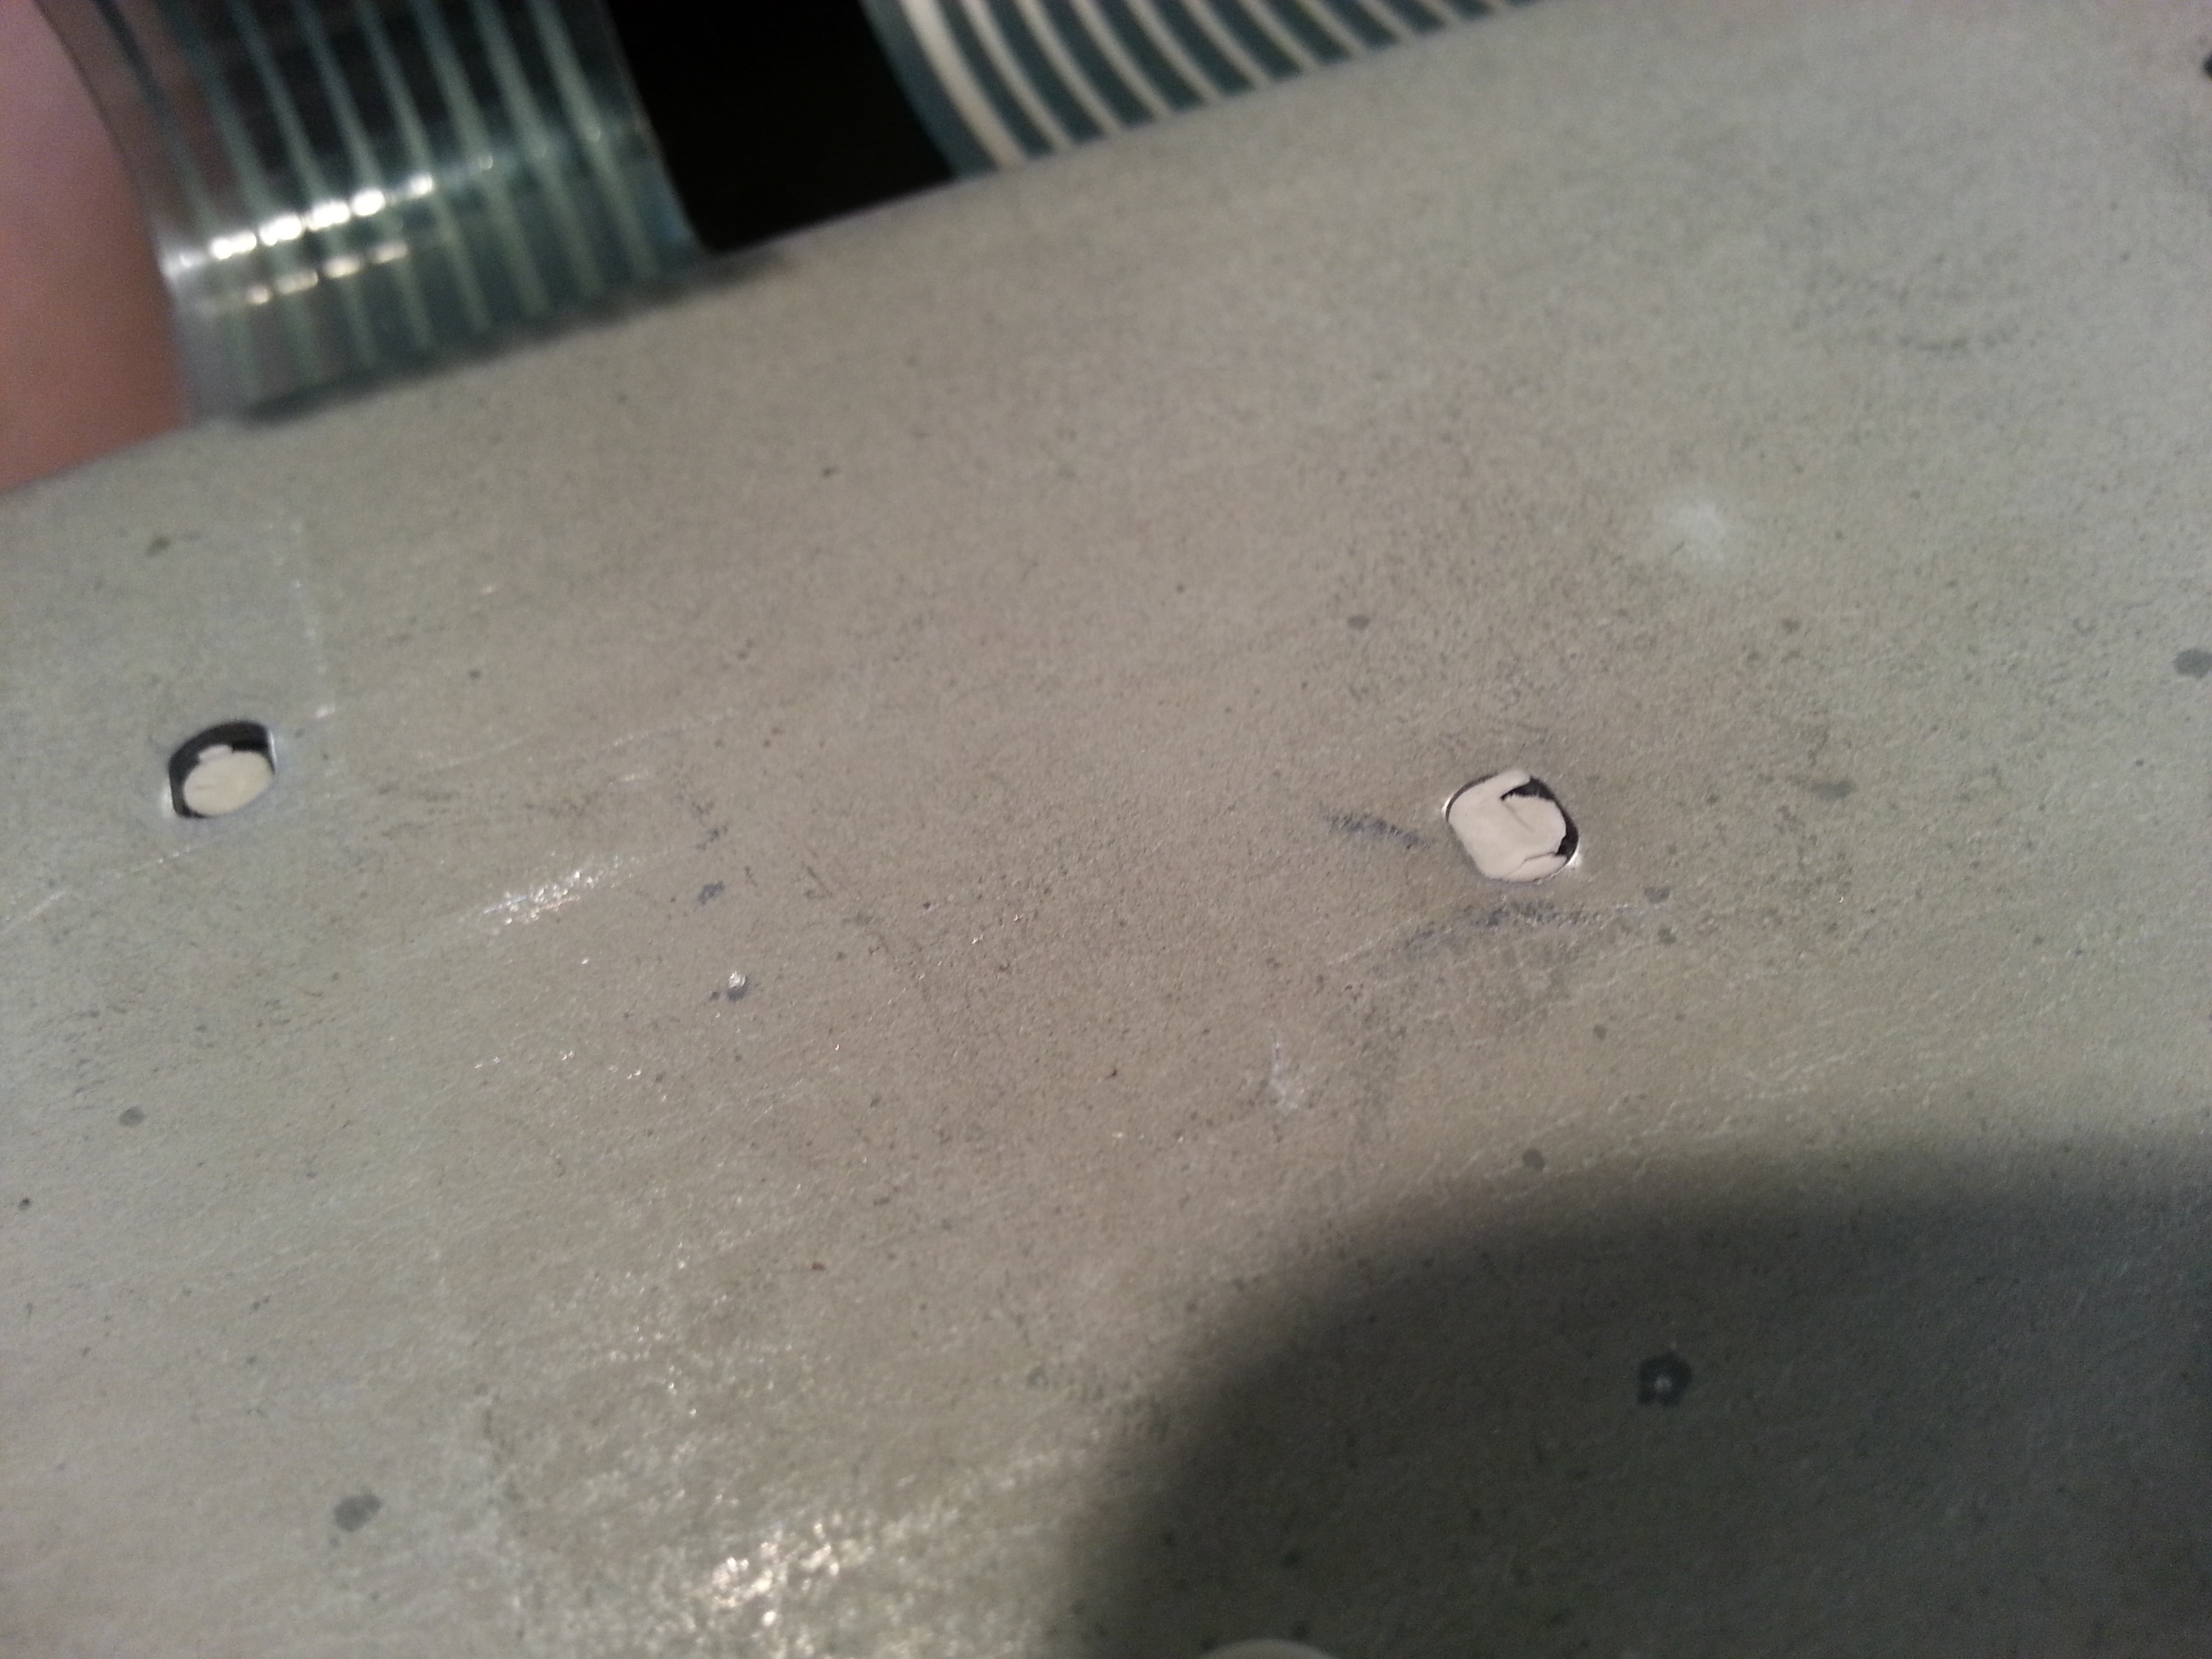
closeup of removed rivet. Note there is some plastic still left on it. Don't worry if this happens, as long as the backplate can be removed that's ok.
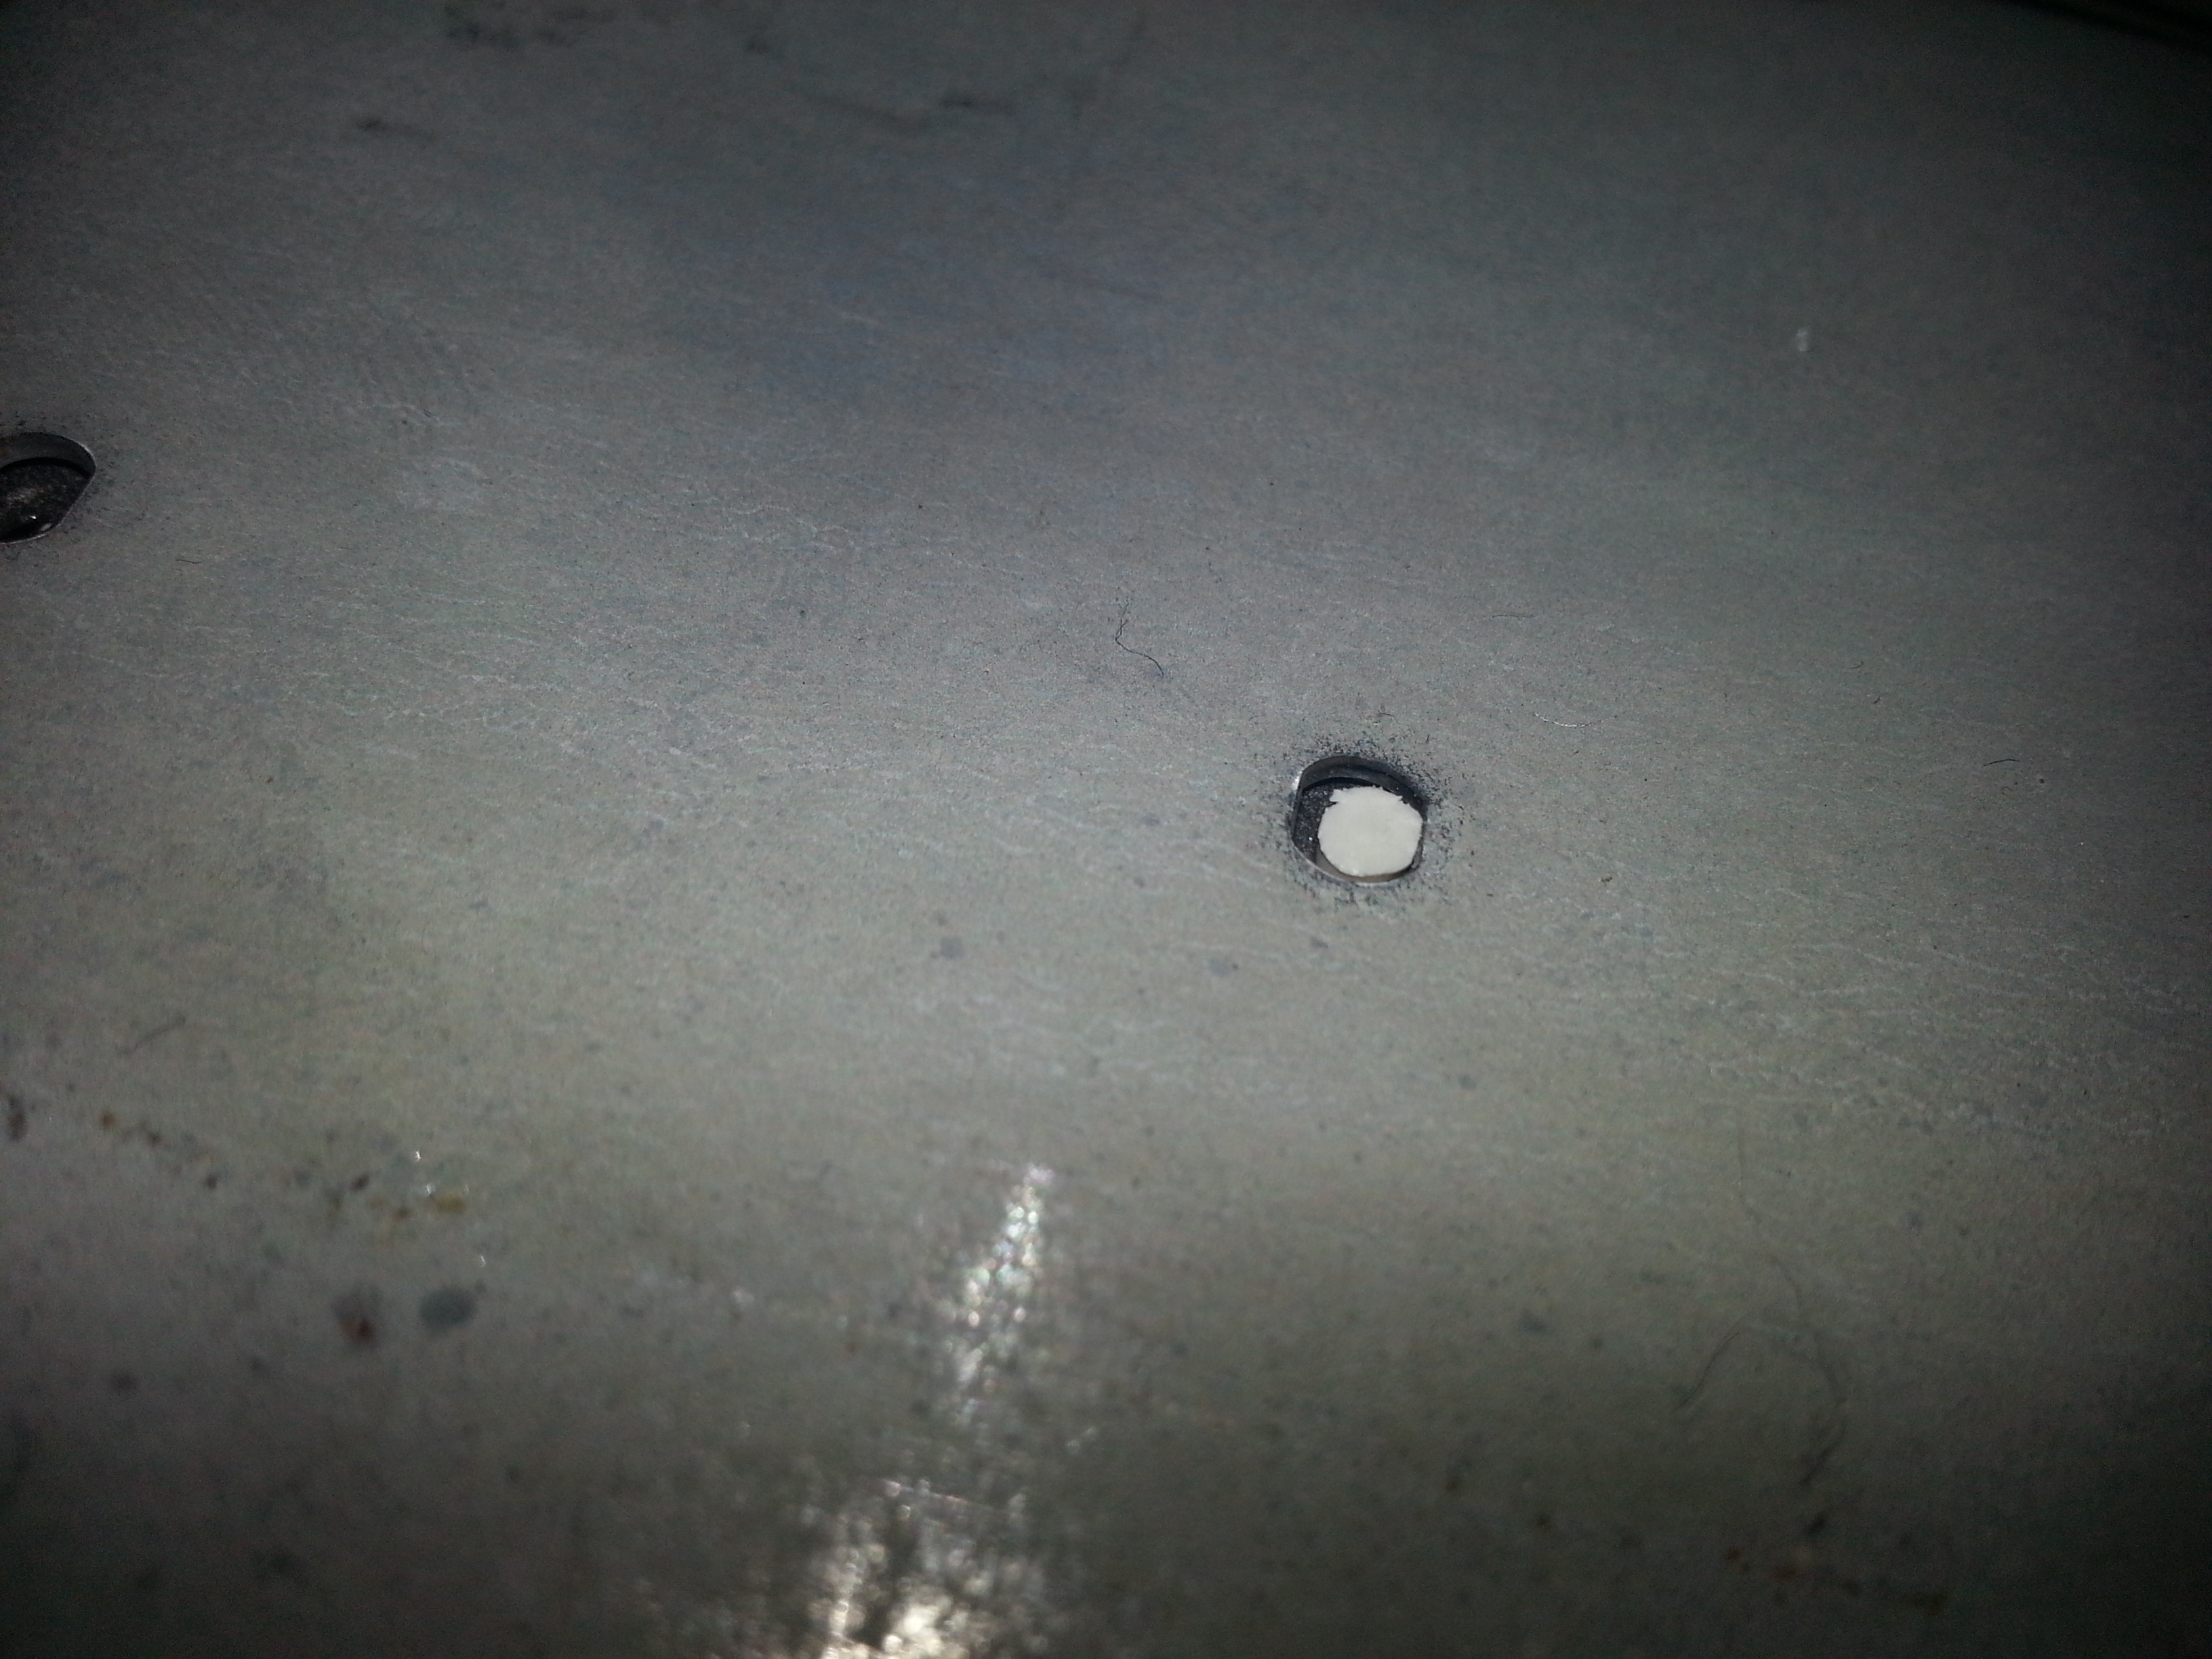
Another rivet cut off: this one looks a little better.

You can see I've scraped the plate a little with my knife. The plate's getting sanded anyway so I don't care about the surface, but it will dull your knife faster. I recommend trying not to scrape it.

The hardest to remove are the two under the label.I try to work them out piecemeal. You can see here.
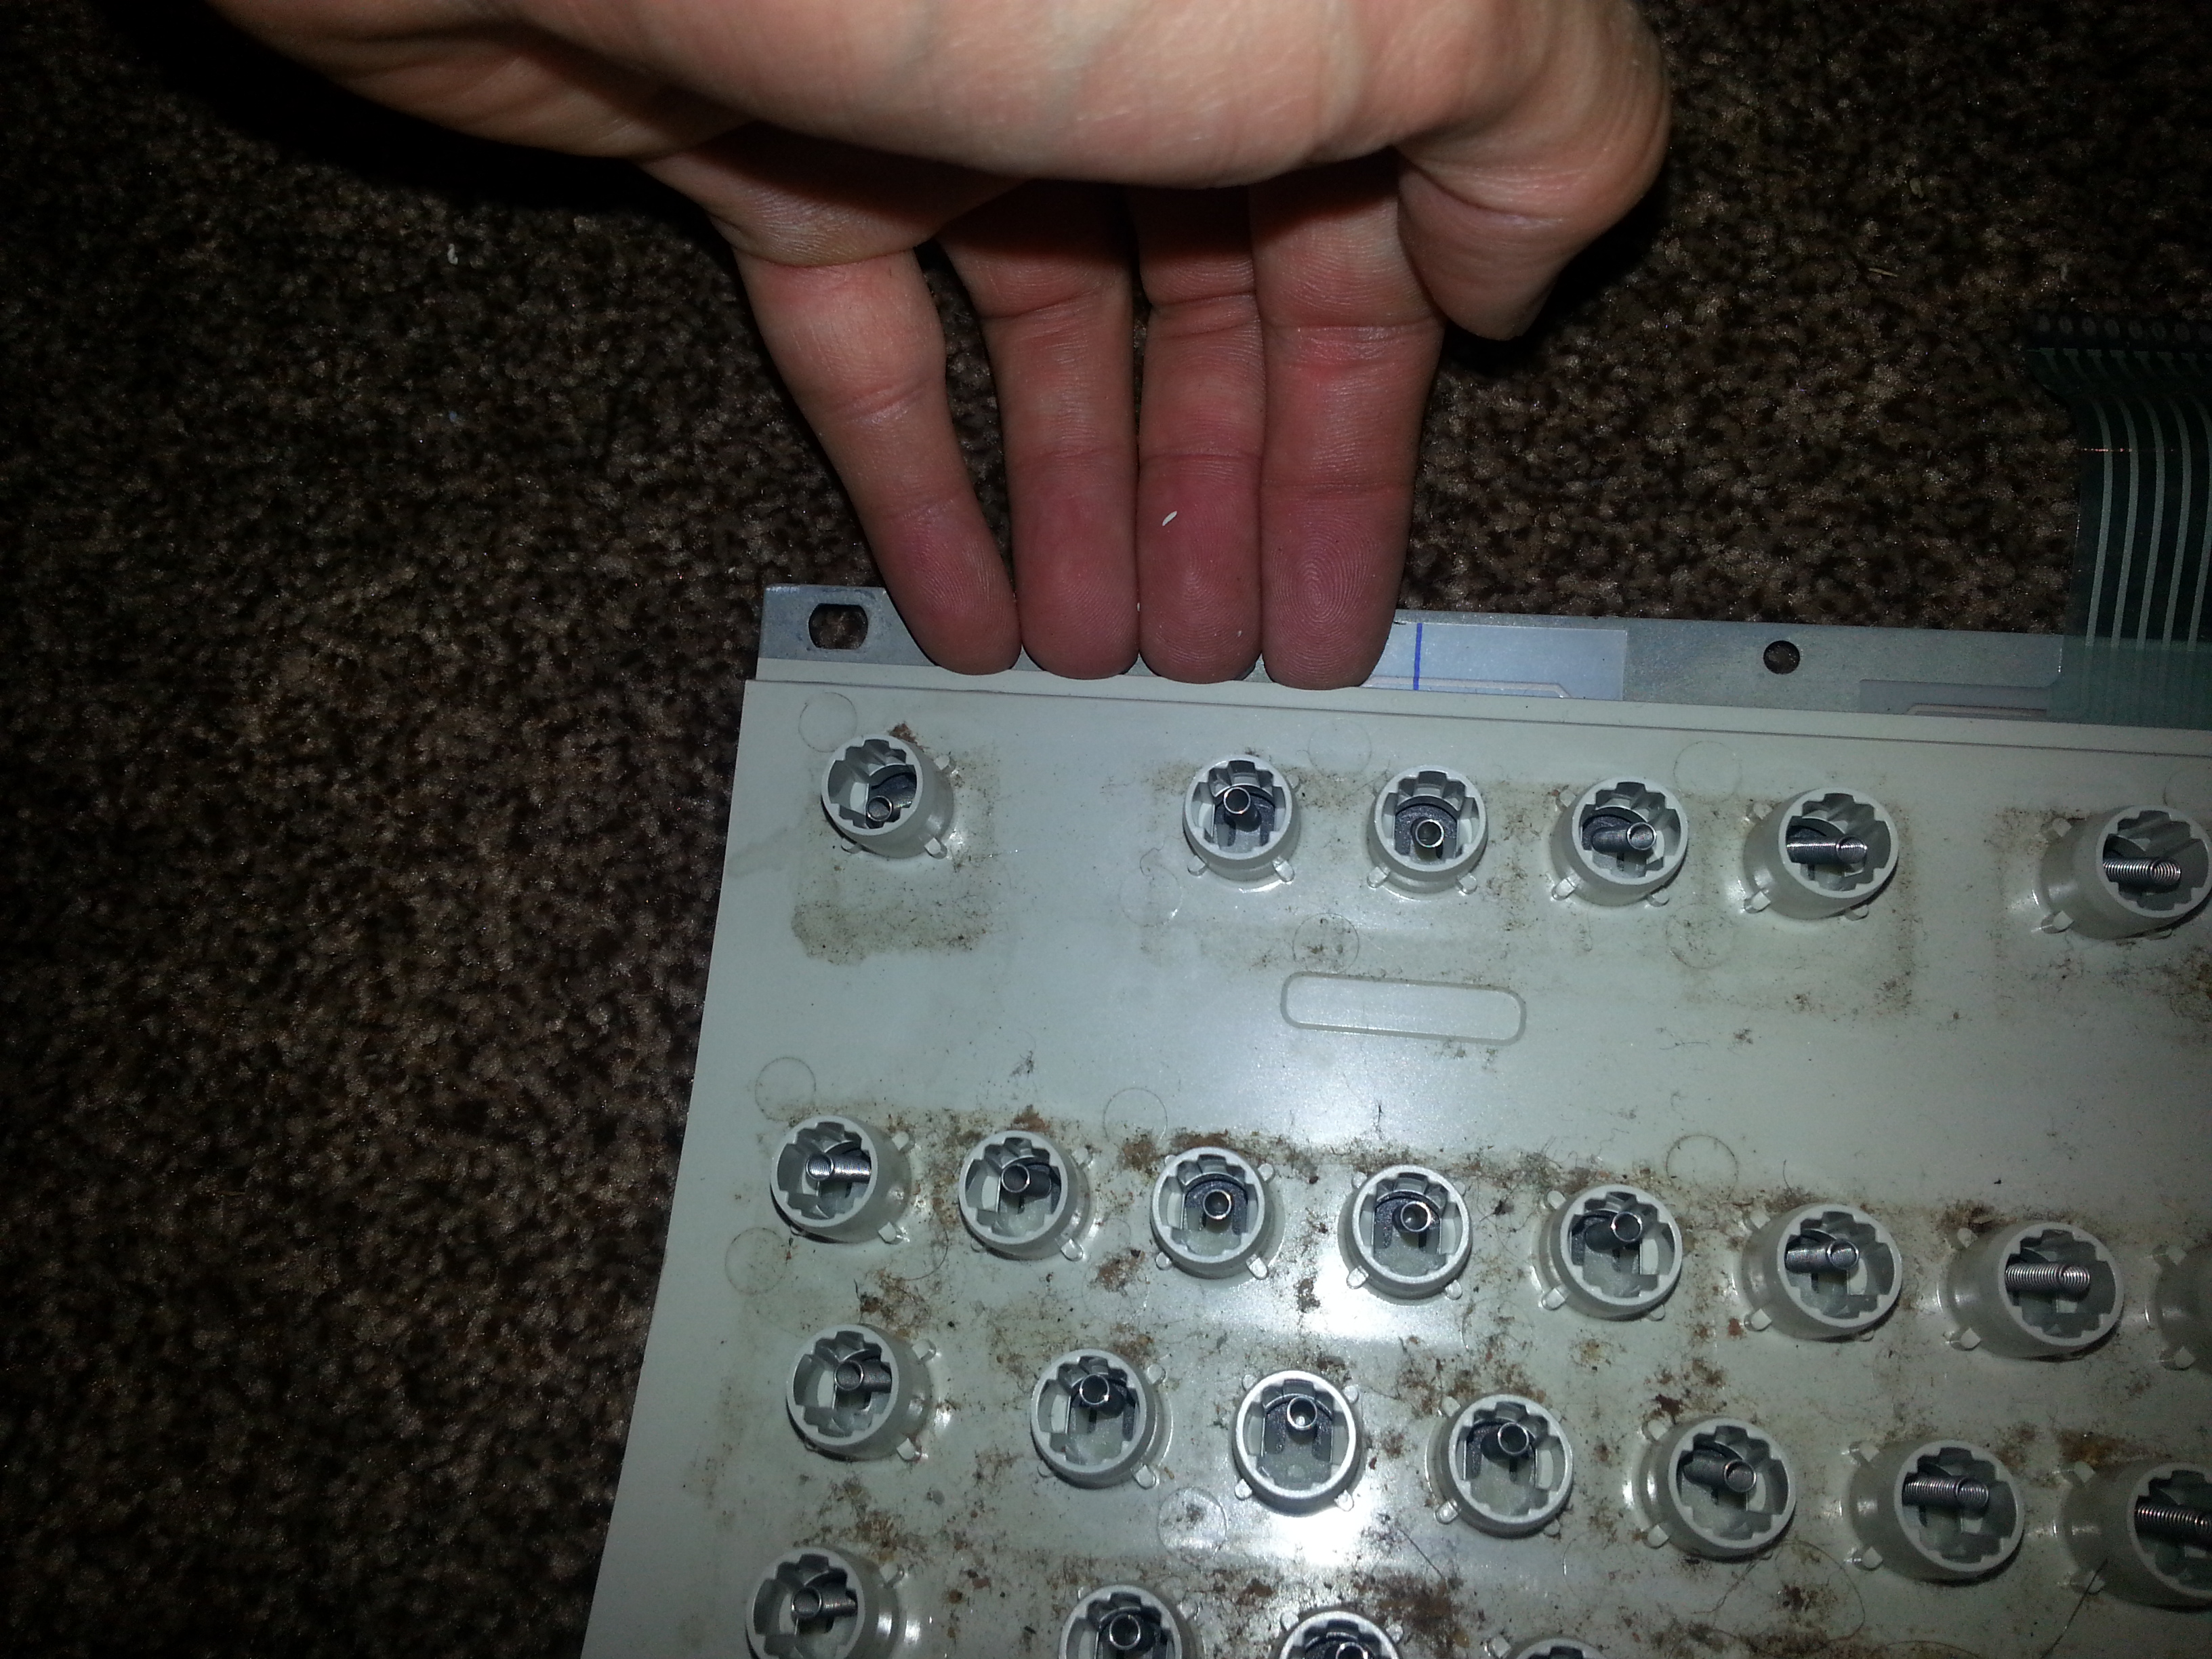
Once all the bolts are cut off, you have to pull the pieces apart. I usually start at one side with my fingers. You can also start at the left edge instead of the top edge.

There are two locations where there is only a tiny hole in the membrane. This is to ensure it stays seated properly. Grab some flushcutters and clip the remnants of the top of the rivet off so you can pull the membrane out with no trouble.
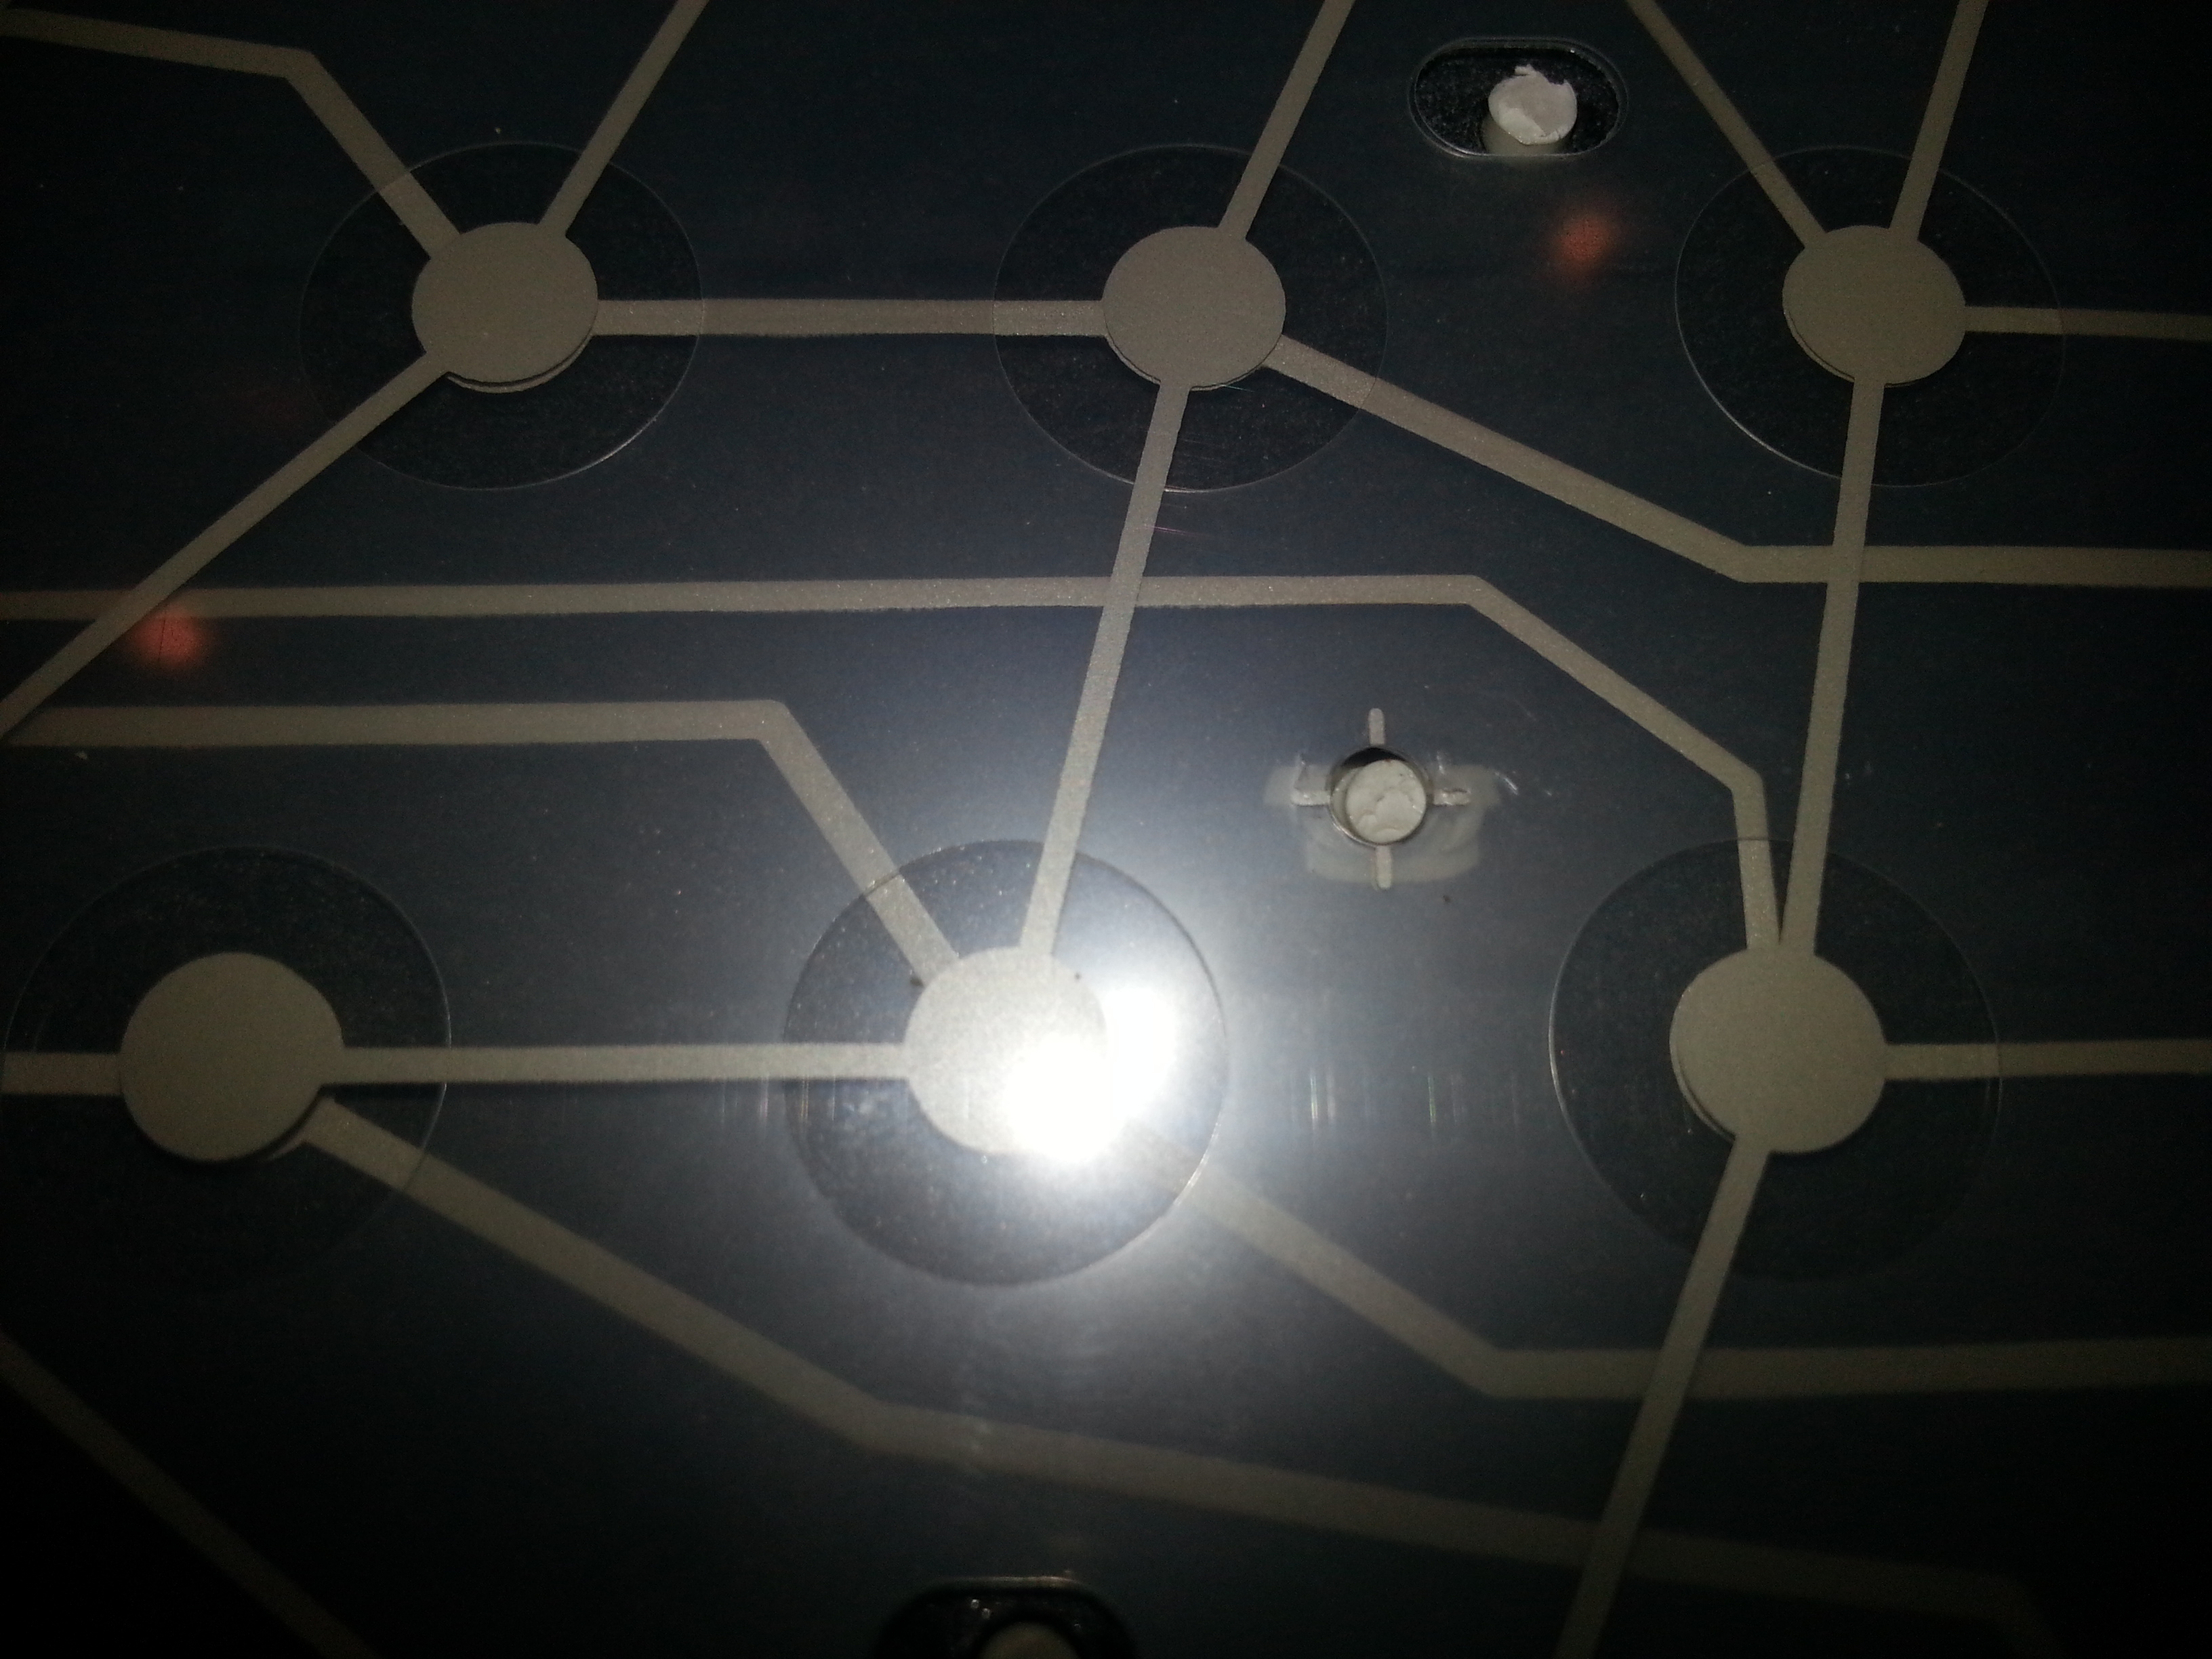
picture of clipped rivet.
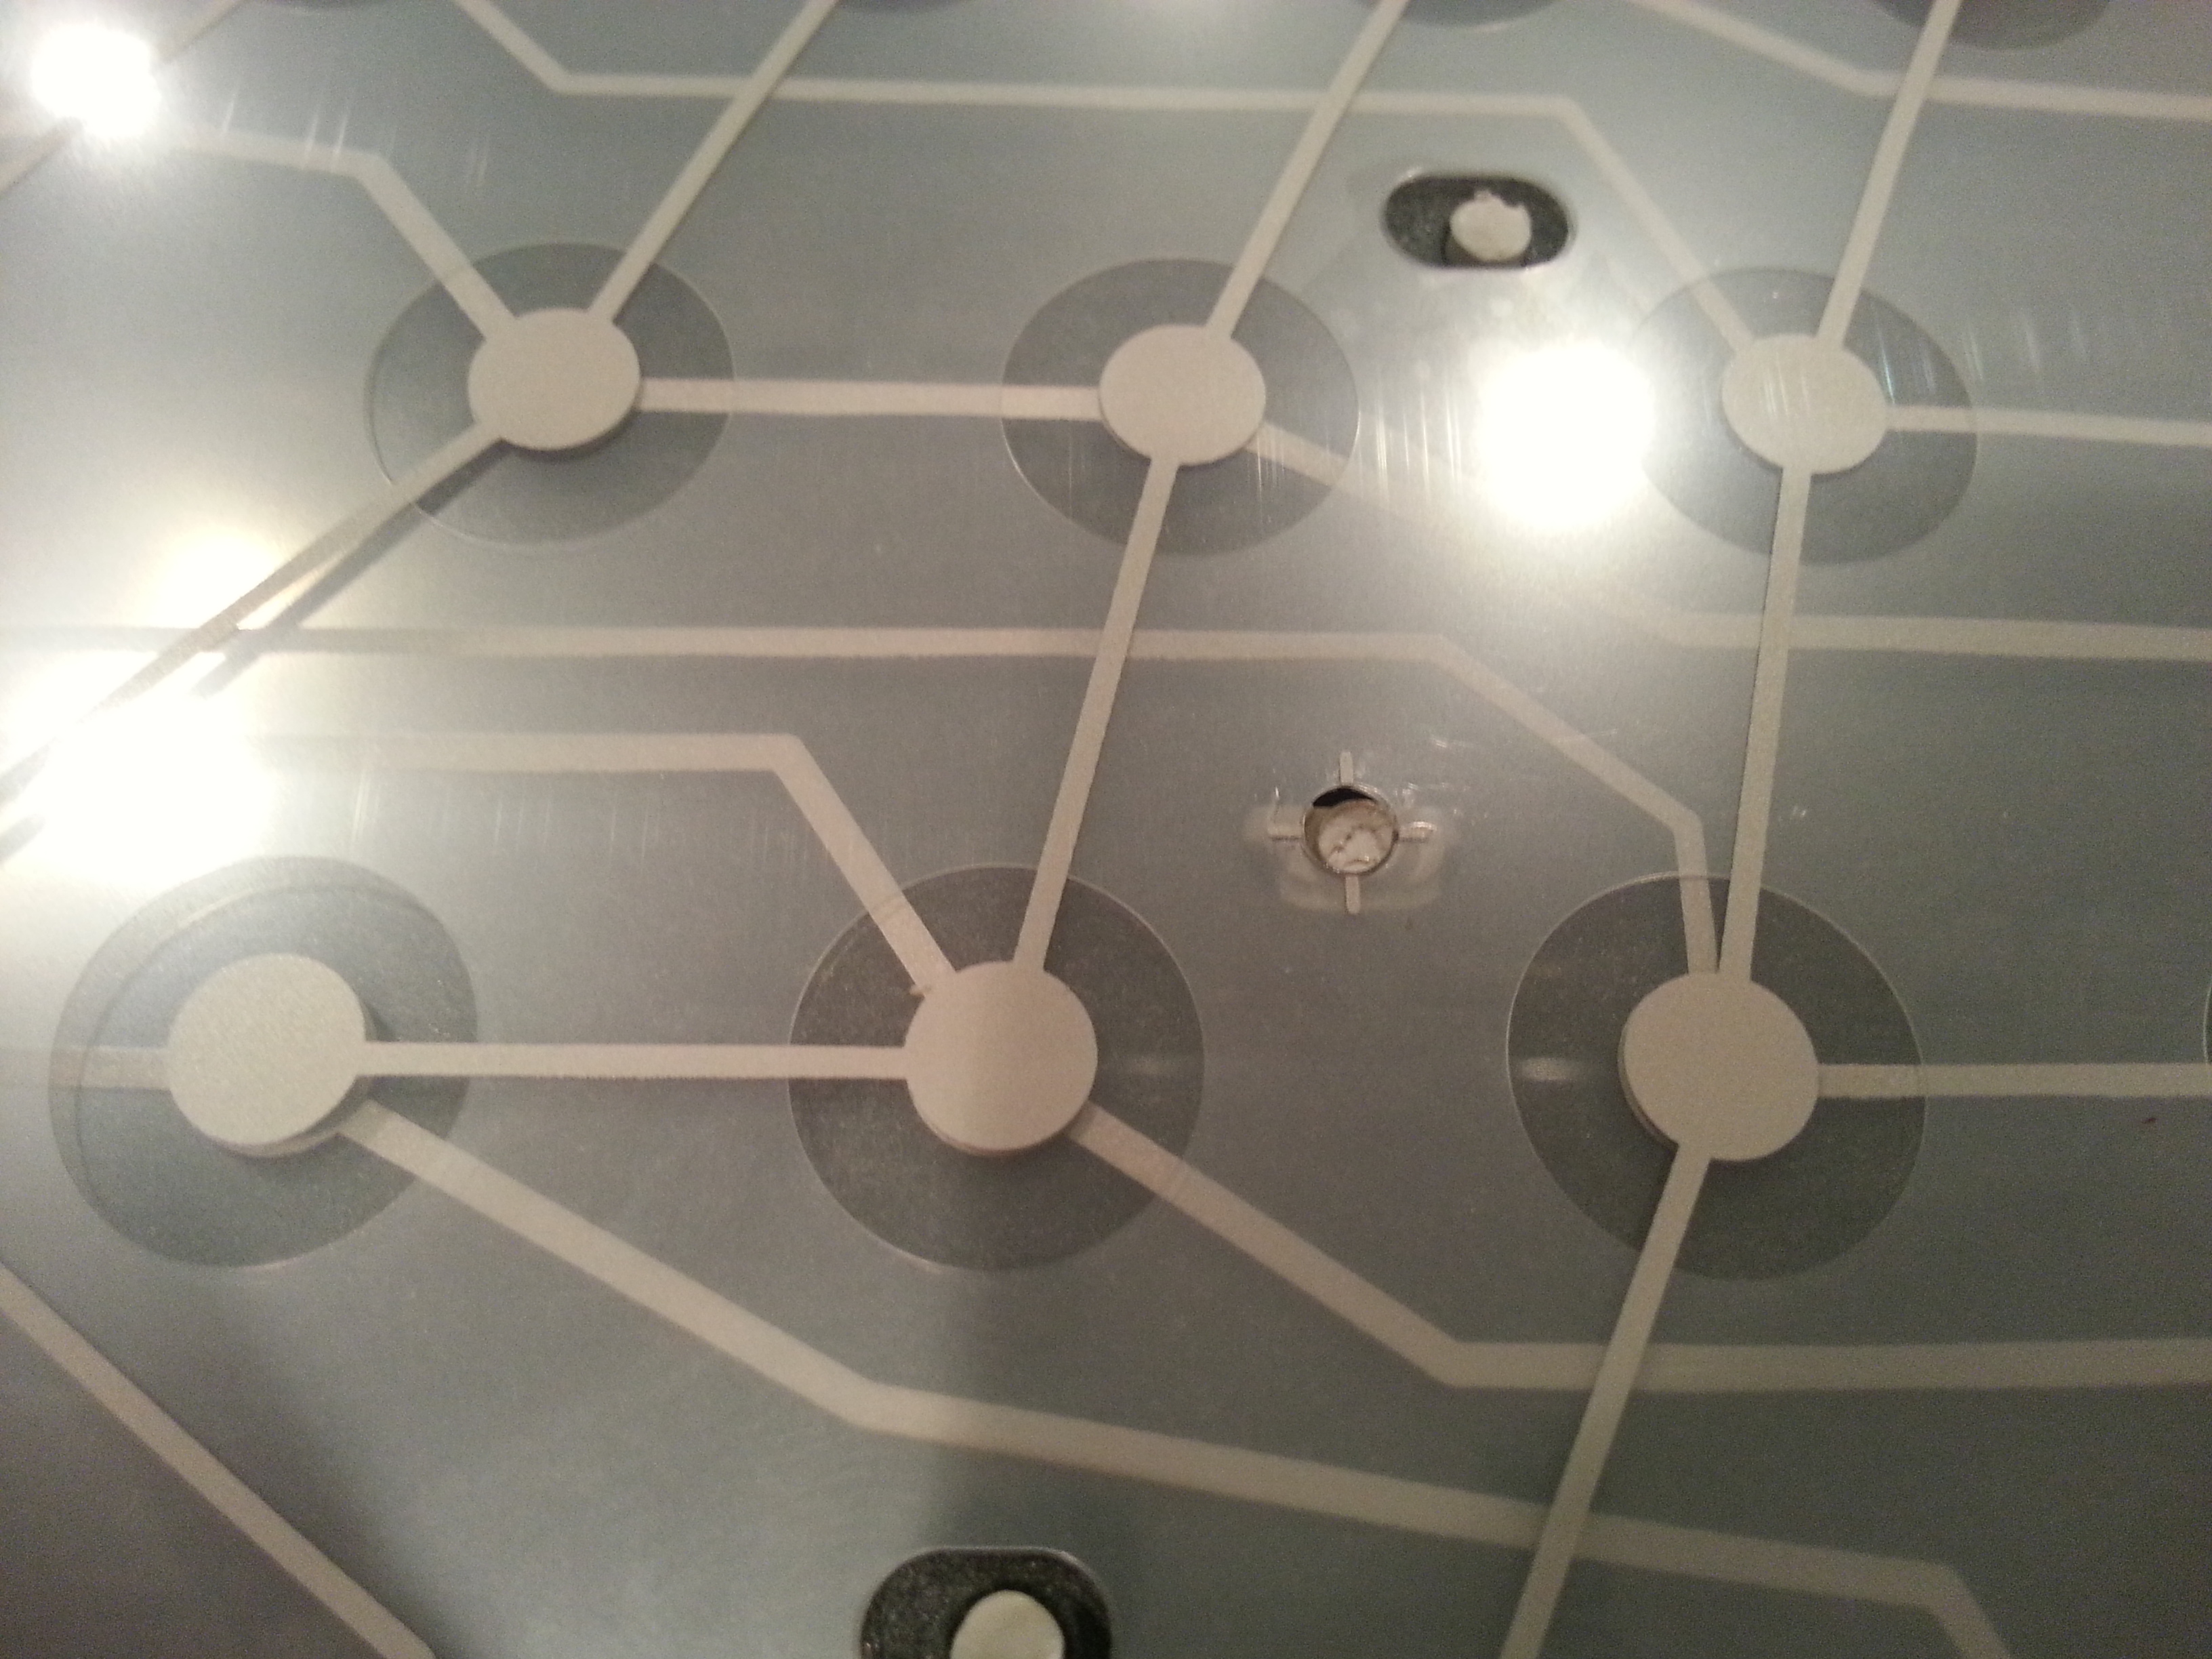
Now the membrane can slide off it. We will still need to re-clip this later.
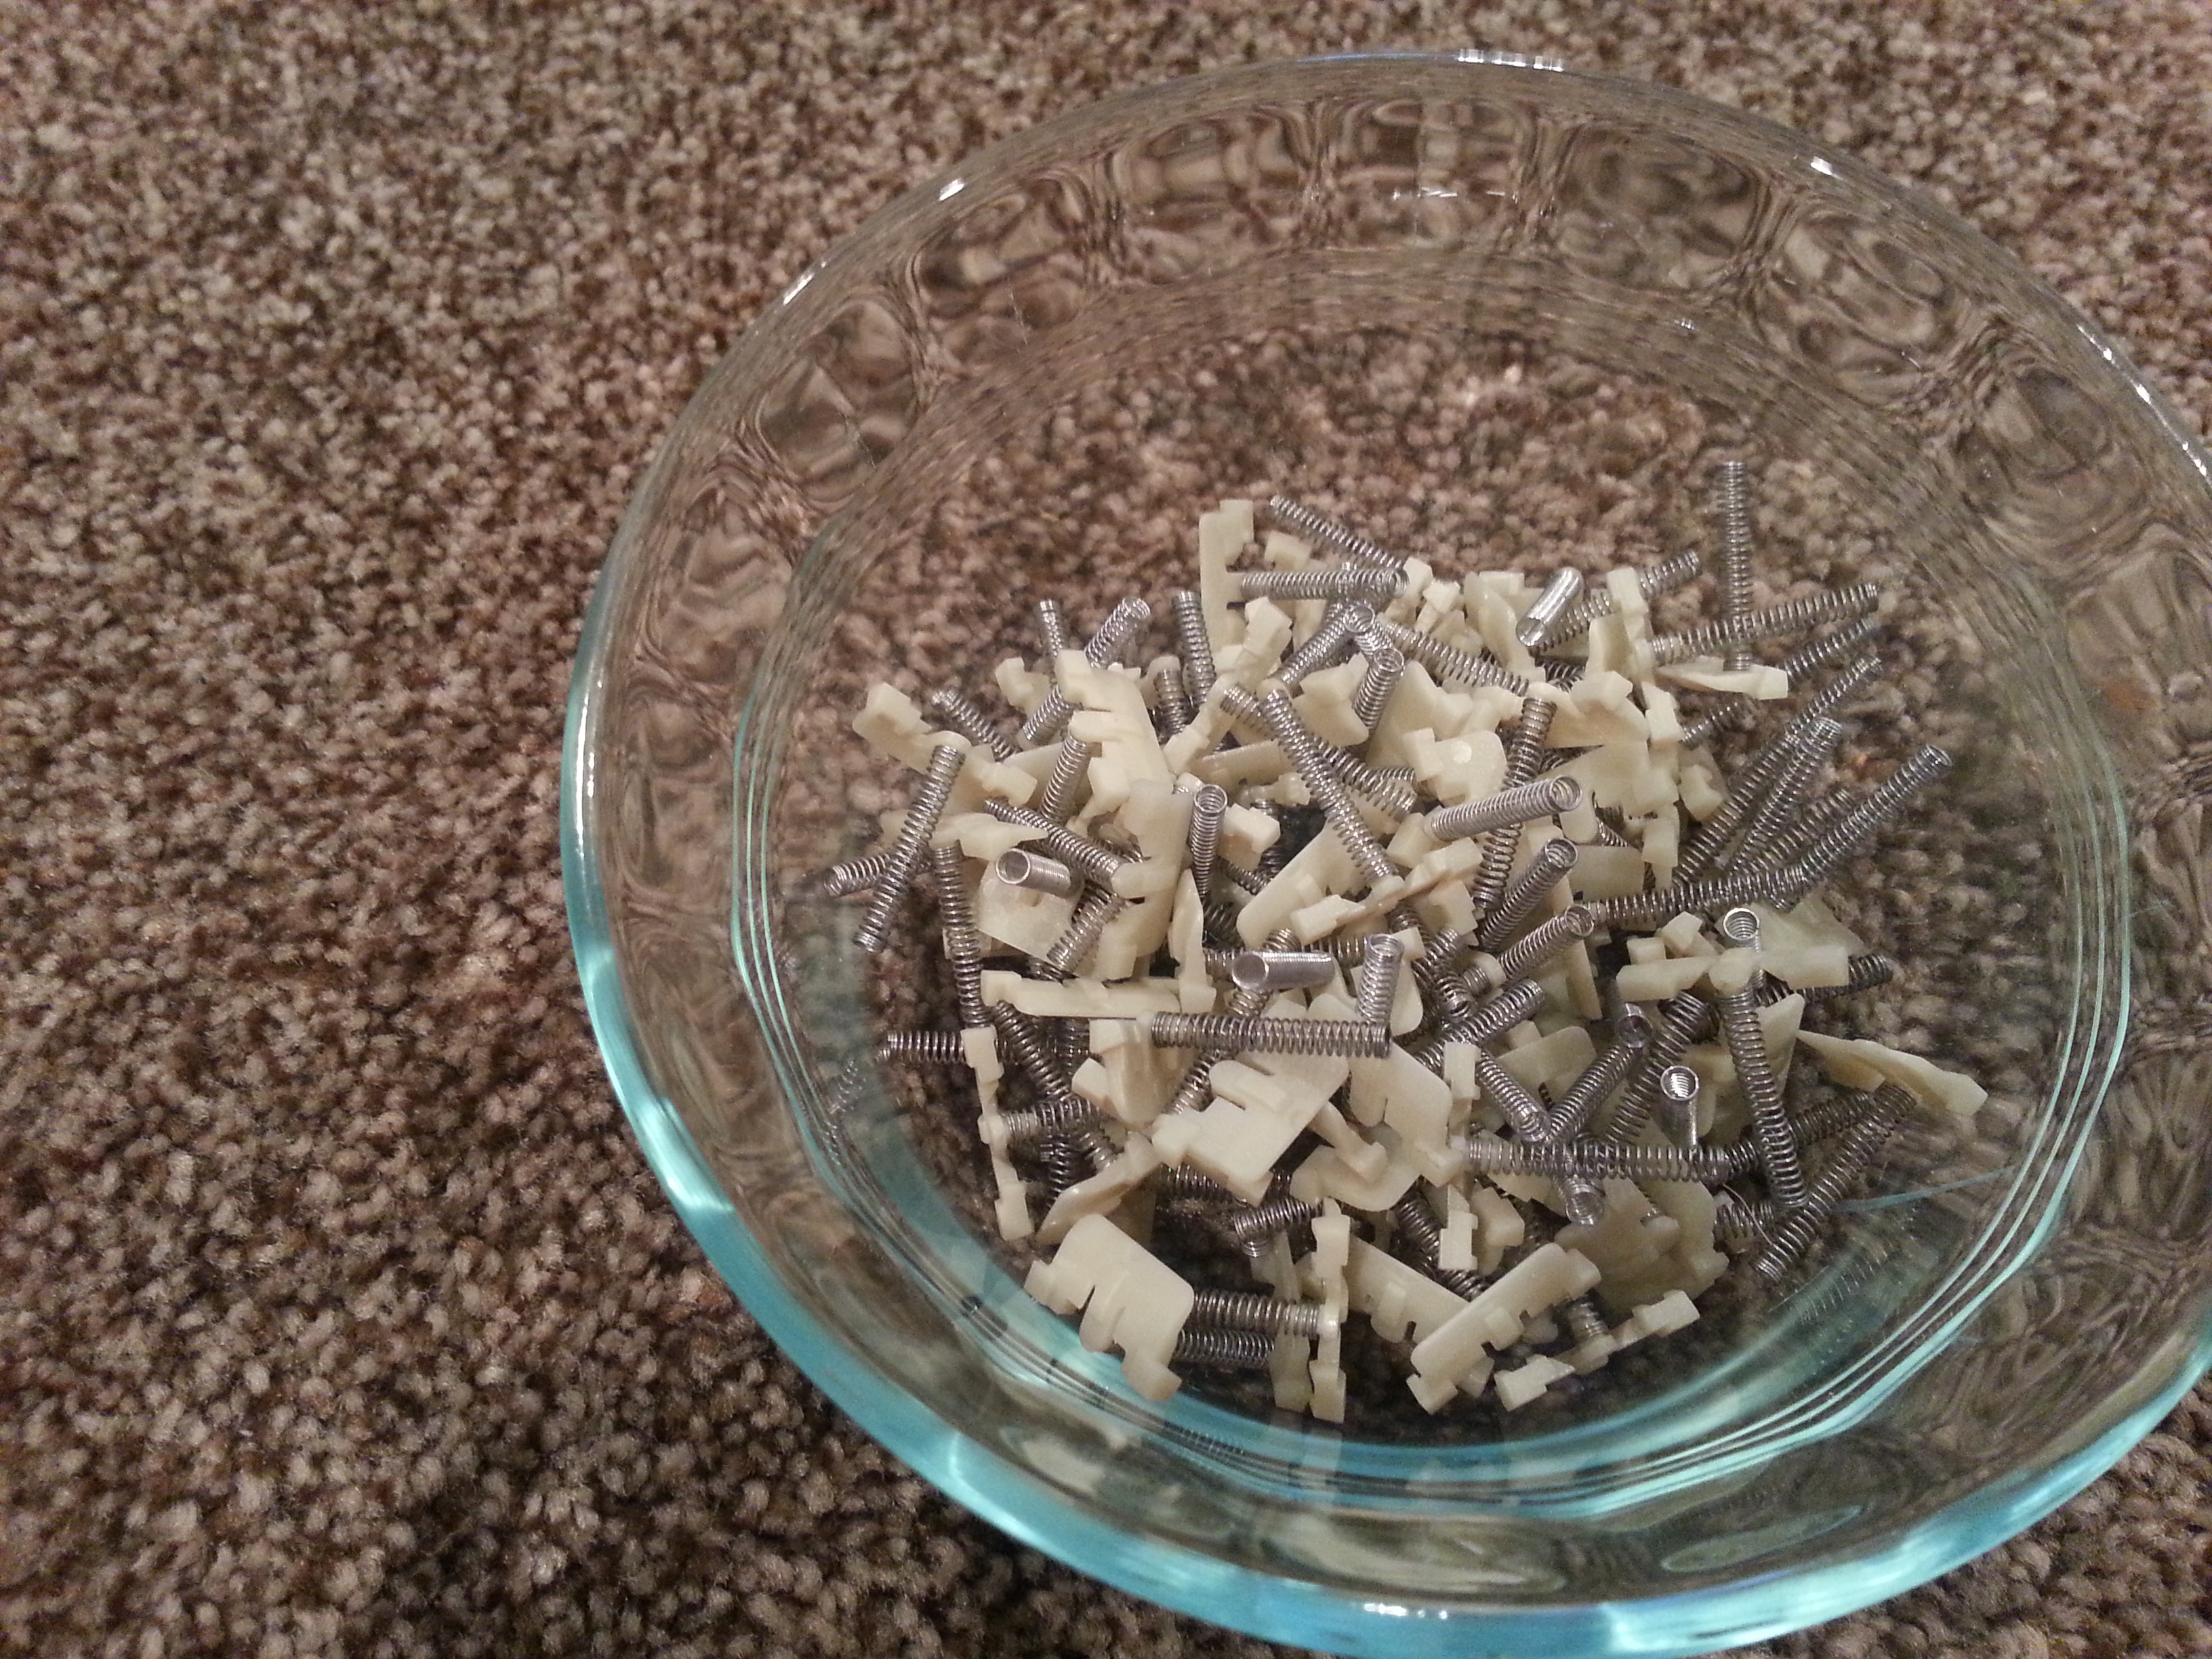
Springs and flip plates (hammers) are in excellent condition!
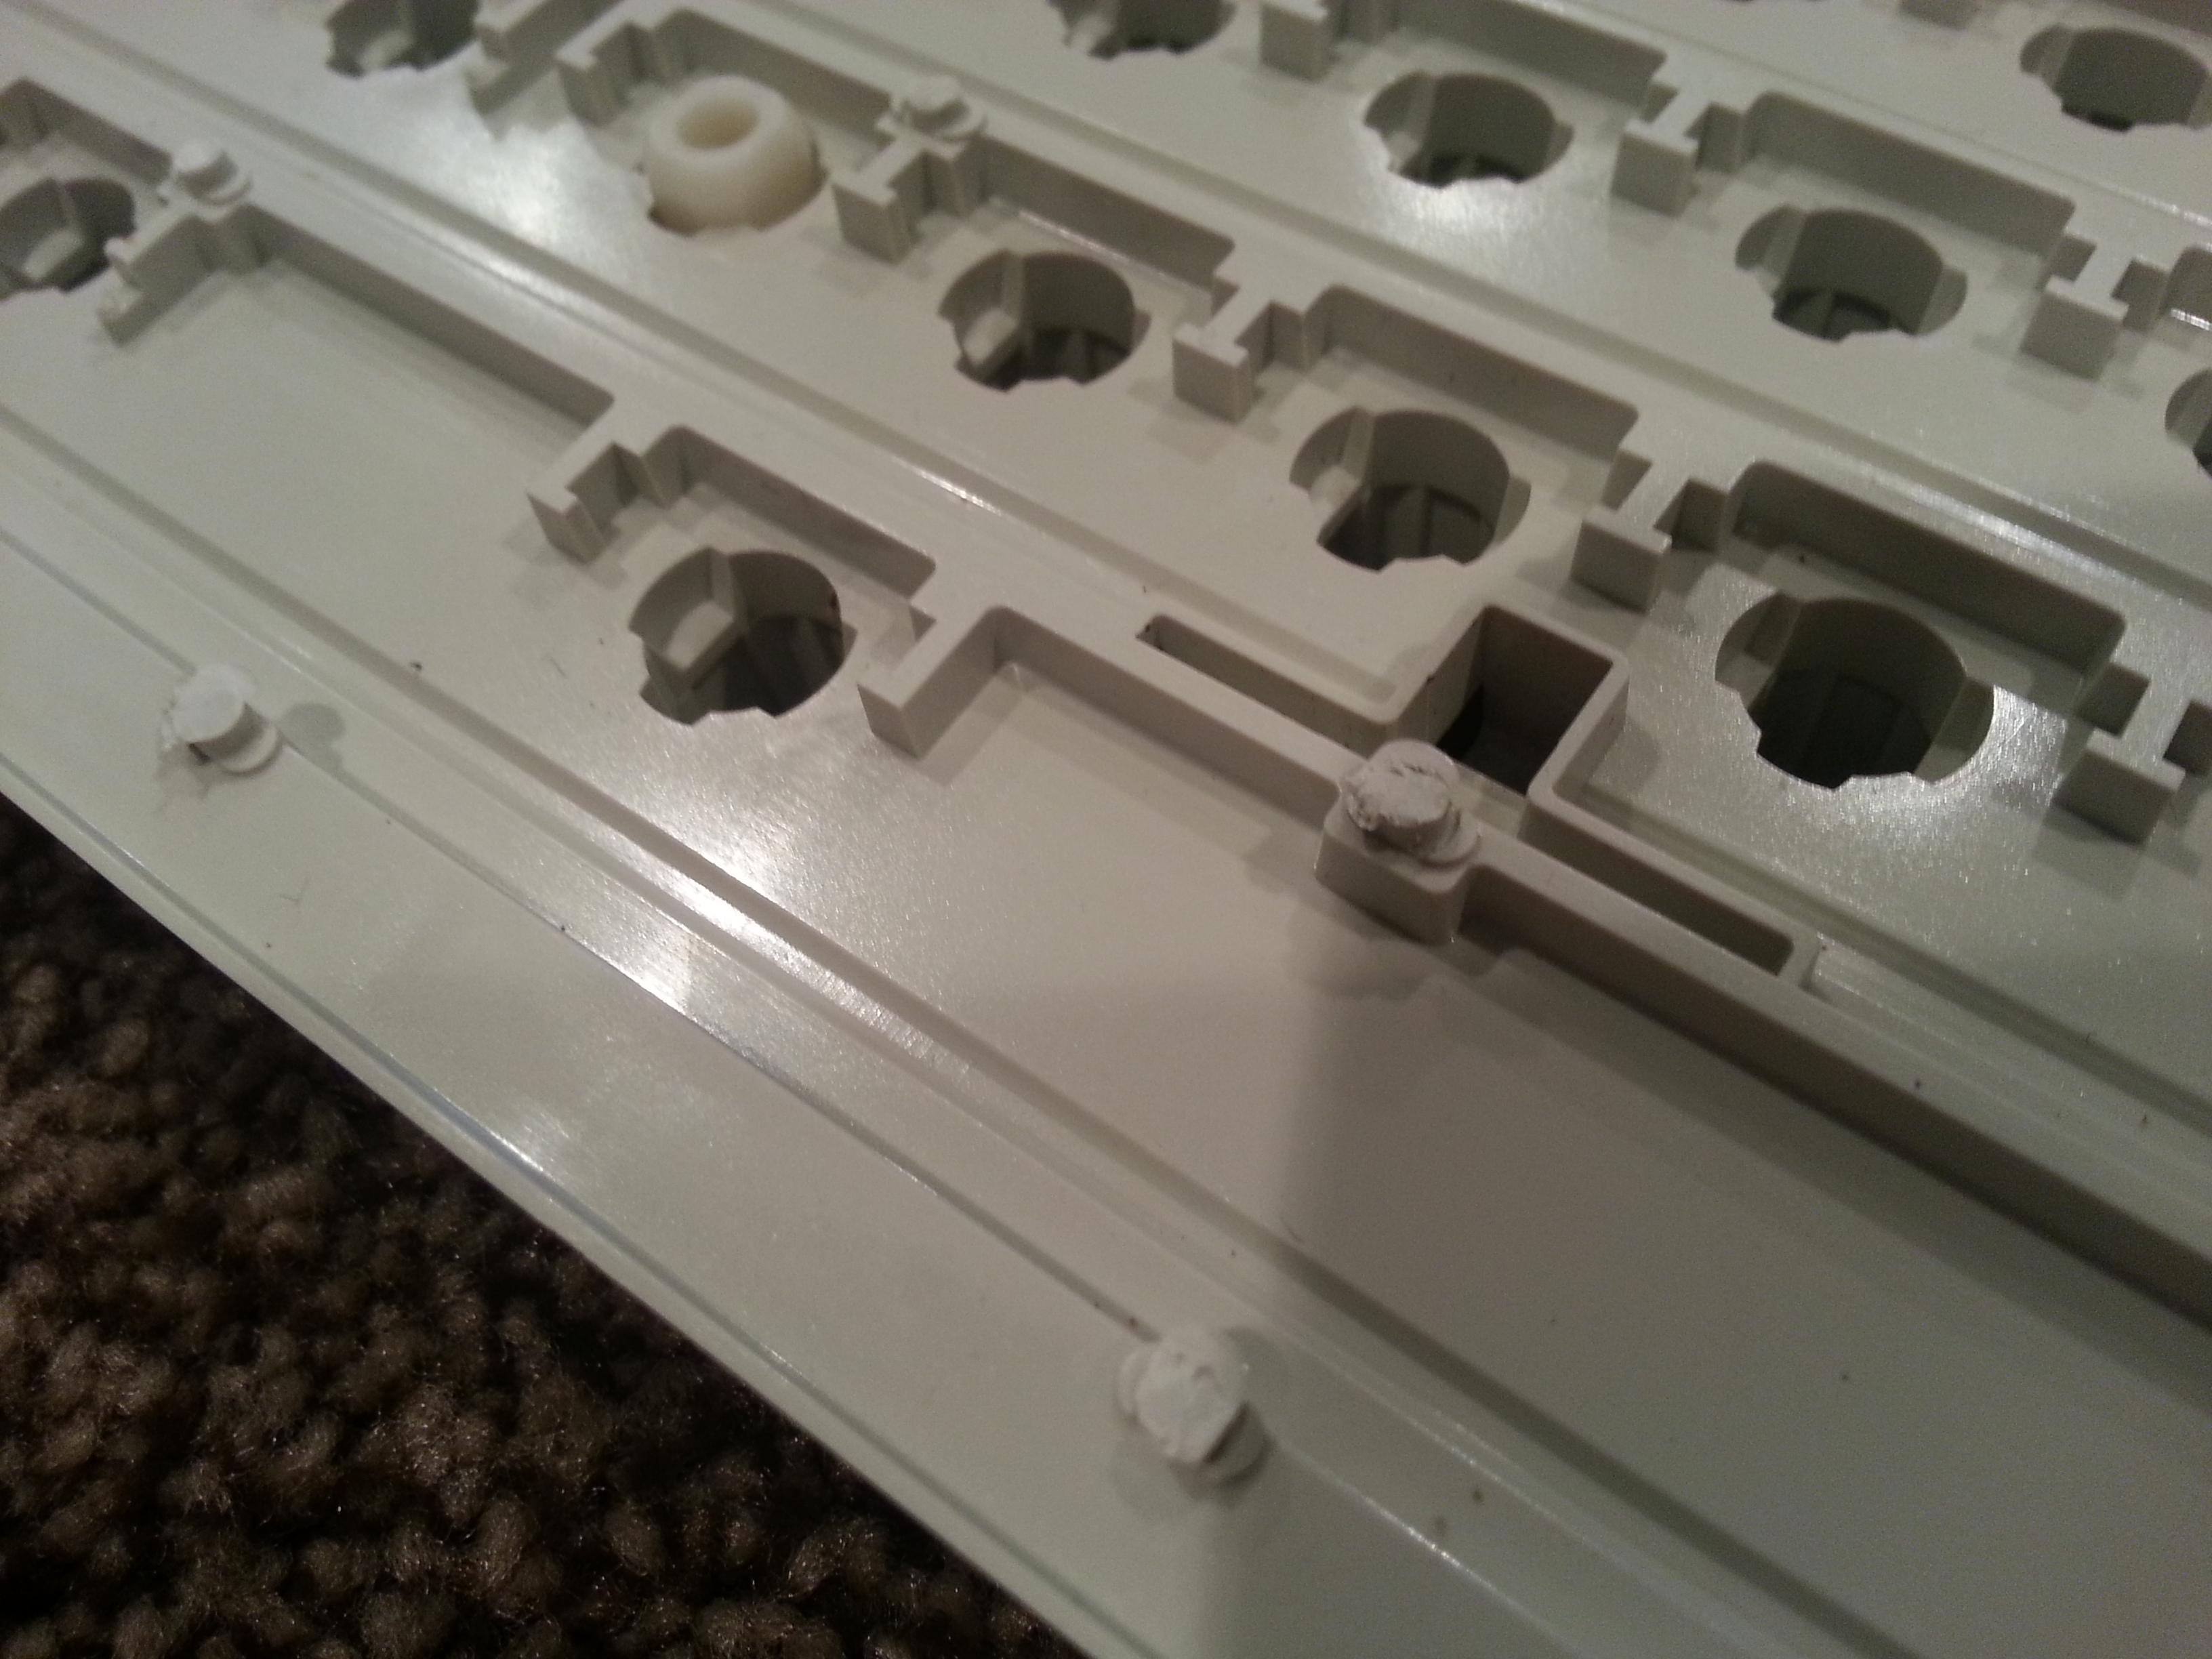
Shot of rivets that need to be clipped flush. Note the two halfmoons on either side of the rivet. I try to clip them flush with those.
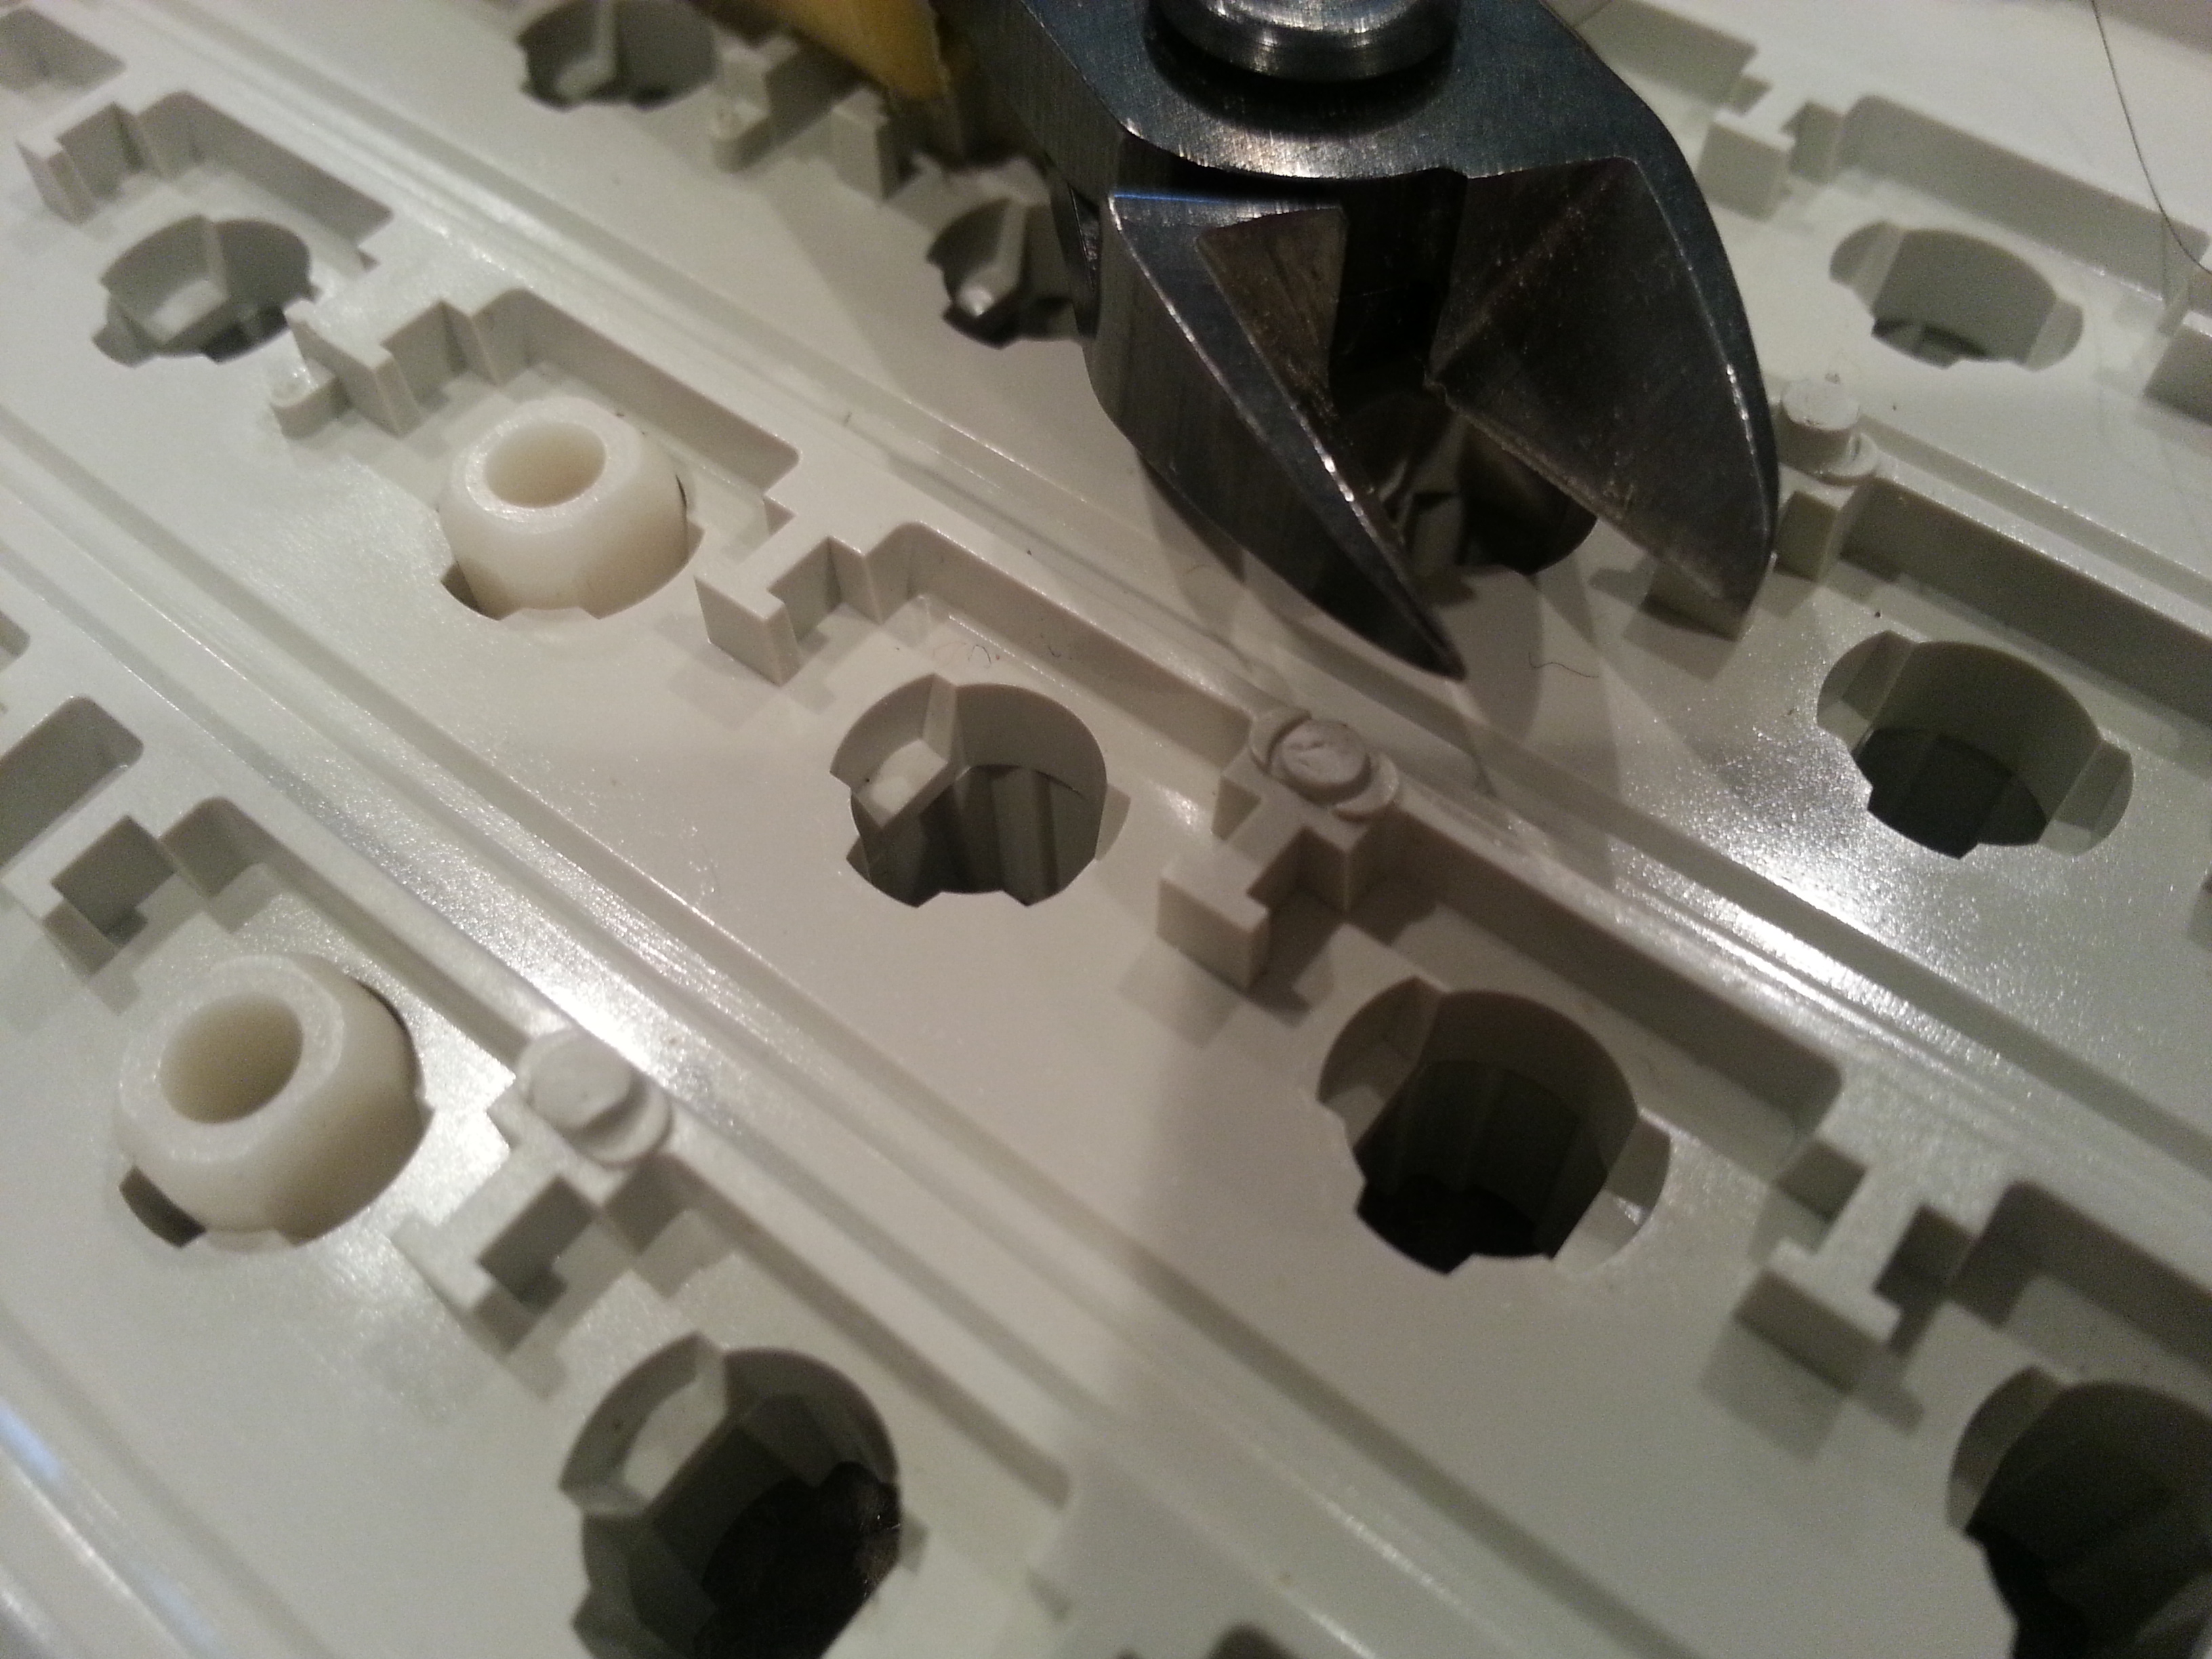
Get those flushcutters ready 'cause they're about ready to pay for themselves. Here is a shot of a clipped rivet. I used to cut them flush with a knife but it's way better to do it with these (and finish up in the way I describe later)

I try to align the cutter this way so that I can clip the rivet flush with those halfmoons. This makes the next step easier.
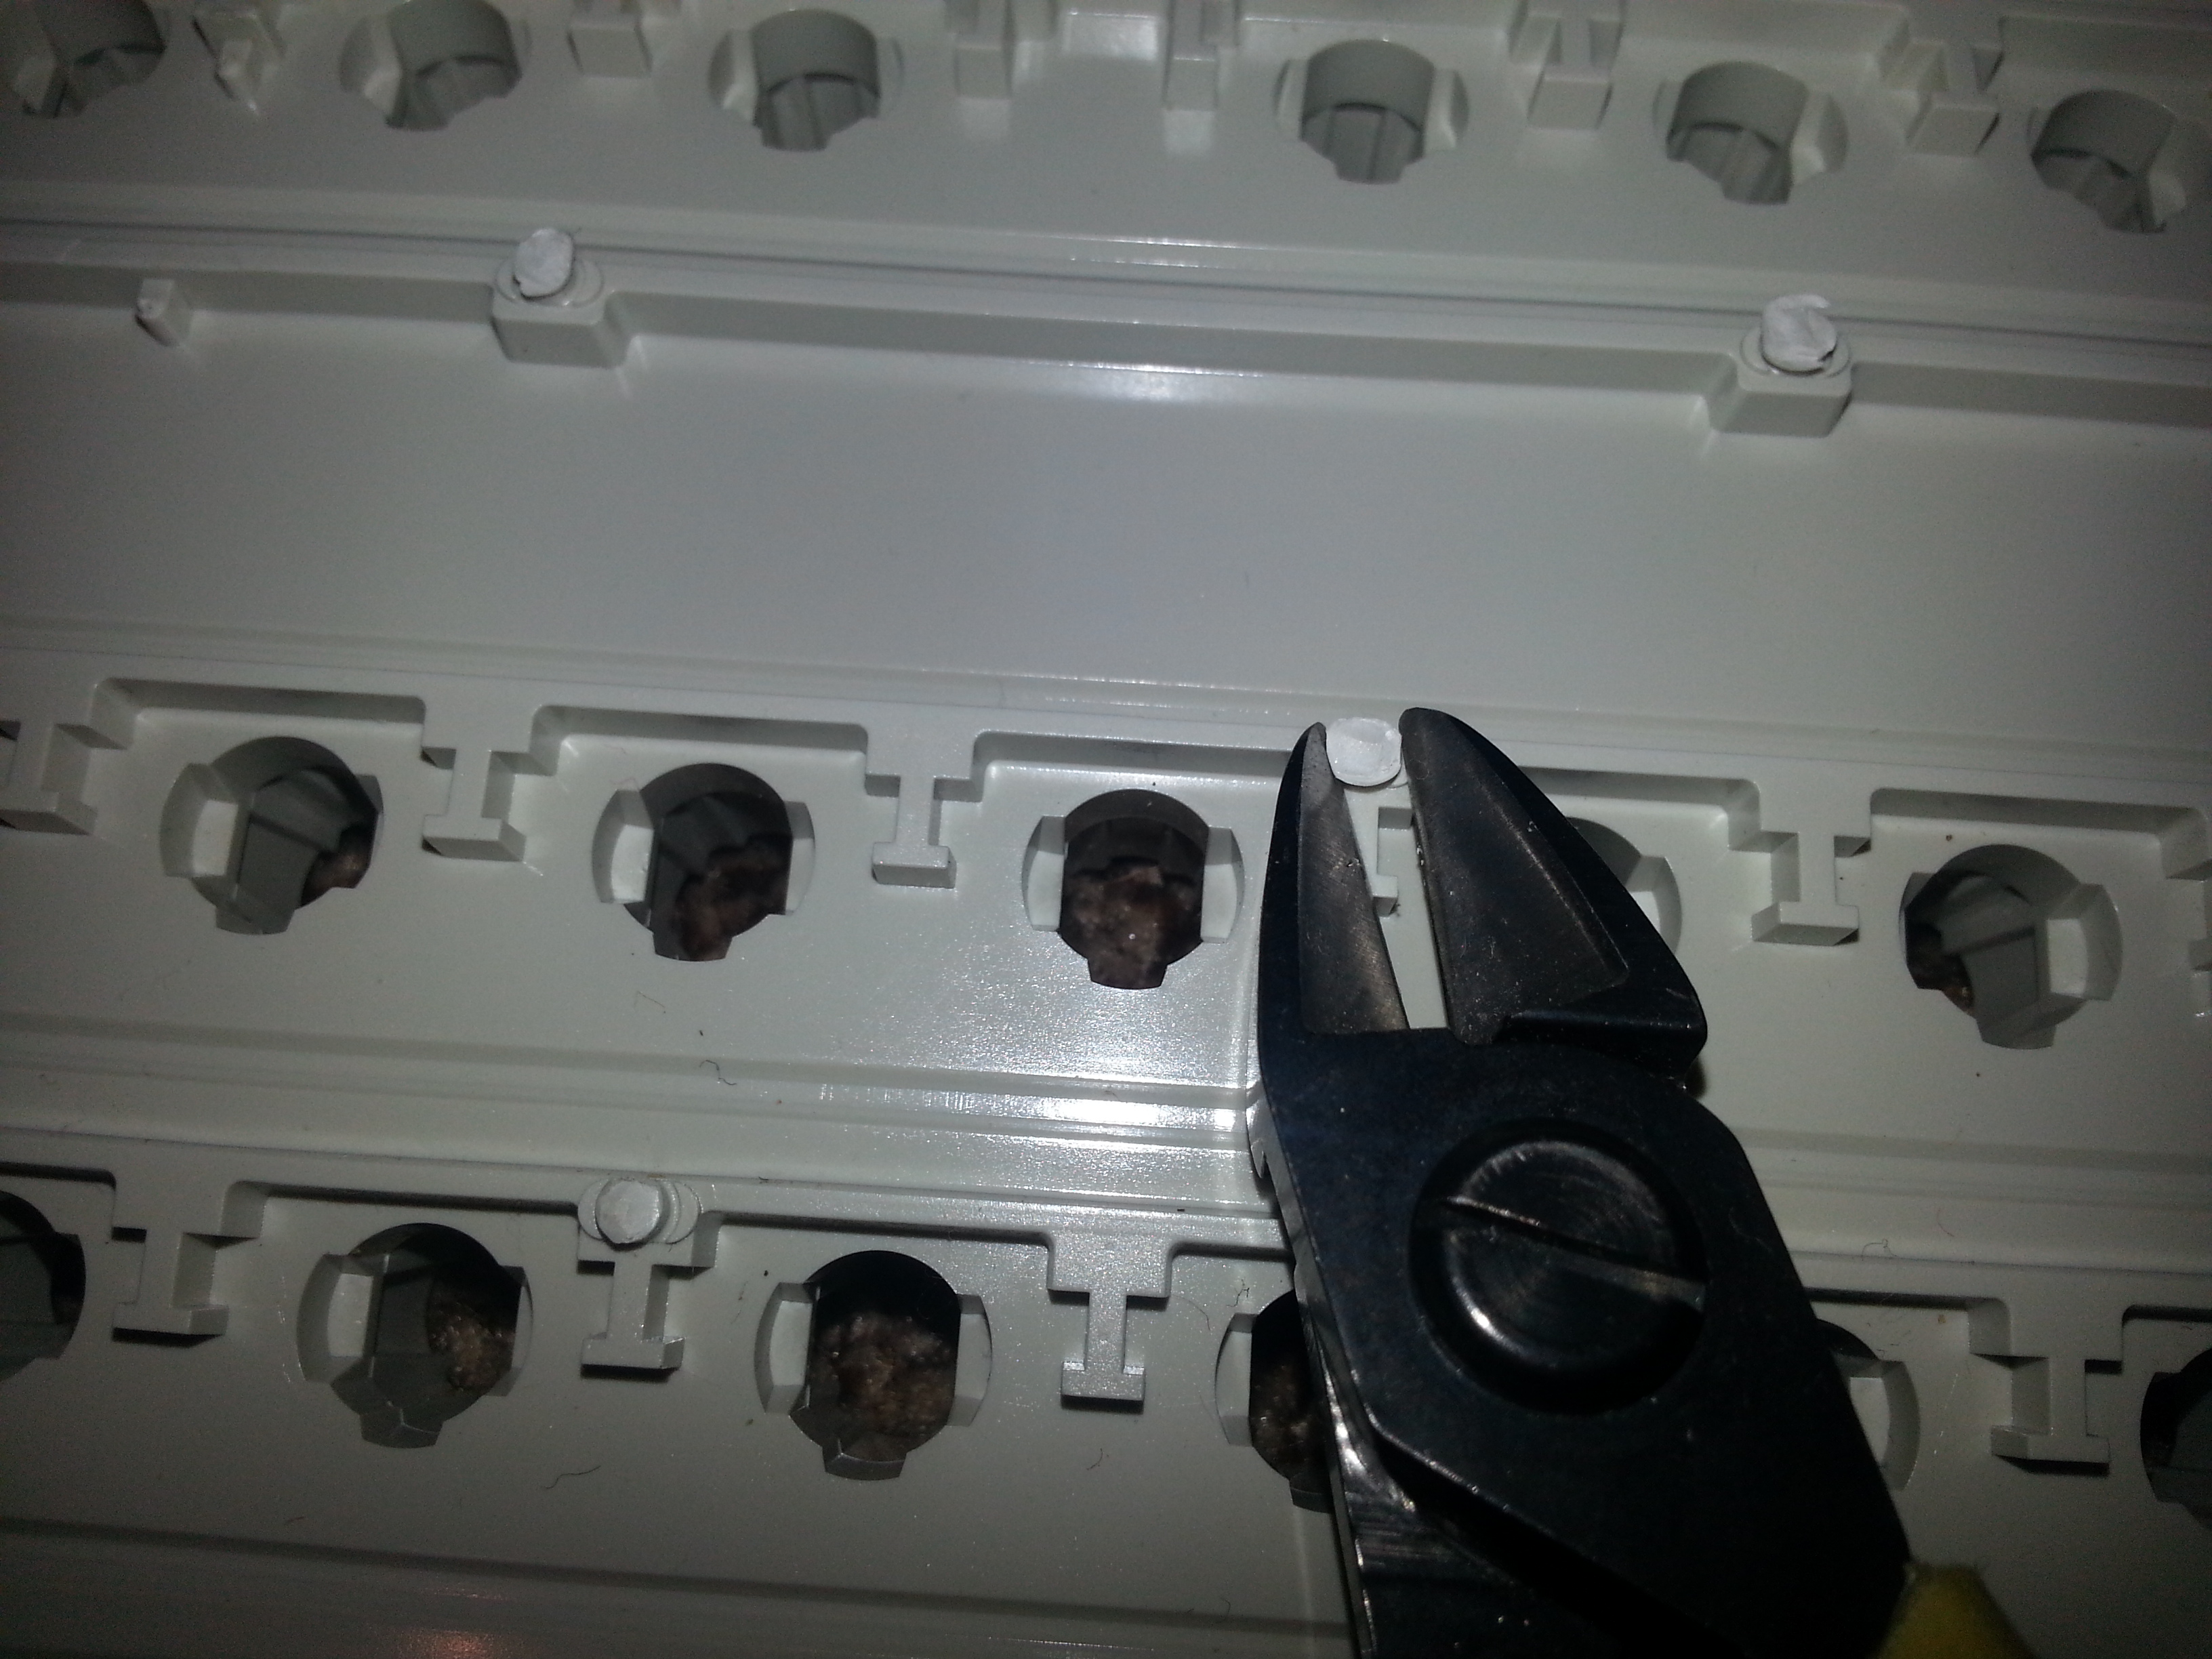
closeup of above with flash. You don't have to spend tons of time making sure these are perfect.
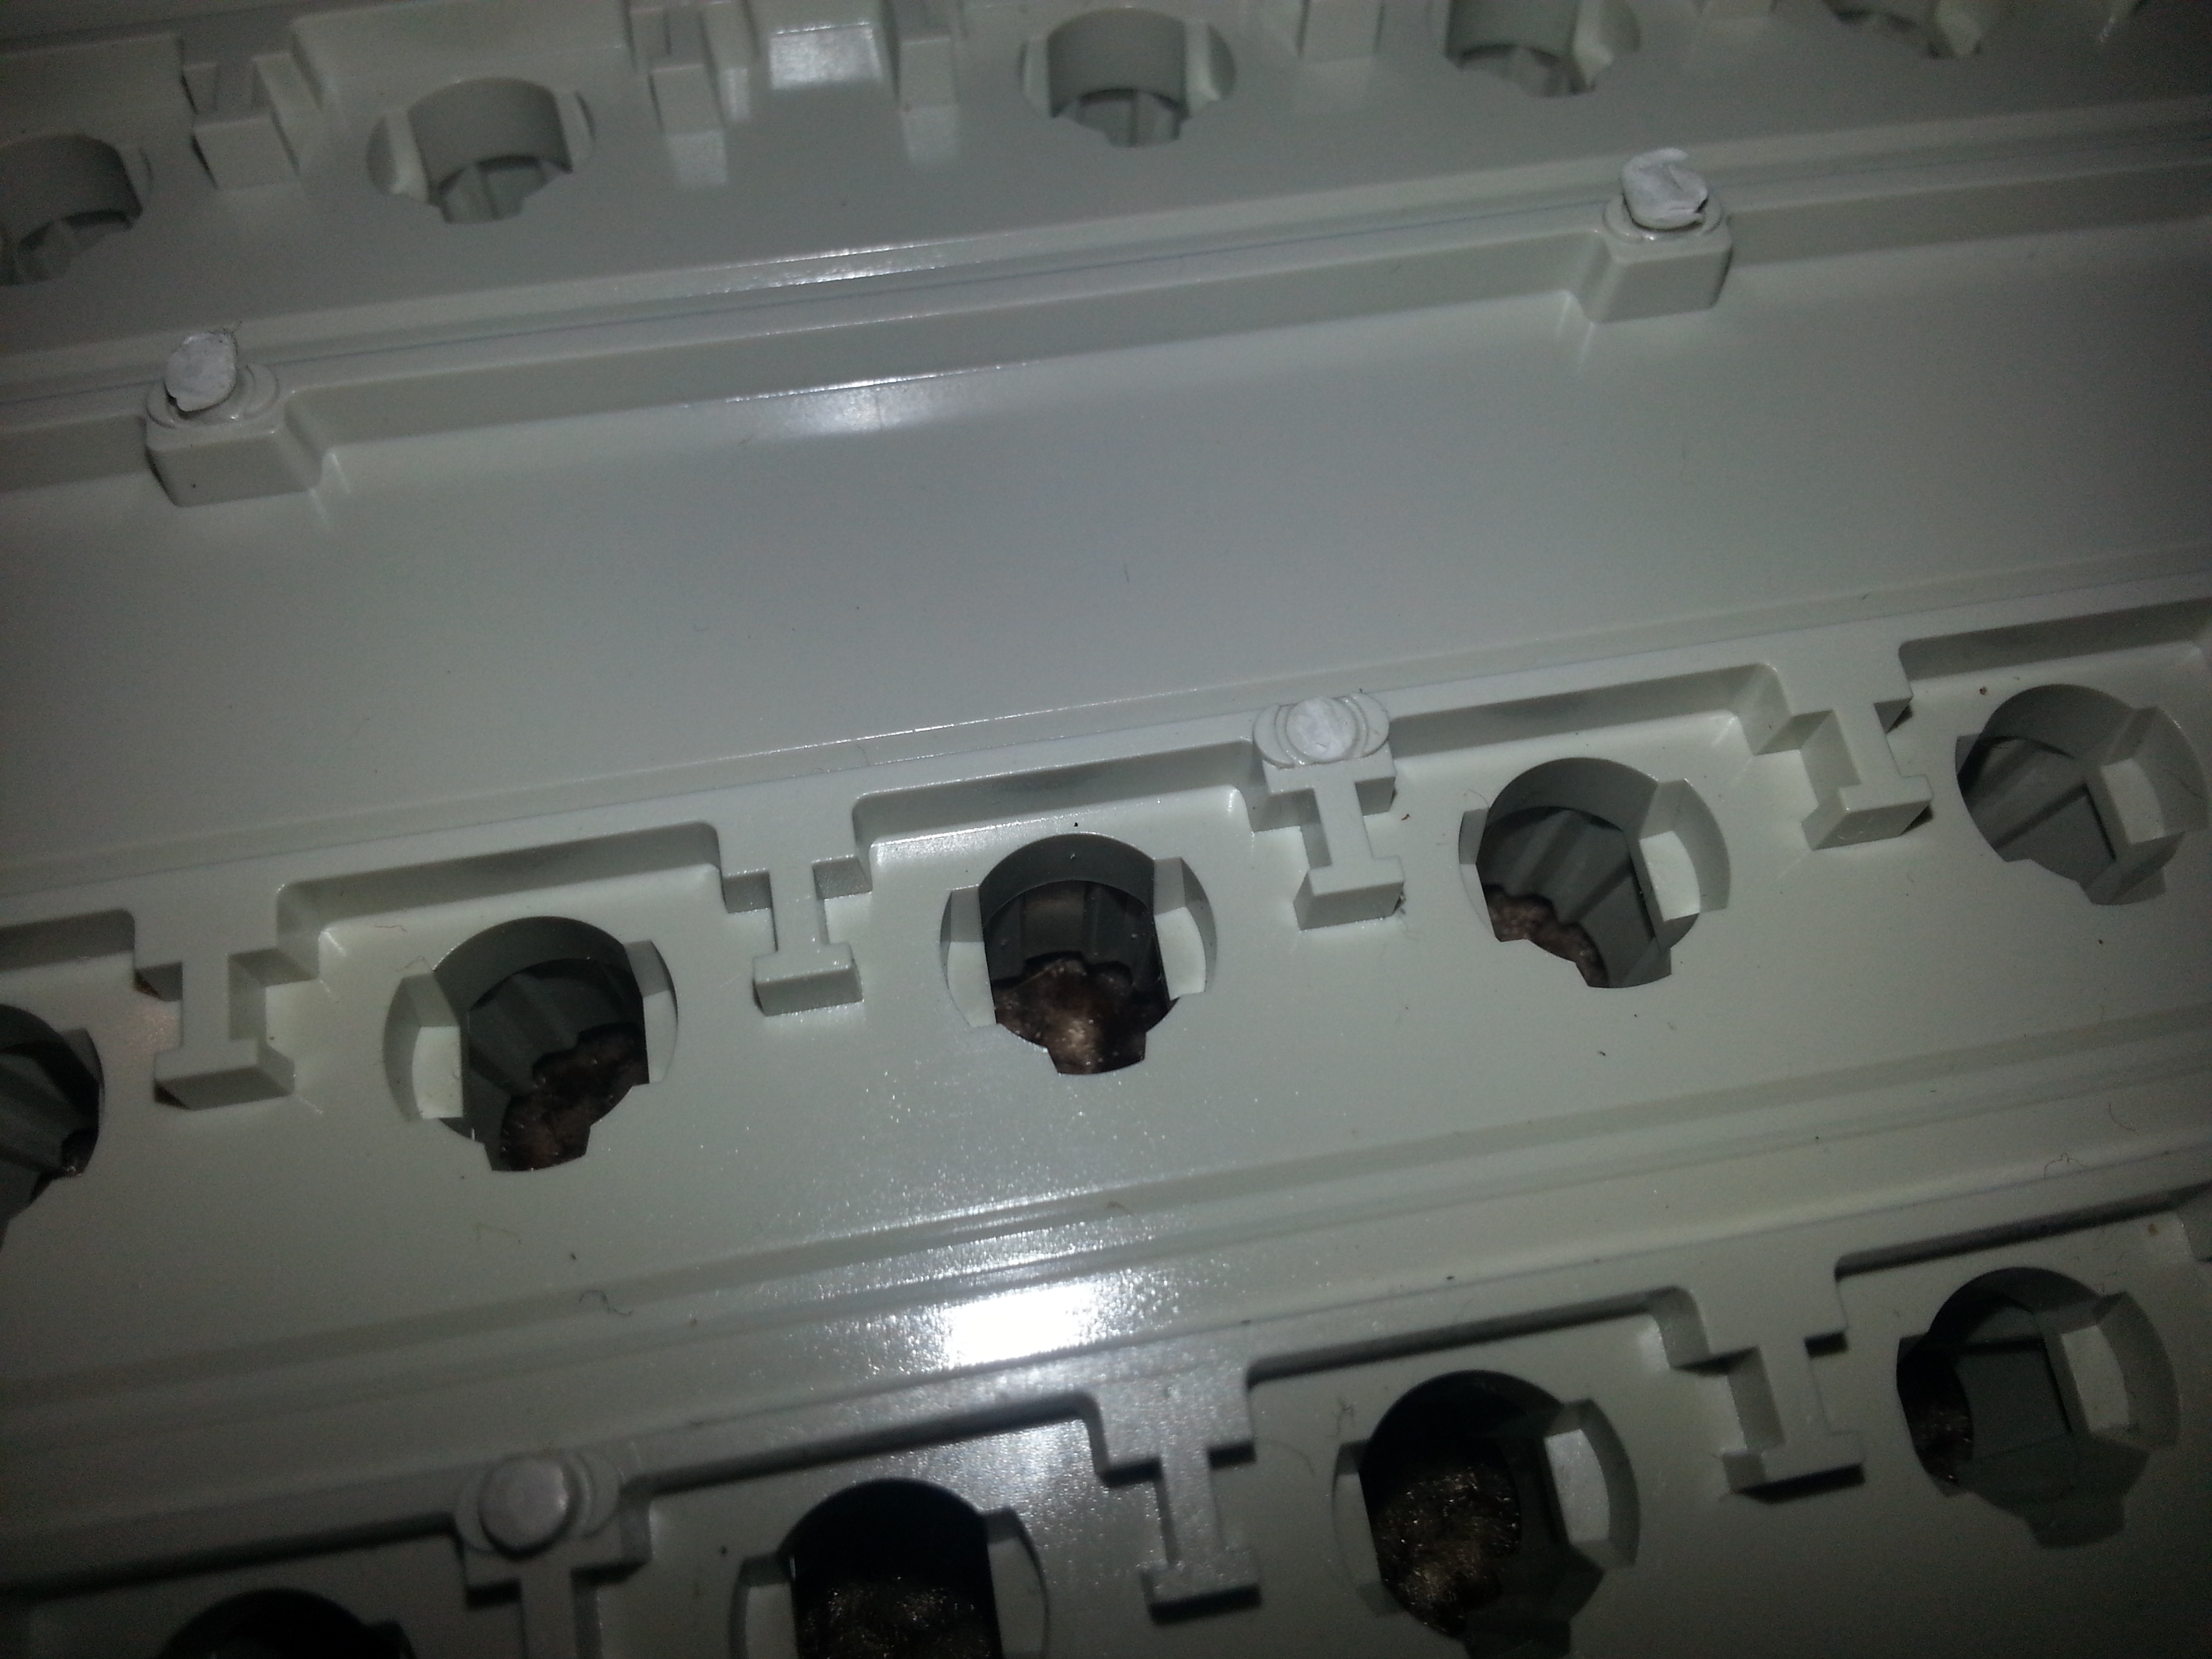
another clipped rivet. Notice how nice and flush it is. You need these to be as flush as possible (within reason) or the drilling will be much harder. You can be off a little bit, though.
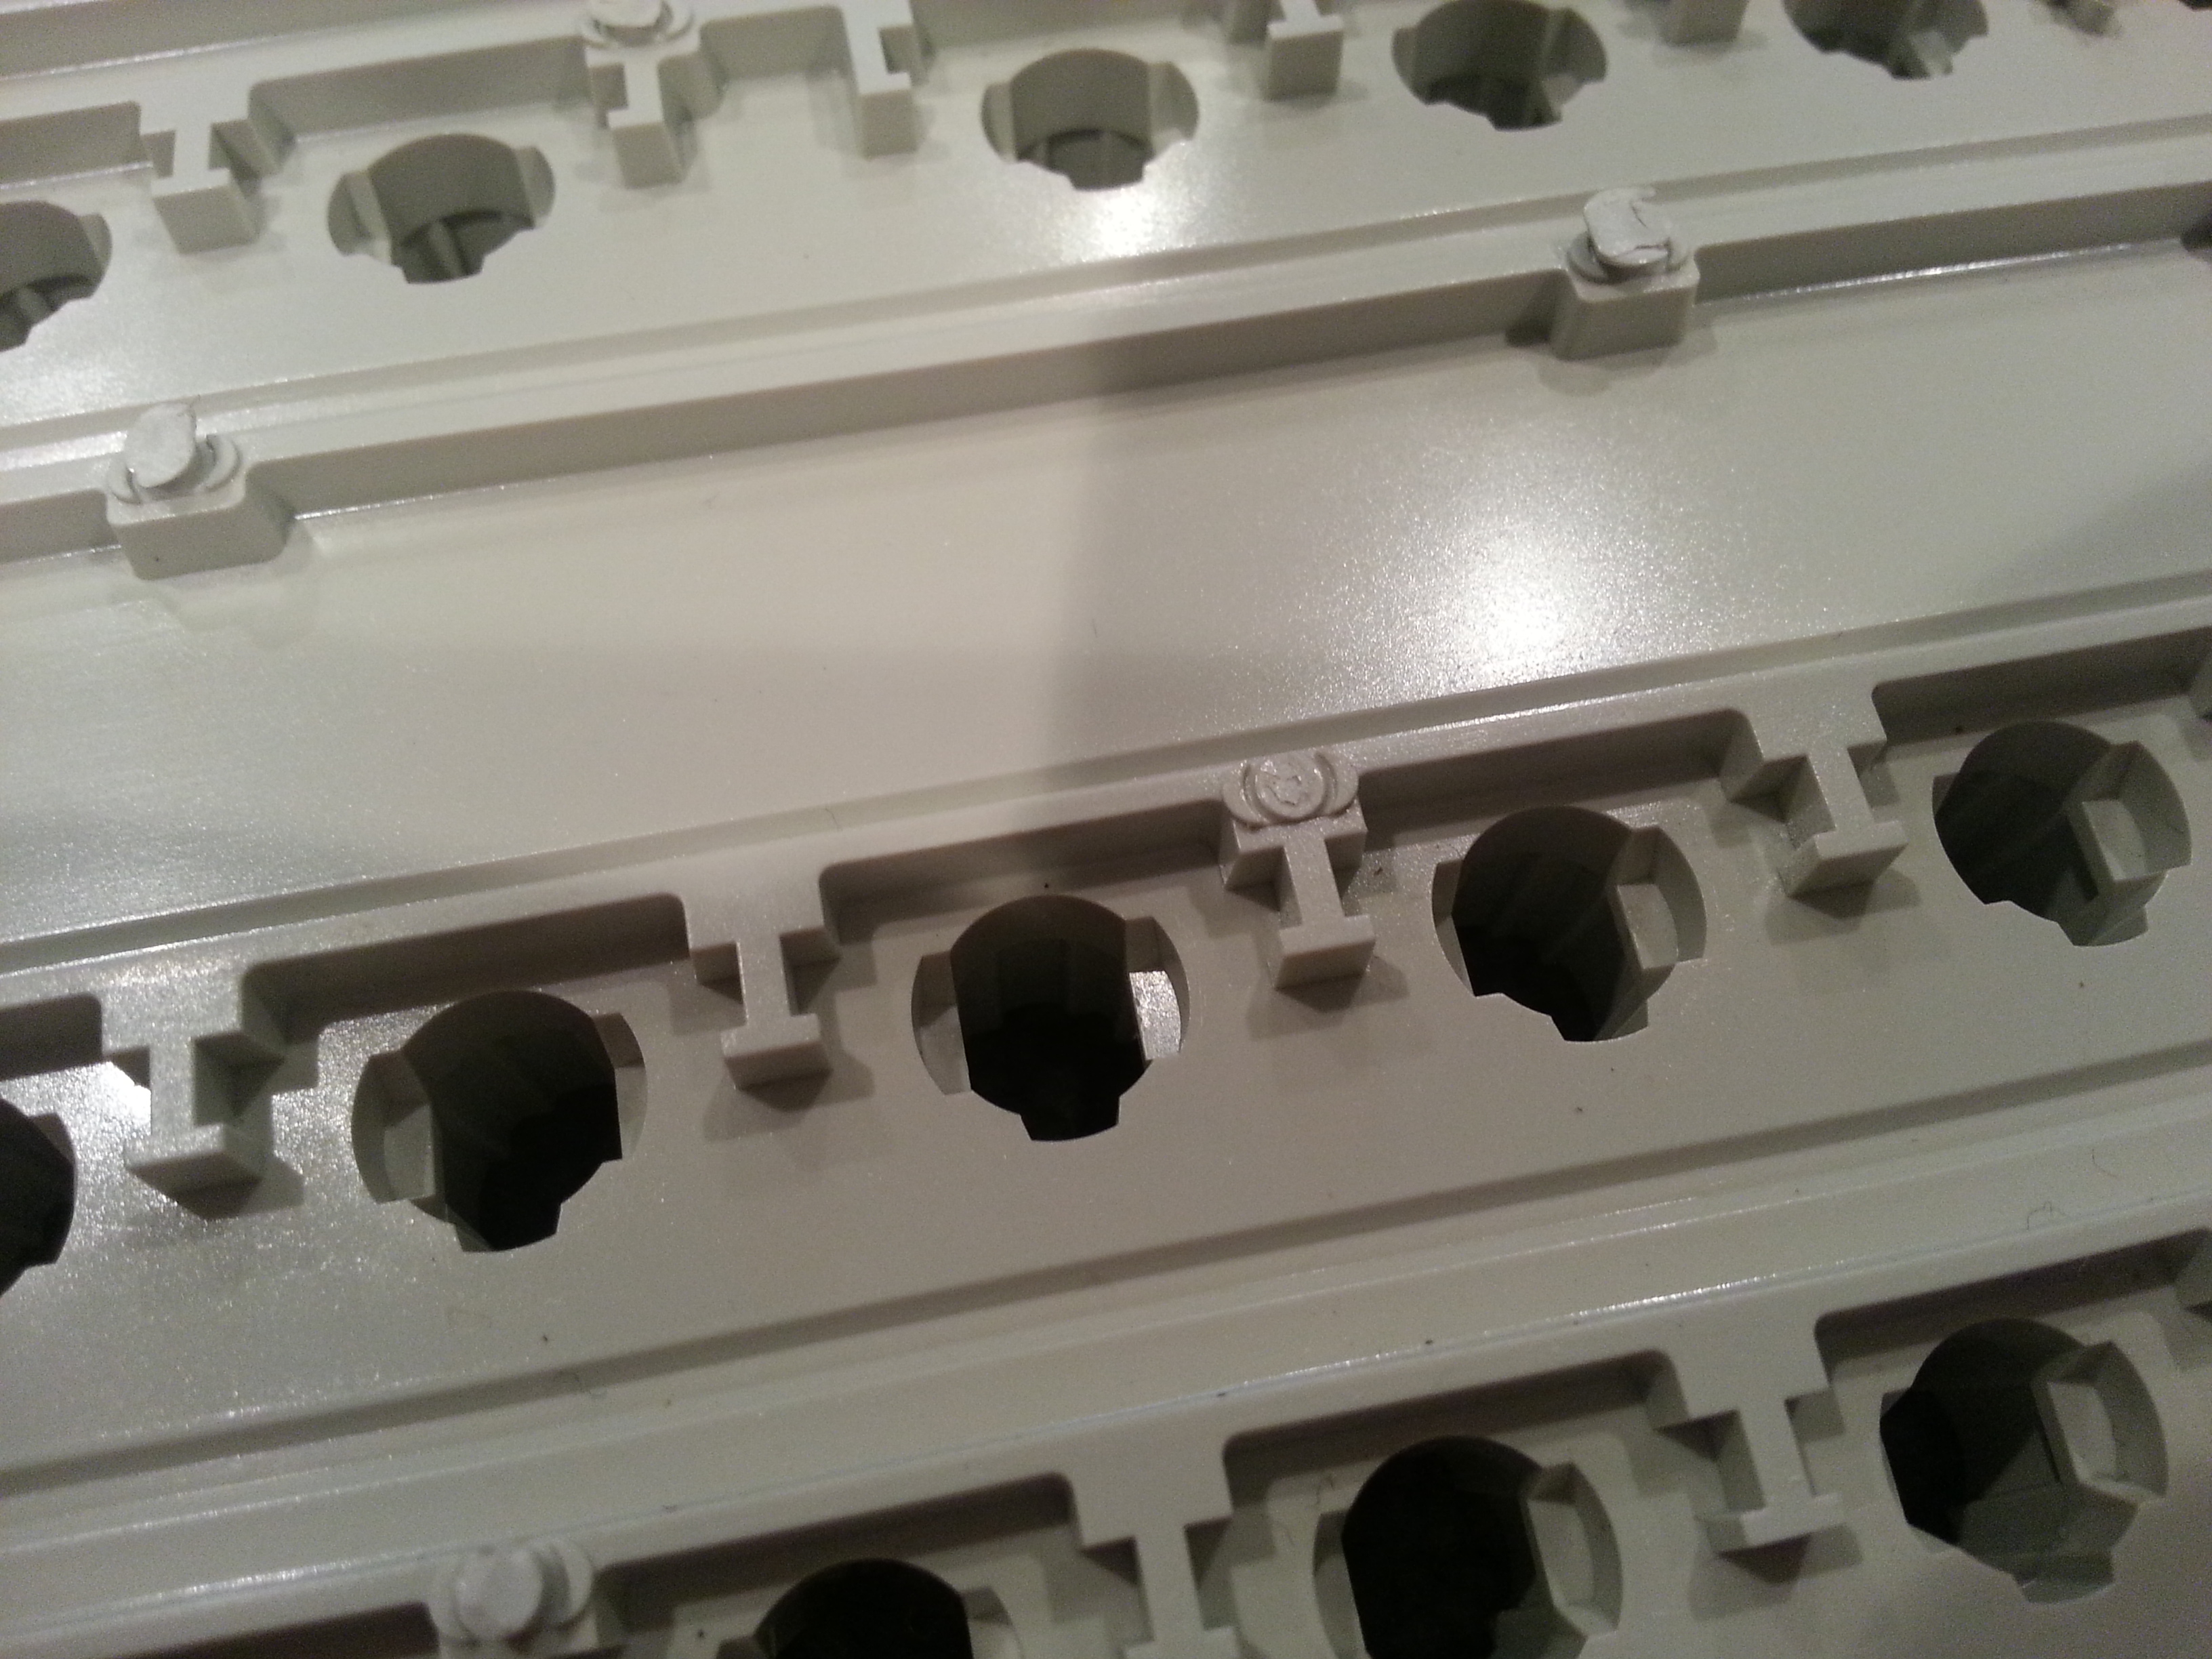
better shot showing surface roughness of clipped rivet.
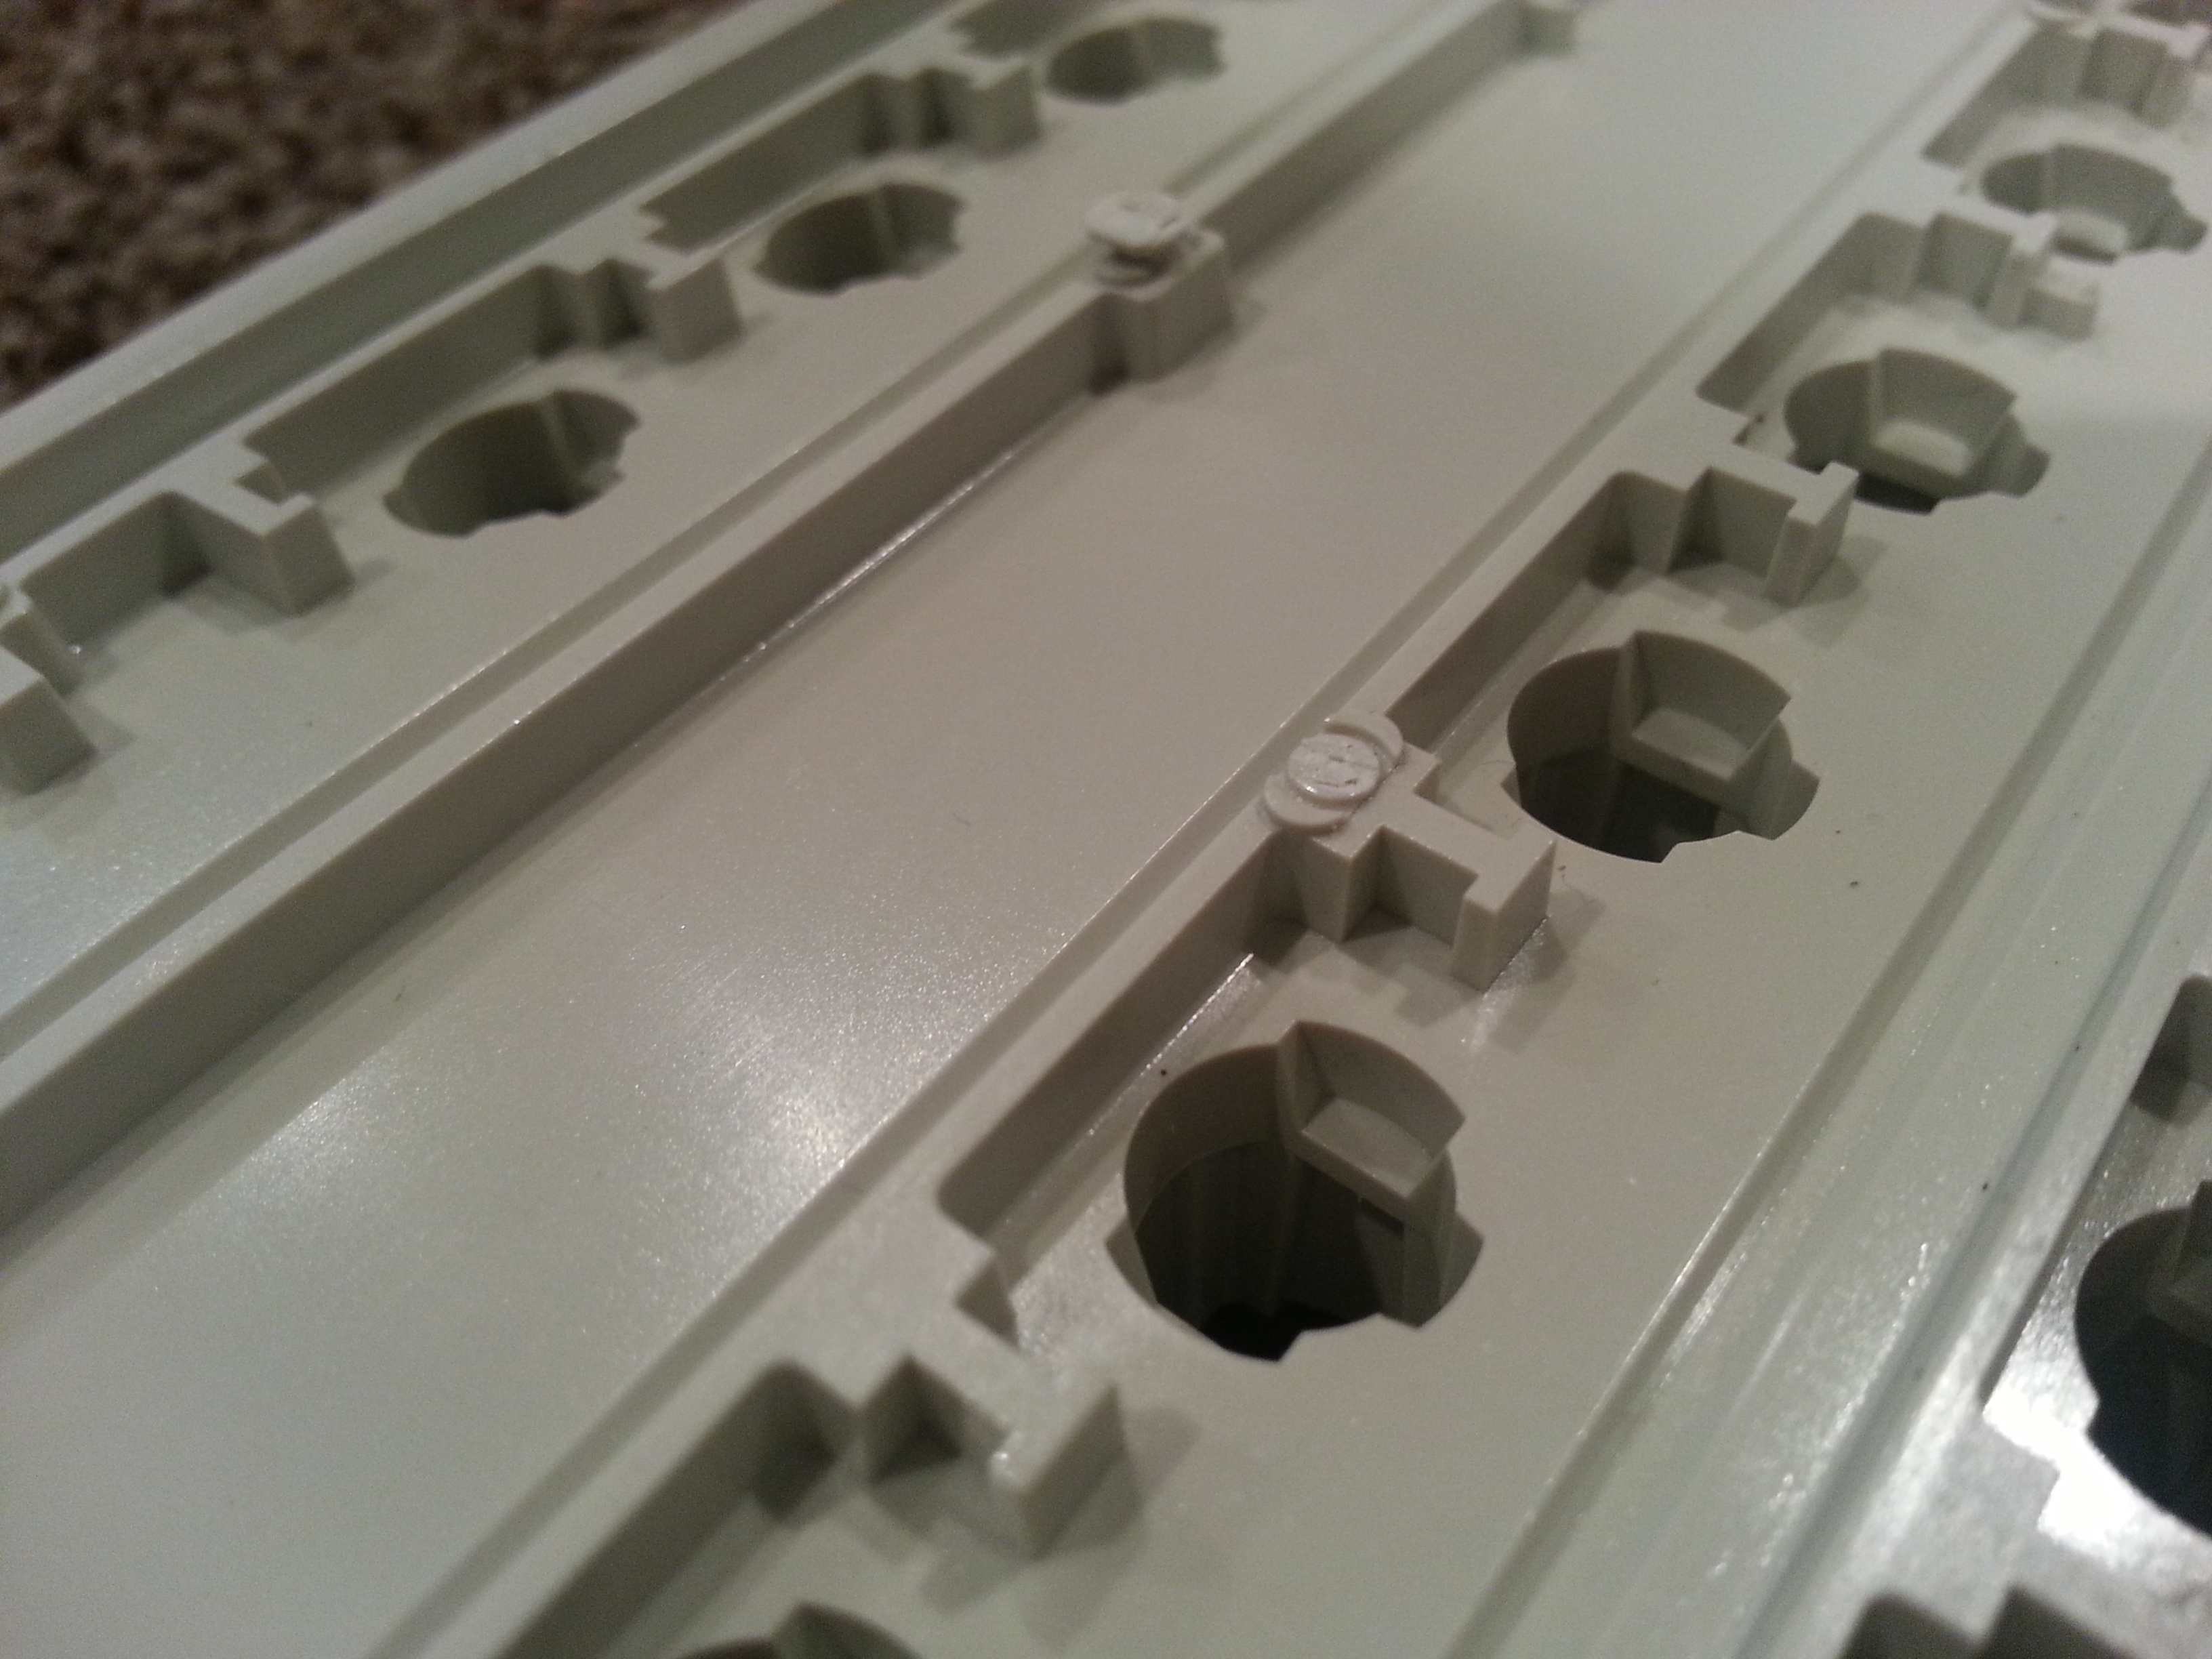
side shot of clipped rivet
(no picture) I start at one end and go from one side to the other. The plate has some bend in it still, but the unclipped rivets can interfere with you clipping your current rivet you're on and make it hard to get flush.

shot of clipped rivets.

shot with flash of clipped rivets.
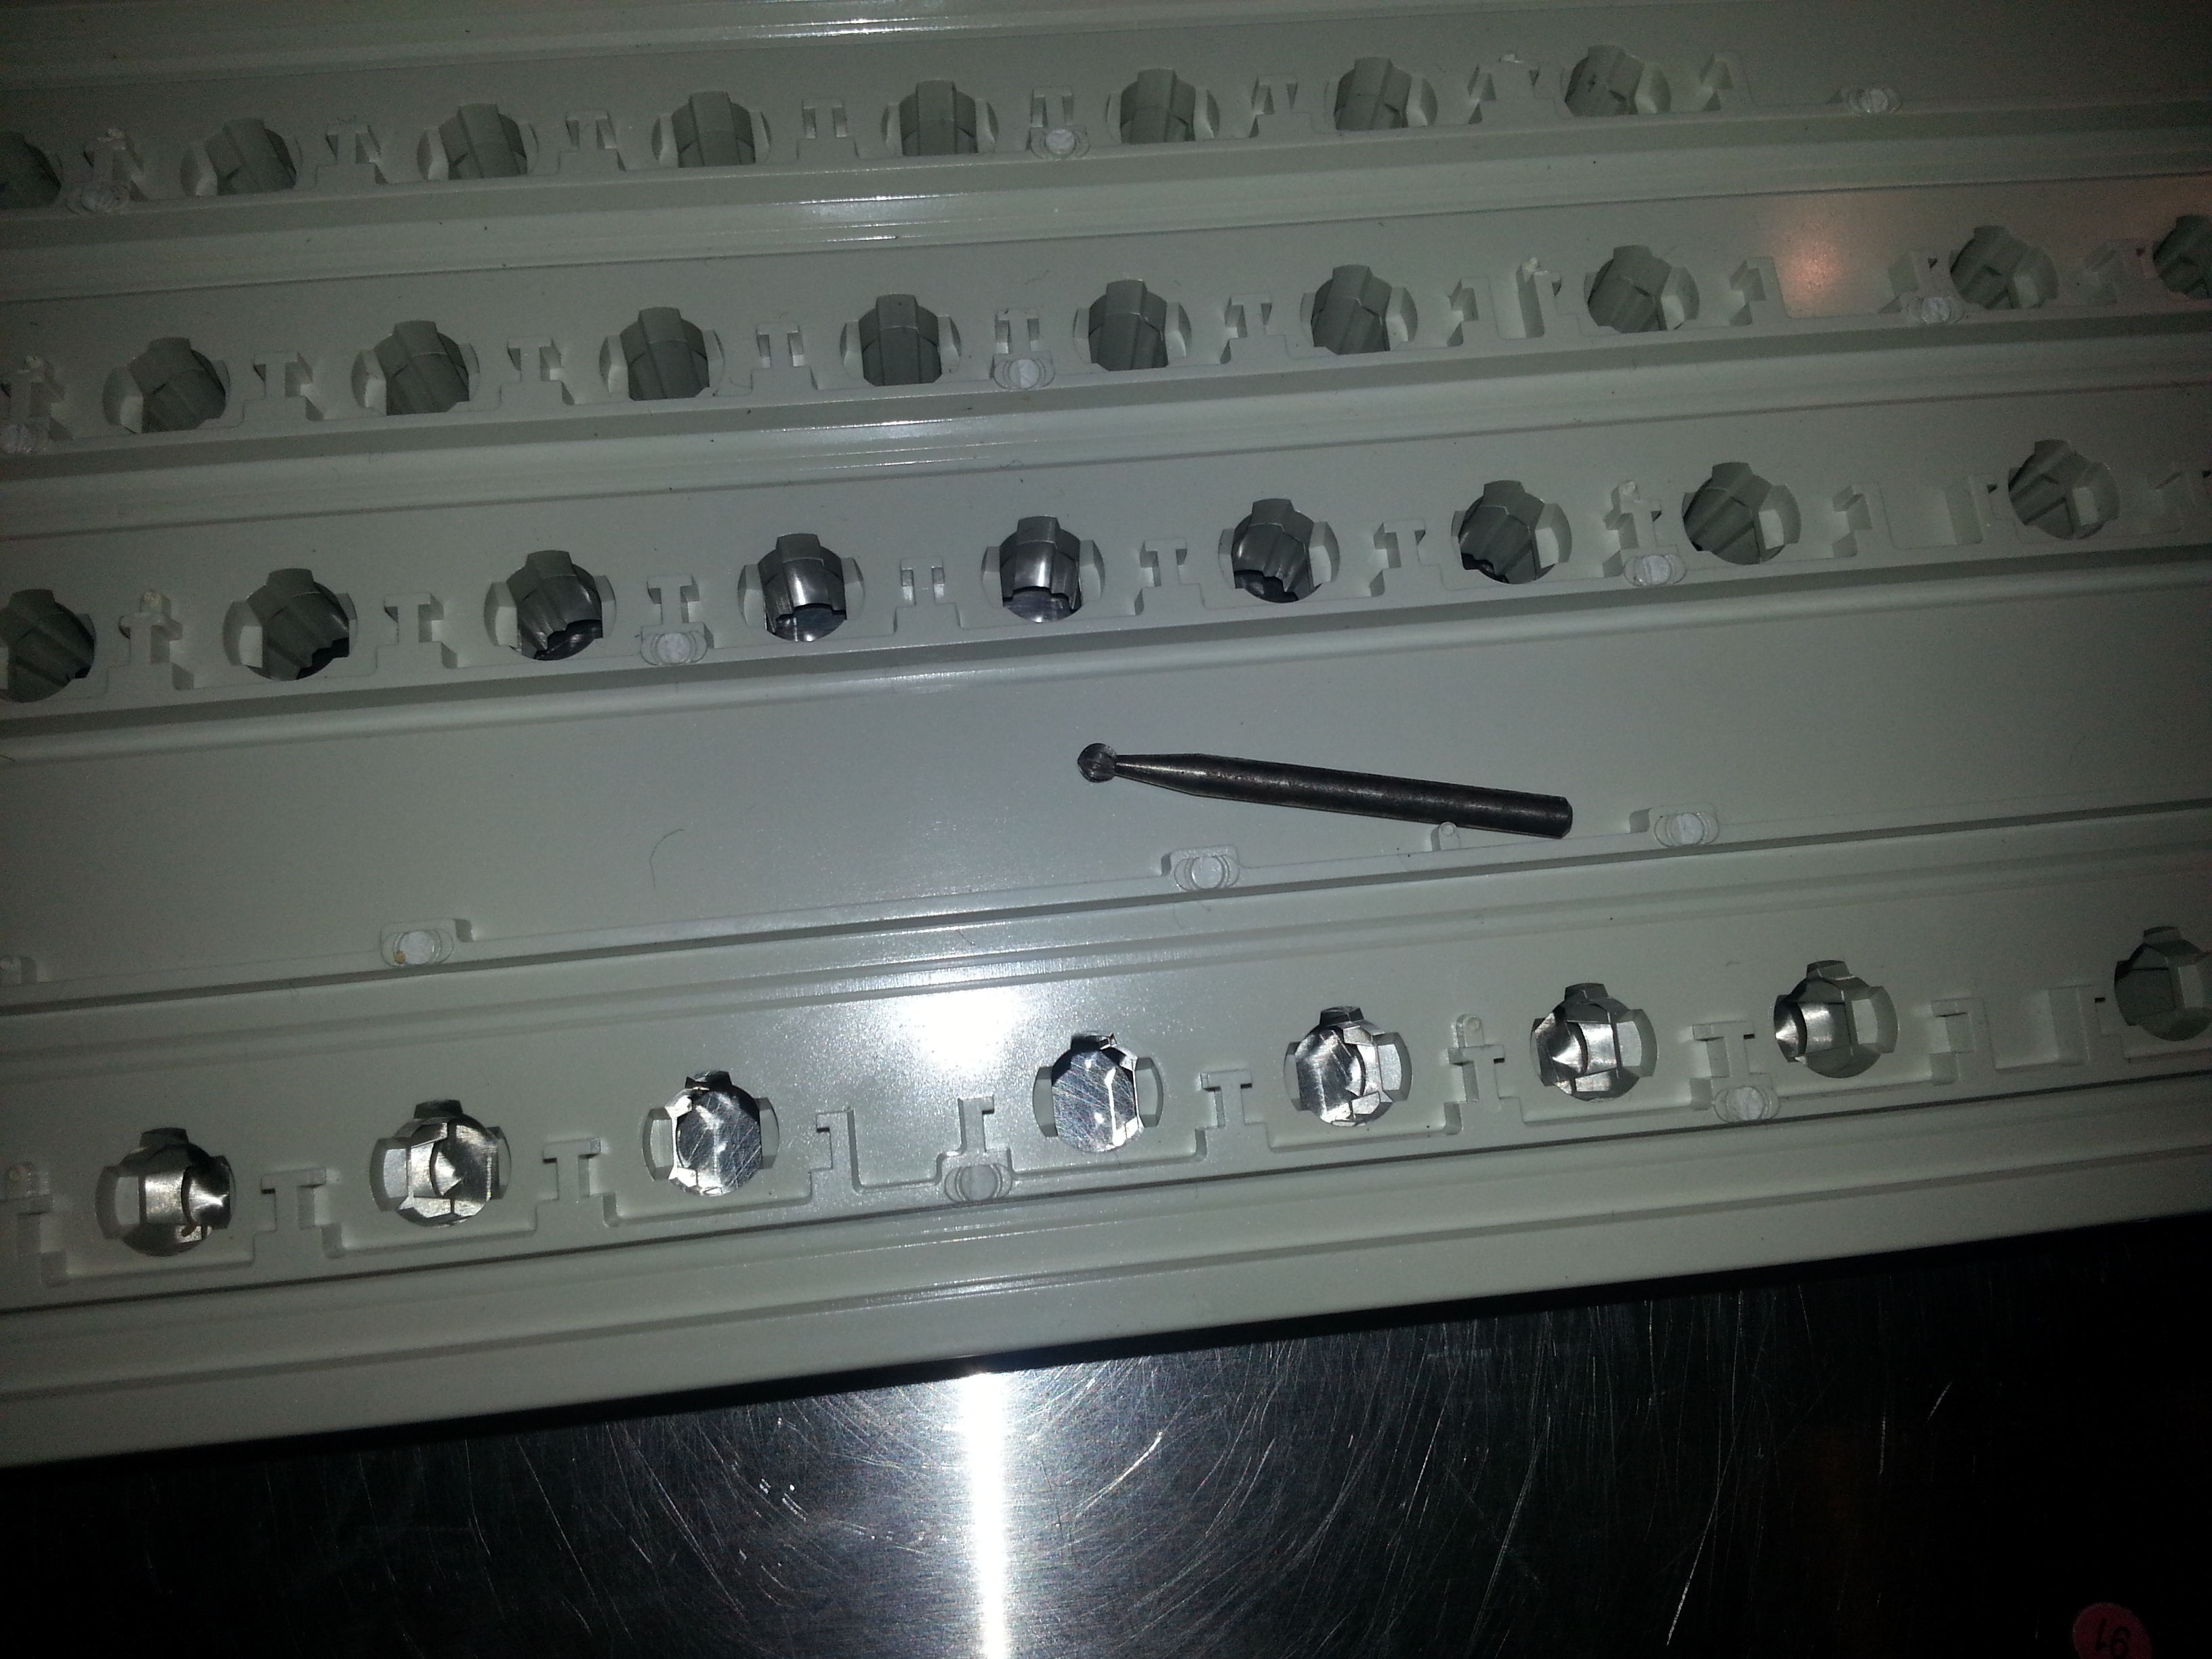
Up until now I've kept pretty much in line with the standard bolt mod. Here's where I start to diverge a little. The hardest part for me is drilling all the holes straight, so I make that step as quick and easy as I can. So I prep each hole for drilling. This also allows me to go a little faster on previous steps because I can account for small variances and inaccuracies there. This is the longest part. Make sure you line it up right, and take your time the most here.
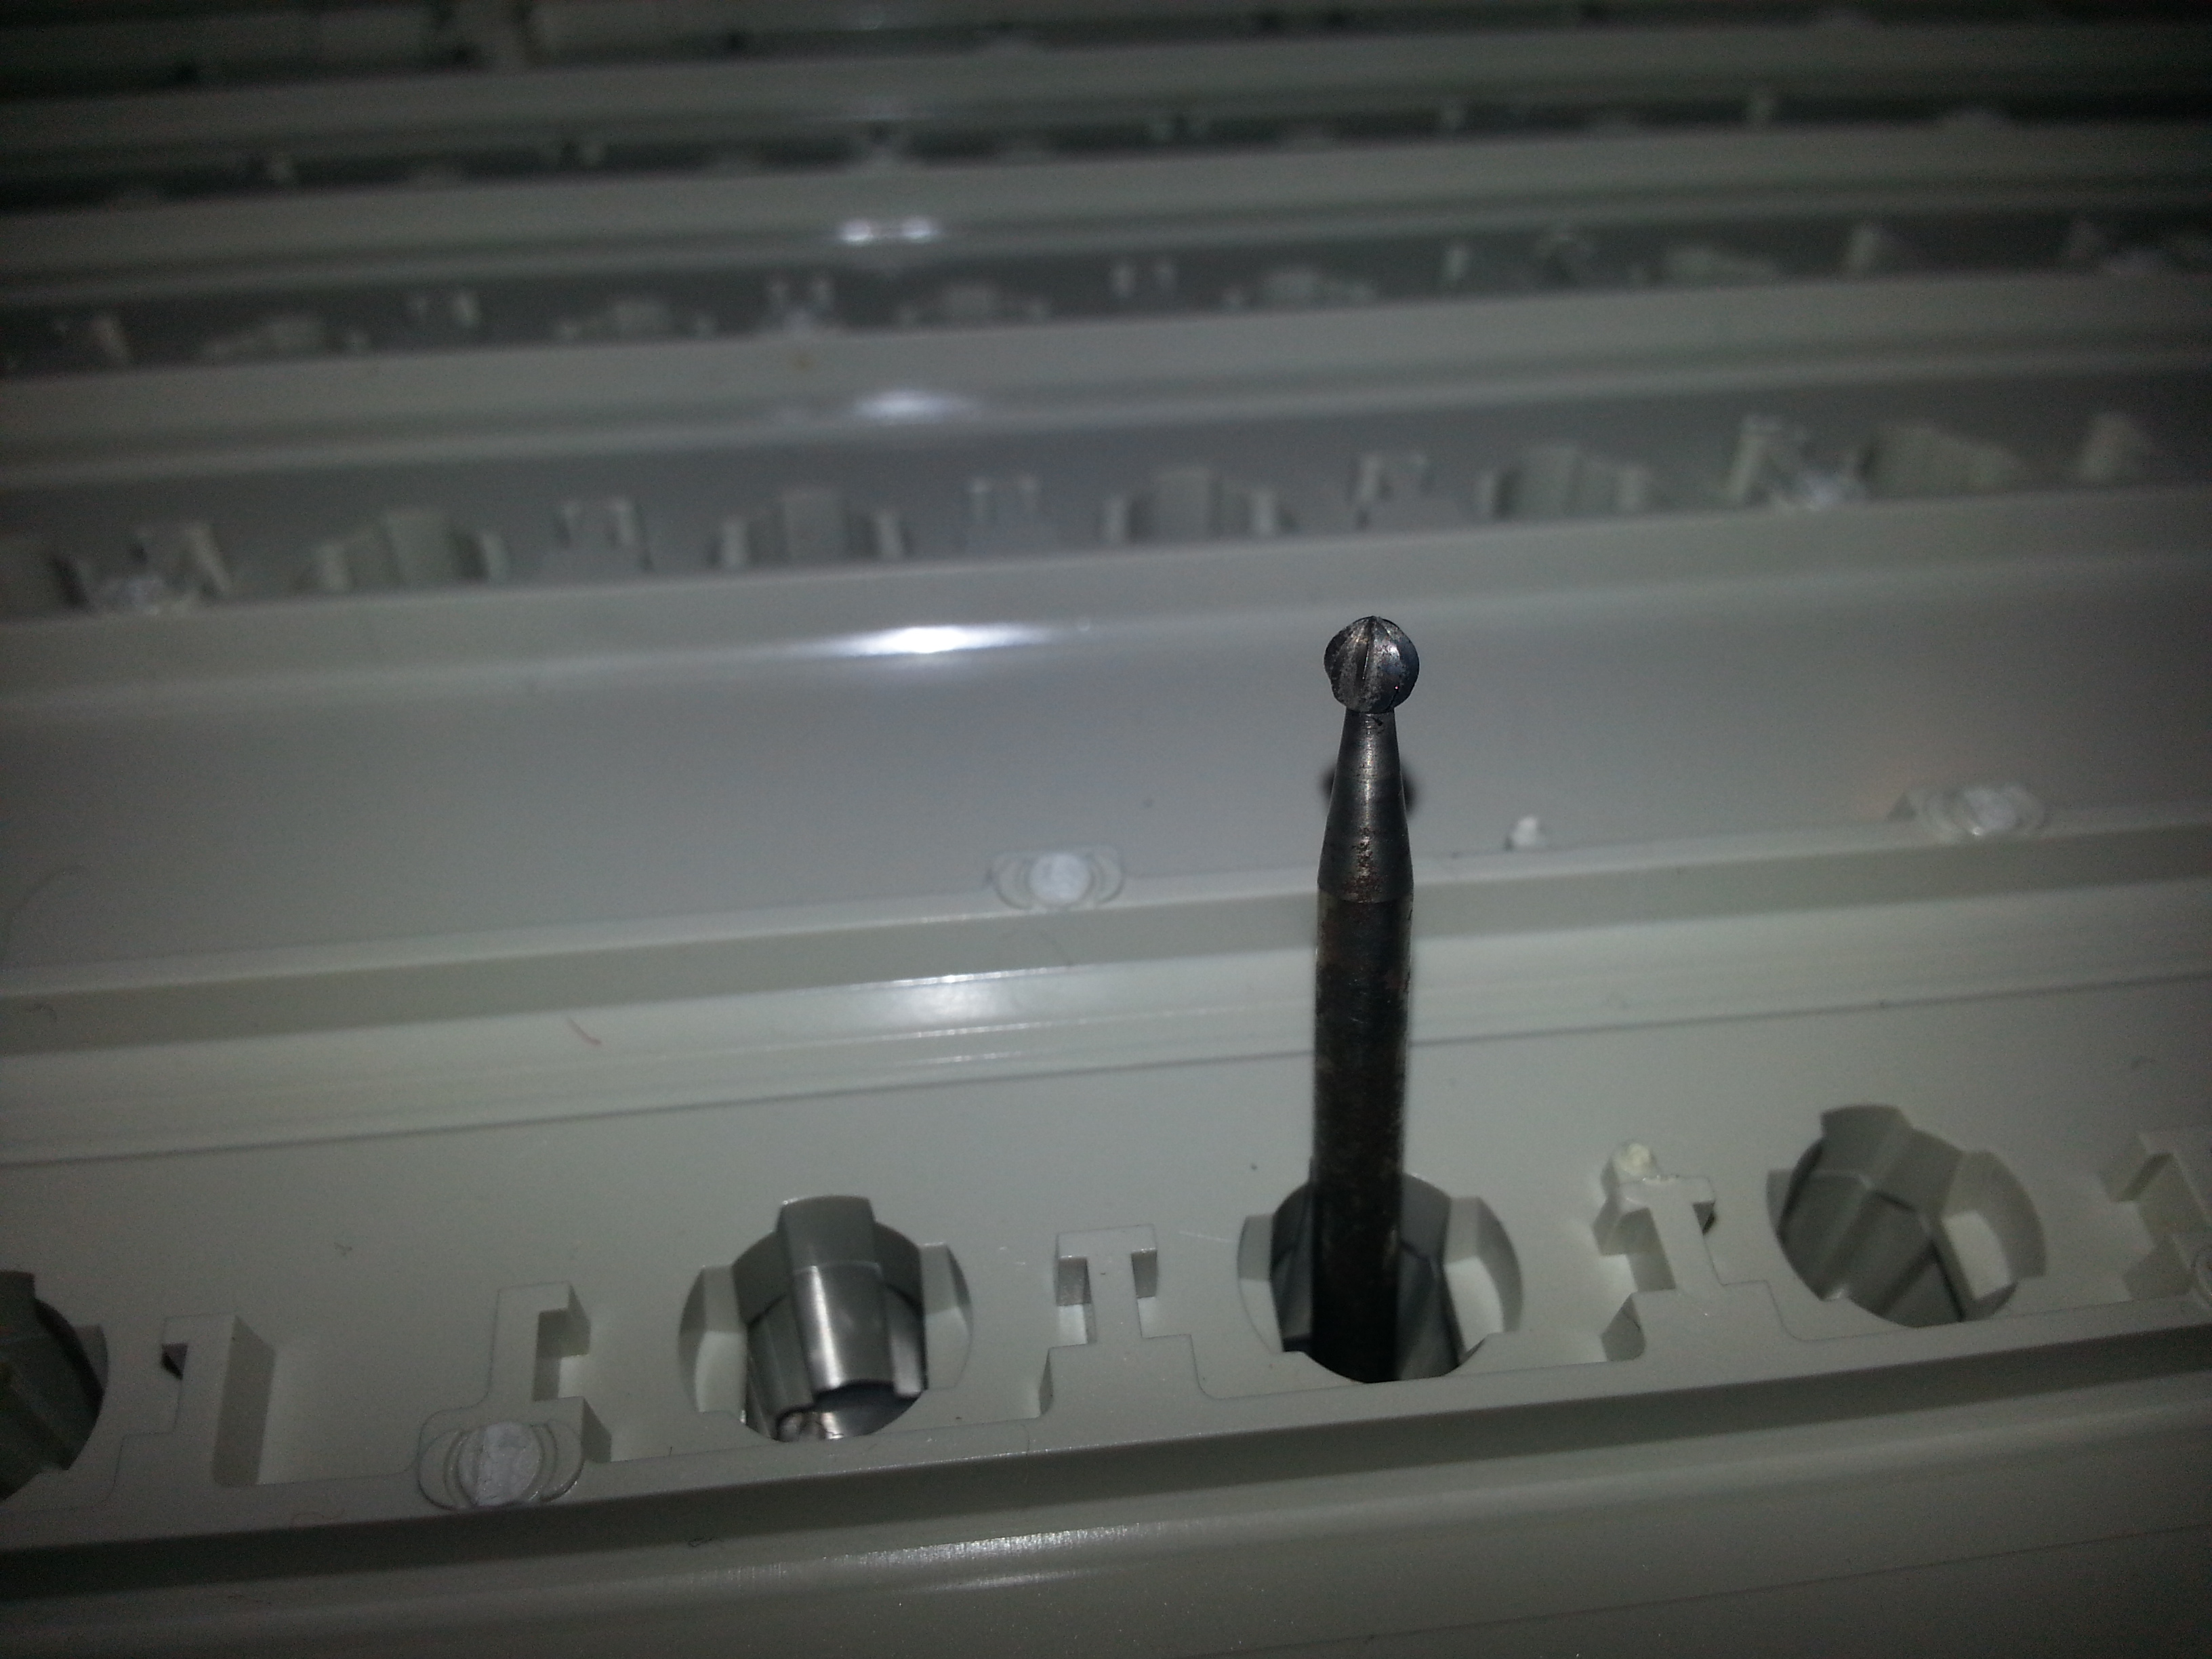
This is a ball end bit for my dremel rotary tool. I don't know what it's called specifically, but the end is shaped like a sphere. It's metal, hard, and cuts through plastic easily. I use this to make a spherical divot in each of my places to stabilize the drill bit when I drill.
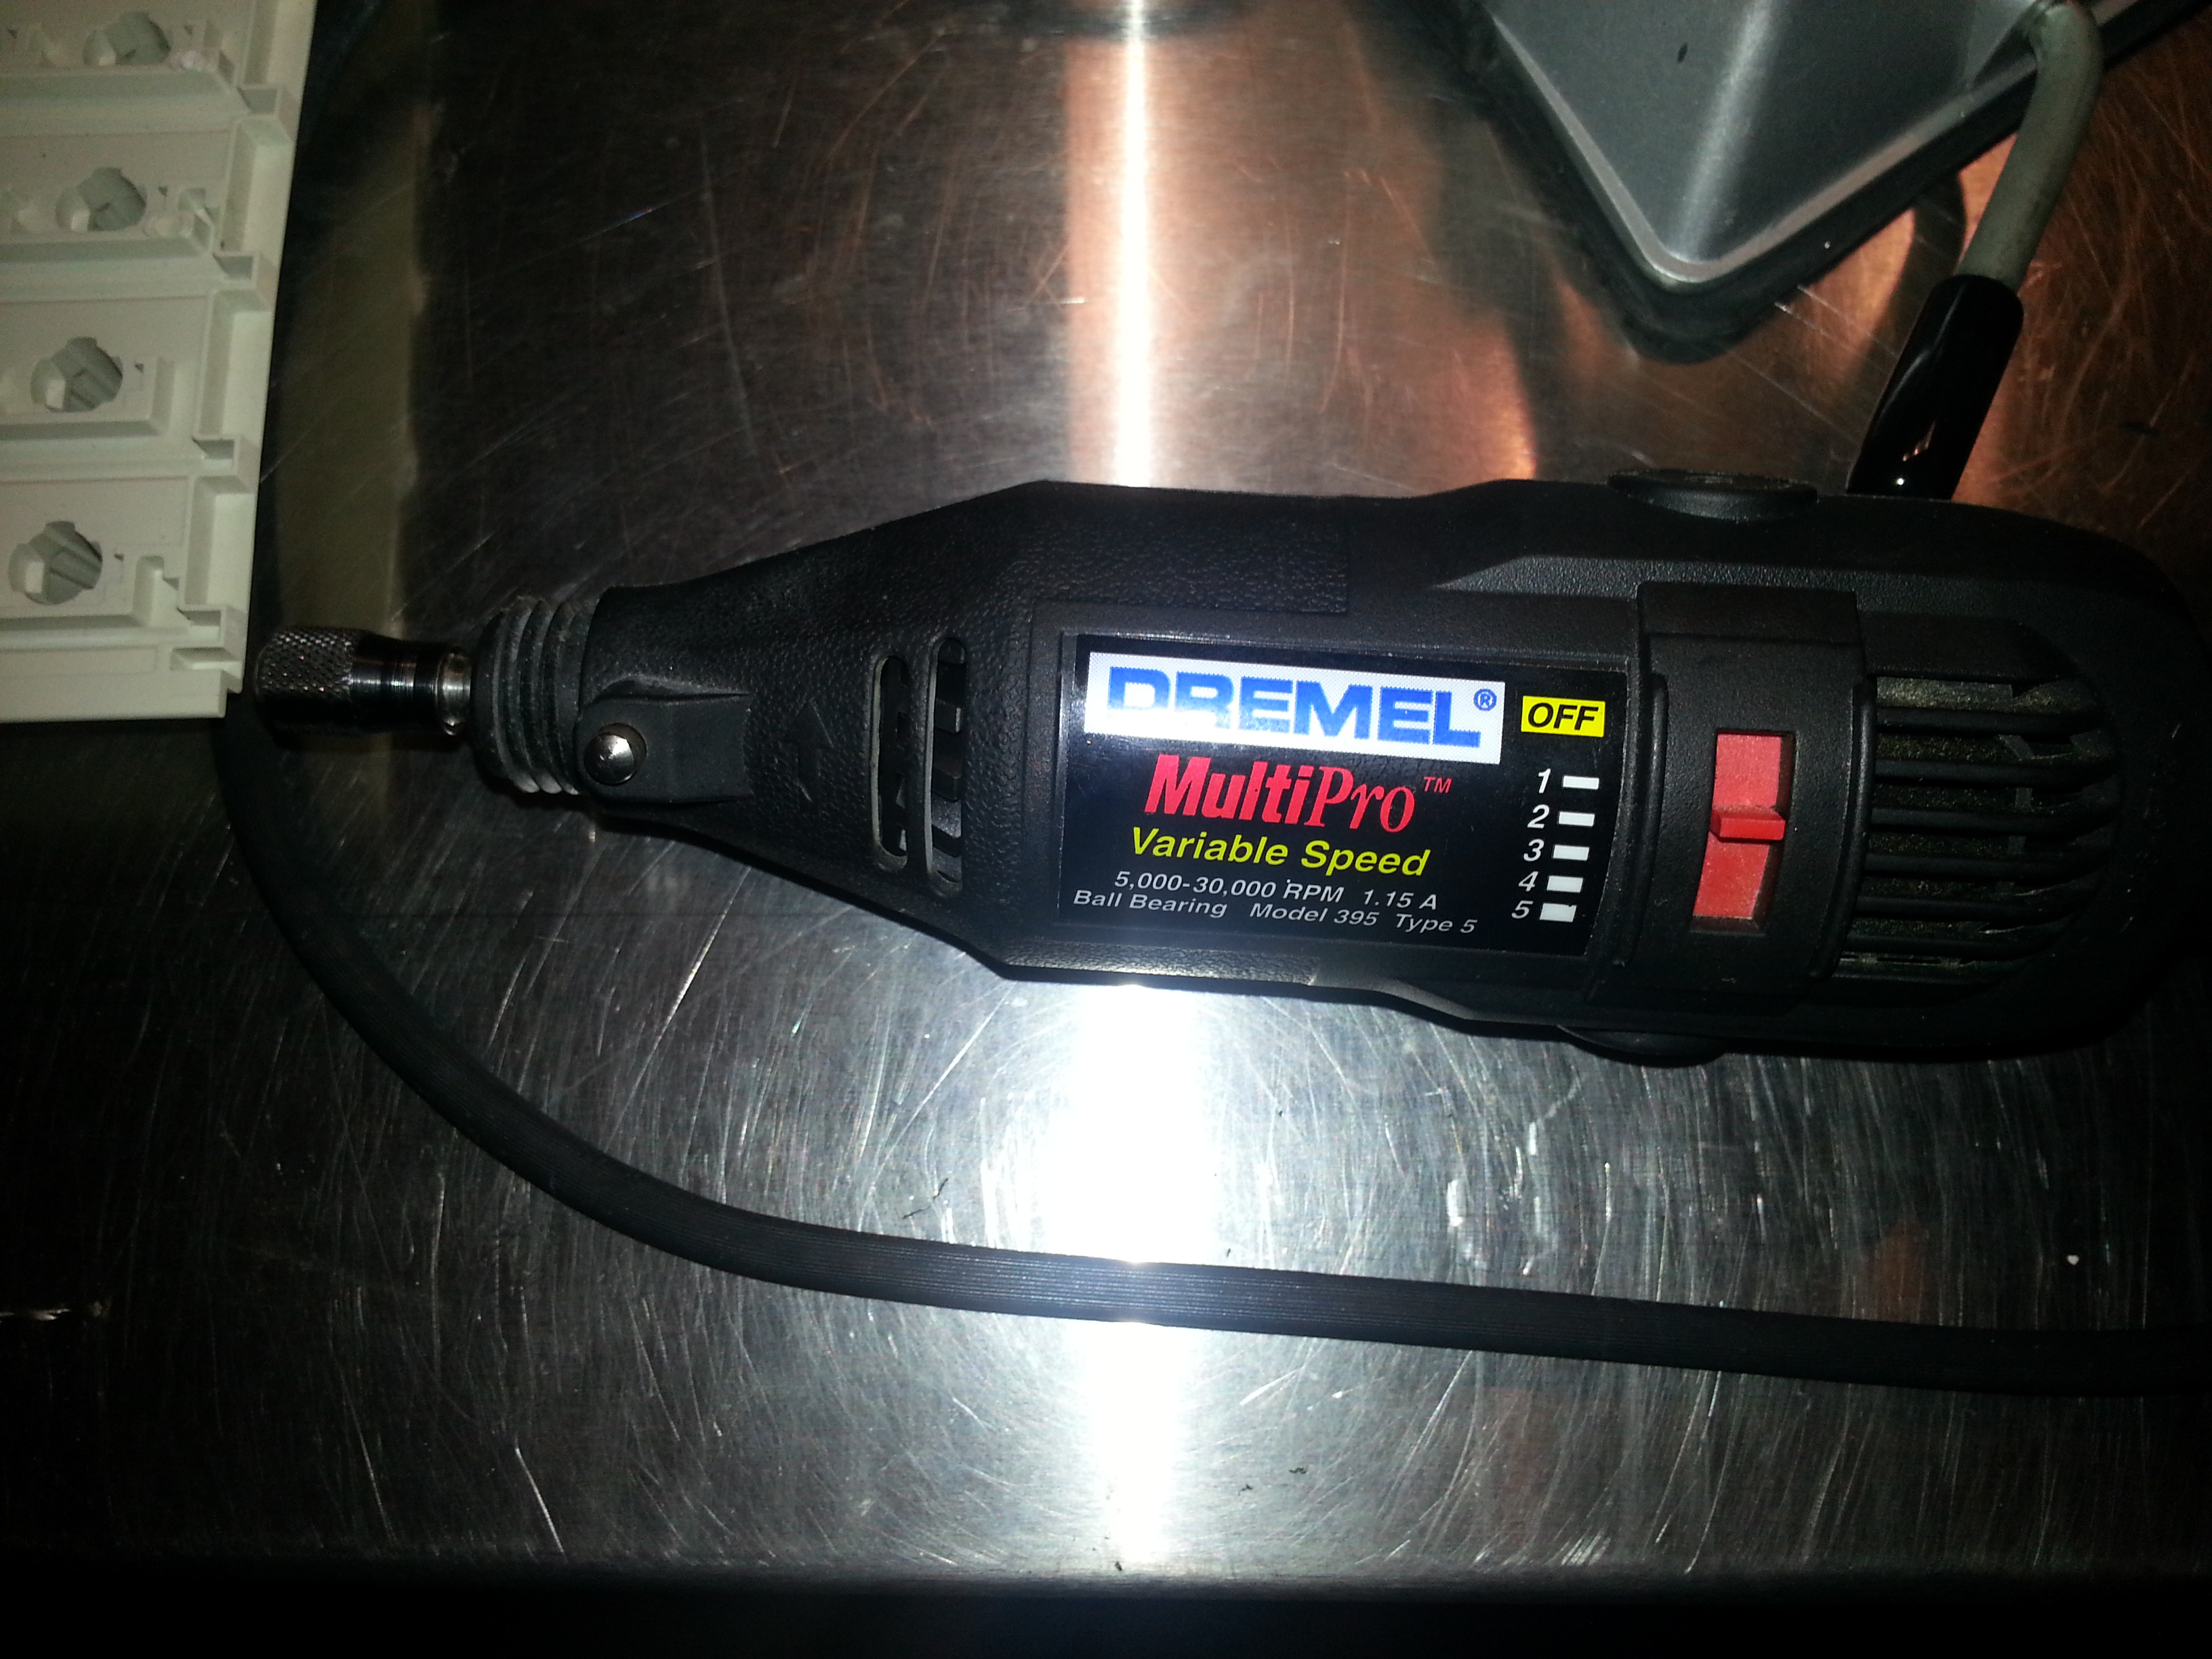
Here's my rotary tool! I usually only use speed 2 for bolt mods.
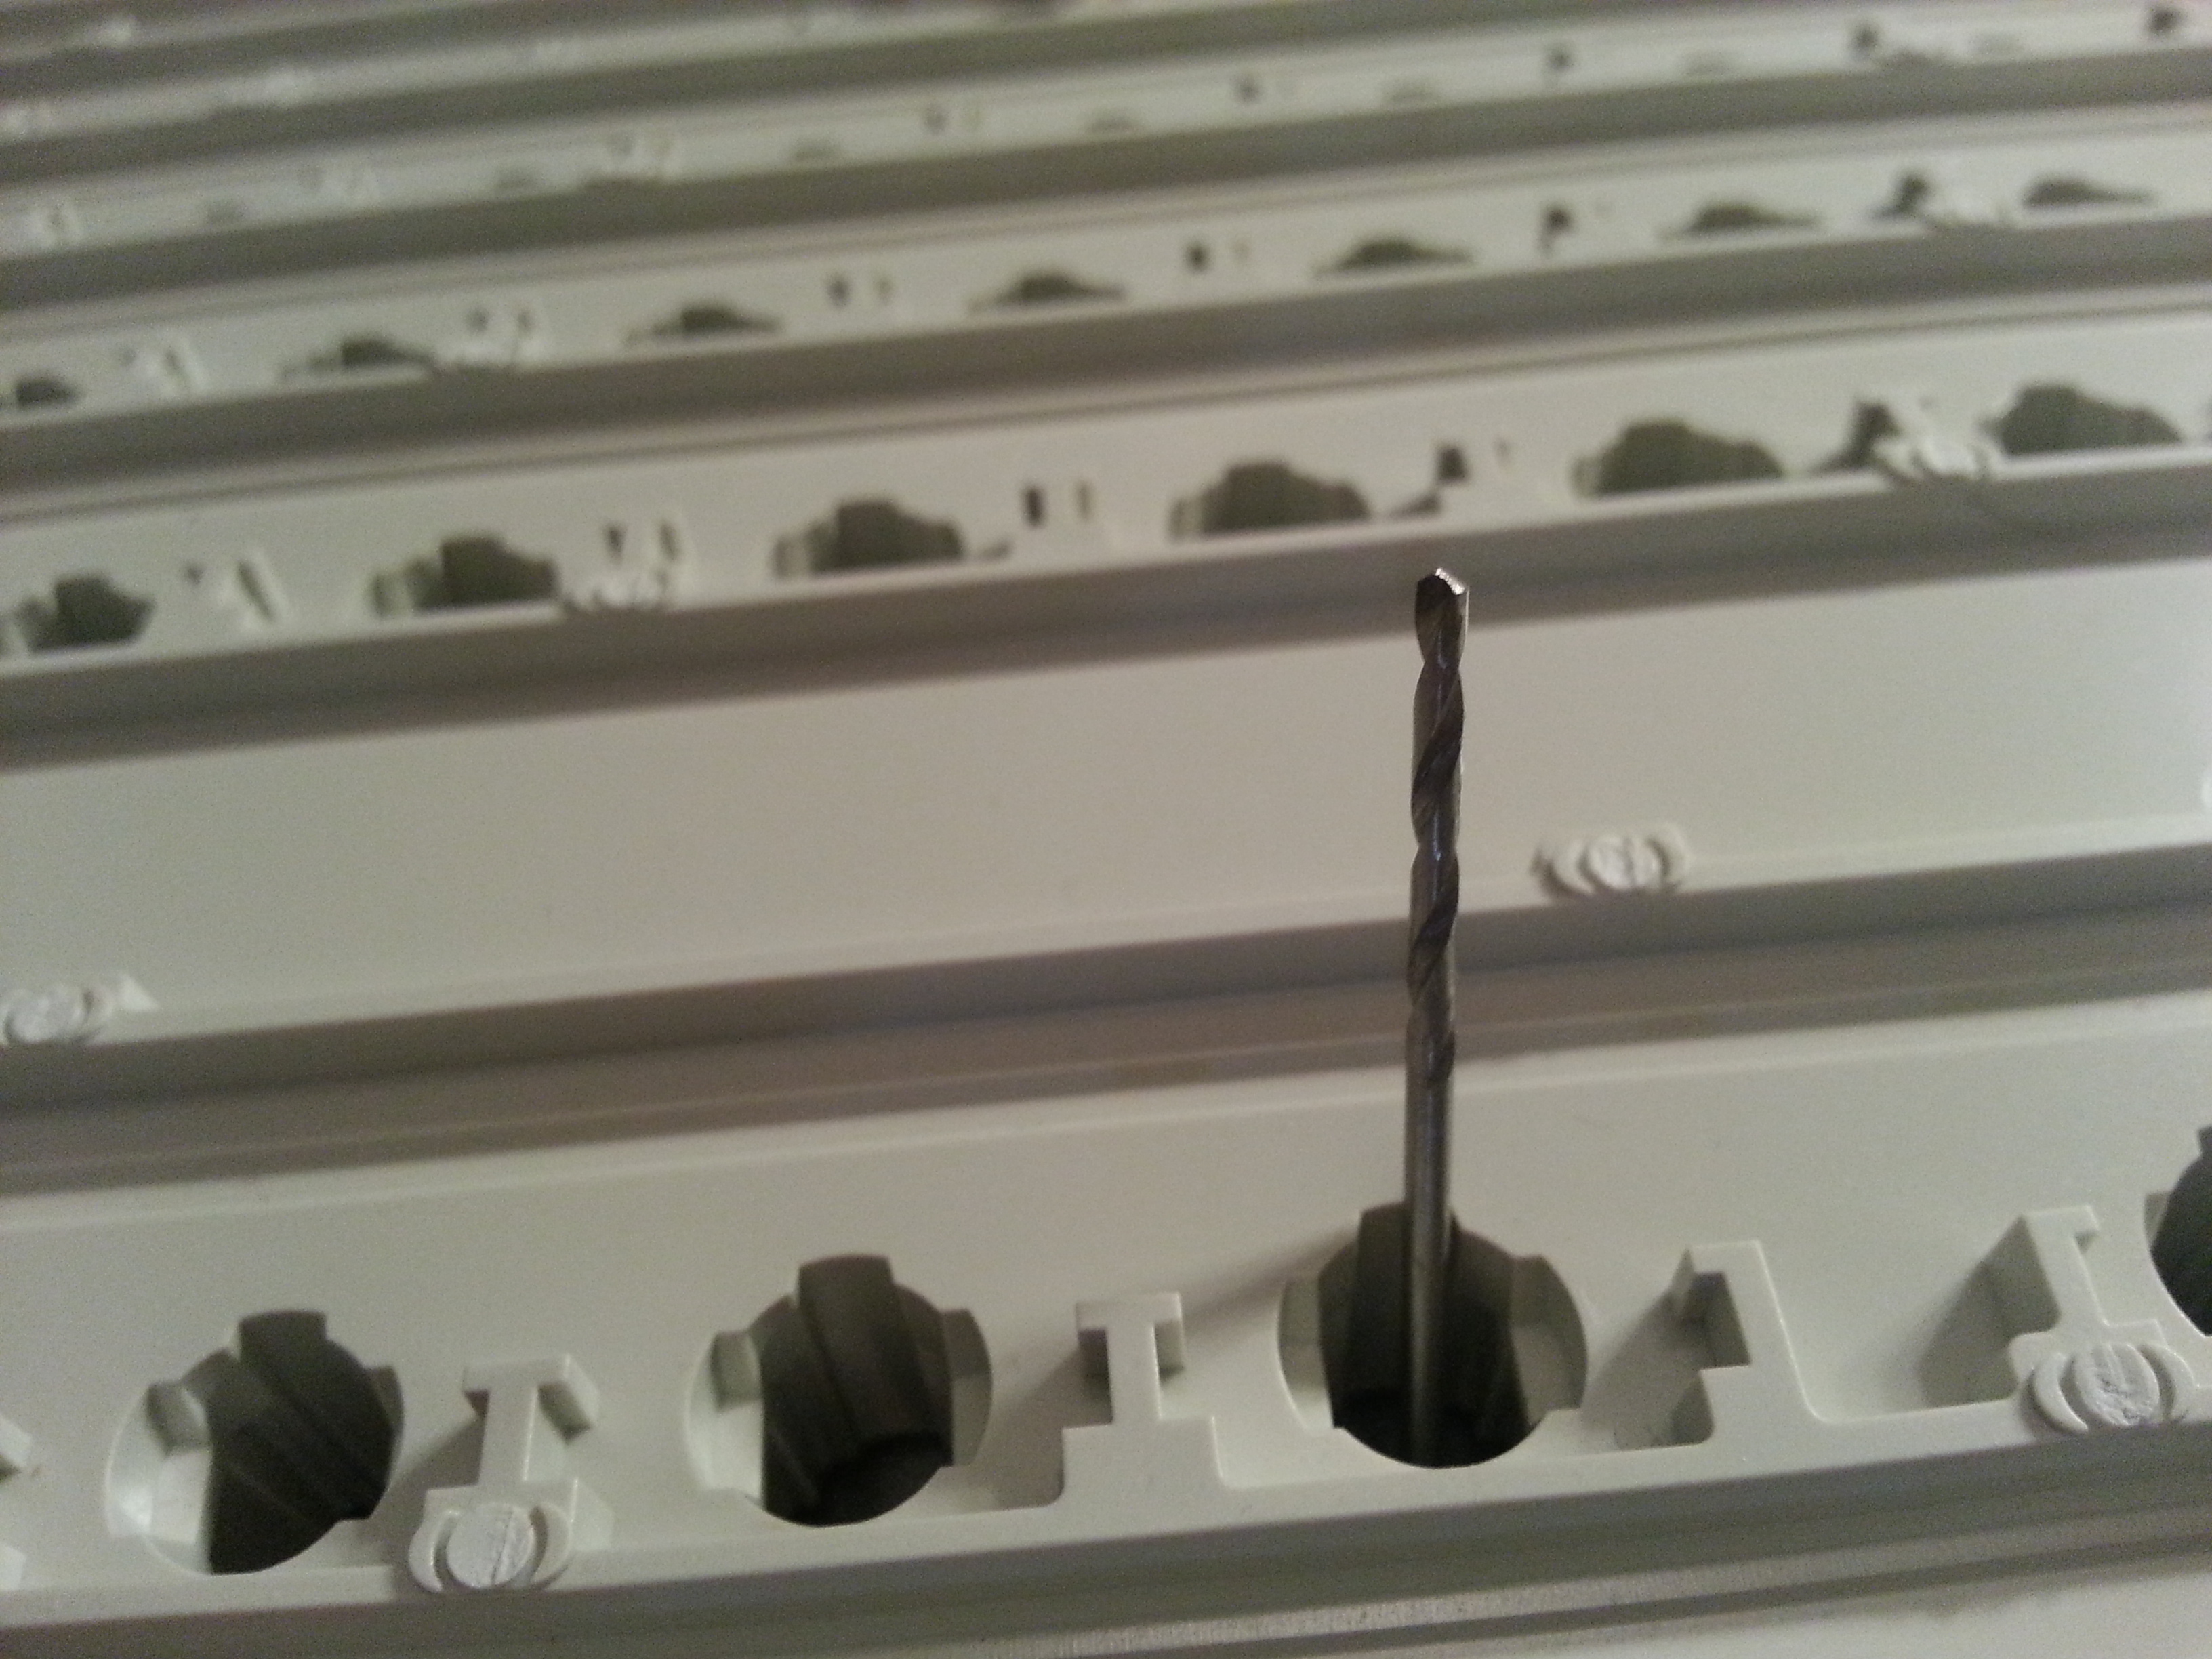
The holes will be made with a 1/16" drill bit. We are using it instead of an m2 bit because this makes the holes slightly smaller than the bolts. This means we can thread the bolts into the holes so they stay in place when we are fitting it together again.
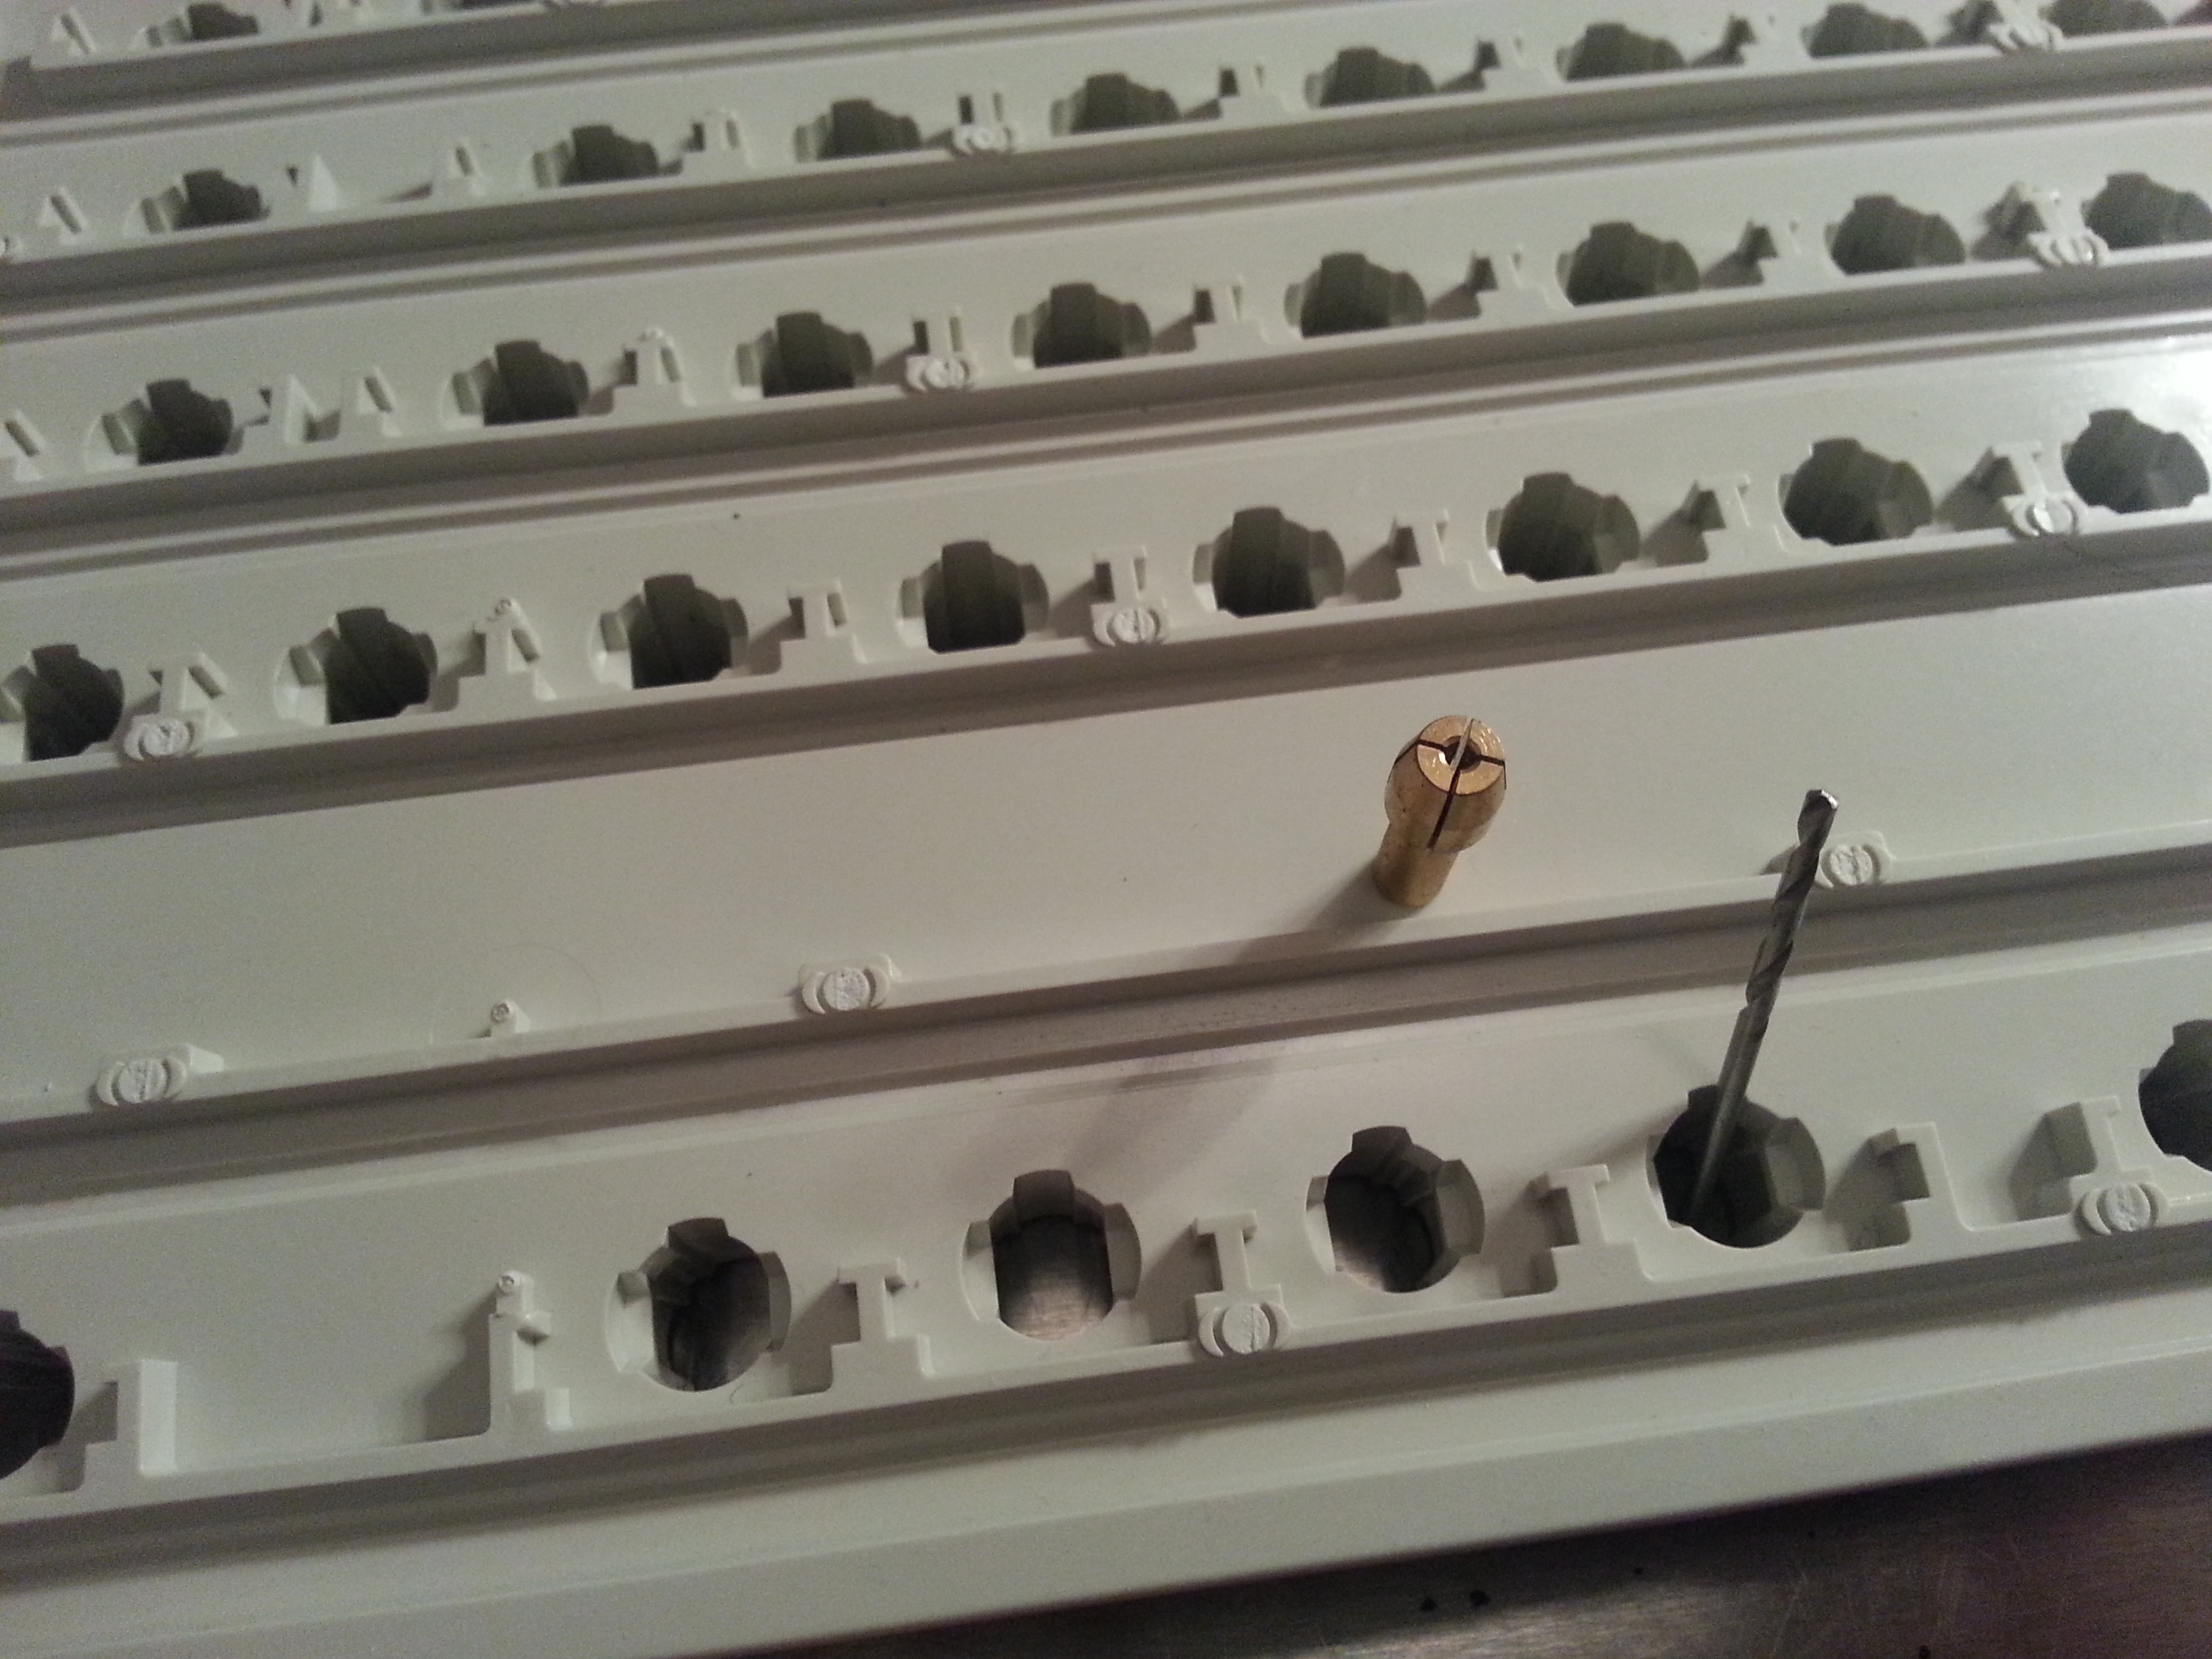
The 1/16" bit needs a different collet than the ball head bit for the rotary tool. I had to buy these online.
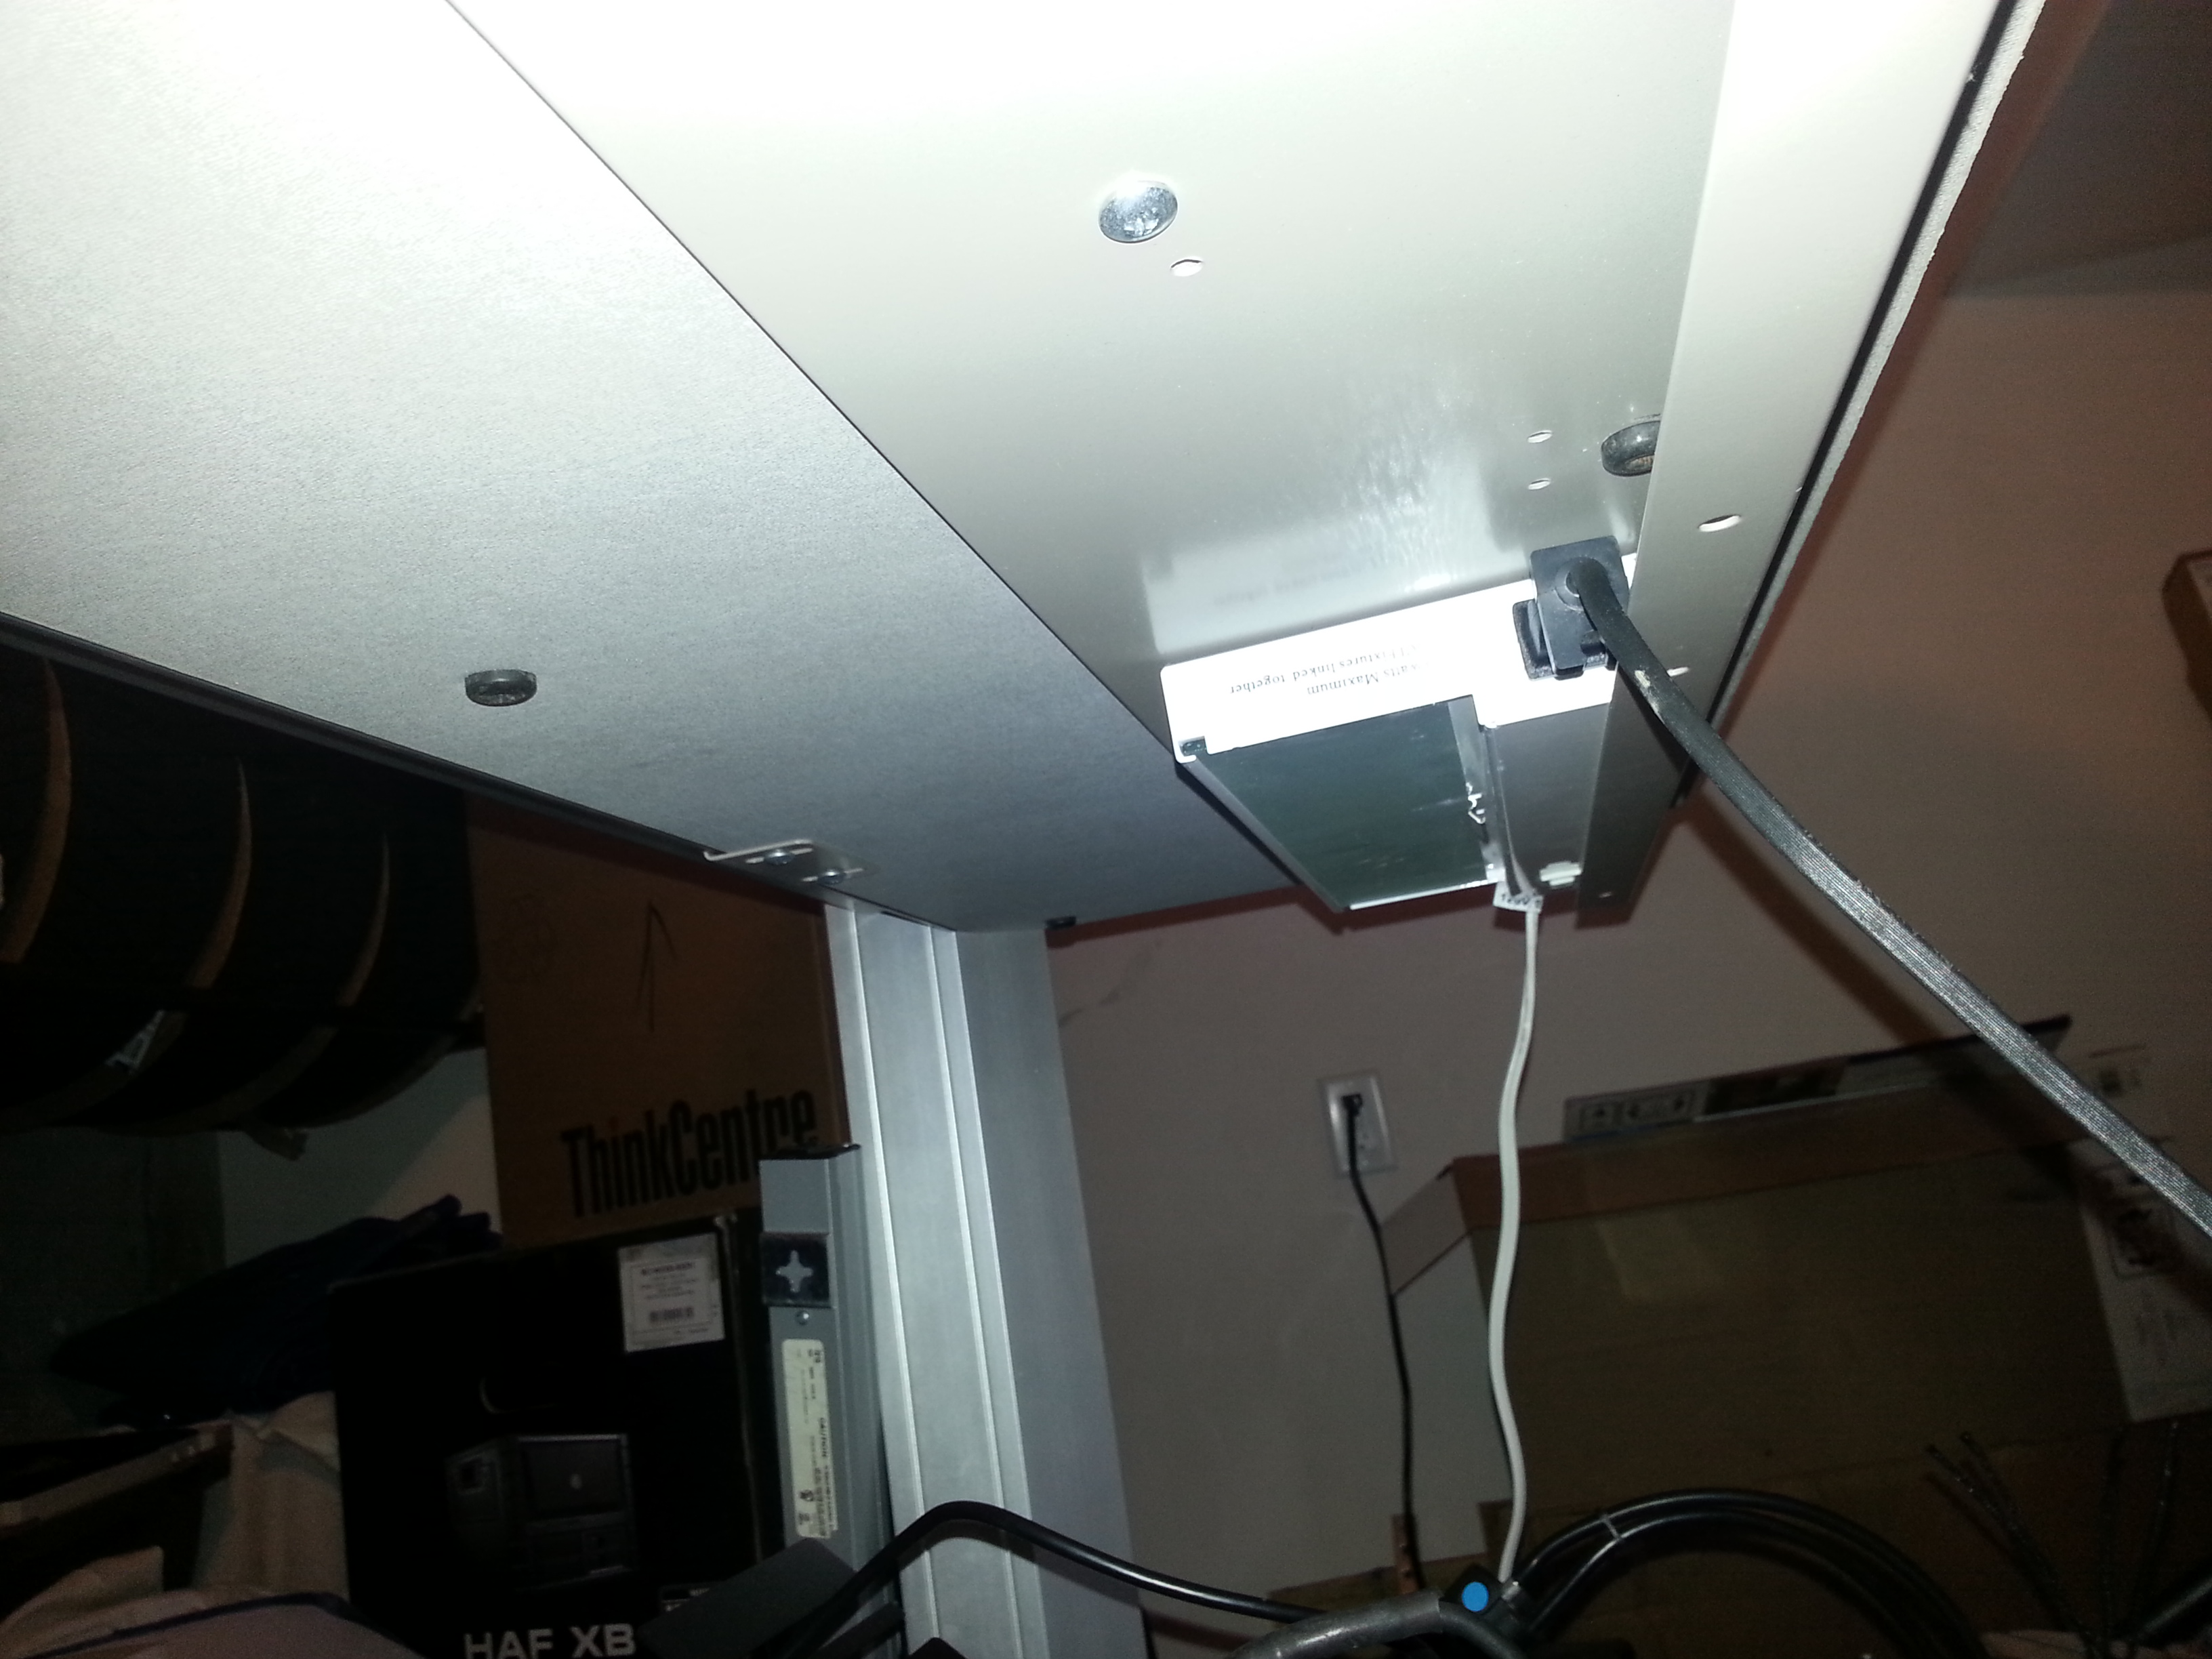
The light on my workstation has a plug on the end: perfect place to plug the rotary tool in!

picture of what it looks like when I make a proper-size divot. This makes the drilling go so much easier.
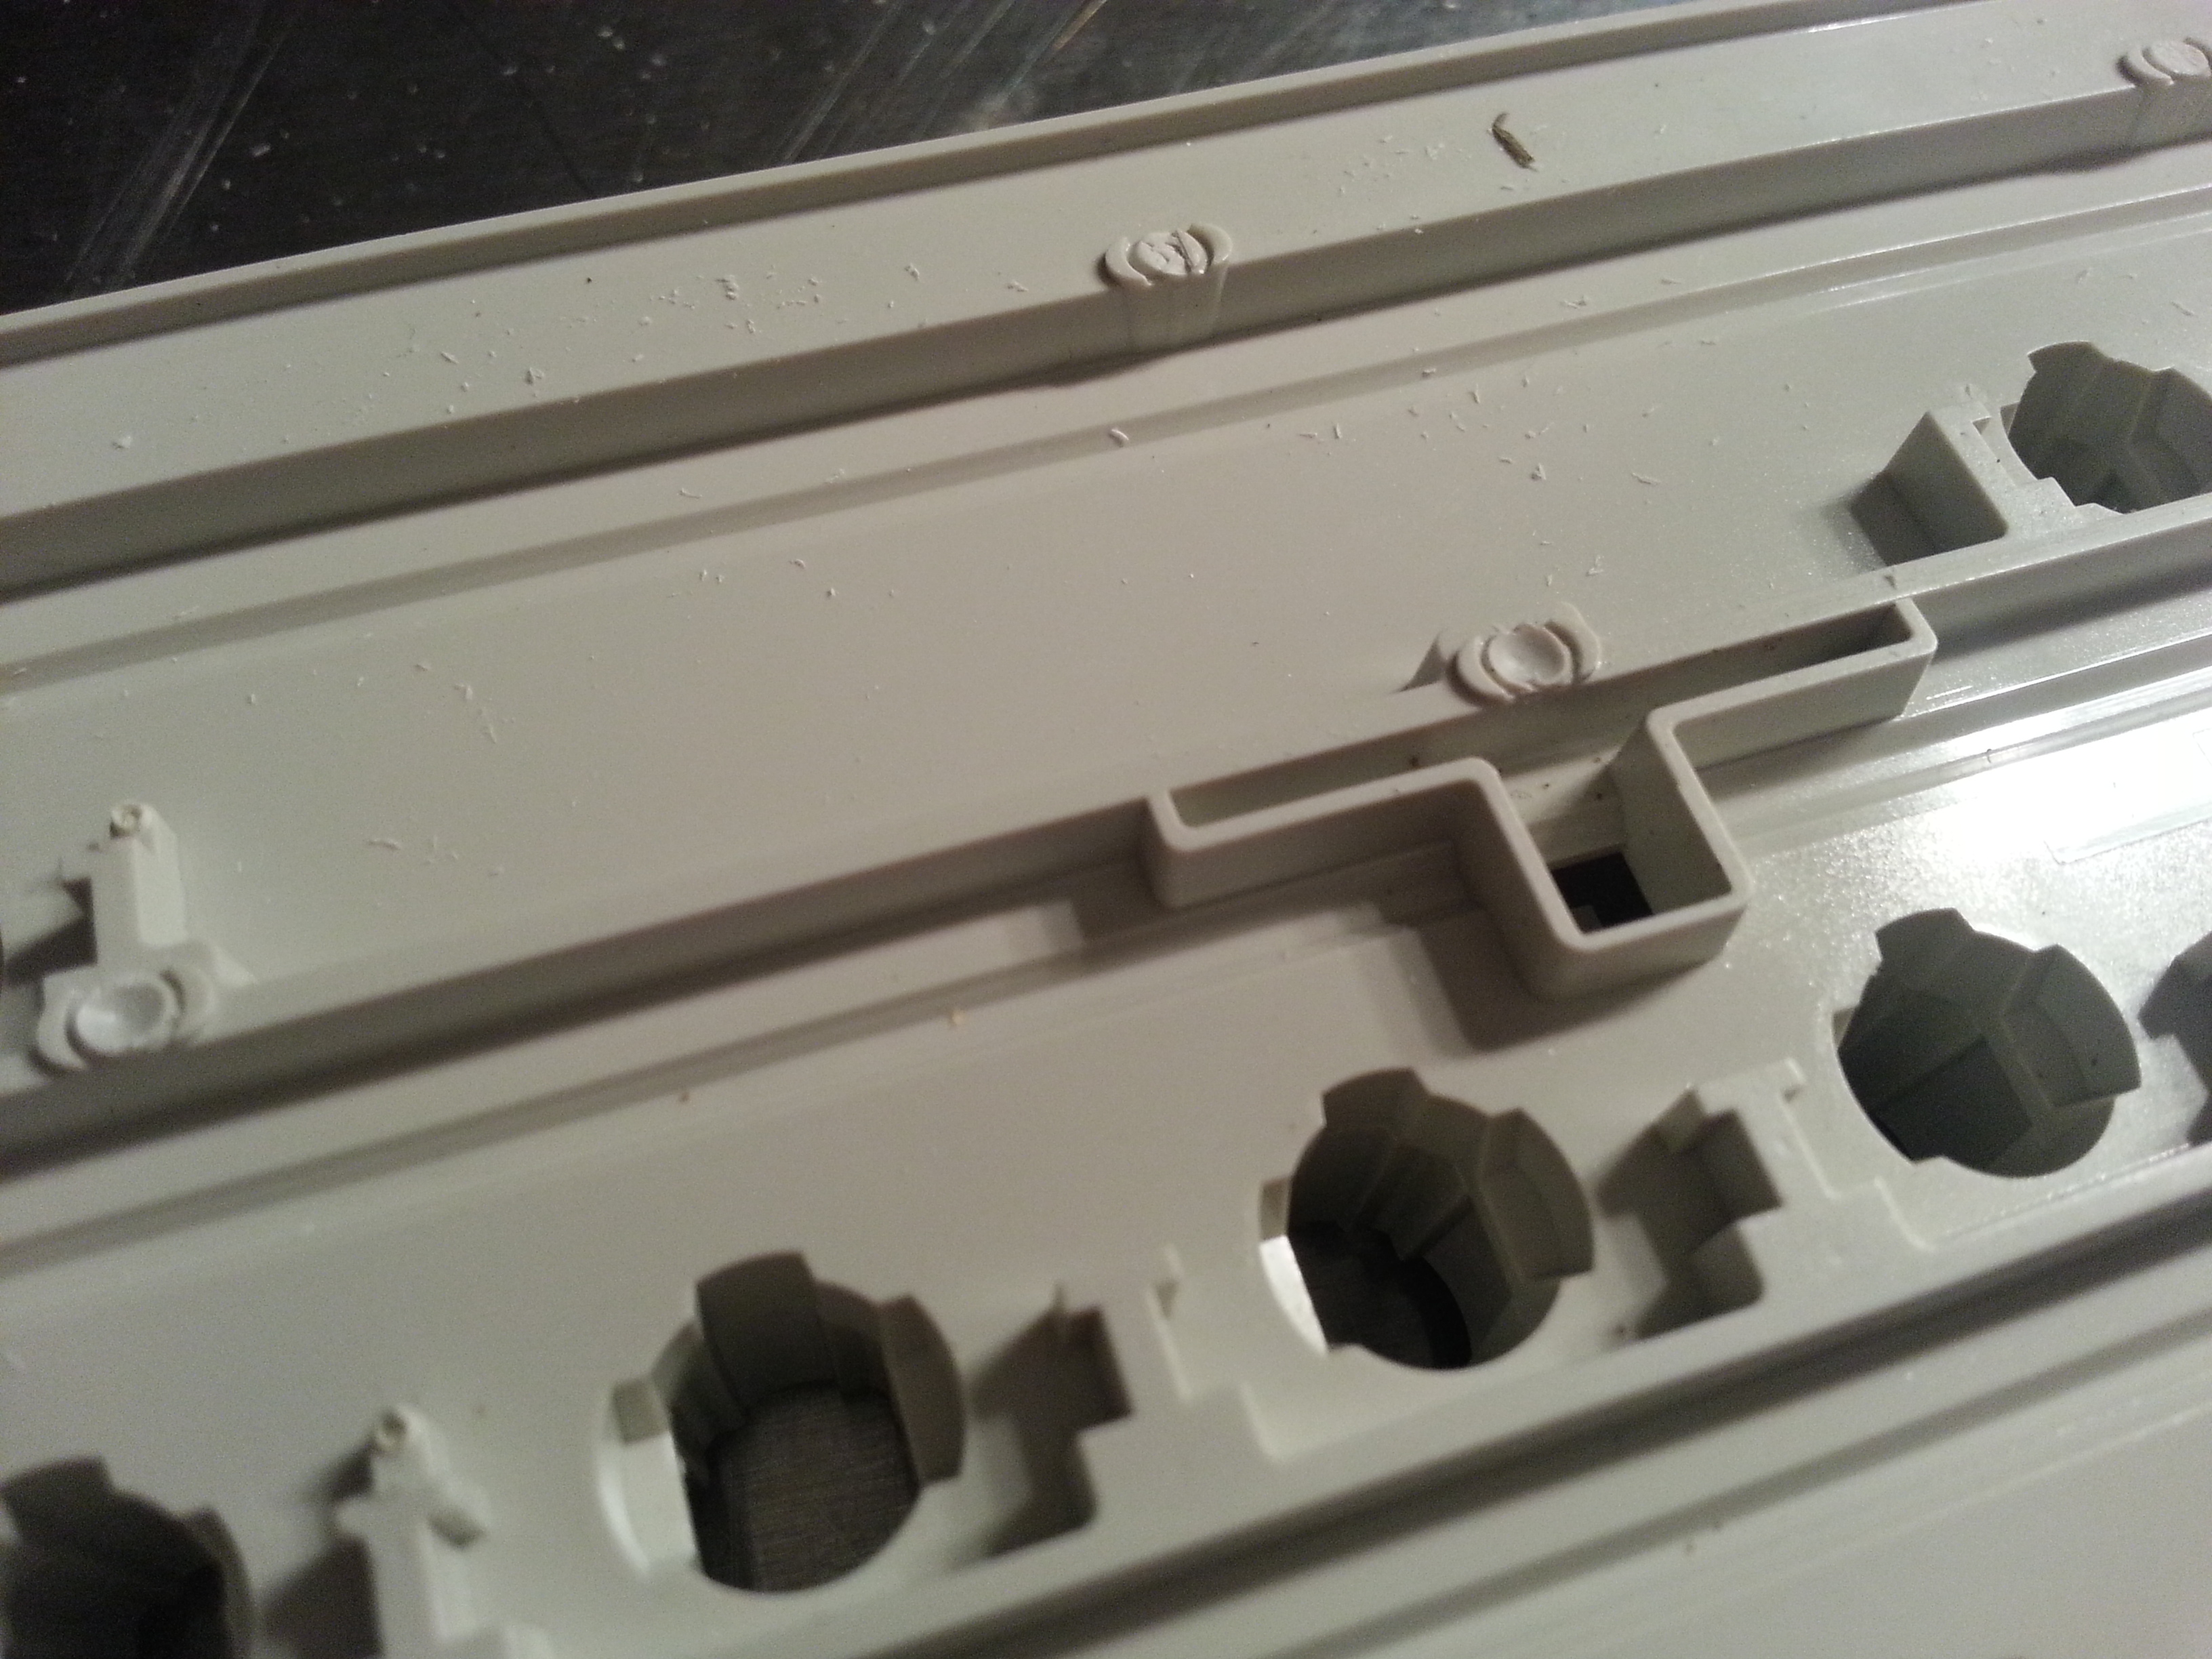
Here's another good divot. You can make them a little deeper if you want.
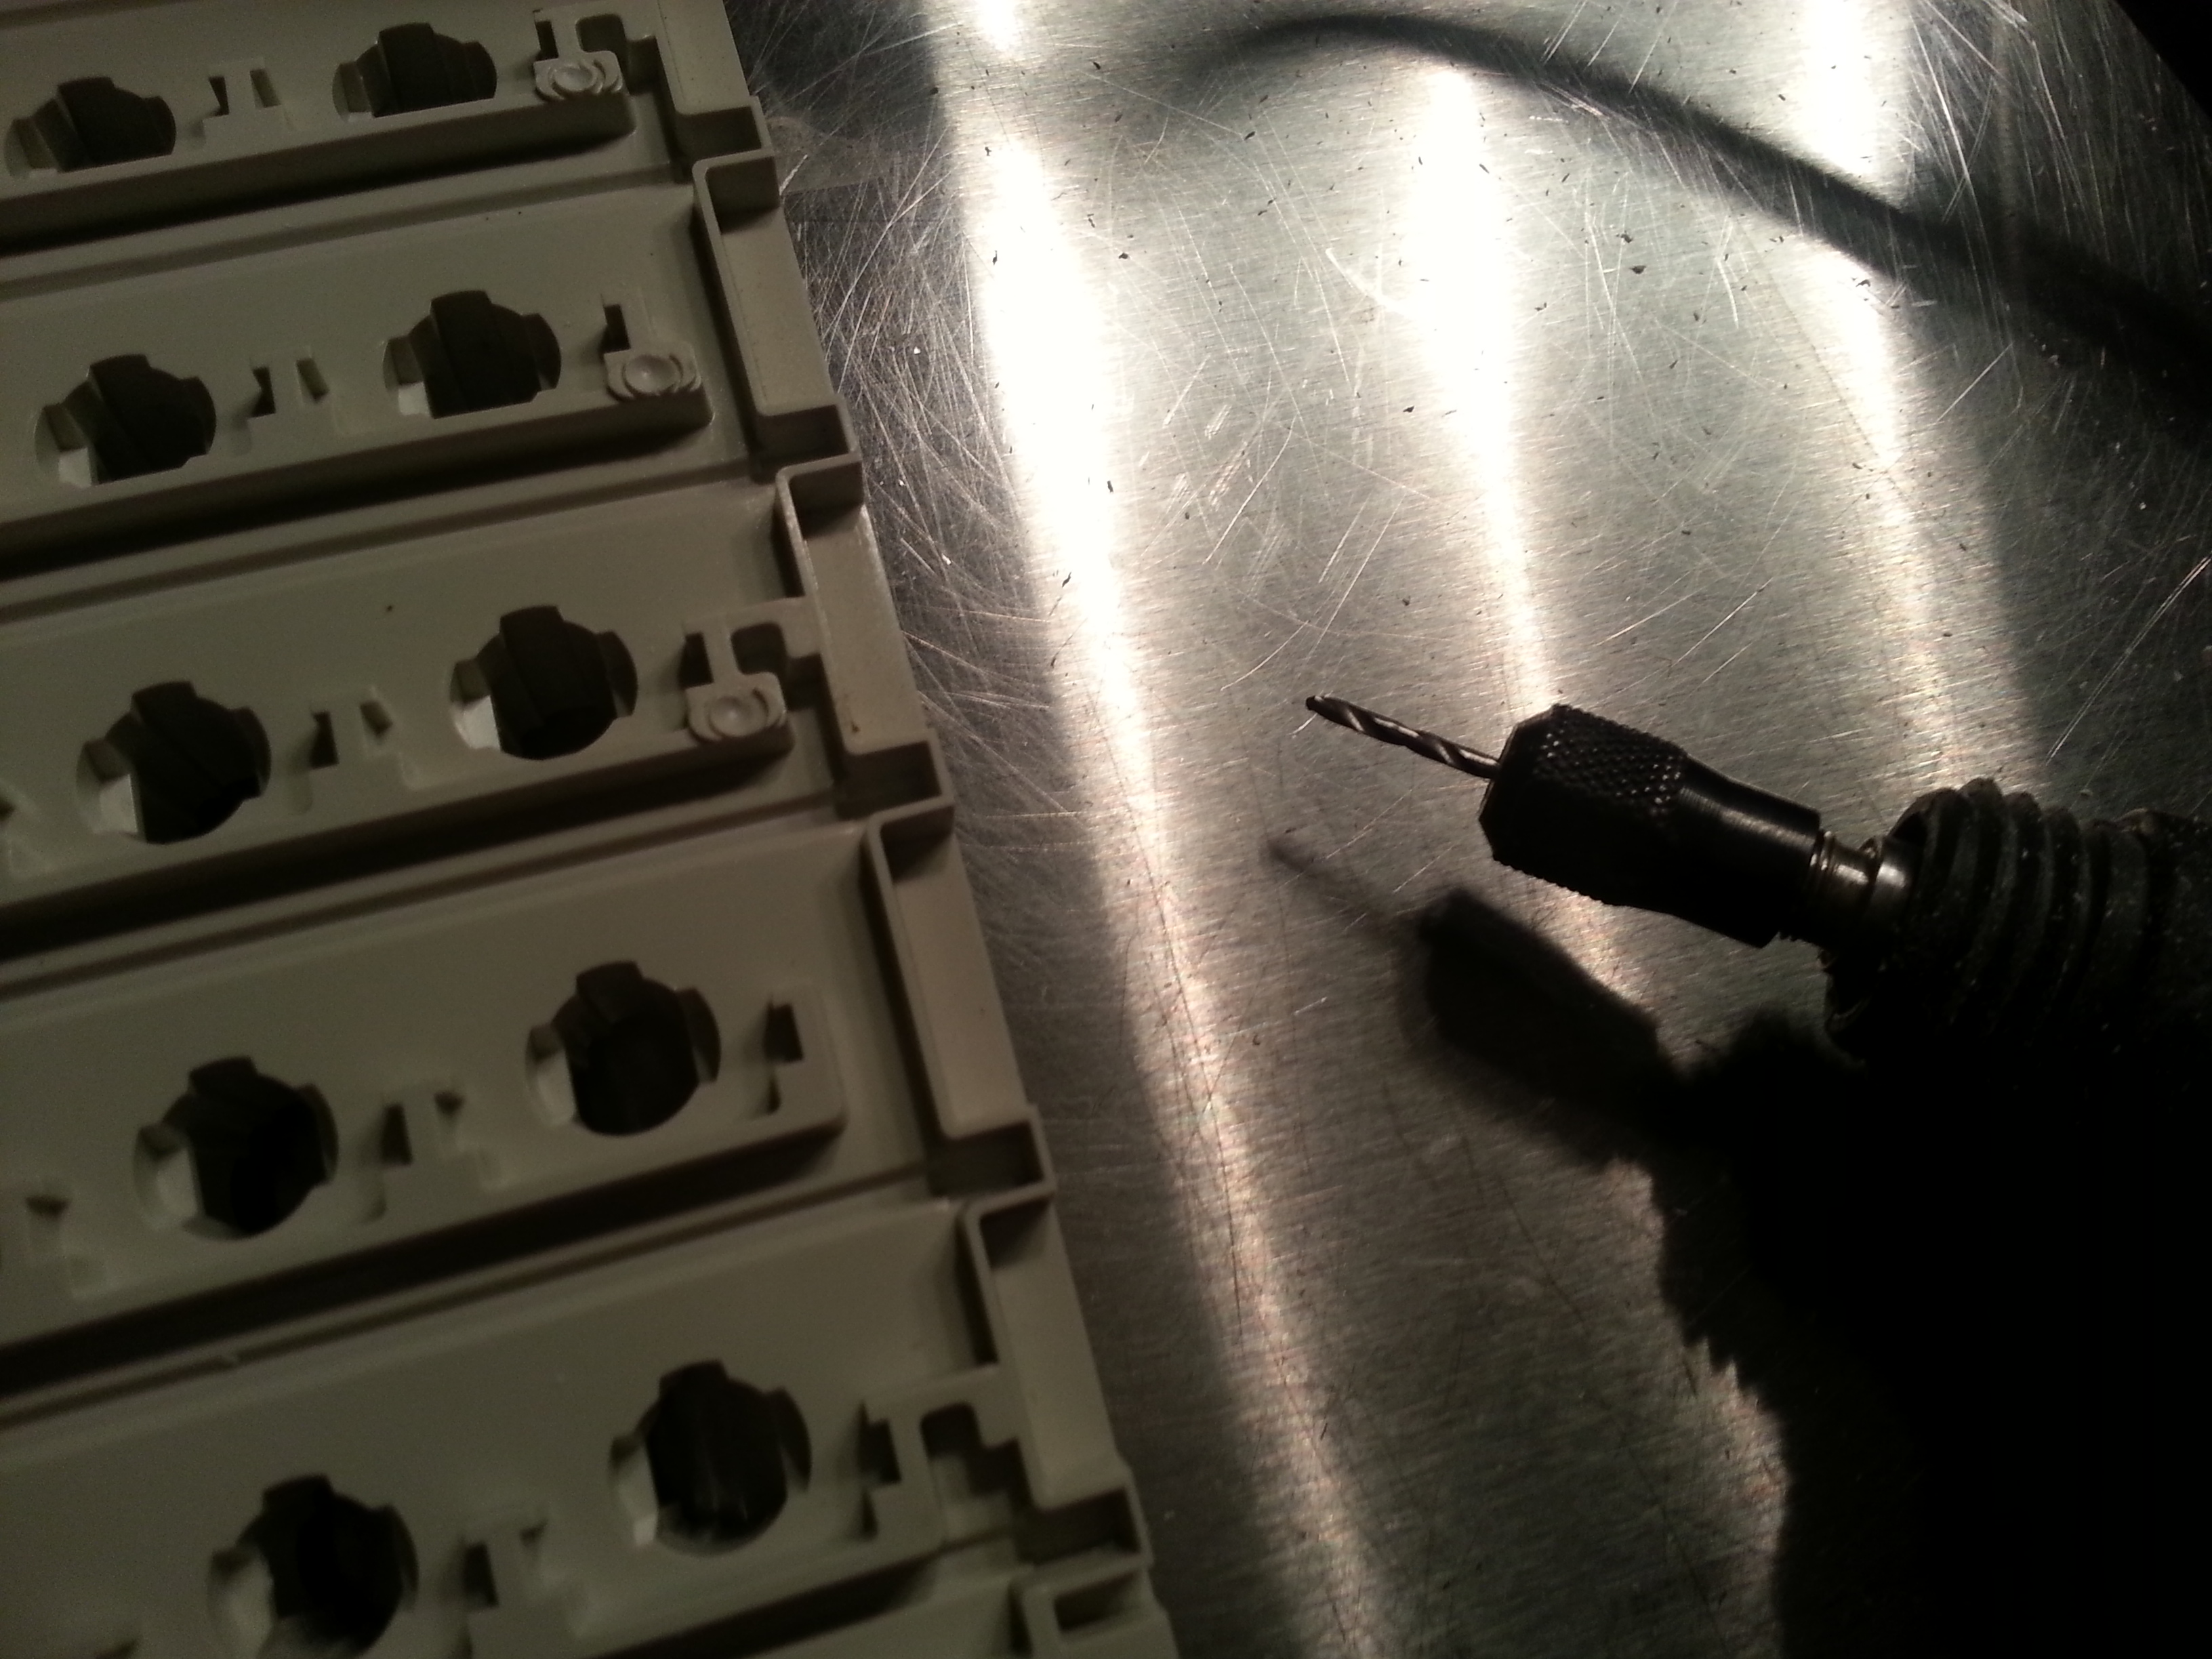
1/16 bit fit in rotary tool. Notice that I don't leave much exposed. This will ensure that I can't drill into my nice stainless steel worksurface after I've drilled through the plate. I'm not sure if that cheap harbor freight 1/16" bit is hard enough to drill through my nice worksurface, but I also don't plan to find out.
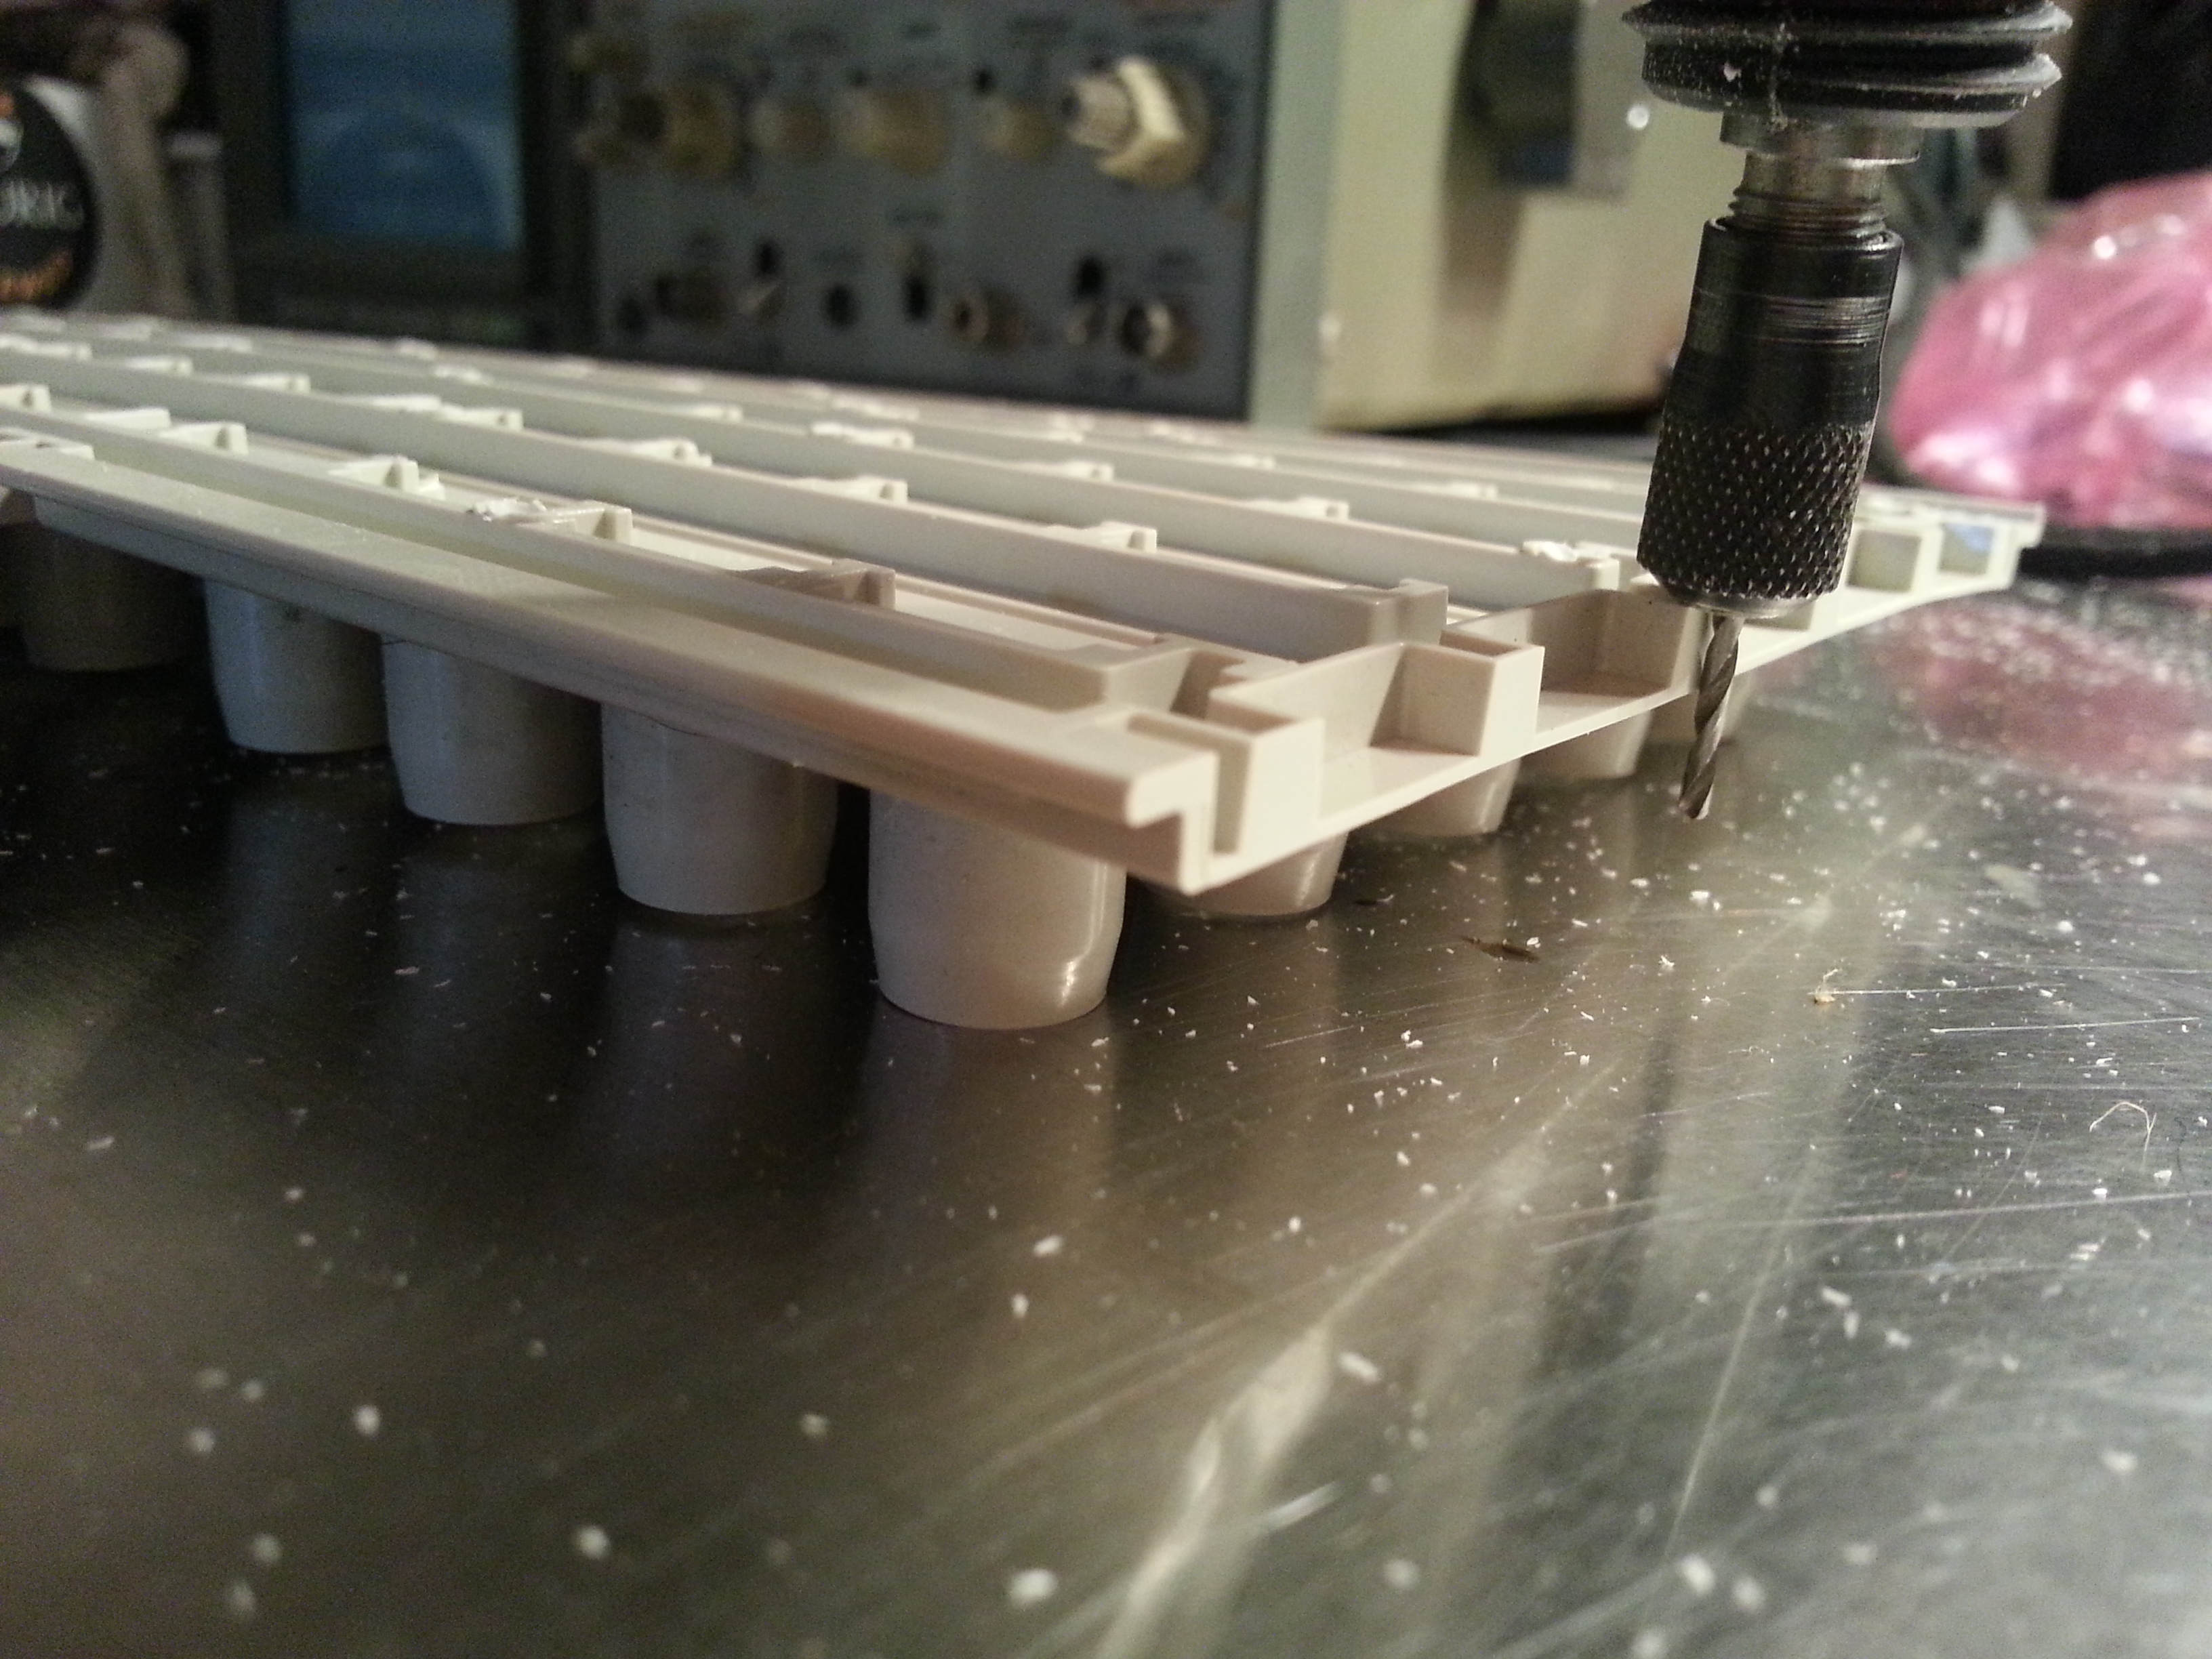
as you can see there's a gap.
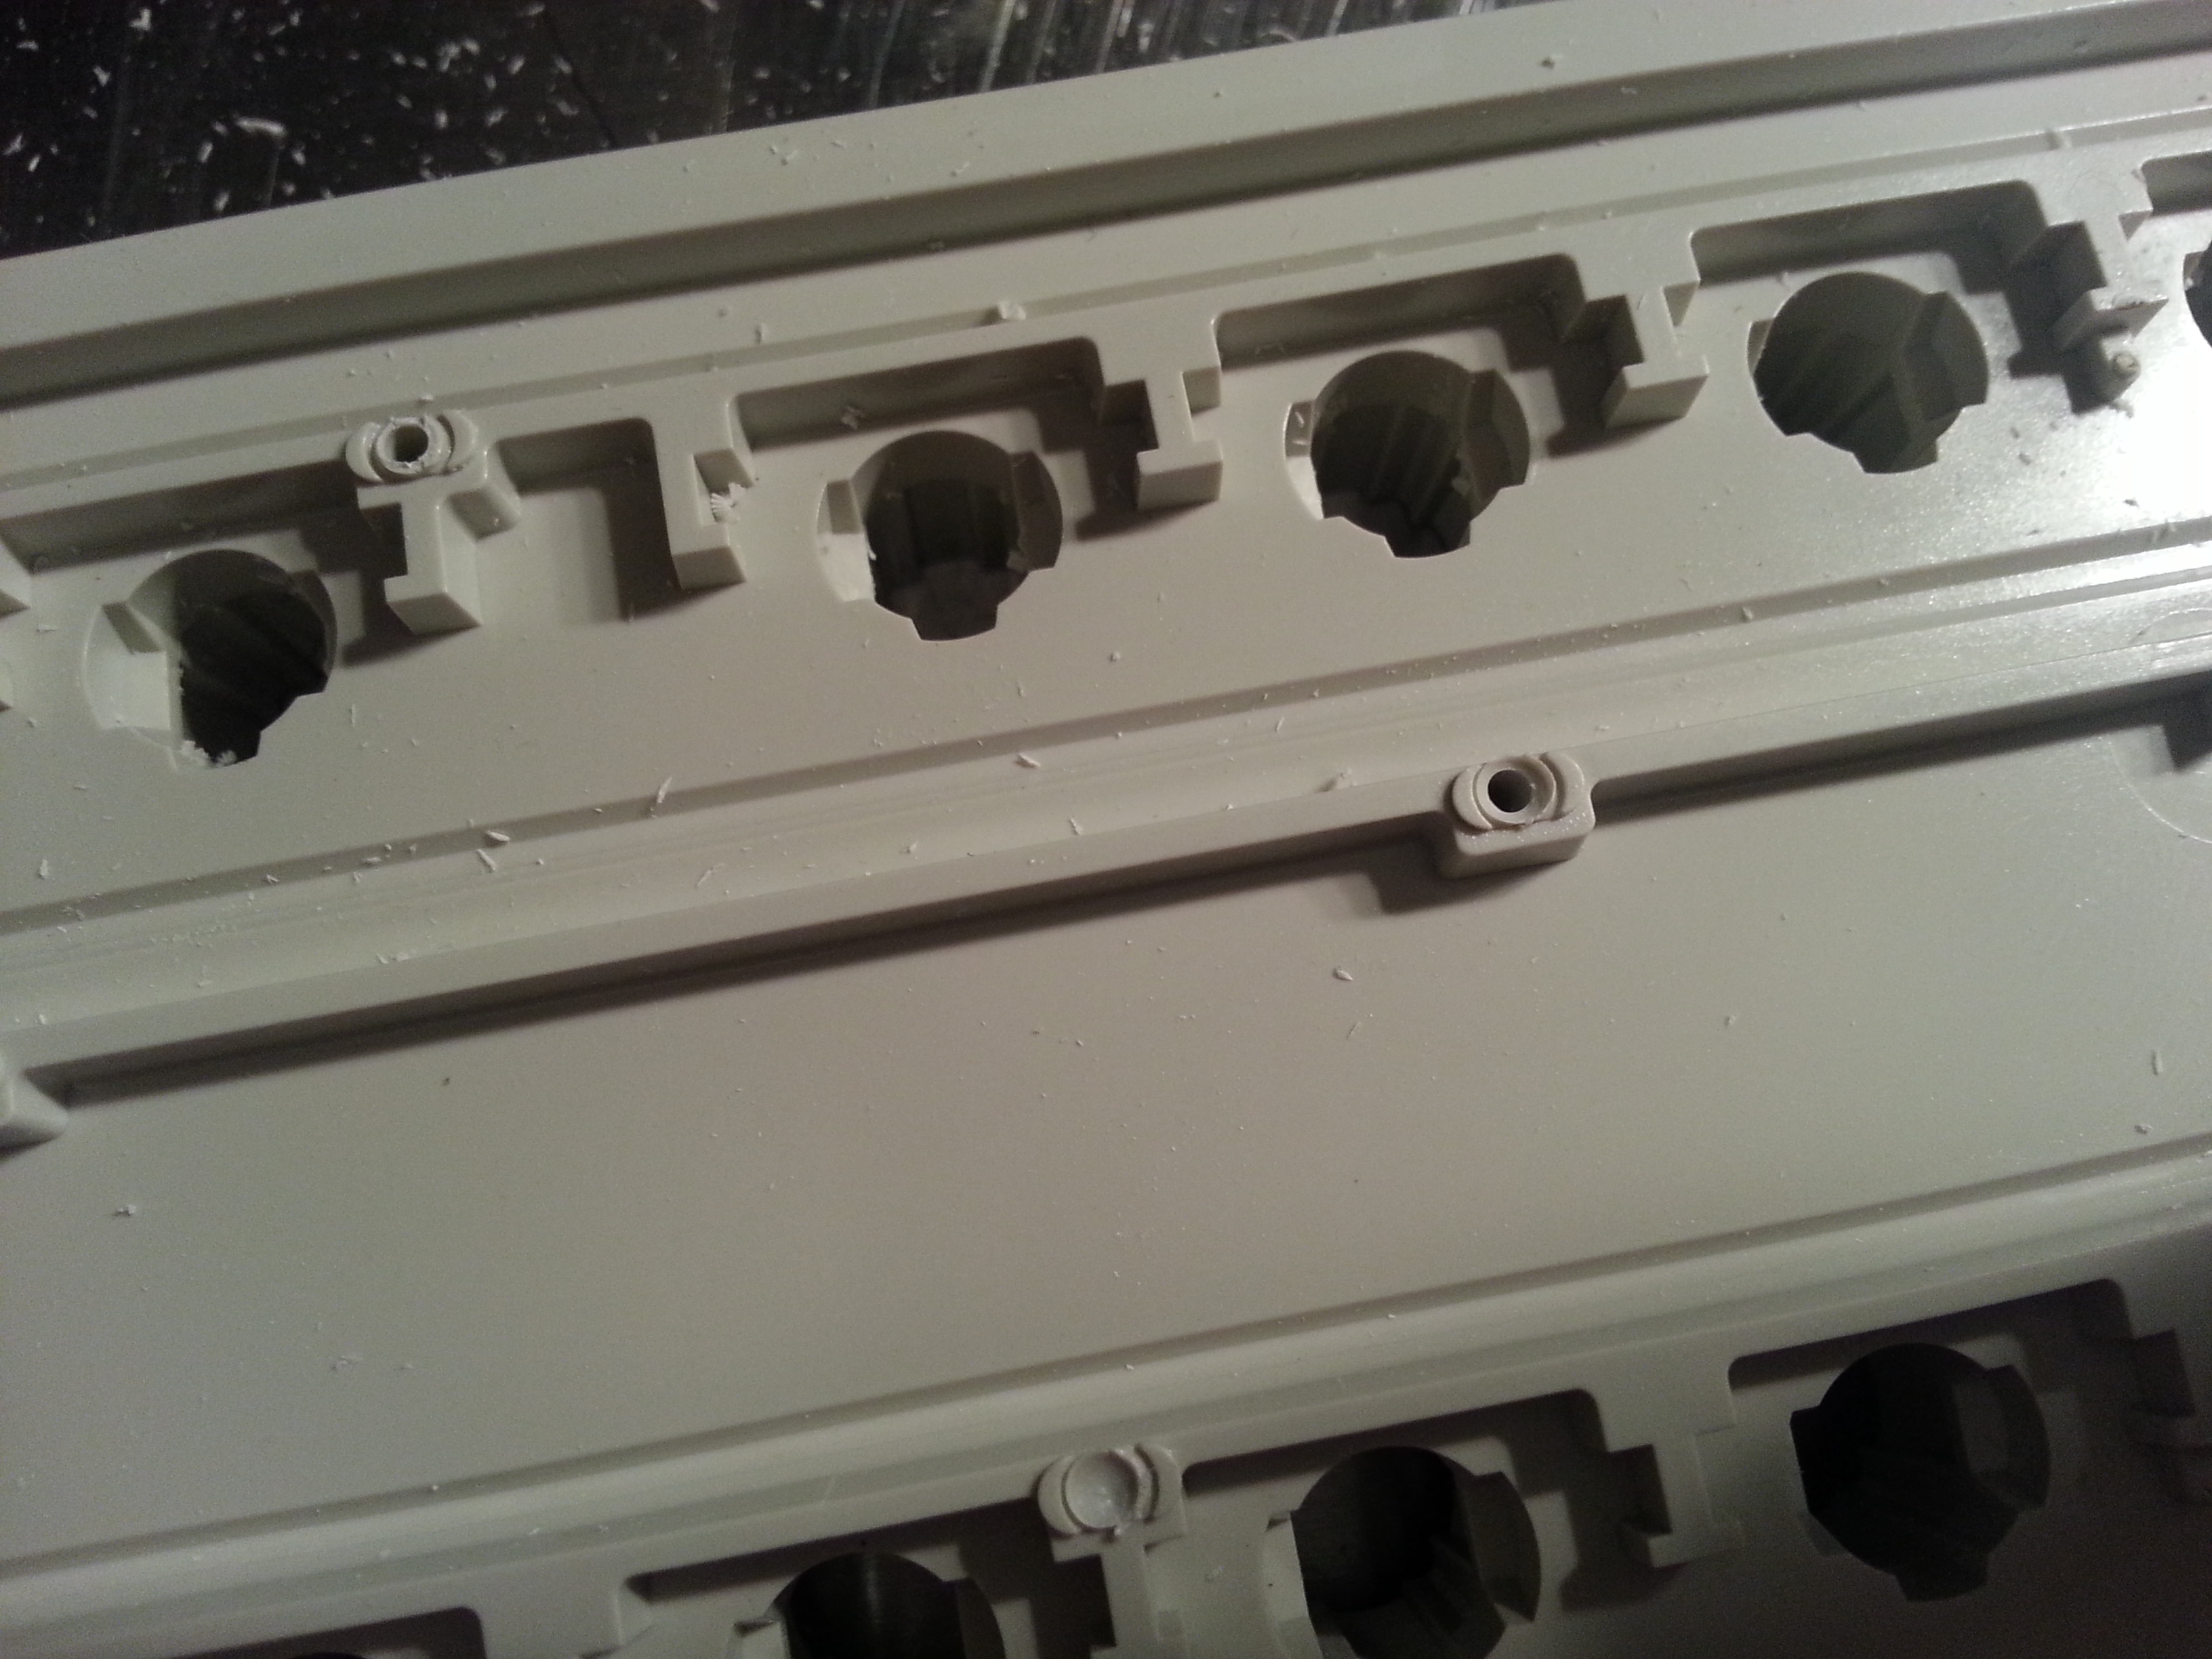
here is a picture of some drilled holes. Notice that it's very well centered! The drill bit does not "wander" at all with those divots in place. Drilling is fast and easy. Most of the holes come out perfect. The rest are close enough that they'll be fine.
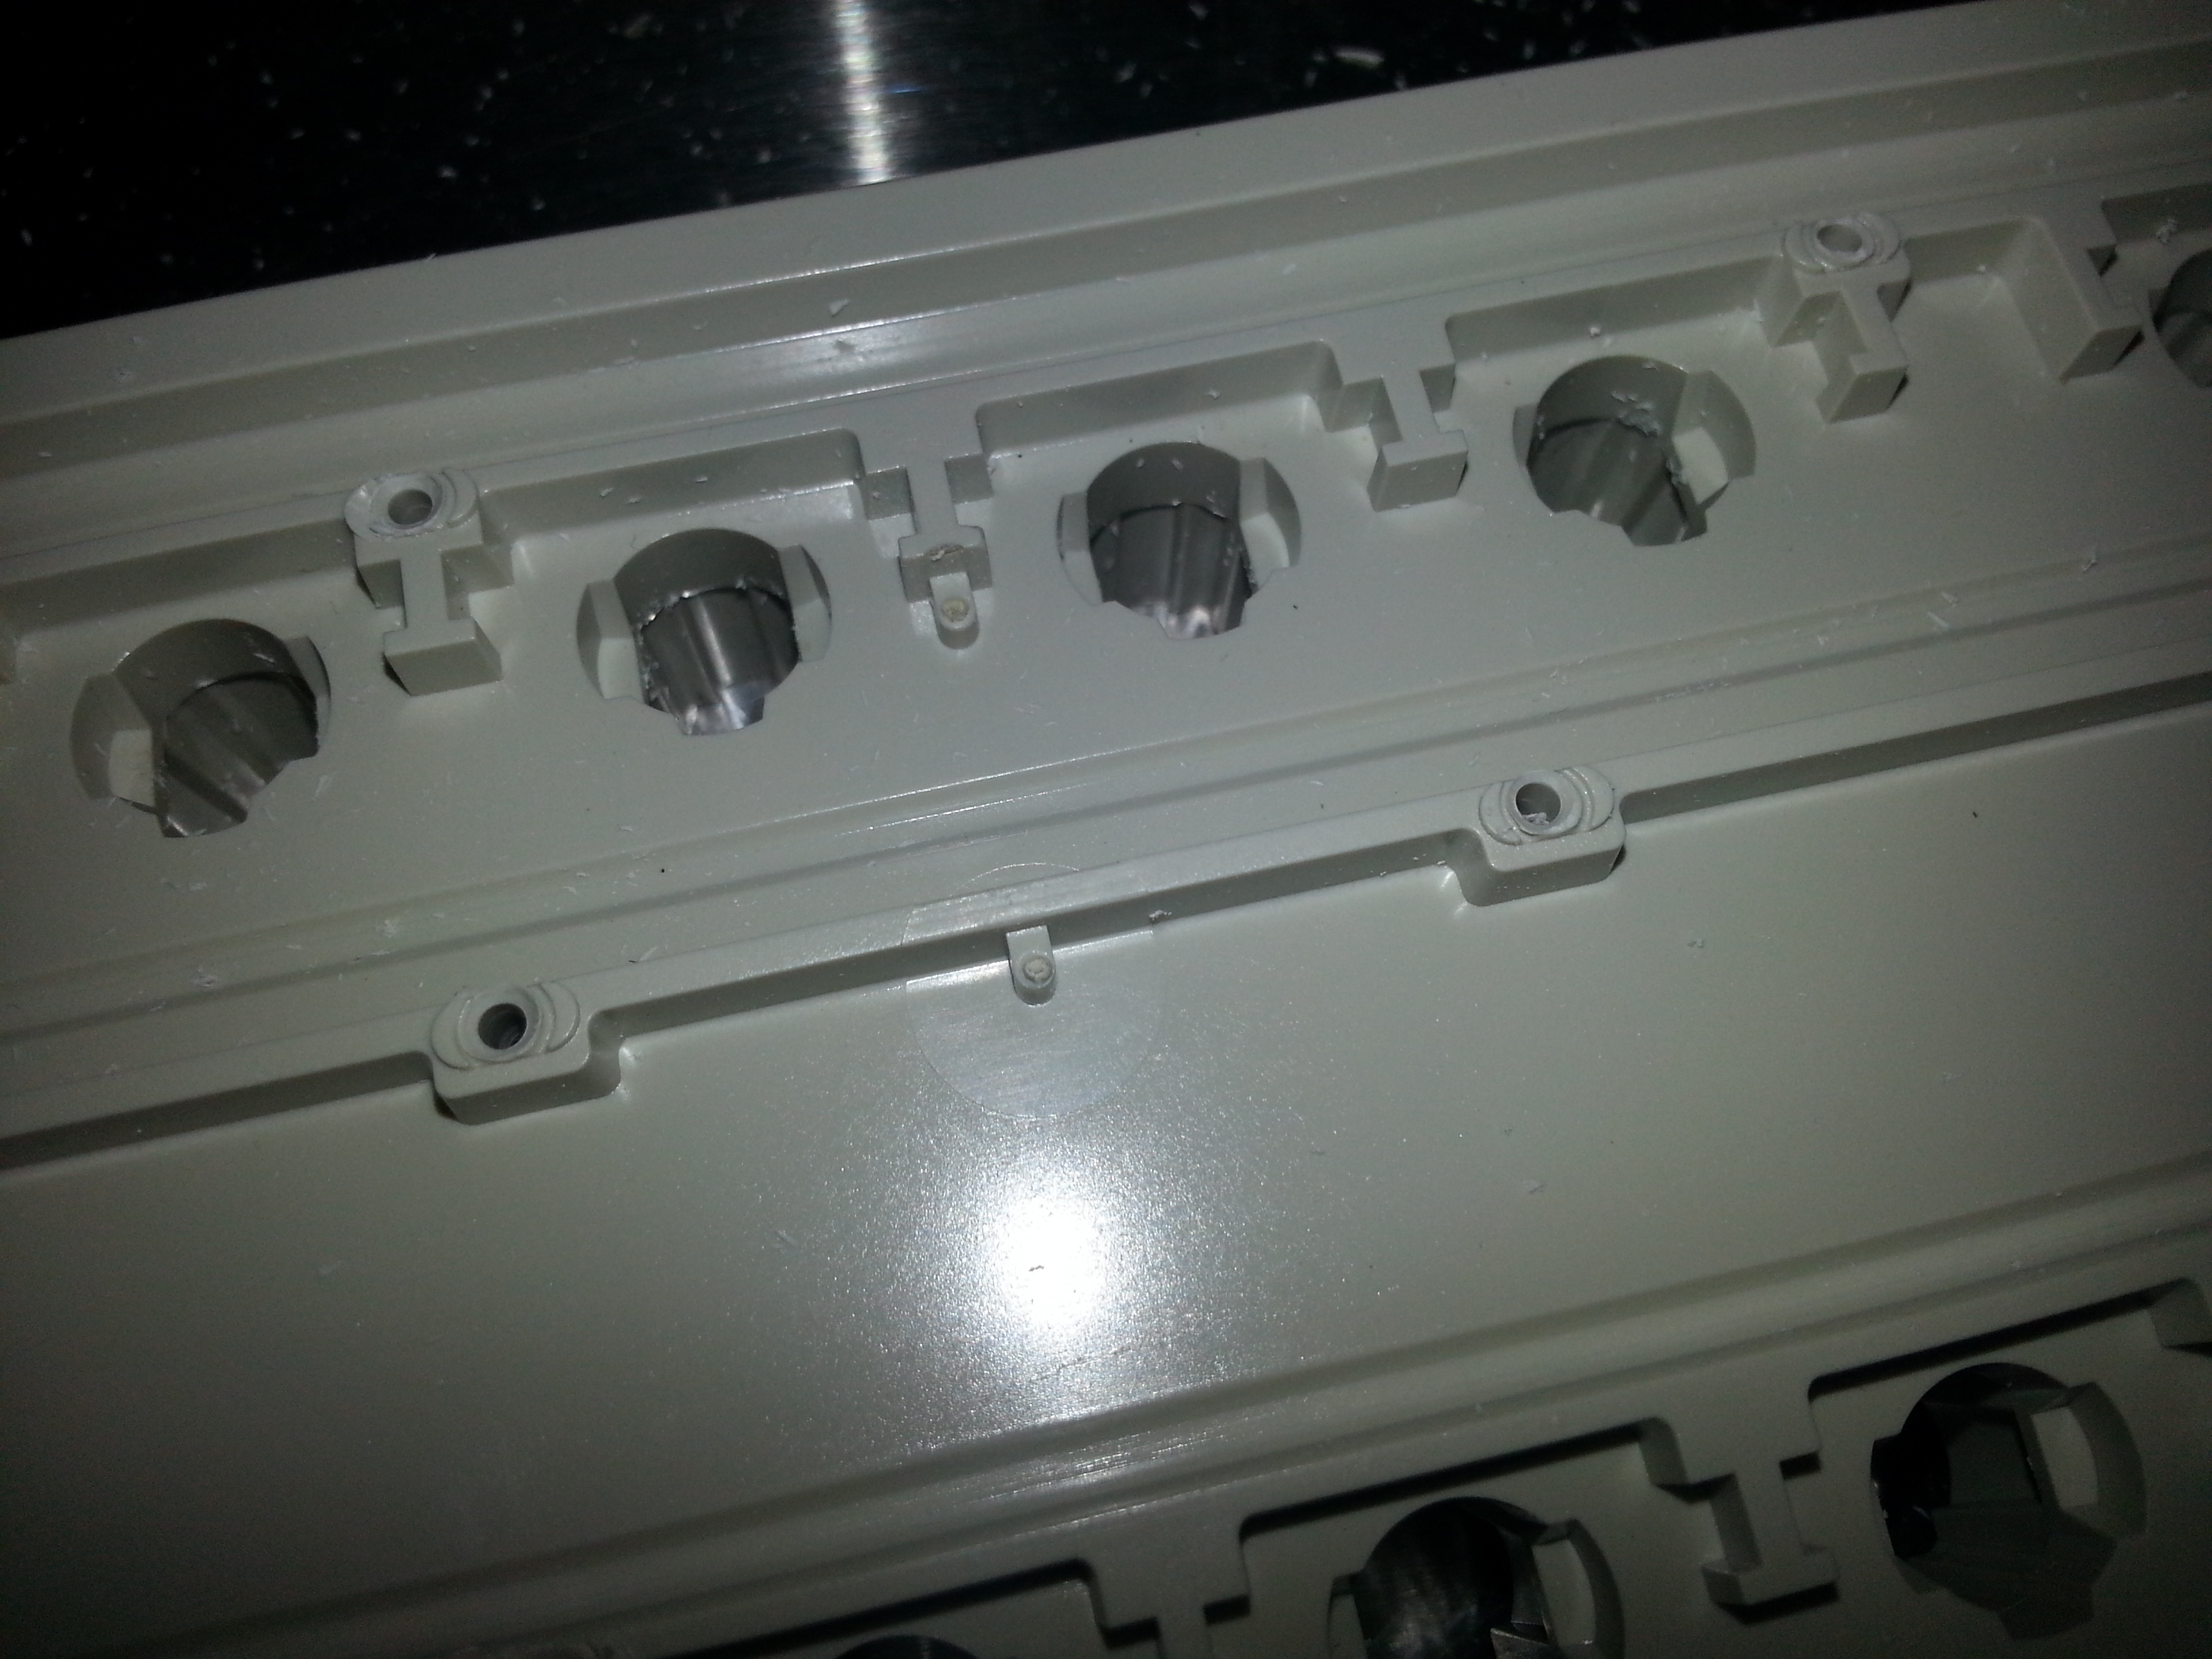
picture with flash of above
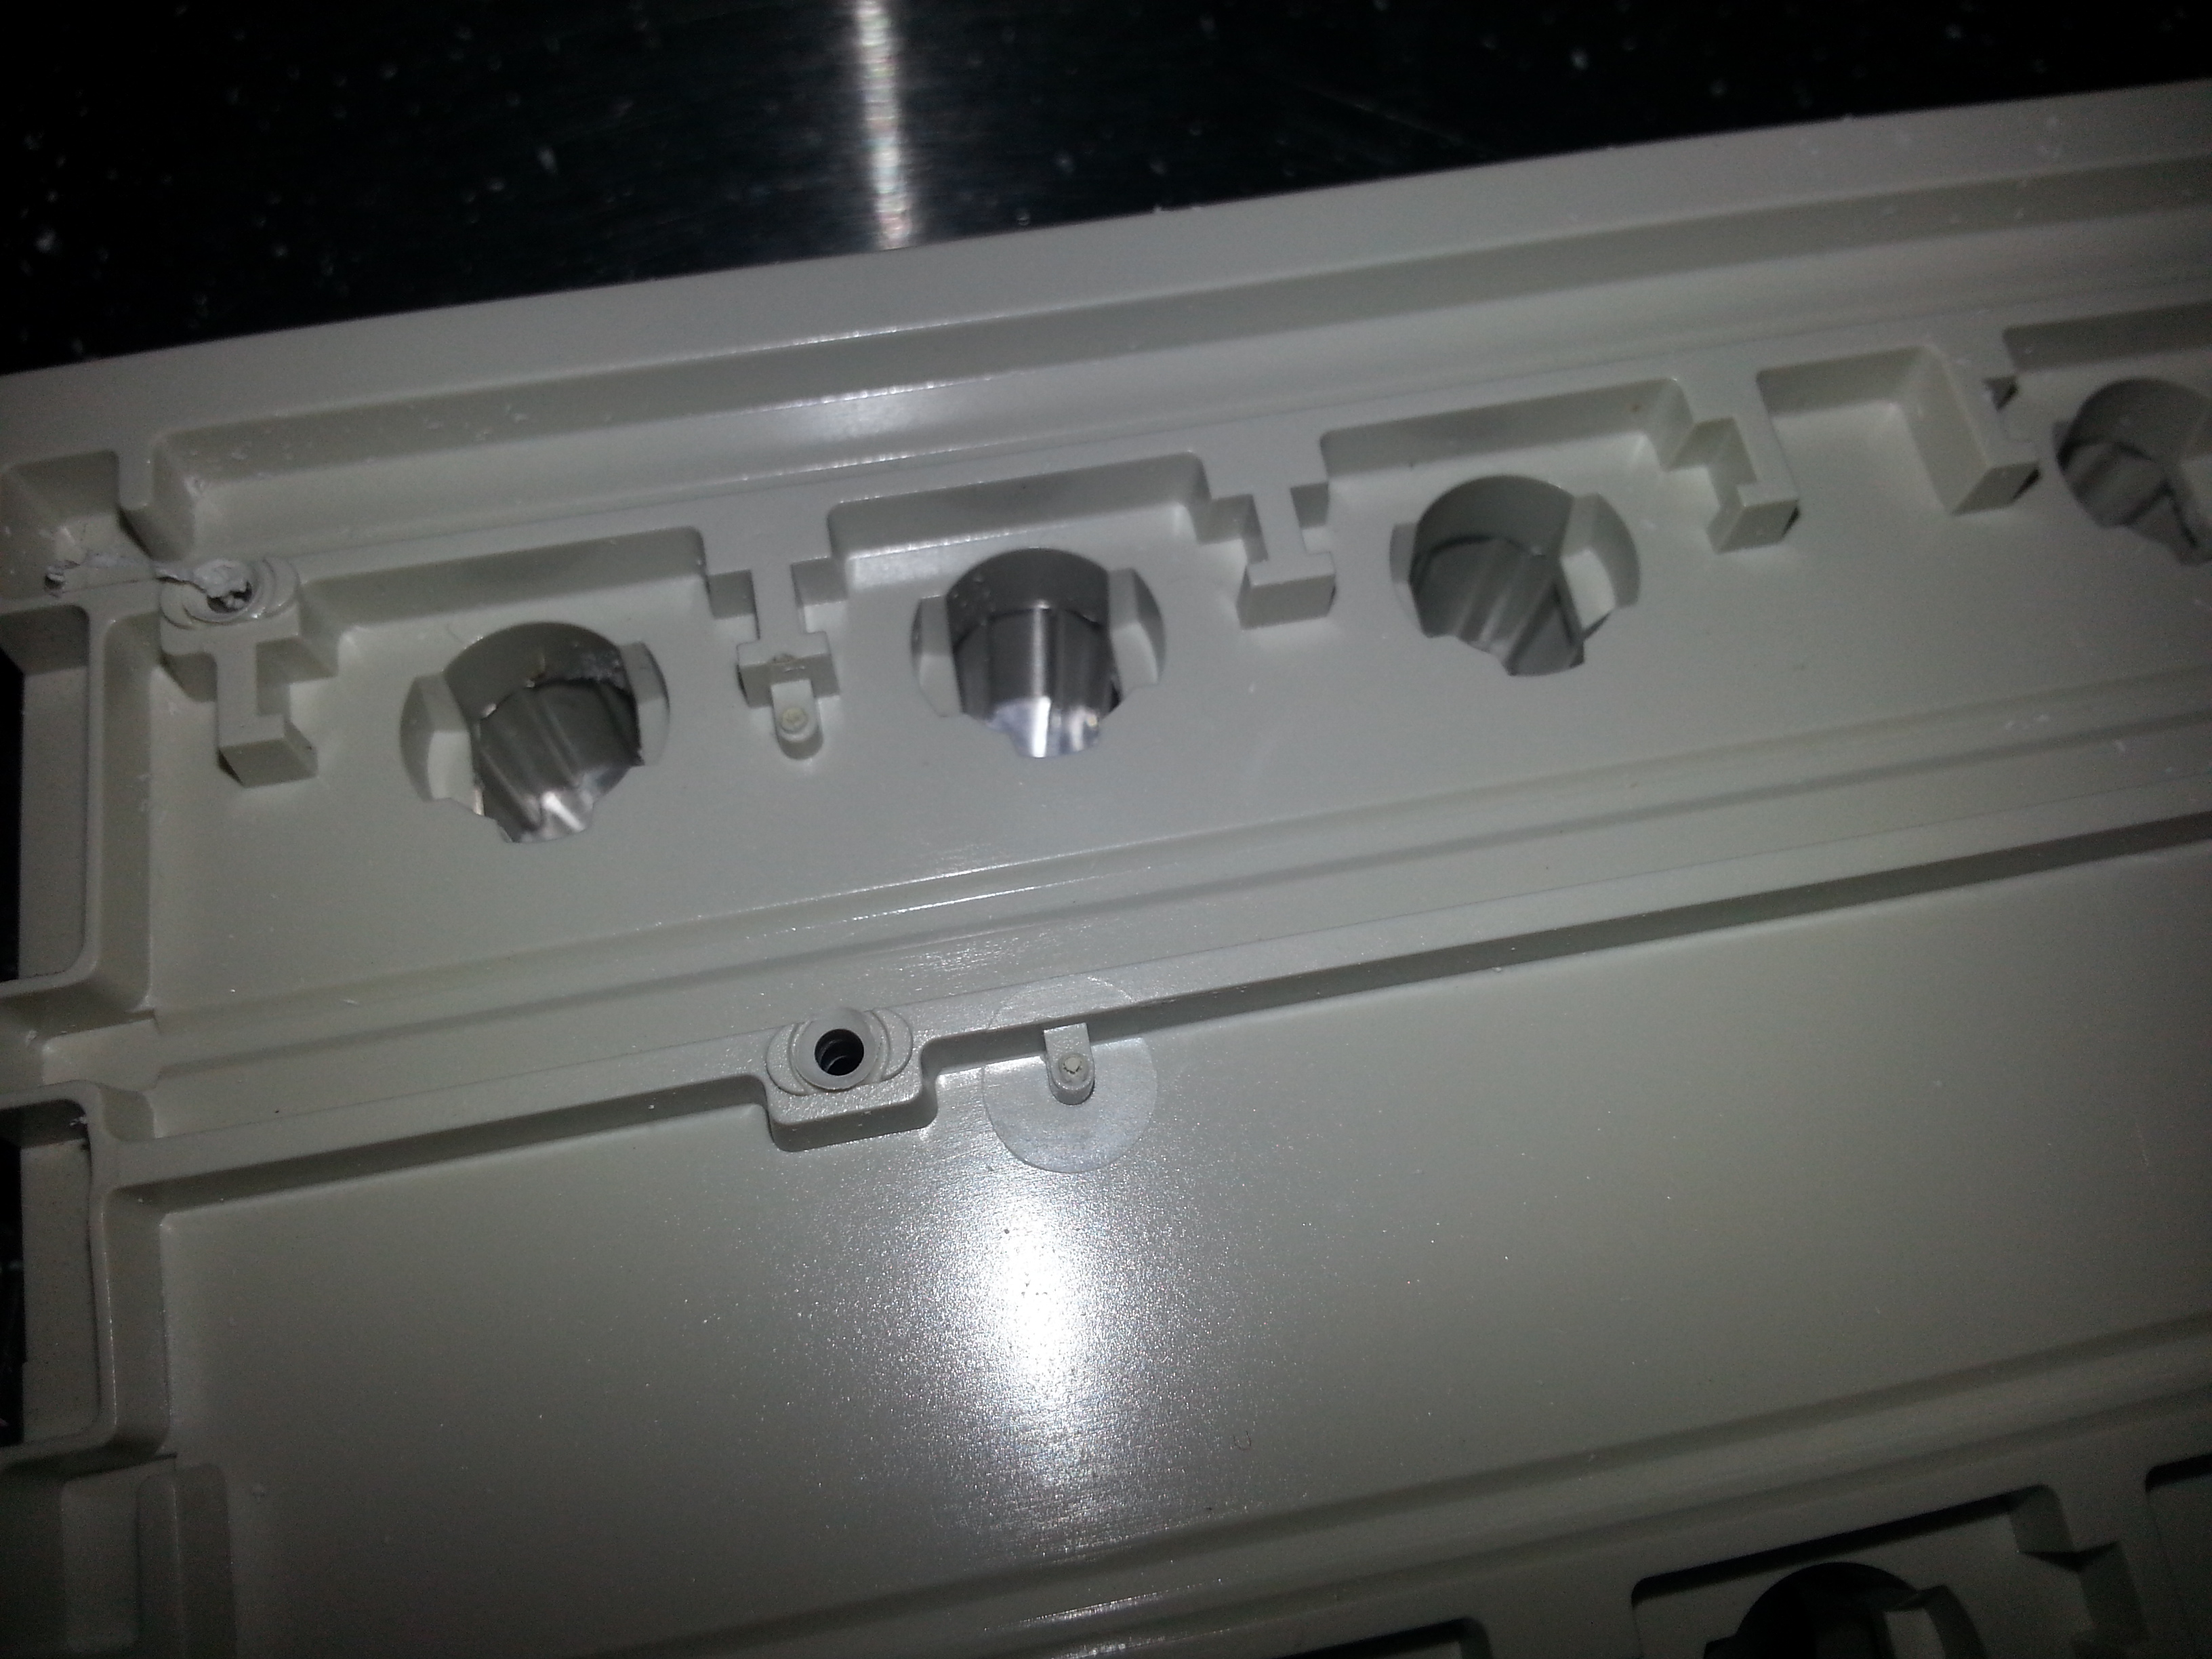
The hole on the left has some plastic in it. Just remove those later. I dust off the barrel frame ("chimneys") after I'm through. Also see how nicely centered the hole is! Those divots take up a lot of time to make one in every single rivet place, but it saves time later with the drilling and makes it a lot harder to mess up.
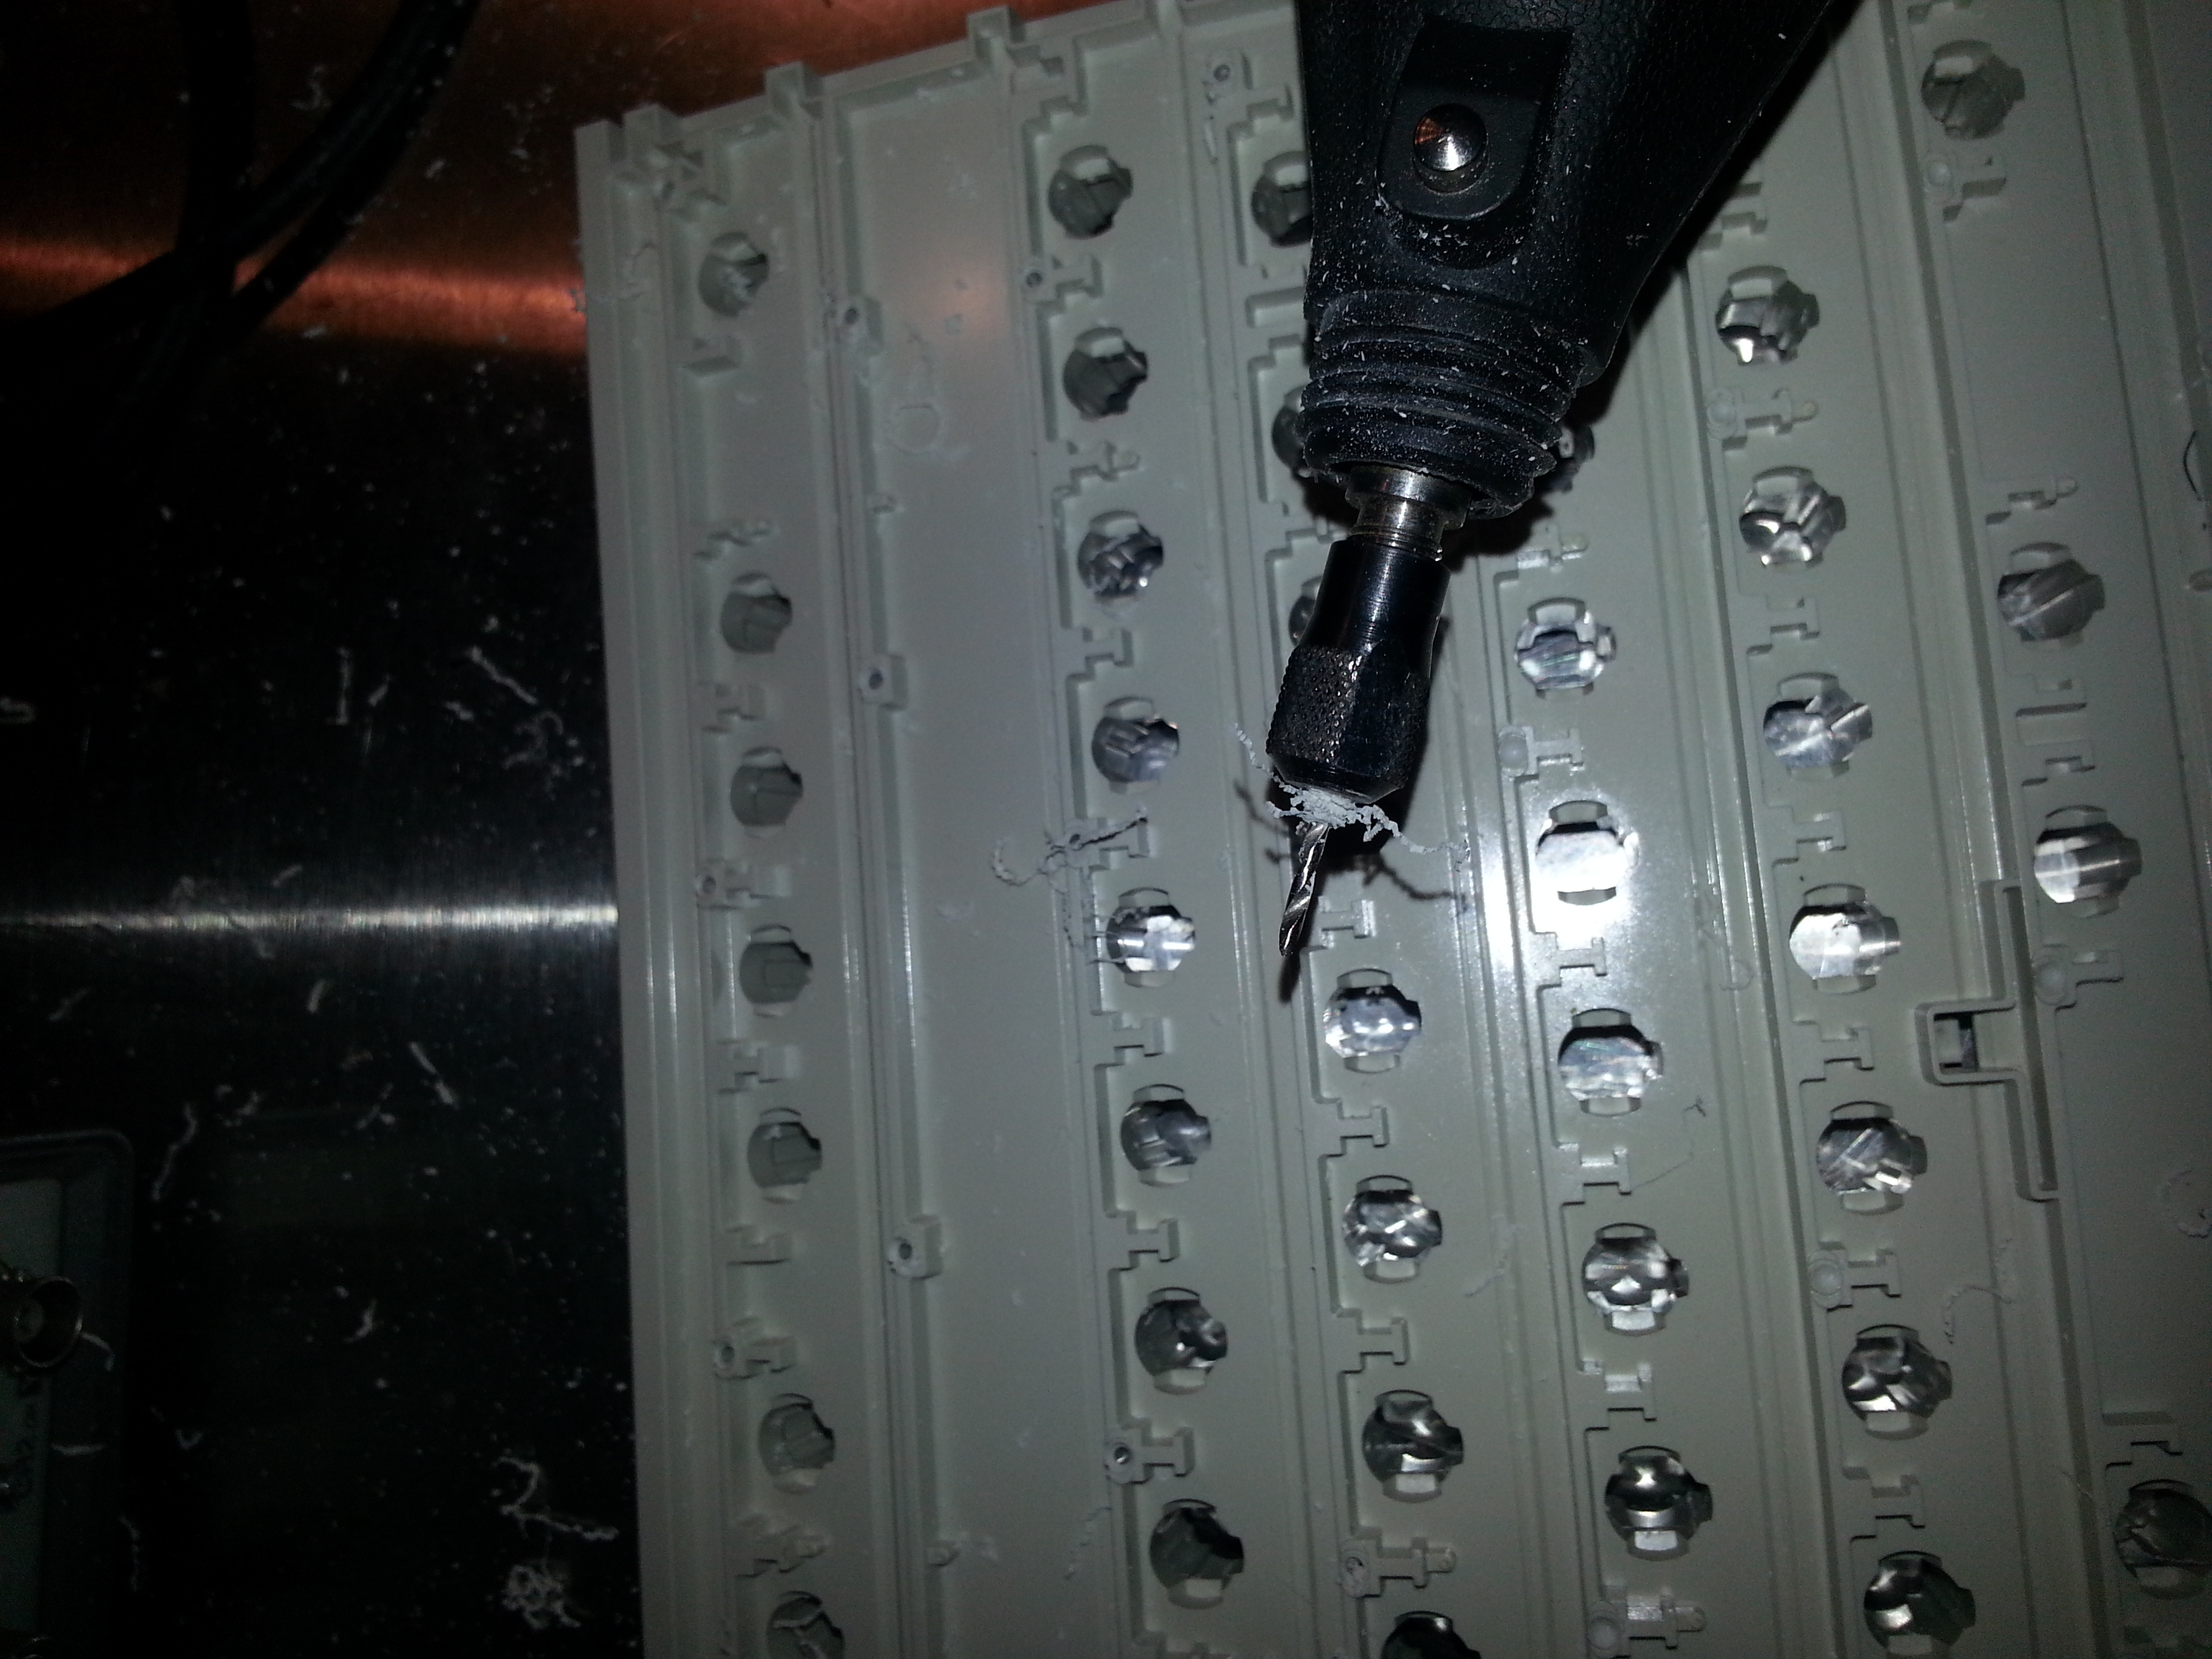
after a while, plastic will build up on your drill bit like so. Make sure to remove it every once in a while. It's possible for the plastic to build up, and then melt, and then it's hard to get off you bit, but the worst part is that the melted blob of plastic on the end can abrade your hole making it too wide! This isn't a catastrophe if it happens but is very annoying. Just clean your bit every once in a while.
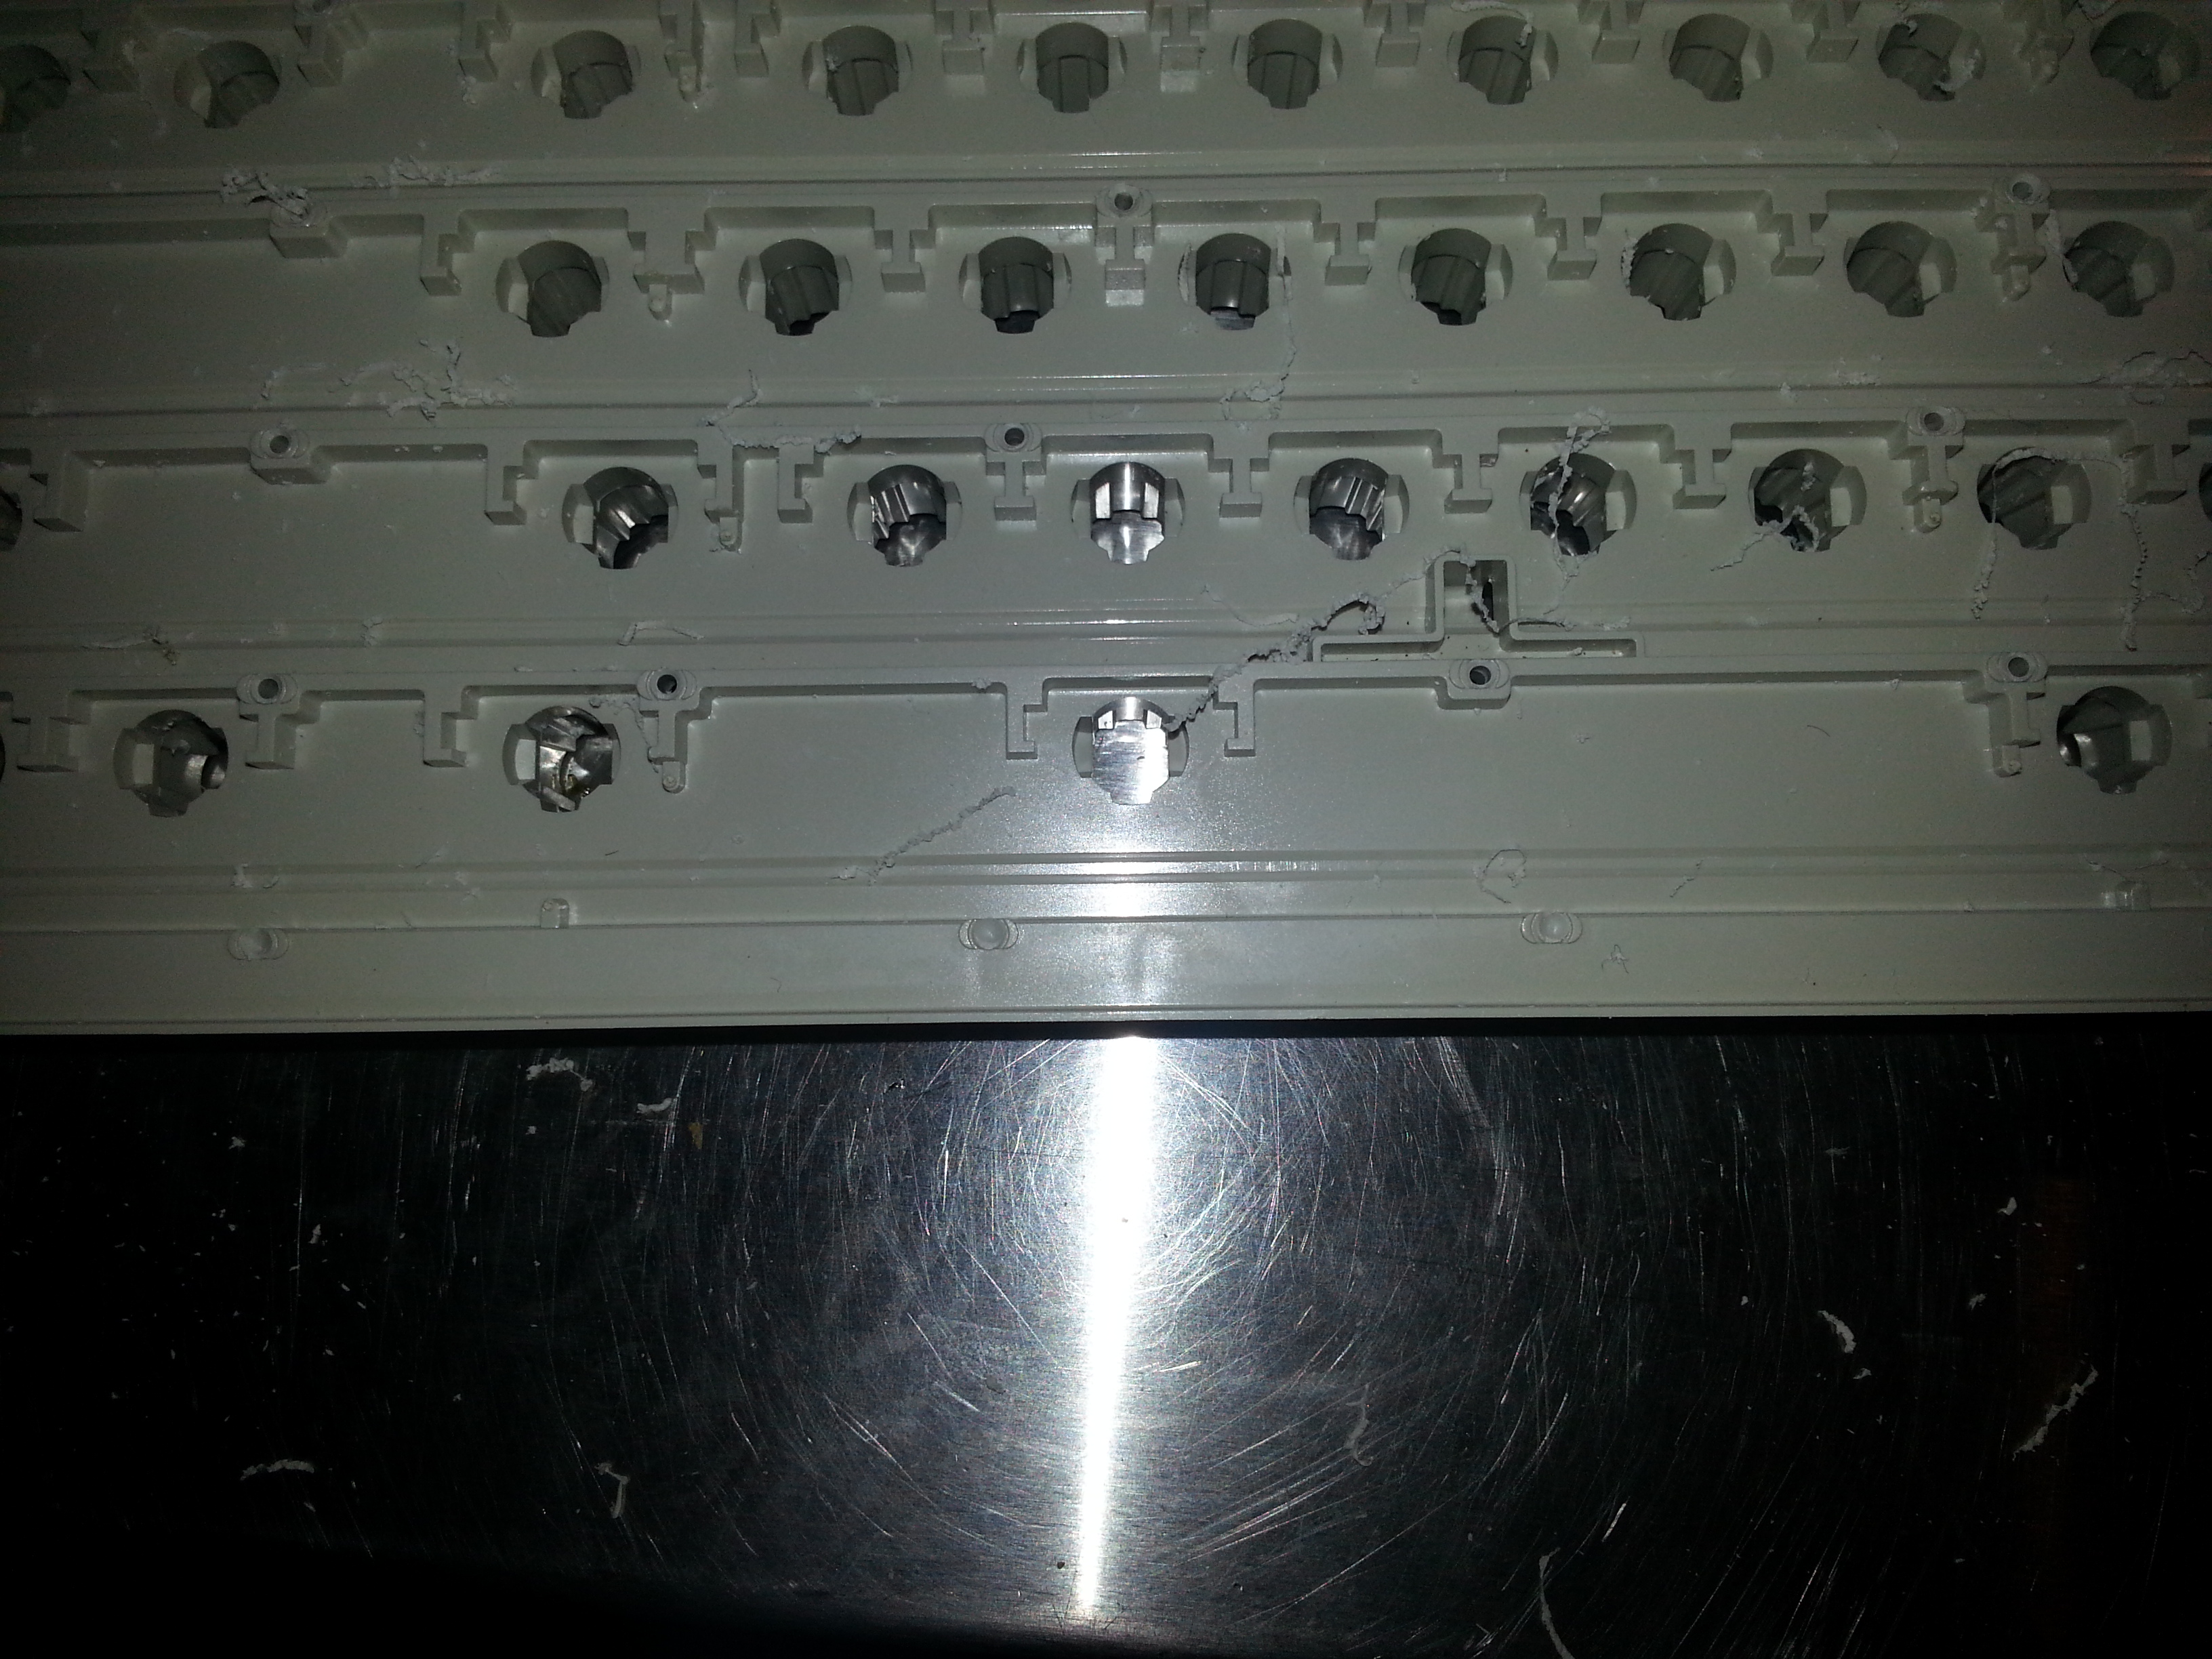
Ok holes drilled! Now we need to dust off all that mess on the barrels.
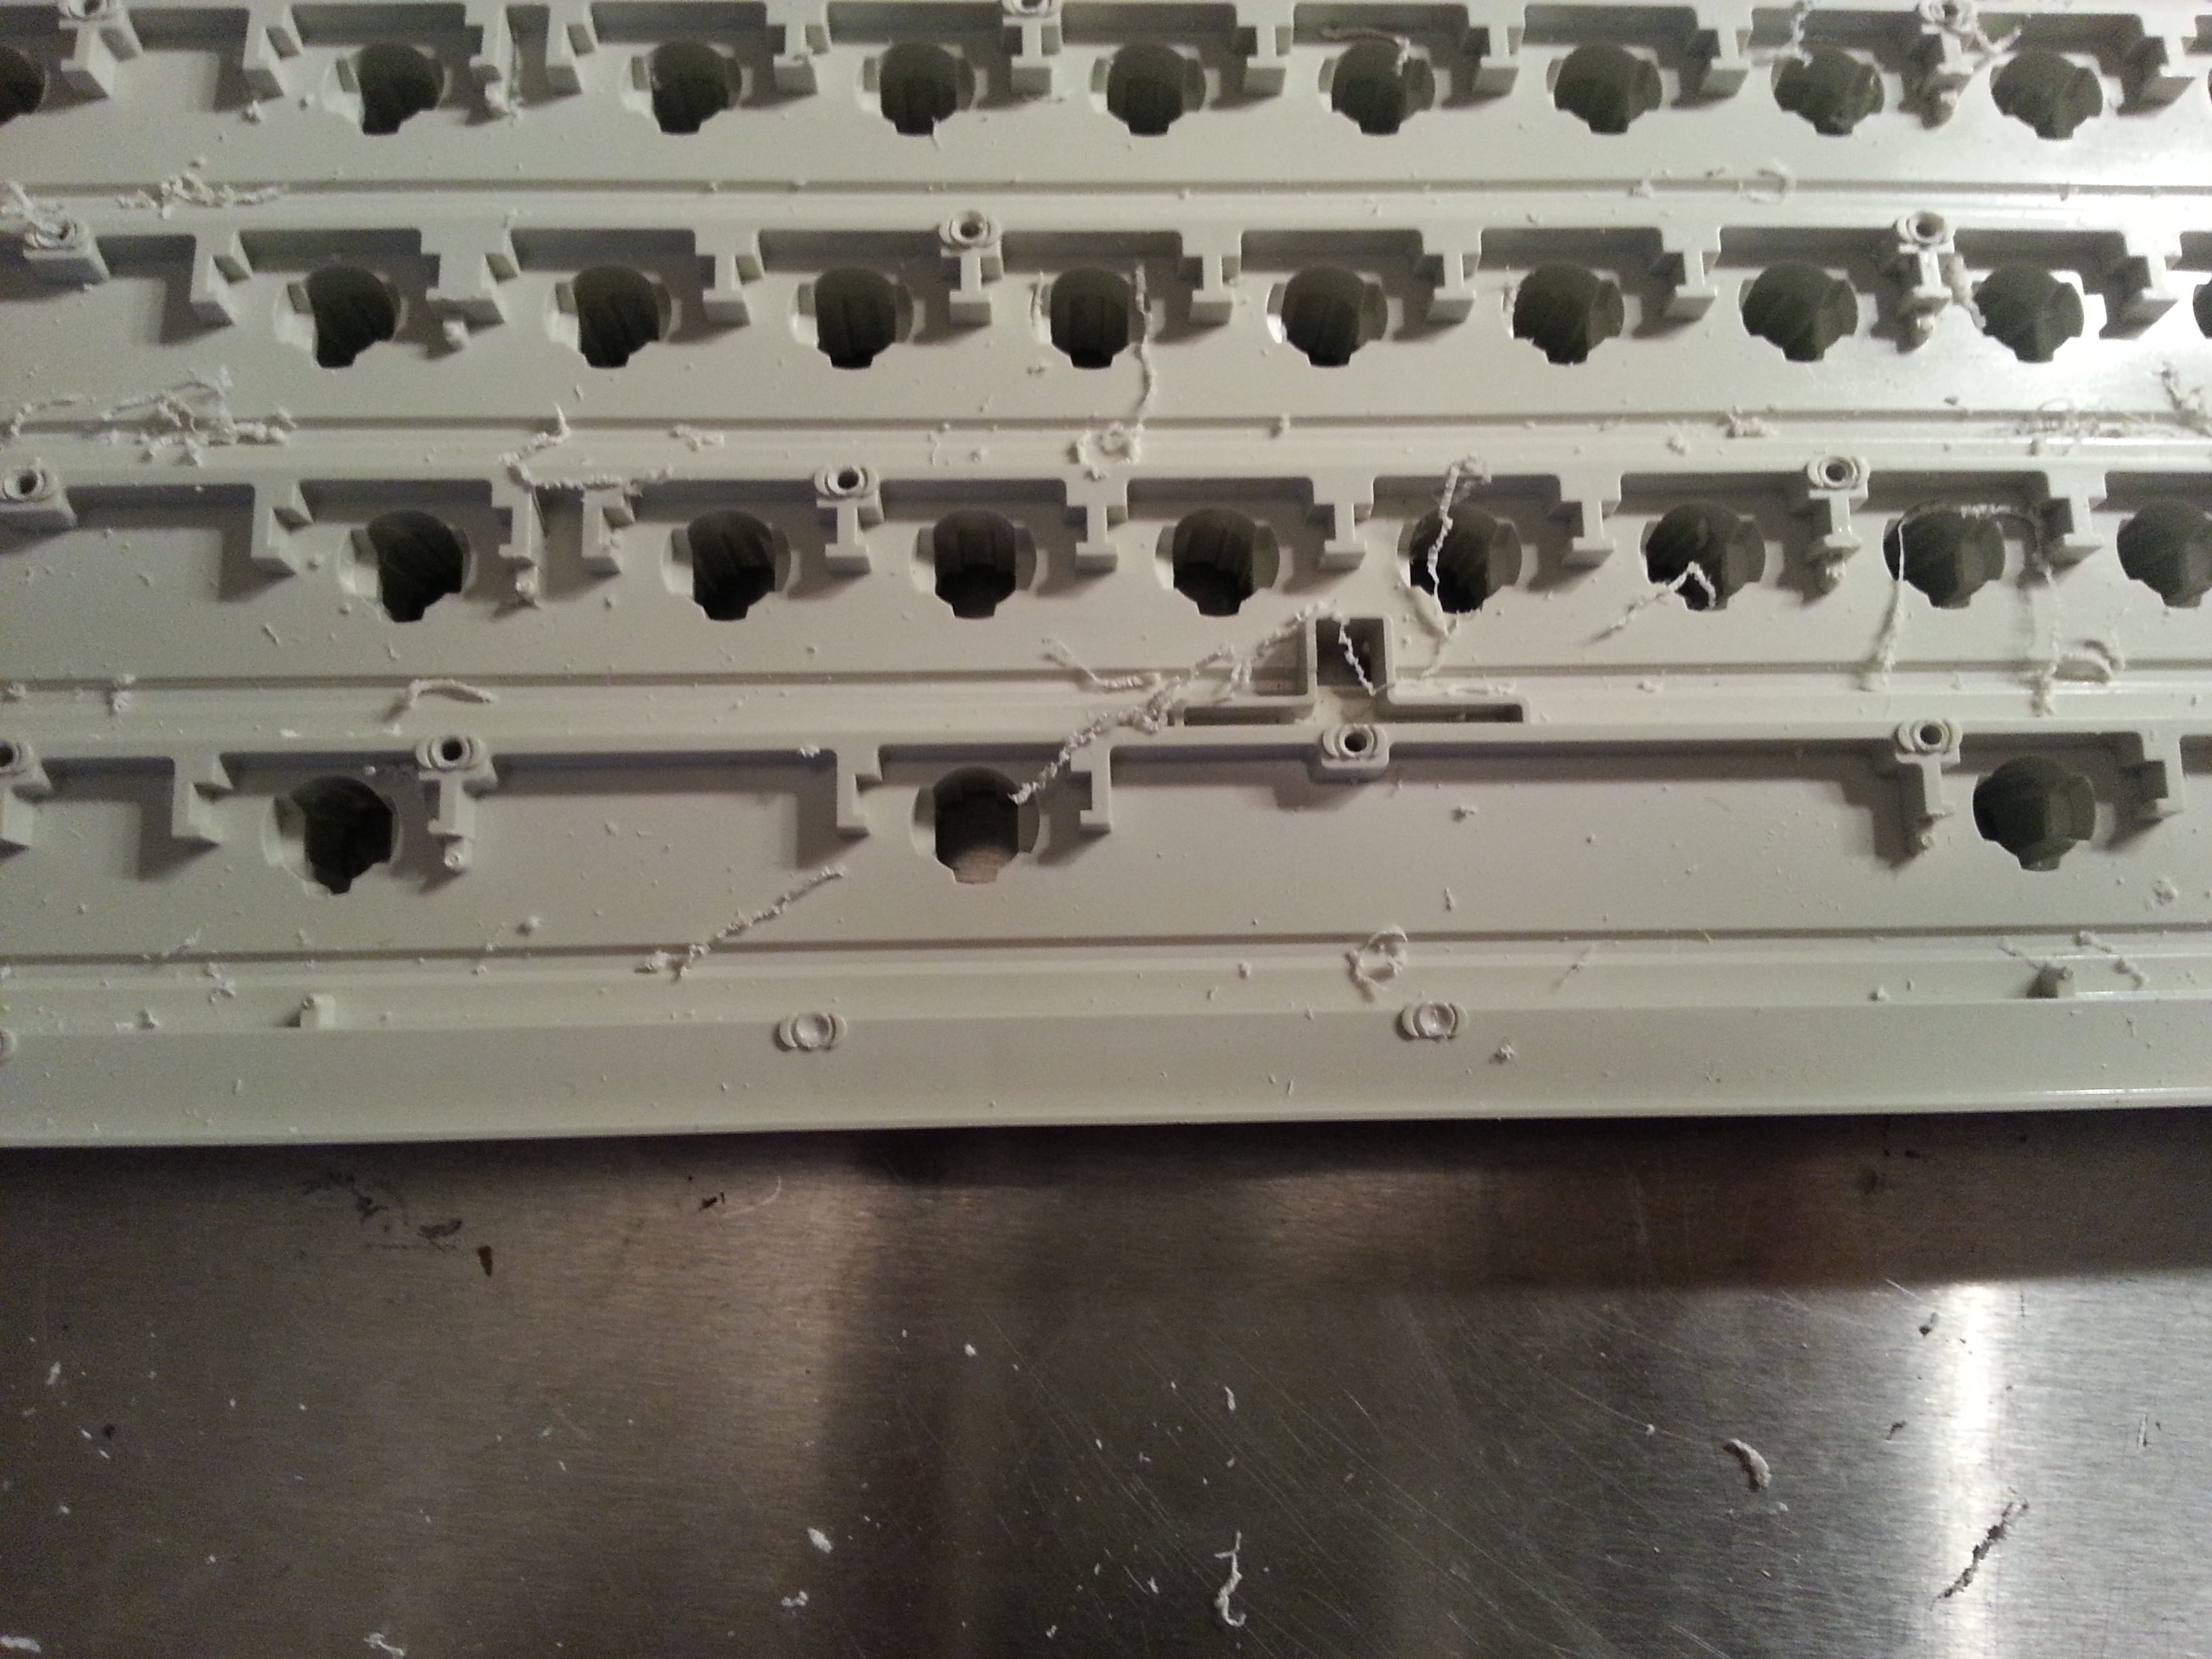
(anotehr, better picture of mess on barrels)
At this point the barrel frame is really to go functionally. Just flip it over and...
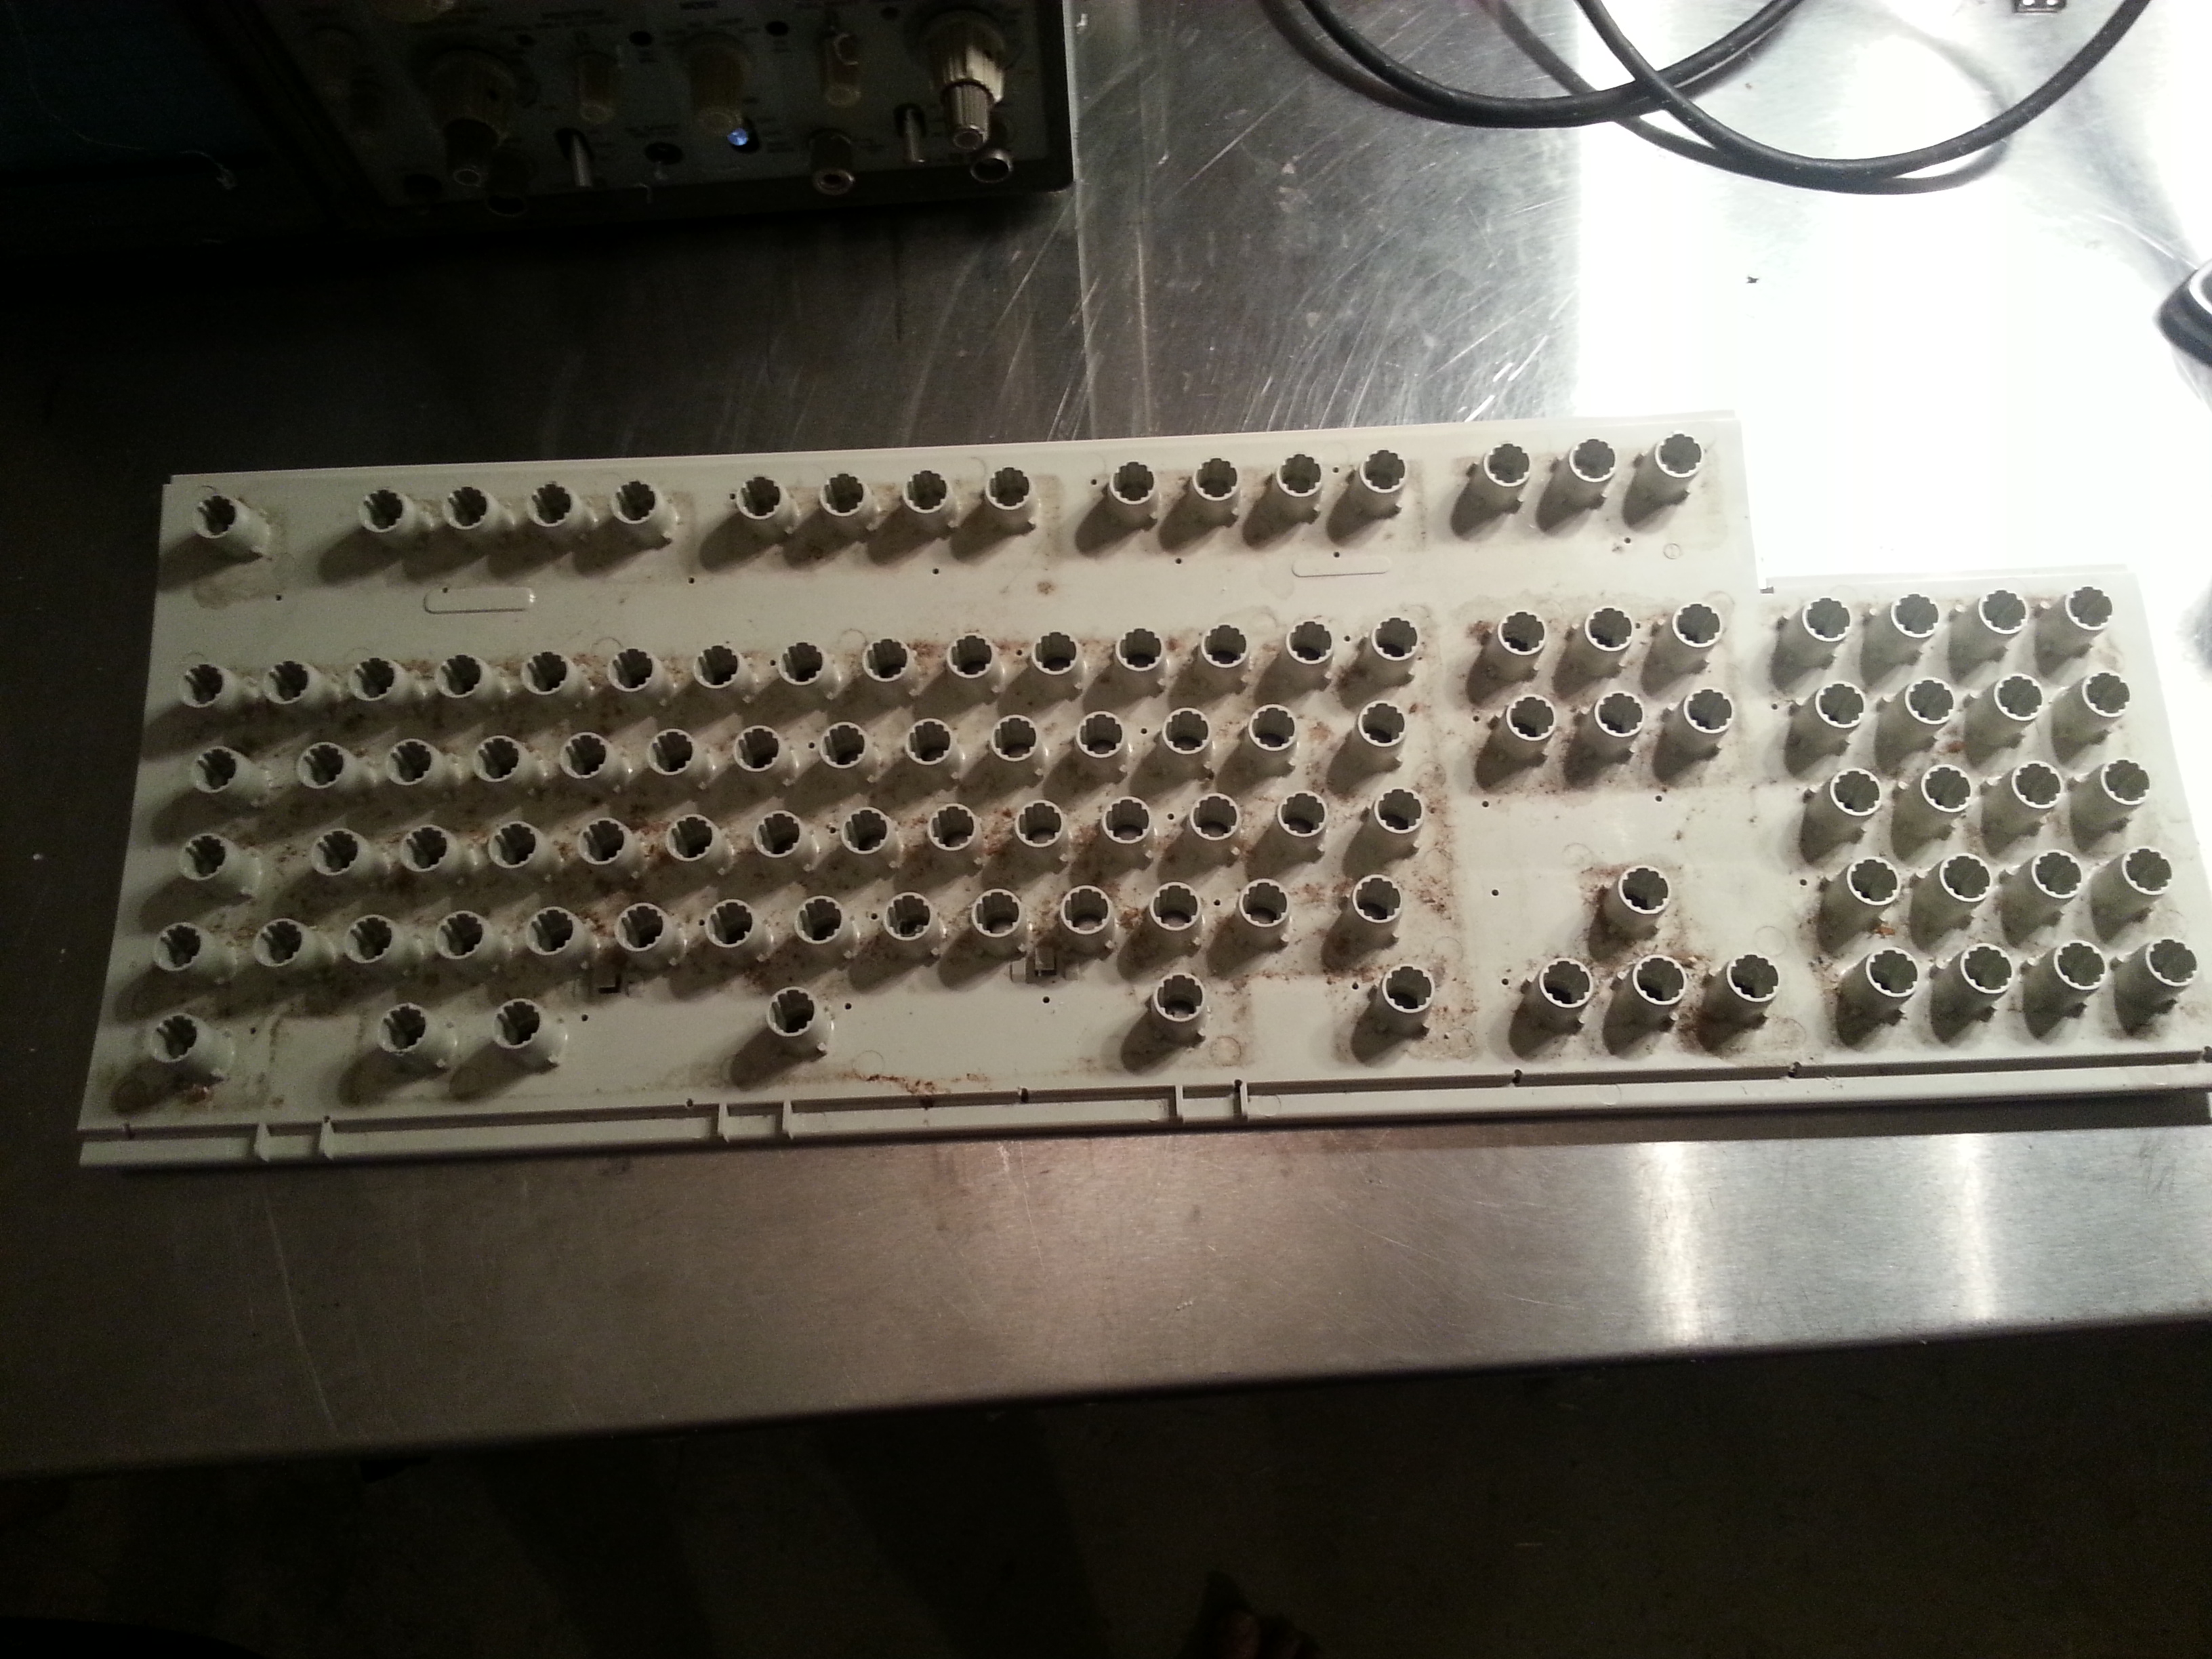
Oh right, it's still all dirty form being used and/or stored for the last 25 years. At this point, I just put it in the dishwasher with the dirty dishes and run it.
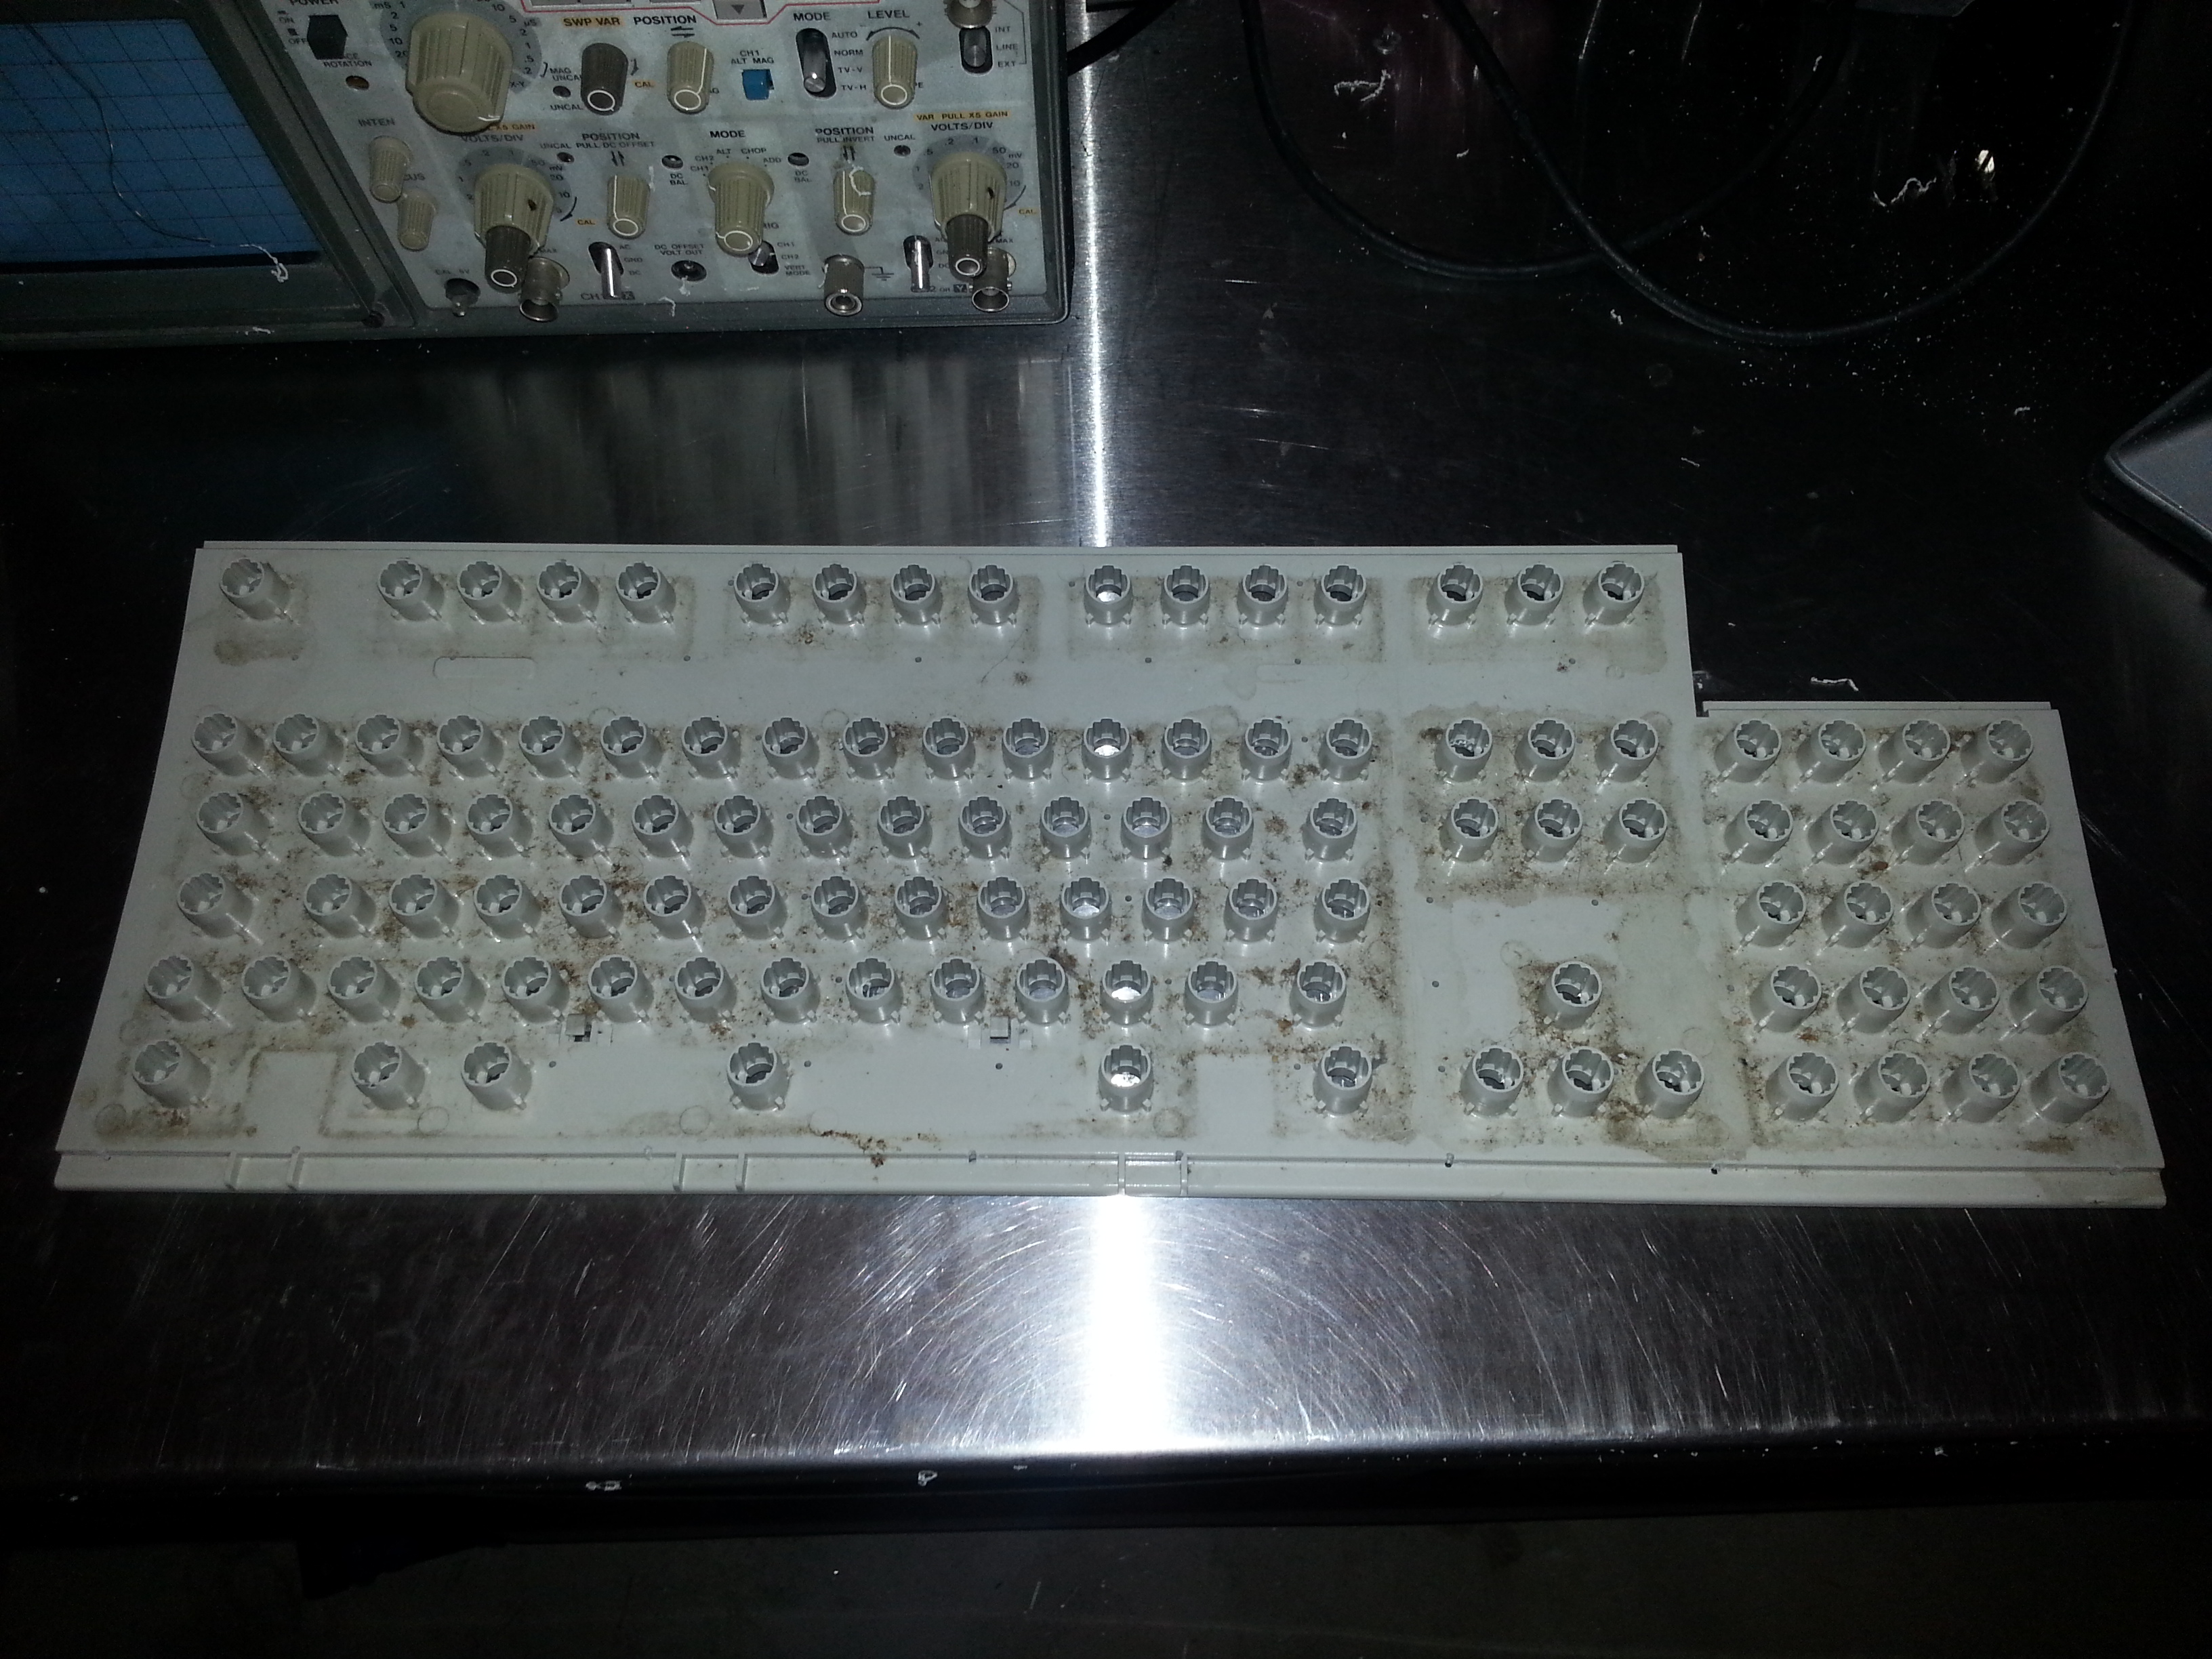
another shot of dirty frame before dishwashing.
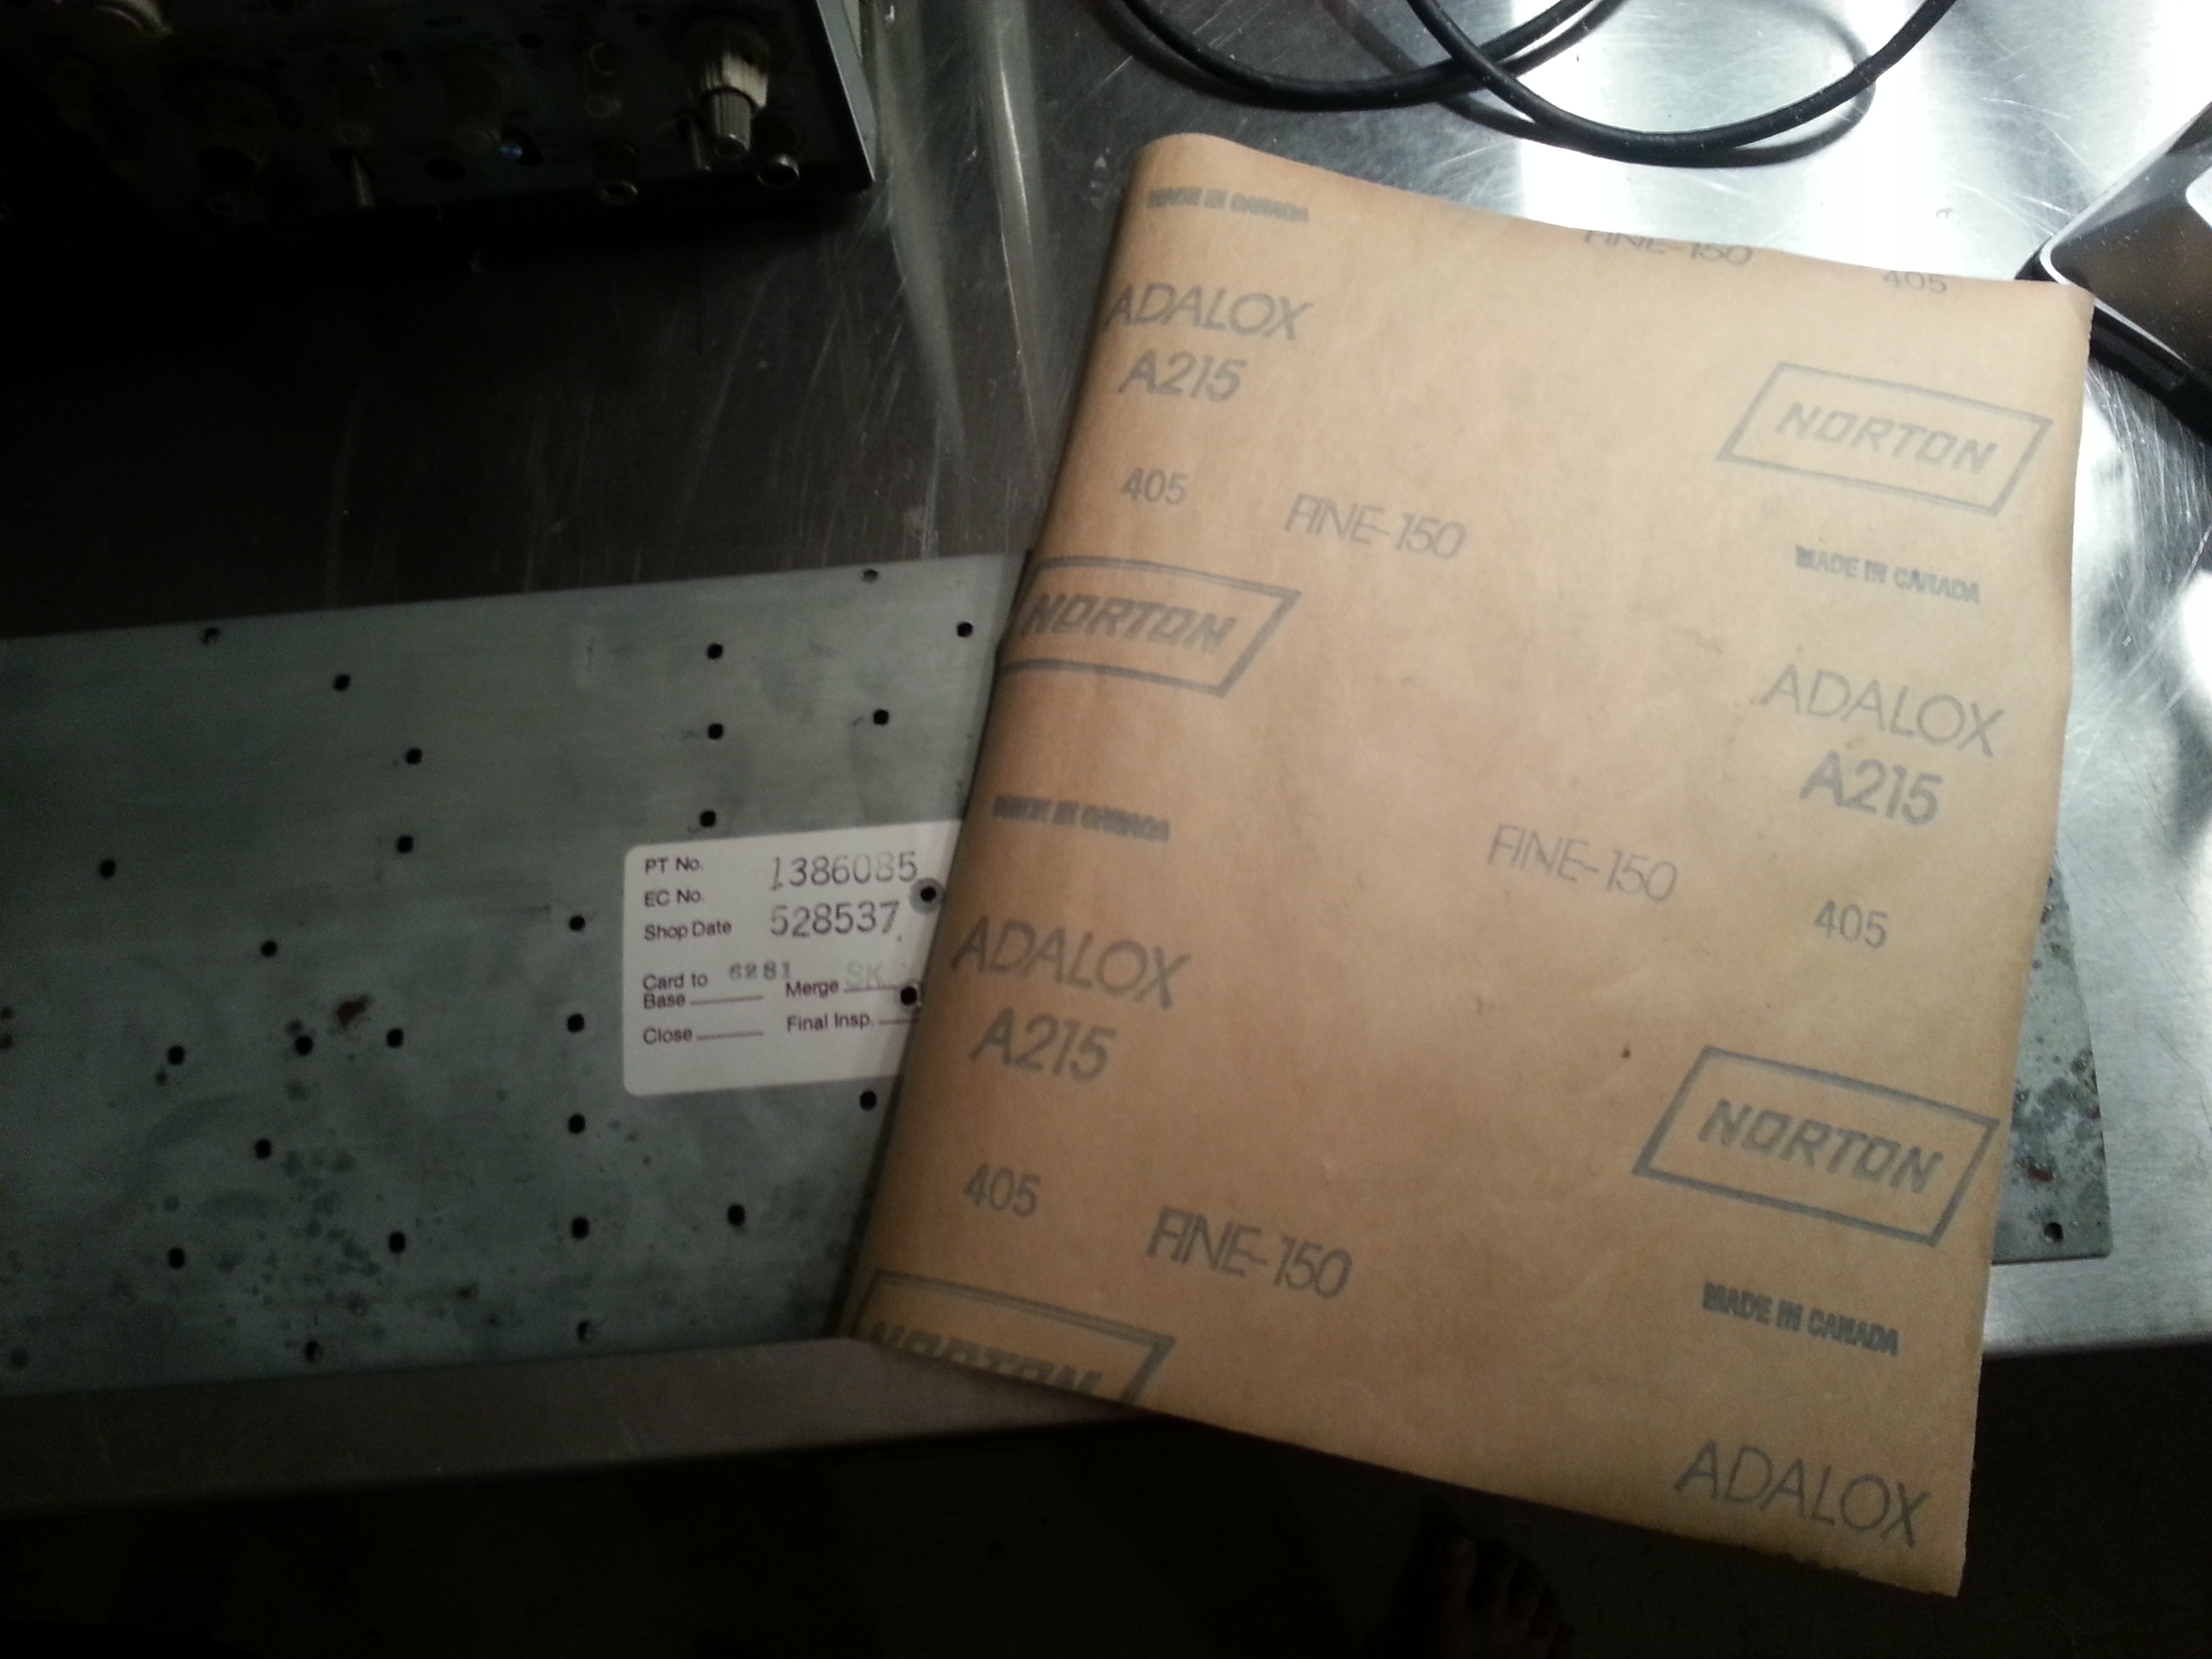
While we are waiting on the dishwasher to get done, let's take a look at that plate. I have some old sandpaper left over from something. I guess it's 150 grit.
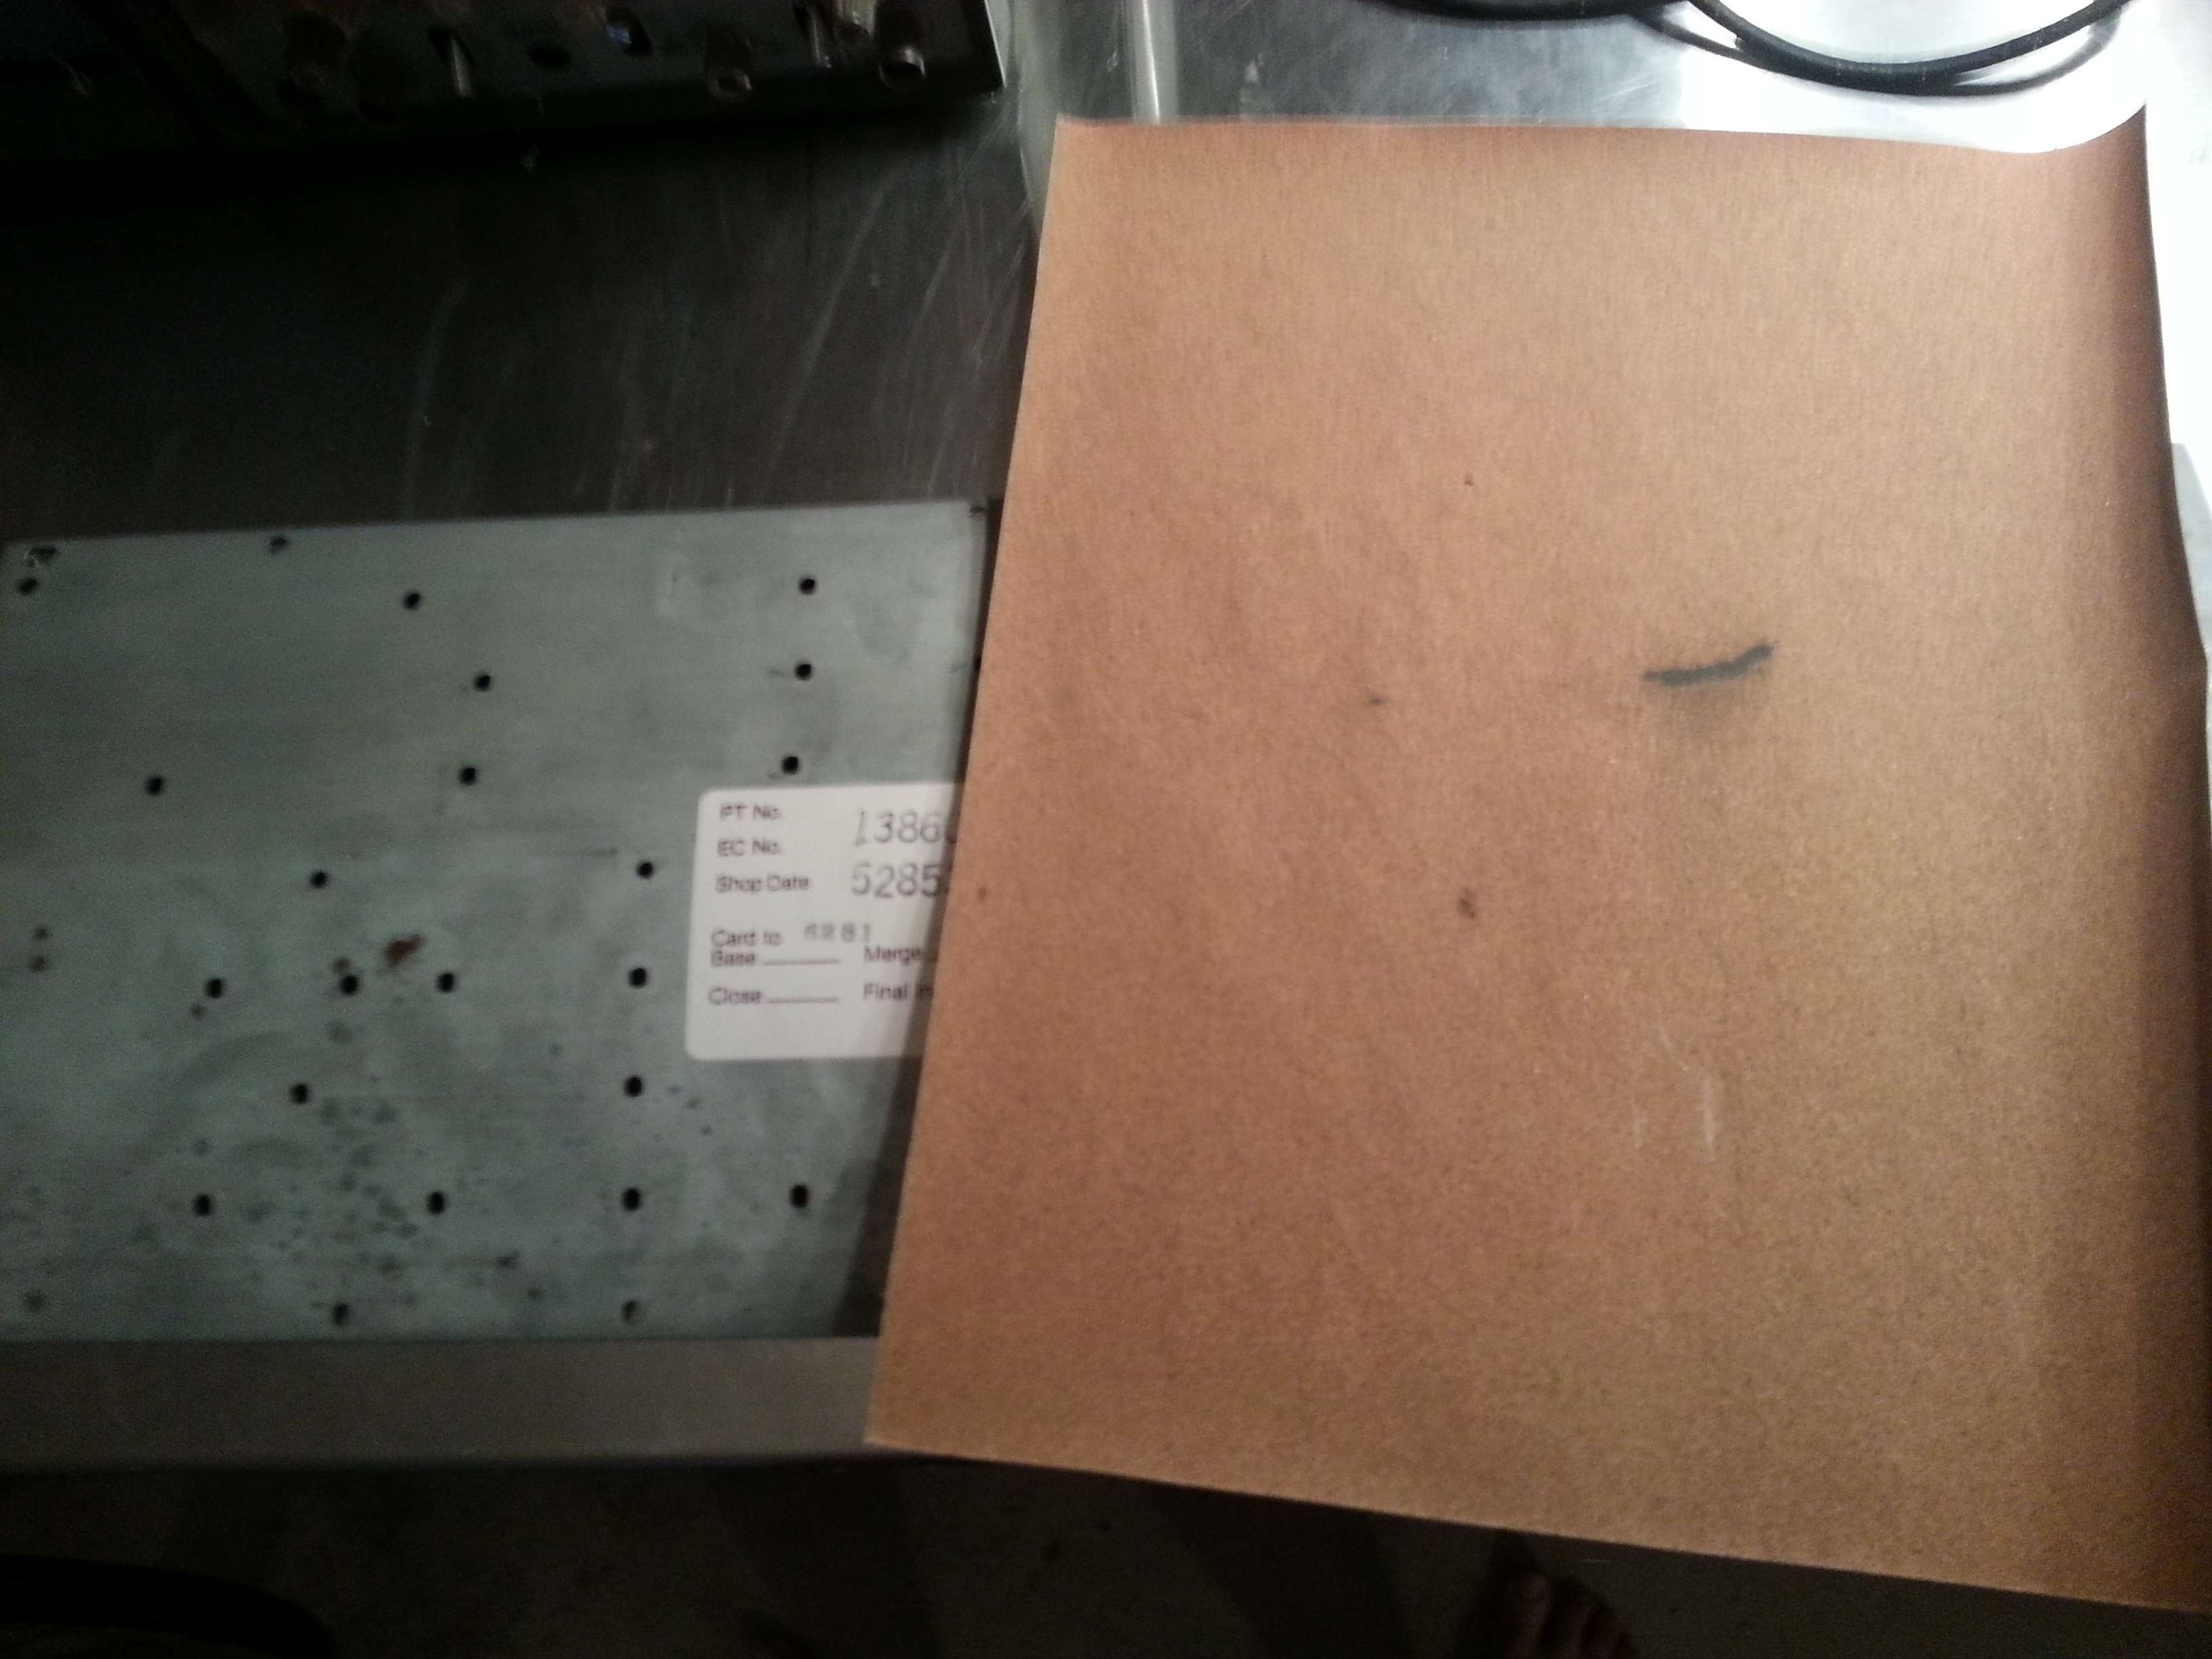
Time to get started with some elbow grease!
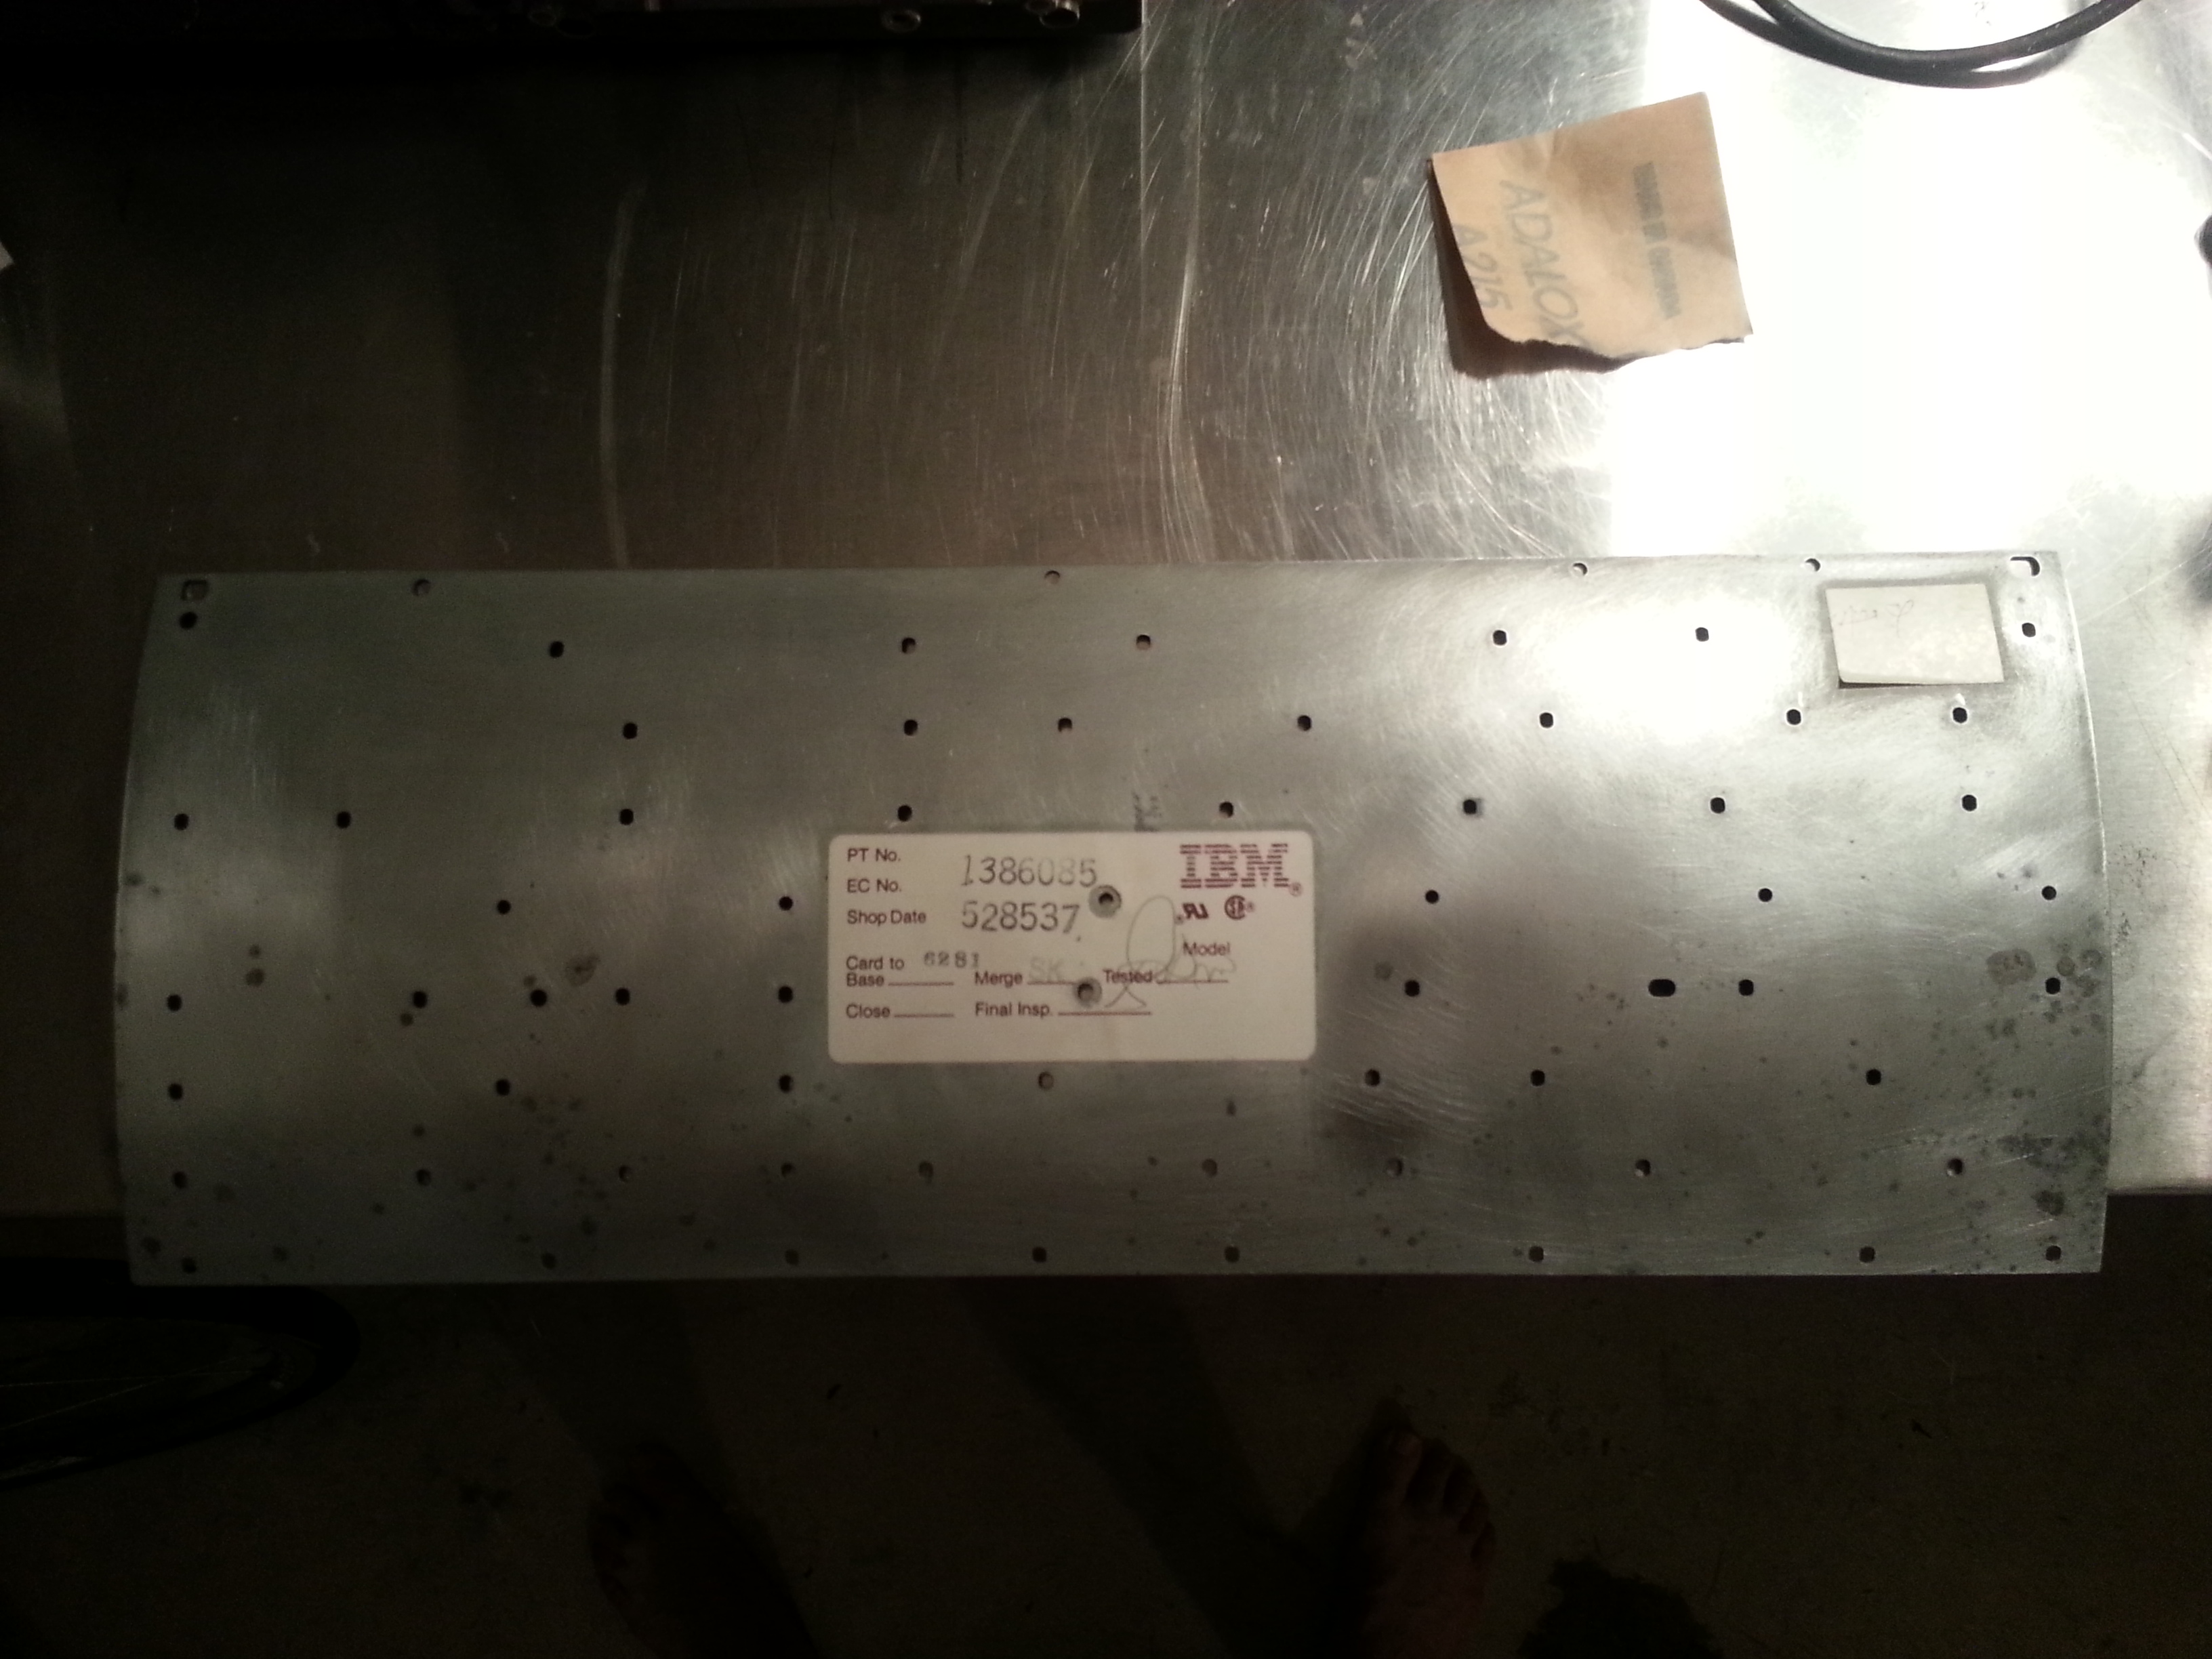
more work
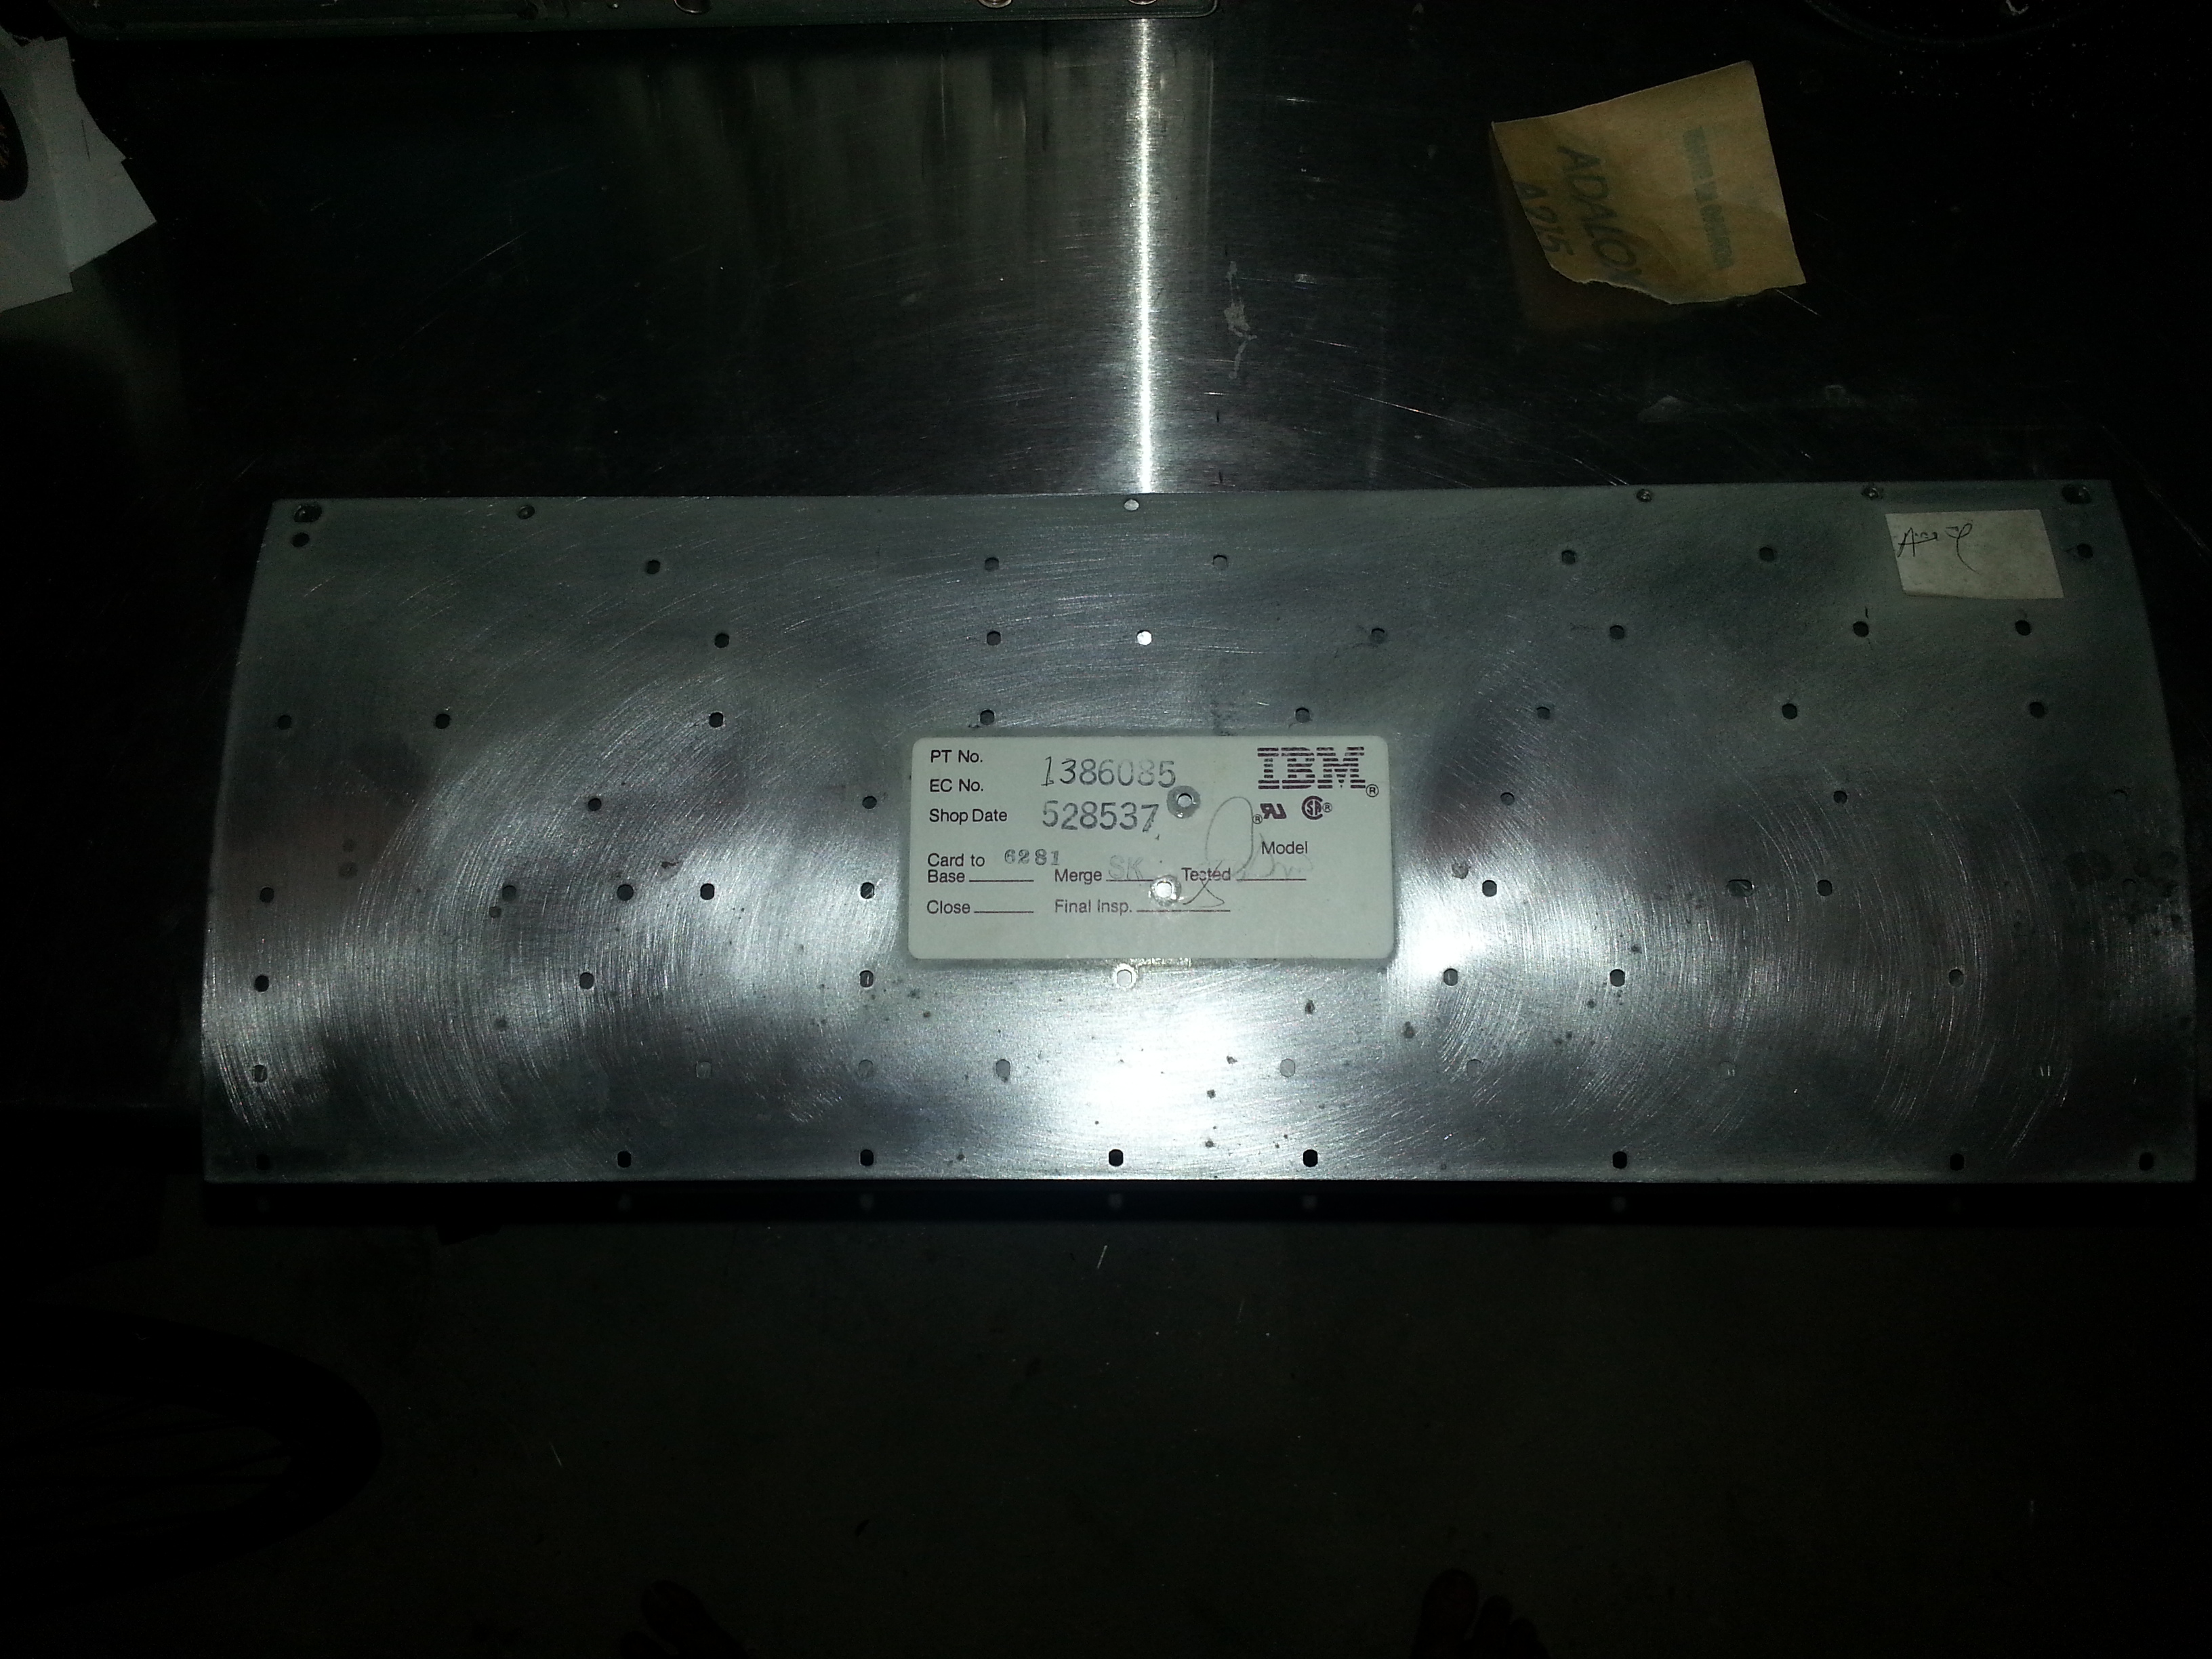
Starting to look much better now only because the flash reflection hides most of the corrosion.

Even without the flash it's looking a lot better. I hope it'll be ready by tomorrow.
I'll be adding the rest later.
Mod Edit: Corrected that 5.5mm is 7/32" and not 5/32".