Author Topic: SOLVED: 3 keys at end of row borked after solder.  (Read 2513 times)

0 Members and 1 Guest are viewing this topic.

Offline Gnarled

  • Thread Starter
  • Posts: 30
SOLVED: 3 keys at end of row borked after solder.
« on: Fri, 11 September 2020, 15:12:52 »
So gave my first go at desoldering/soldering to change the layout of a DZ60 I bought from r/mm. Went from tsangan to arrows, essentially adding and shifting switches. Ended up with a few pins at the end of a row that don't work (I think).


So I either borked it or it's a layout thing. I don't think it's a layout thing because the extra switches added on the bottom row work, so I'm guessing I just fudged something up during soldering on R4. I saw this diagram for how the traces are laid on a different post and had a thought that maybe I somehow broke one on the lower pins of the row? I was thinking I had to maybe bridge something but I'm really not sure how to proceed. A pointing in the right direction would be appreciated.

EDIT: Tested the upper pins with other lower pins, and they work. Tested the lower pins with other upper pins and they have no response. Not sure how that helps me but figured info was info.
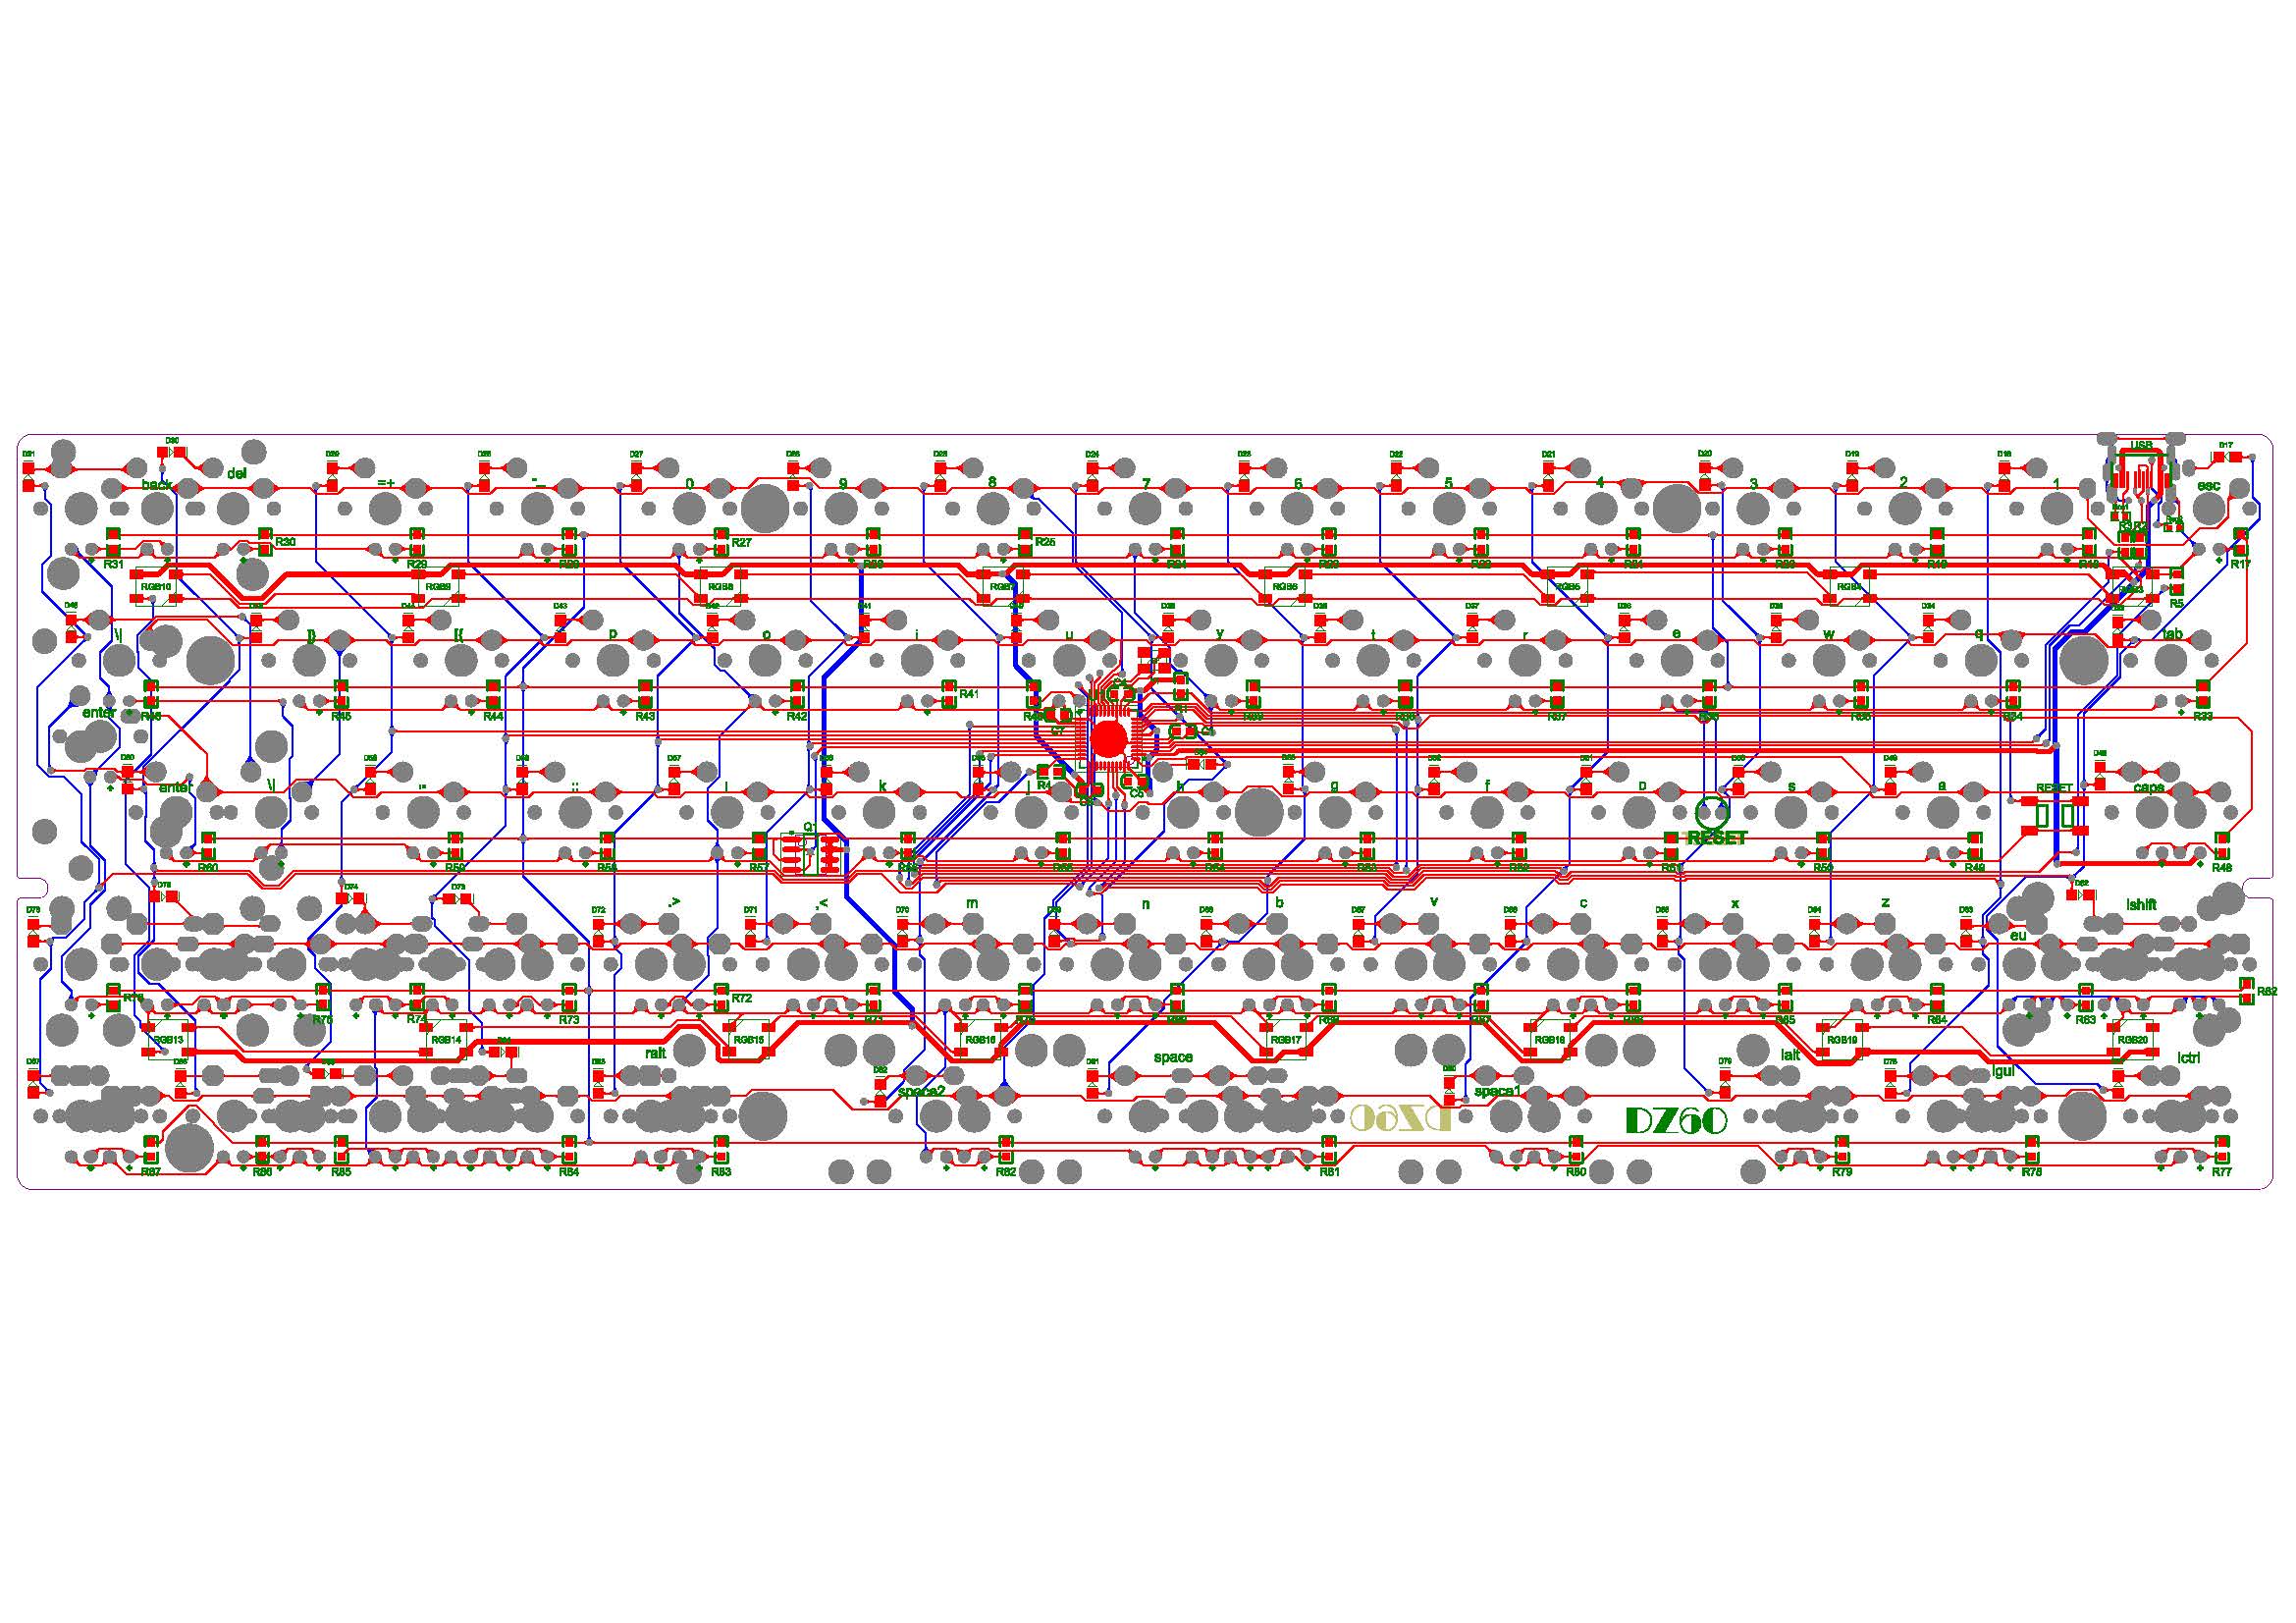


EDIT2: Decided to bridge the working bottom pin and the non-working one on the assumption that that's where the break was, and it seems to have fixed the issue!


I don't have wire so I just cut up an ethernet cable, lmao.
« Last Edit: Fri, 11 September 2020, 16:00:27 by Gnarled »

Offline nevin

  • Posts: 1646
  • Location: US
Re: 3 keys at end of row borked after solder.
« Reply #1 on: Fri, 11 September 2020, 15:49:13 »
did you reflash your new layout after you changed switch positions?
if your changing that hole bottom corner & adding switches, you'll have to update the firmware & reflash

start with VIA (caniusevia.com), download & flash the VIA enabled firmware & pick your layout options there, re-populate the keymap to what you want, done.

hard to tell from the image (little blurry) if it's broken traces. half the time you can't see them anyway.

probably just need a bridge or two if some of the traces were broken.

put caps & switches in place to make sure you're getting the right pads (as many as there are in that area)

i just troubleshot another one of these not long ago... if memory serves, the common (non diode leg) is the row instead of the column
« Last Edit: Fri, 11 September 2020, 15:50:57 by nevin »
Keeb.io Viterbi, Apple m0110, Apple m0120, Apple m0110a, Apple 658-4081, Apple M1242, Apple AEK II, MK96, GH60/Pure, Cherry g84-4100, Adesso AKP-220B, Magicforce 68

Offline Gnarled

  • Thread Starter
  • Posts: 30
Re: 3 keys at end of row borked after solder.
« Reply #2 on: Fri, 11 September 2020, 16:02:19 »
did you reflash your new layout after you changed switch positions?
if your changing that hole bottom corner & adding switches, you'll have to update the firmware & reflash

start with VIA (caniusevia.com), download & flash the VIA enabled firmware & pick your layout options there, re-populate the keymap to what you want, done.

hard to tell from the image (little blurry) if it's broken traces. half the time you can't see them anyway.

probably just need a bridge or two if some of the traces were broken.

put caps & switches in place to make sure you're getting the right pads (as many as there are in that area)

i just troubleshot another one of these not long ago... if memory serves, the common (non diode leg) is the row instead of the column

Thank you for the reply! I reflashed as my very first troubleshooting step, that's what I assumed wasn't working but came to realize it may be the pcb. Actually right as you replied I figured I'd just try to solder between where it was and wasn't working and that did the trick. A lot of "firsts" today for me. 😅

Offline Rayndalf

  • Posts: 474
Re: SOLVED: 3 keys at end of row borked after solder.
« Reply #3 on: Fri, 11 September 2020, 16:19:27 »
Might be a stupid question, but are you soldering without flux? Flux helps the solder flow and makes the process much easier (you can even put some flux on top of an existing solder point and reflow it with an iron to improve a troublesome joint).

Offline nevin

  • Posts: 1646
  • Location: US
Re: SOLVED: 3 keys at end of row borked after solder.
« Reply #4 on: Fri, 11 September 2020, 16:23:48 »
Quote
I don't have wire so I just cut up an ethernet cable, lmao.

good choice. actually that wire is used a lot in fixing or handwiring keyboards.

glad you got it working.
Keeb.io Viterbi, Apple m0110, Apple m0120, Apple m0110a, Apple 658-4081, Apple M1242, Apple AEK II, MK96, GH60/Pure, Cherry g84-4100, Adesso AKP-220B, Magicforce 68

Offline Gnarled

  • Thread Starter
  • Posts: 30
Re: SOLVED: 3 keys at end of row borked after solder.
« Reply #5 on: Fri, 11 September 2020, 17:38:01 »
Might be a stupid question, but are you soldering without flux? Flux helps the solder flow and makes the process much easier (you can even put some flux on top of an existing solder point and reflow it with an iron to improve a troublesome joint).

Bit clueless in regards to soldering, the solder I'm using has flux in its composition if I'm not mistaken. Should I be using a flux pen as well?

Quote
I don't have wire so I just cut up an ethernet cable, lmao.

good choice. actually that wire is used a lot in fixing or handwiring keyboard
More

glad you got it working.

Good to know! Yeah I figured it might be preferable but I'm also assuming it's usually for solid core and not for loose strands like what I ended up having.

Offline Rayndalf

  • Posts: 474
Re: SOLVED: 3 keys at end of row borked after solder.
« Reply #6 on: Fri, 11 September 2020, 18:16:26 »
I use a white paste flux (meant for sweating pipes?) and it's a bit of a pain to apply (like cold butter?), but a flux pen sounds much more convenient.

Flux in the solder is better than nothing, but applying additional flux before you touch the tip (with solder on it) to the joint makes things even easier. Maybe my solder or iron are a little crappy, but flux made a big difference for me.

As far as wire, I bought some silicon wire to make a mouse paracord and it works for handwiring too (soft but strong, insulation is easy to remove), but if Ethernet works then stick with it.