Hello Keyboard friends,
I figured I'd circle back and post my build since the kind people on this forum have been so welcoming and helpful with my newbie questions. I really appreciate the encouragement. I did my first build and wanted to report because I feel it exceeded expectations in many ways. I do not generally like the Group Buy framework so, I set about trying to make an off-the-shelf project that was as cheap as reasonably possible that still has all of the "cool kid" features. After looking at the available options, I decided to try and O-ring mount a standard KBDfans 60% case and PCB and make myself an off-the-shelf Bakeneko thing. The mod for Tofu case is well documented, but I wanted to do it with screw in stabilizers. . . well, I actually was going to use plate mount stabilizers, but bought the wrong plate.
The most straight forward solution I thought of was to make relief cuts into the side of the case where the stabilizers were positioned.

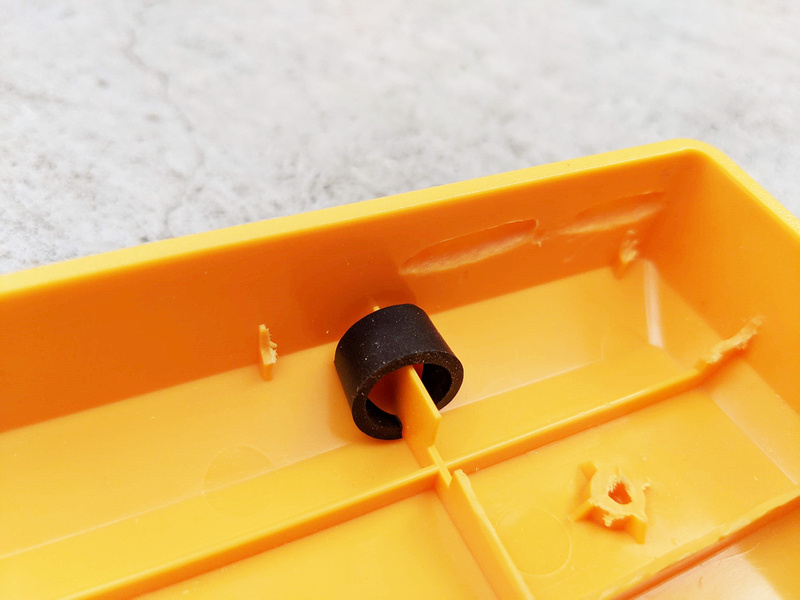
Also, looking at the existing plastic spine structure inside the case, the easiest way for me to create bottom stops for the PCB was to use some EPDM tubing I had laying around for water cooling. The tube wall thickness is 1/16" which was almost perfect.
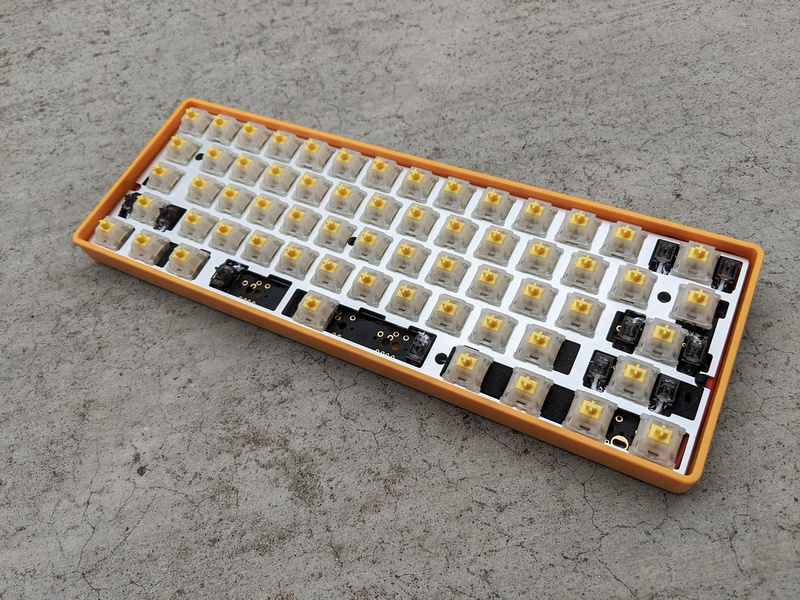
After hacking away all of the internal spines to allow enough room for the board to float and have decent range of motion in the case, this is what I ended up with.
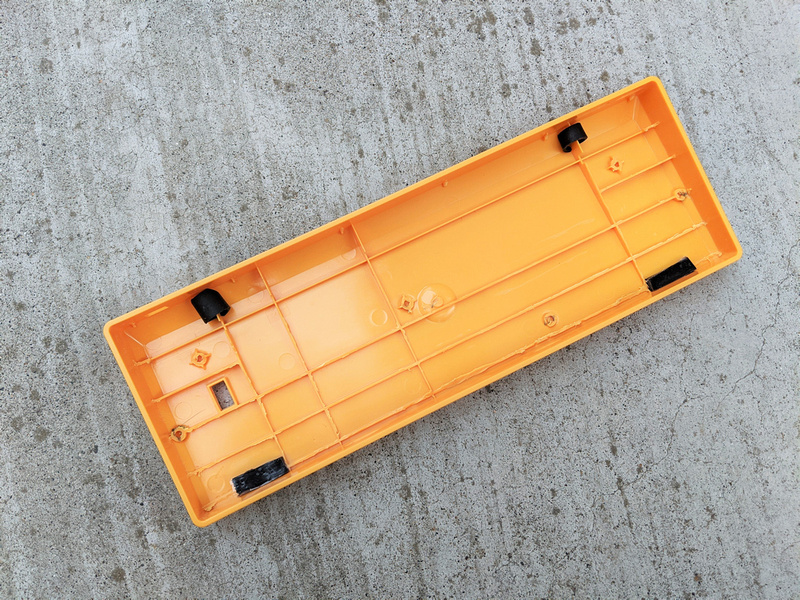
The cutouts help center and position the PCB in the case, but there are 4 main rubber stops. The butt end as mentioned previously are pieces of EPDM tubing, and the front lip stops are 1/8" thickness Sorbothane.
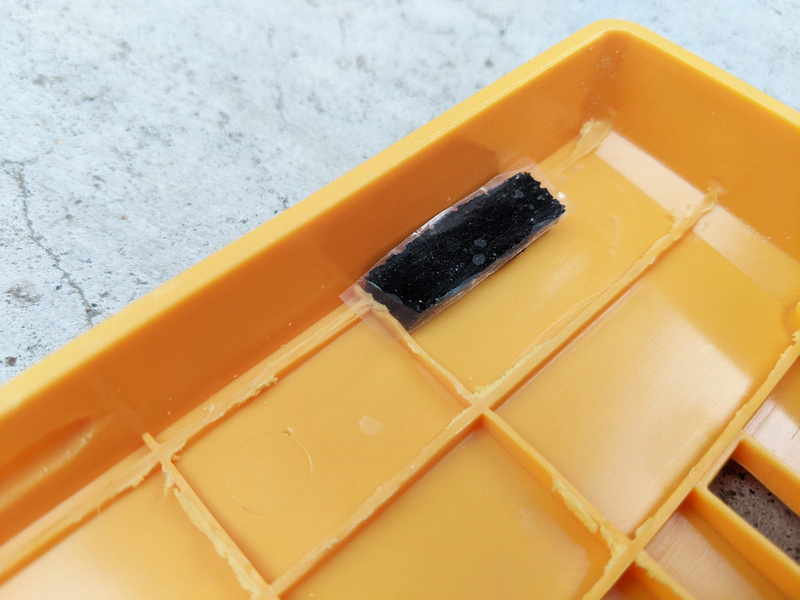
Because Sorbothane is kindof "sticky", I kept the protective film on the top part so it would not stick to the PCB when disassembling the keyboard.
here is how the backspace stabilizer cutouts fit. You can see the red Silicone O-ring jutting into the frame cutouts.

And here is one of the spacebar stabilizers.

The assembly installs by sticking the USB port and the butt-end backspace stabilizers into the frame cutout notches.
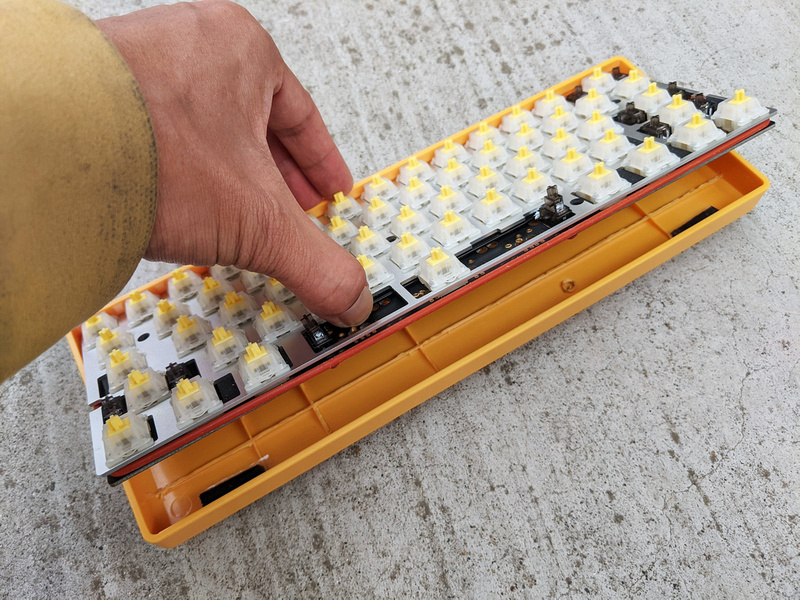
And then wedging in front face spacebar part.

Once everything is seated, the notches lock everything in quite well.

Alignment is not perfect as pictured, but I can make the backspace stabilizer cutouts a bit deeper to even it out.
HUMANS Win!


