Hello everybody, I would like to show you the extension that I made for my Logitech G810 Keyboard. Making it effectively "Logitech G810+" Plus version of it hehehehe.
I like to play games, especially MMORPG games like World of Warcraft and I like to press buttons with my thumb below the space bar.
The problem is; very very few gamer keyboards have extra buttons below space bar. And the ones that have those buttons don't have the exact specs I want. Therefore I made my own extension for my keyboard having thumb buttons for my needs by using PVC panels, Cherry MX Brown switches and 20pin ribbon data cables.
Notable mention keyboards that have buttons below space bar are:
A4Tech G800V keyboard. I have it. Unfortunately it is a rubber dome/membrane keyboard it's not very durable and not fun to type on.
Asus Strix Tactic Pro. I also have it. It is a machanical keyboard with Cherry MX Browns but however the button switches below the space bar are not Cherry MX. And probably those switches are not very durable
Razer Anansi keyboard. I don't have it and it didn't appeal to me... I only want 3 or 4 buttons below space bar sequentially.
Gamdias Hermes Cherry MX Mechanical keyboard. I don't have it. Seems very promising but button positions below spacebar are a little bit too "left" for my needs
Roccat Ryos MK Pro: I don't have it. Good Cherry MX keyboard. Again however wrong position, type and style of buttons below space bar for my needs.
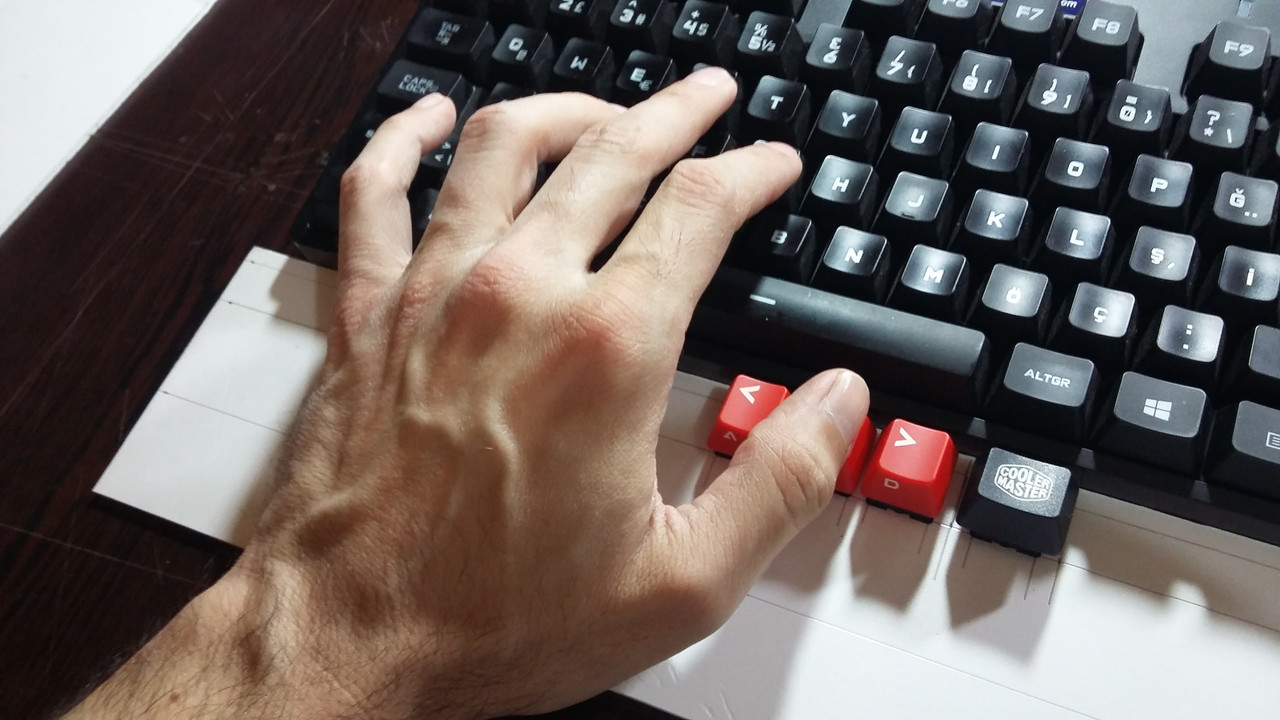
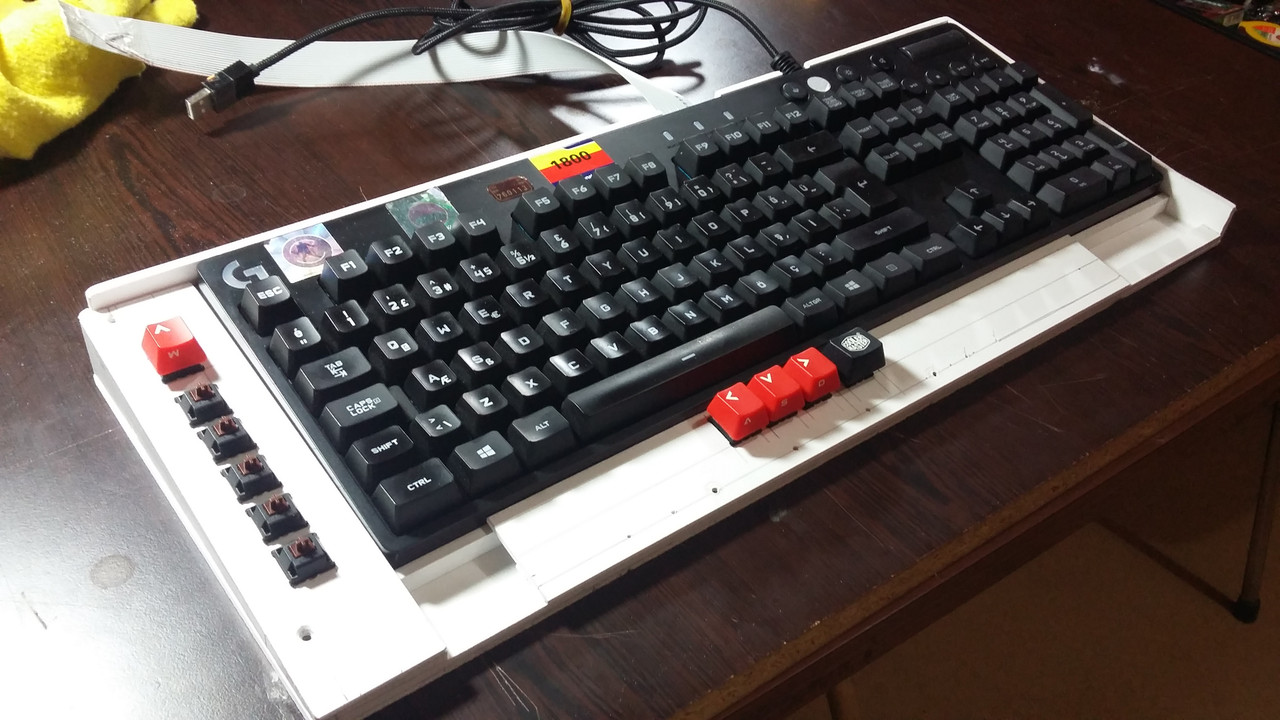
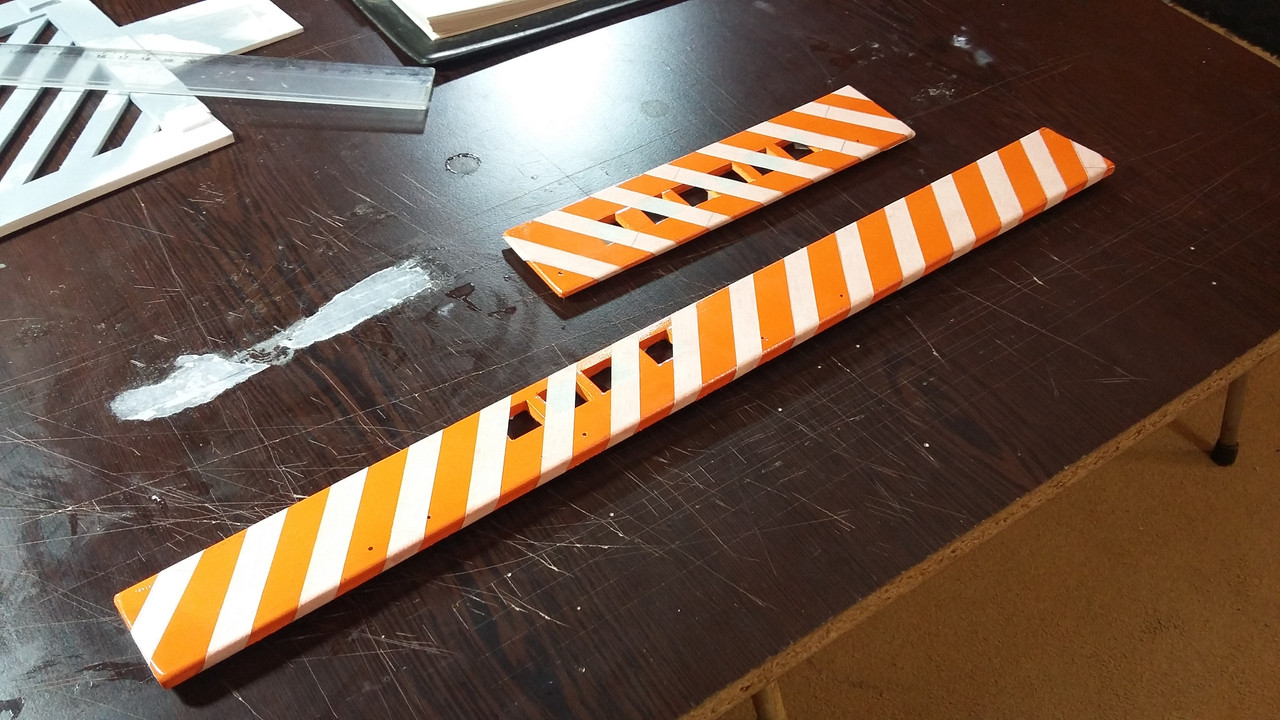
The idea is having quality Cherry MX Brown switches under my thumb. The height and the position of buttons are also crucial for my needs as you can see from the picture here (I took this photo during design stage of course):
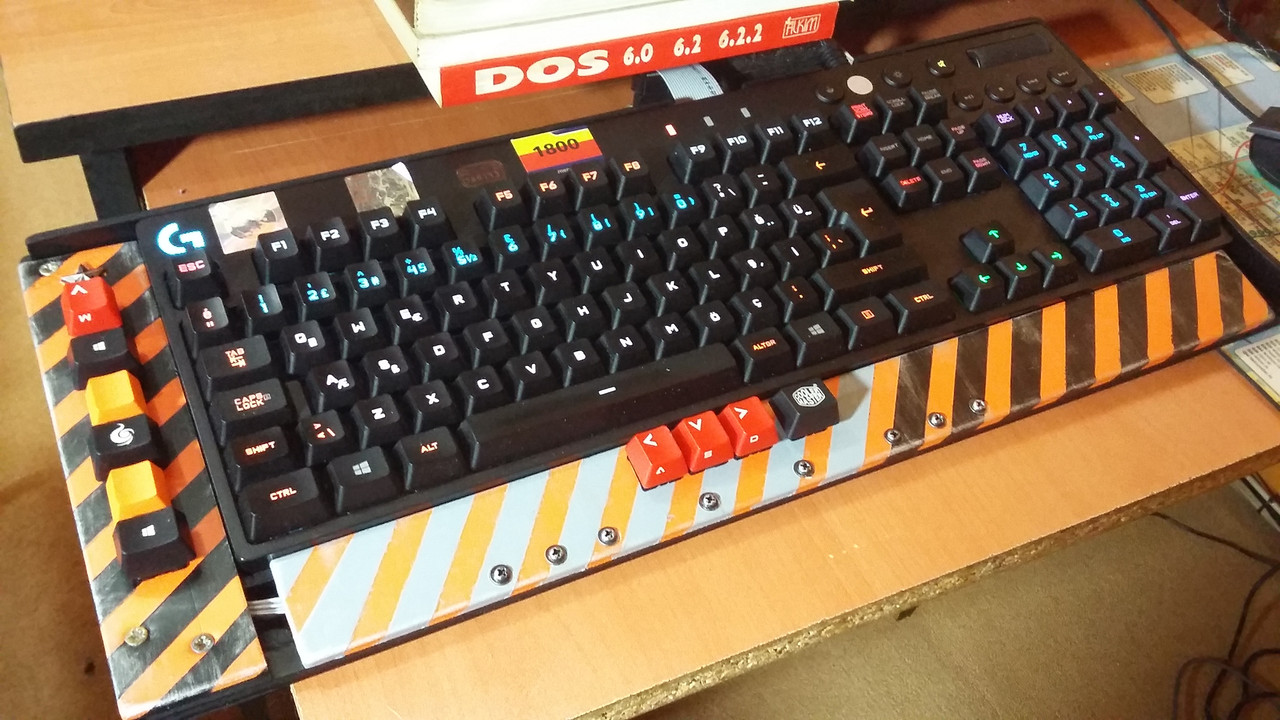
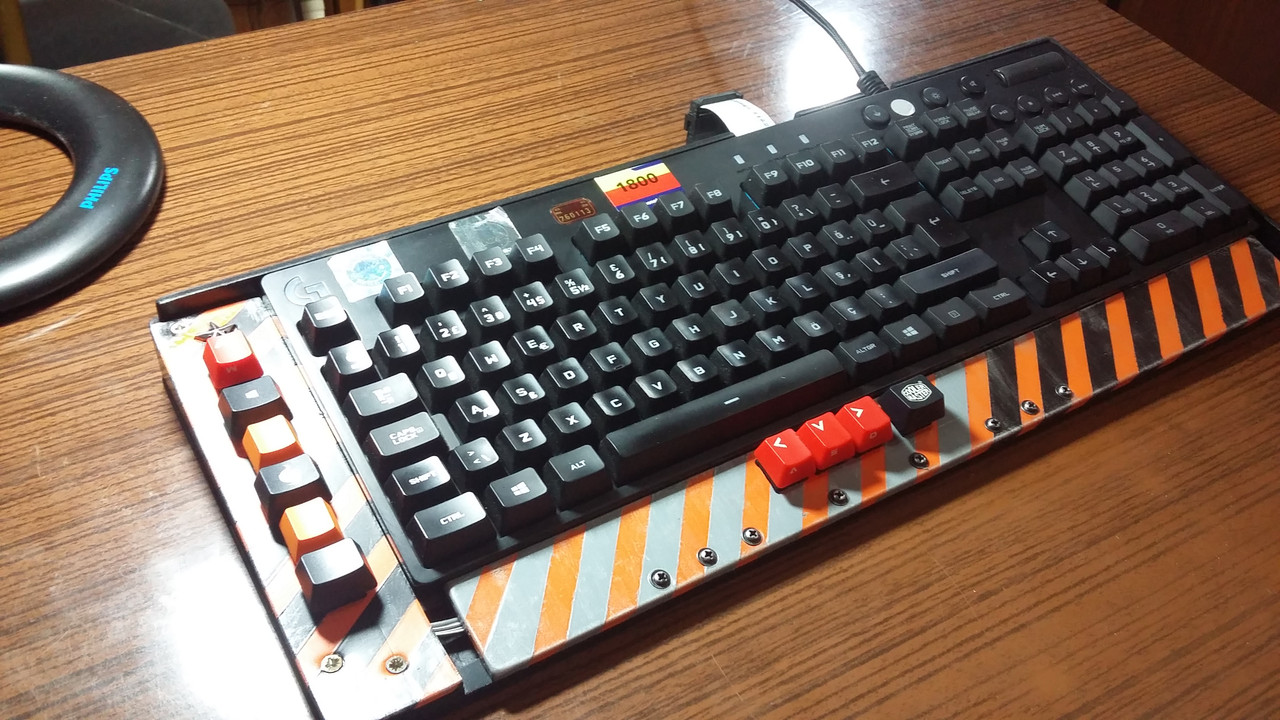
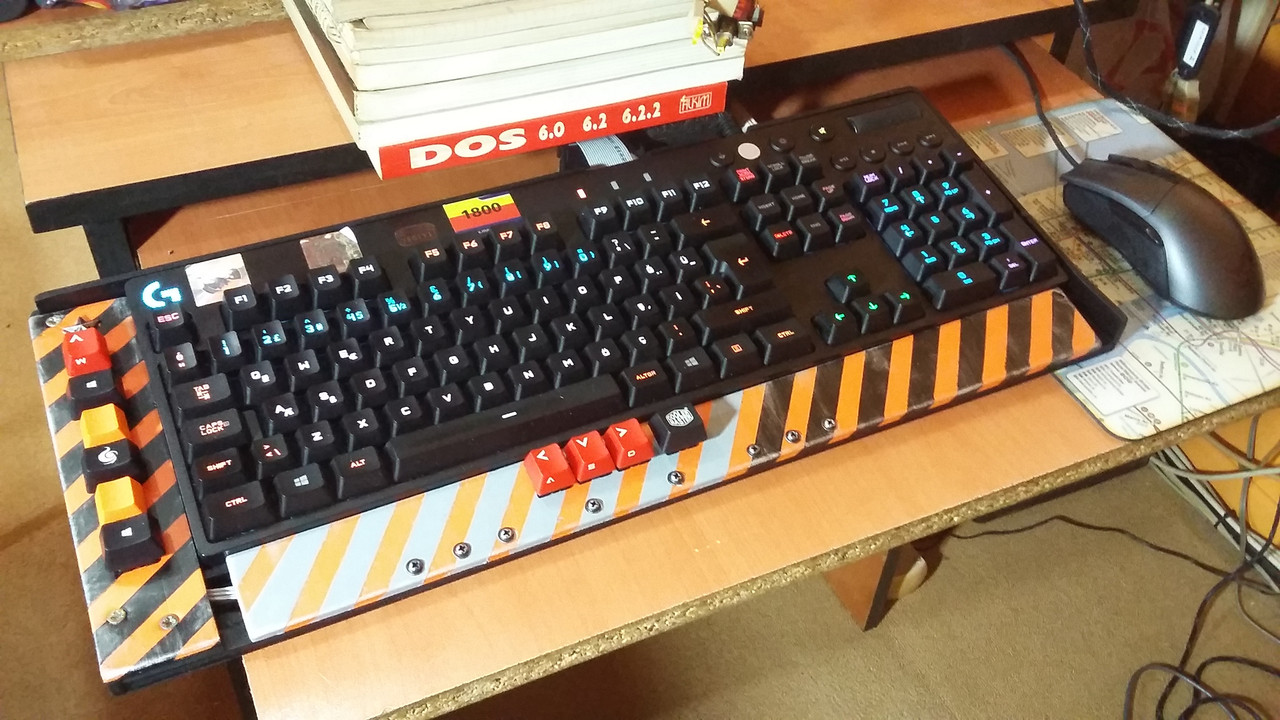
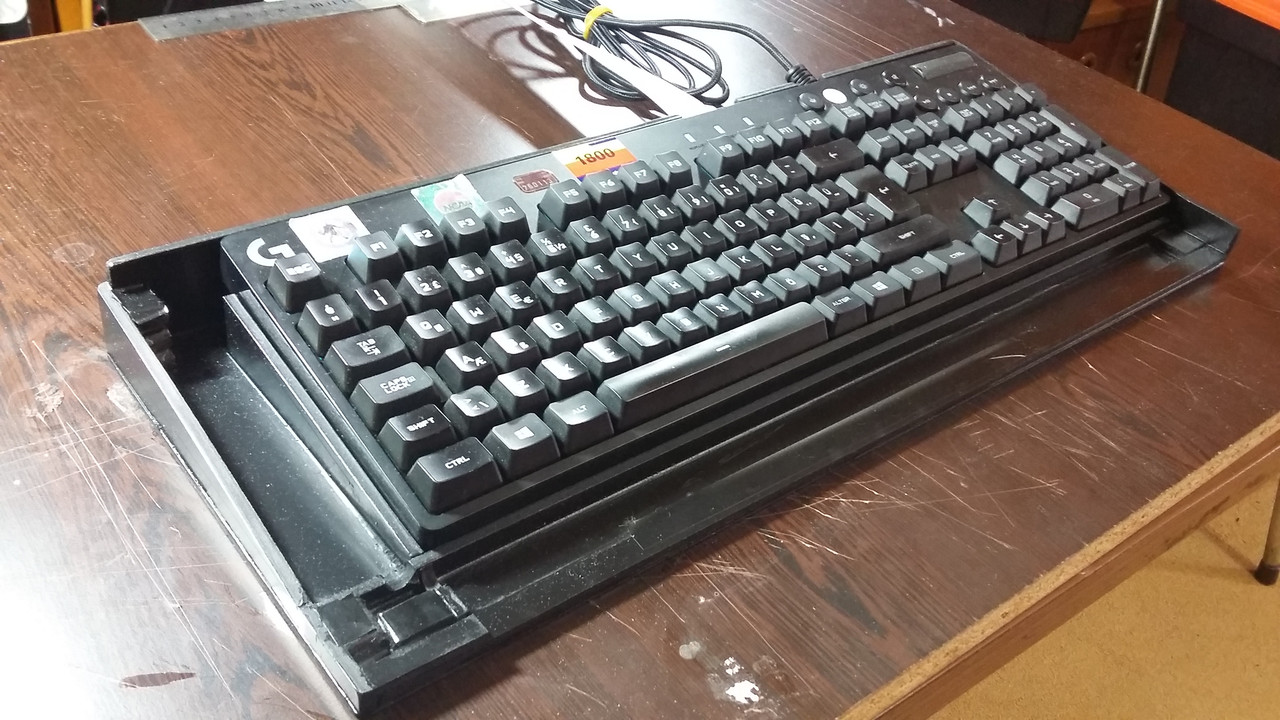
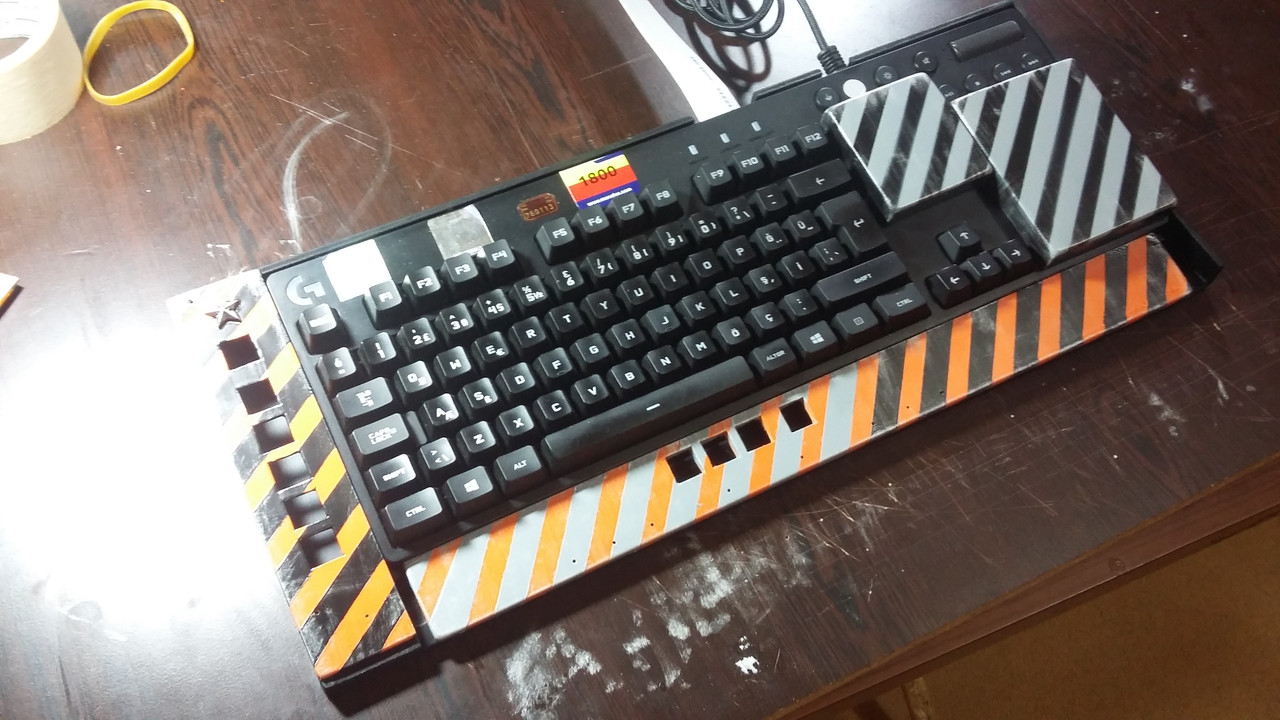
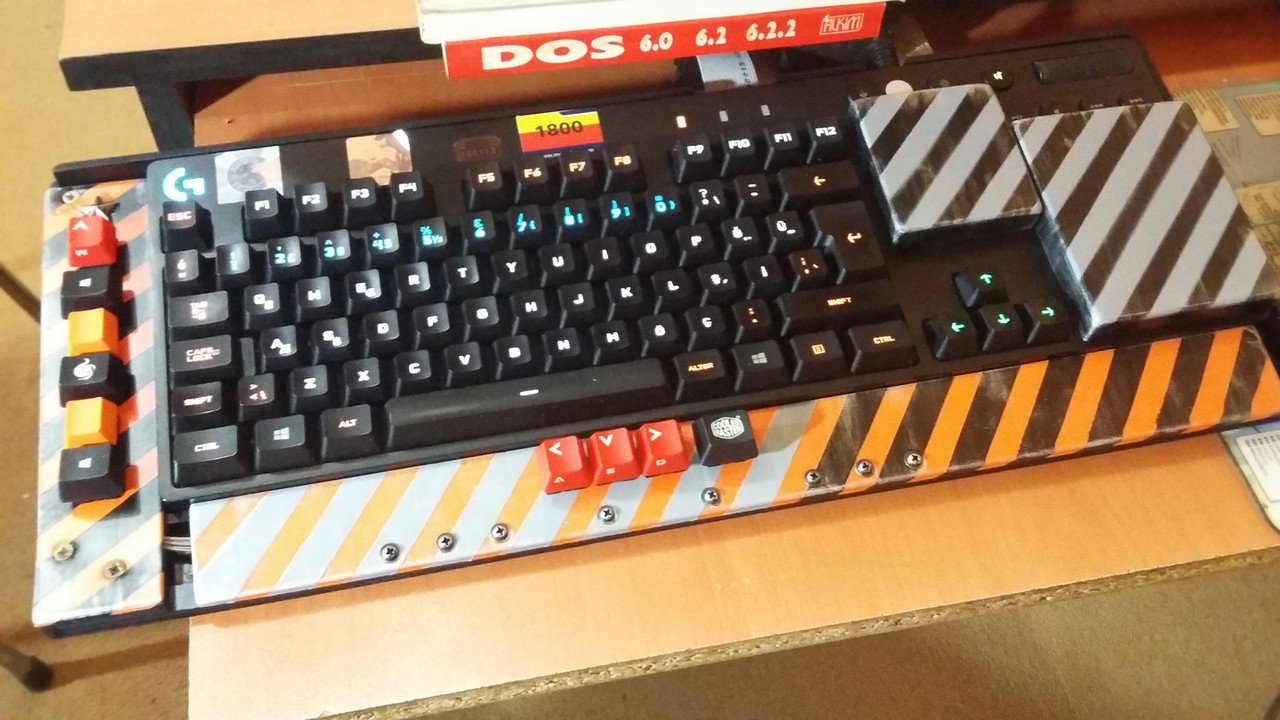
Here is the finished end product:
I also like to show you the build/design stages:
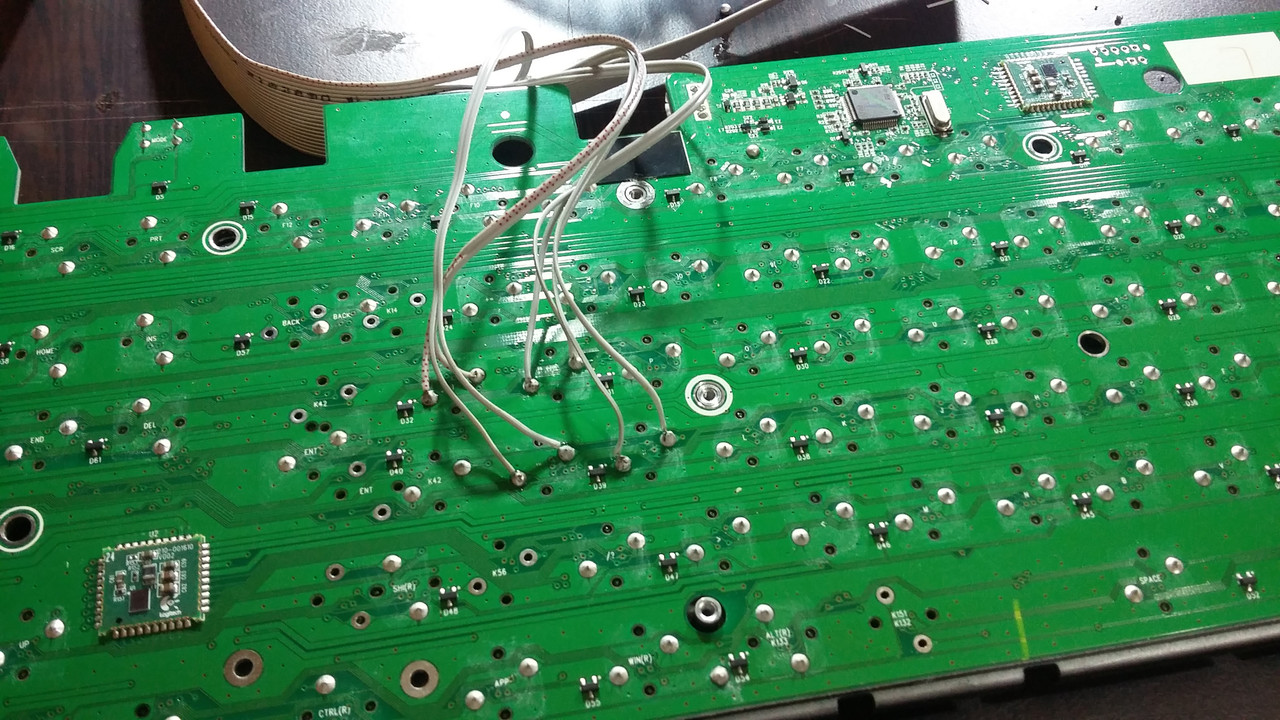
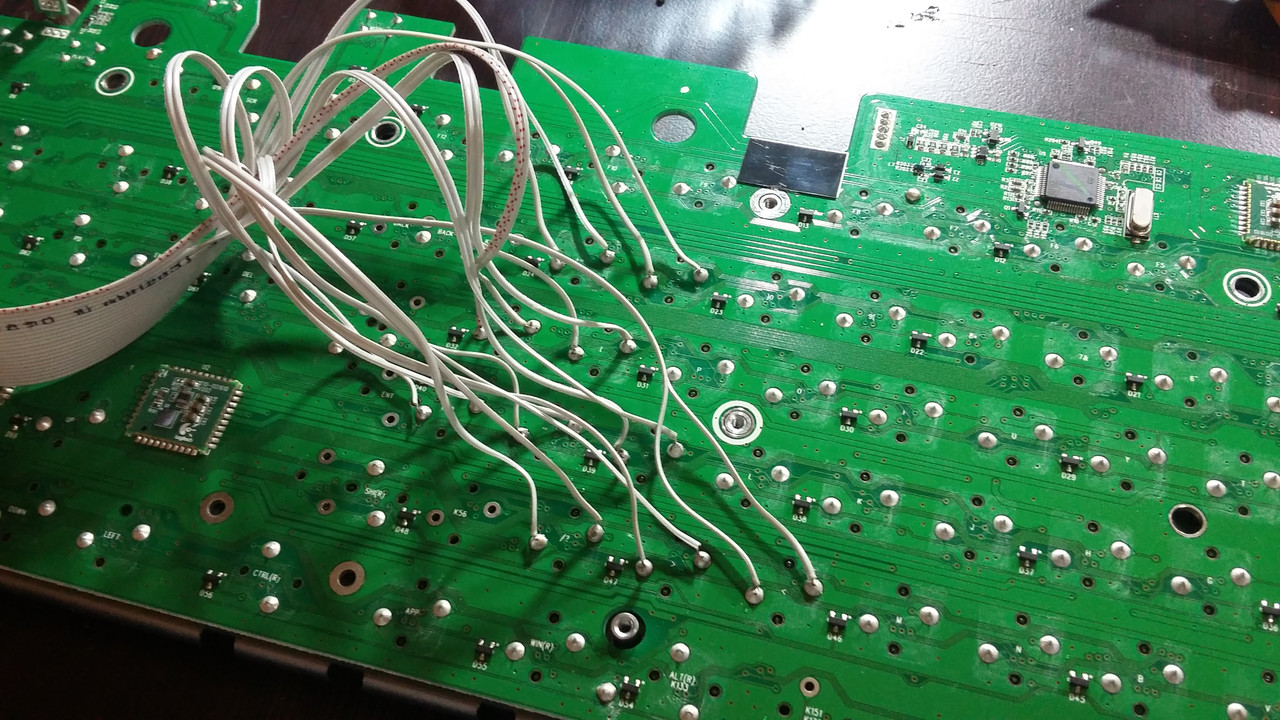
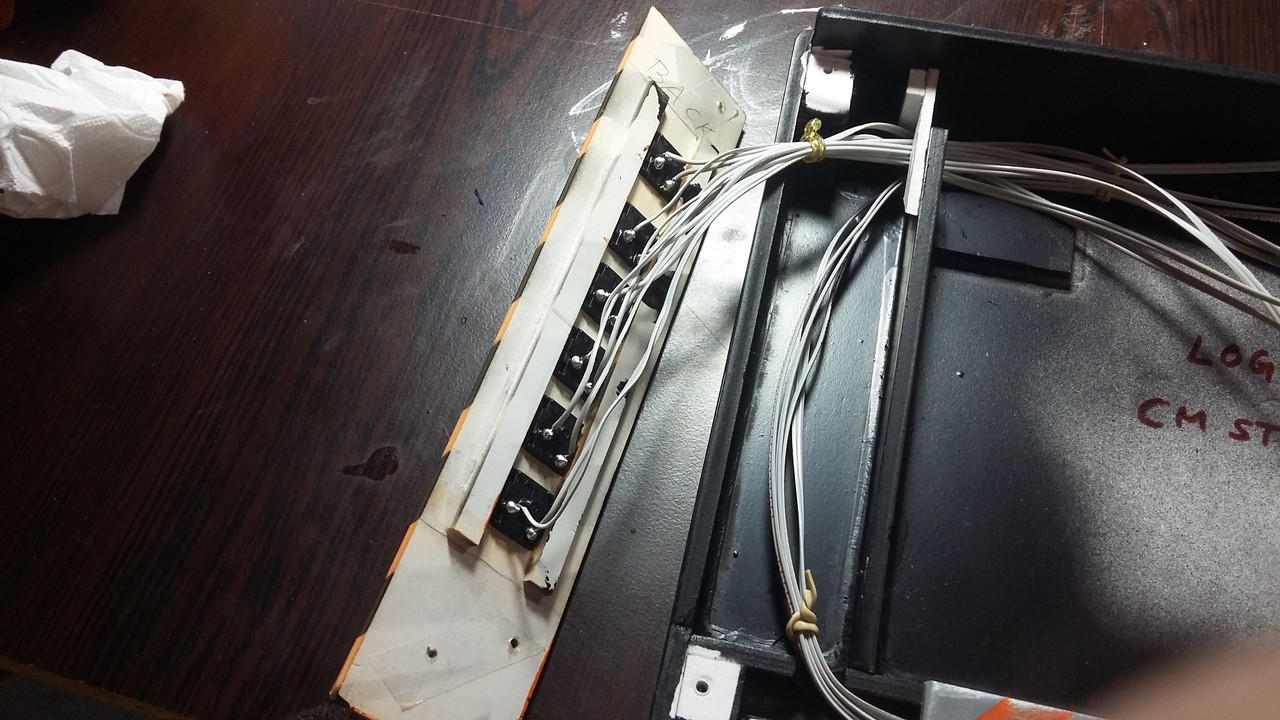
First things first: I bought some 20pin Ribbon Data Cable and started soldering them to the switches that I would like to "duplicate" them using paralel connection.
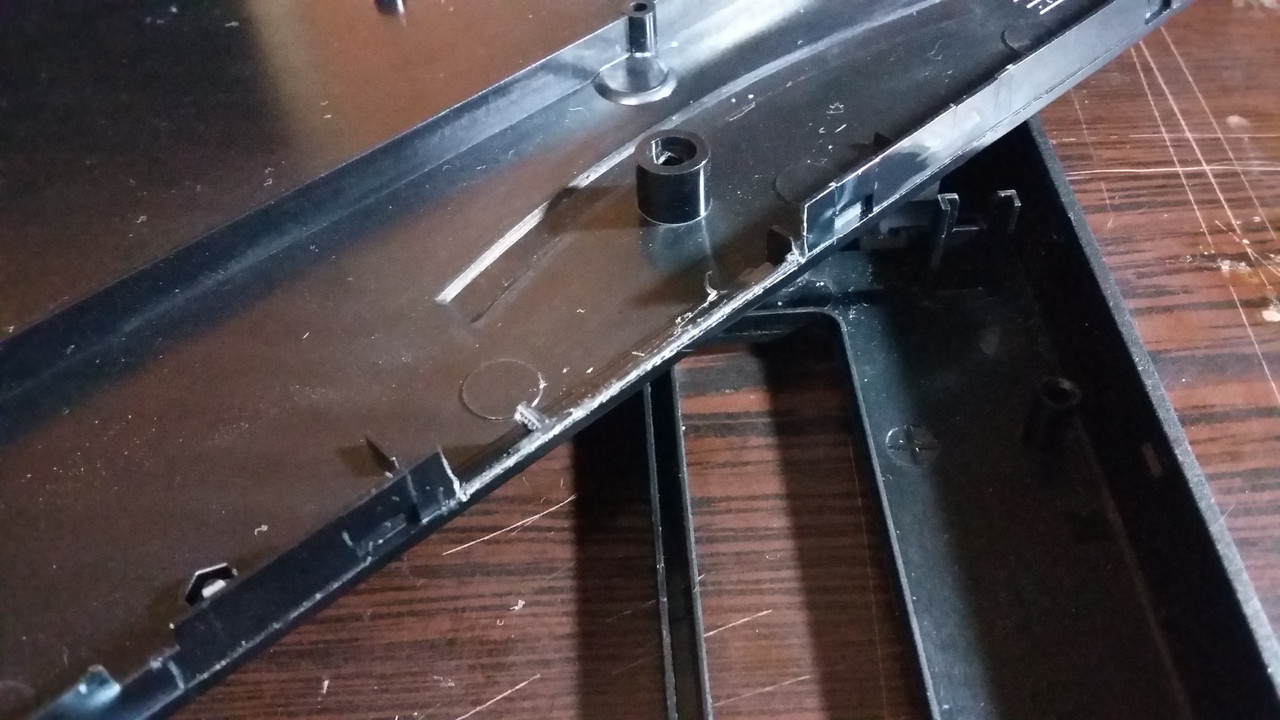
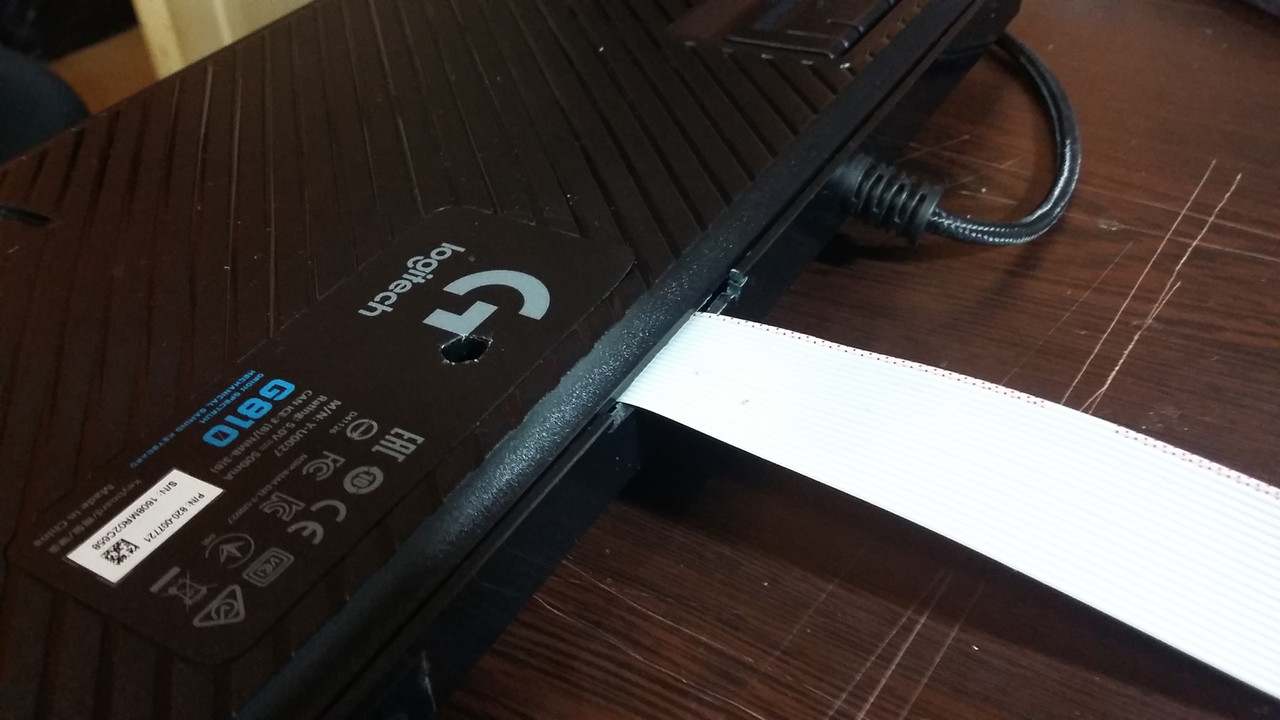
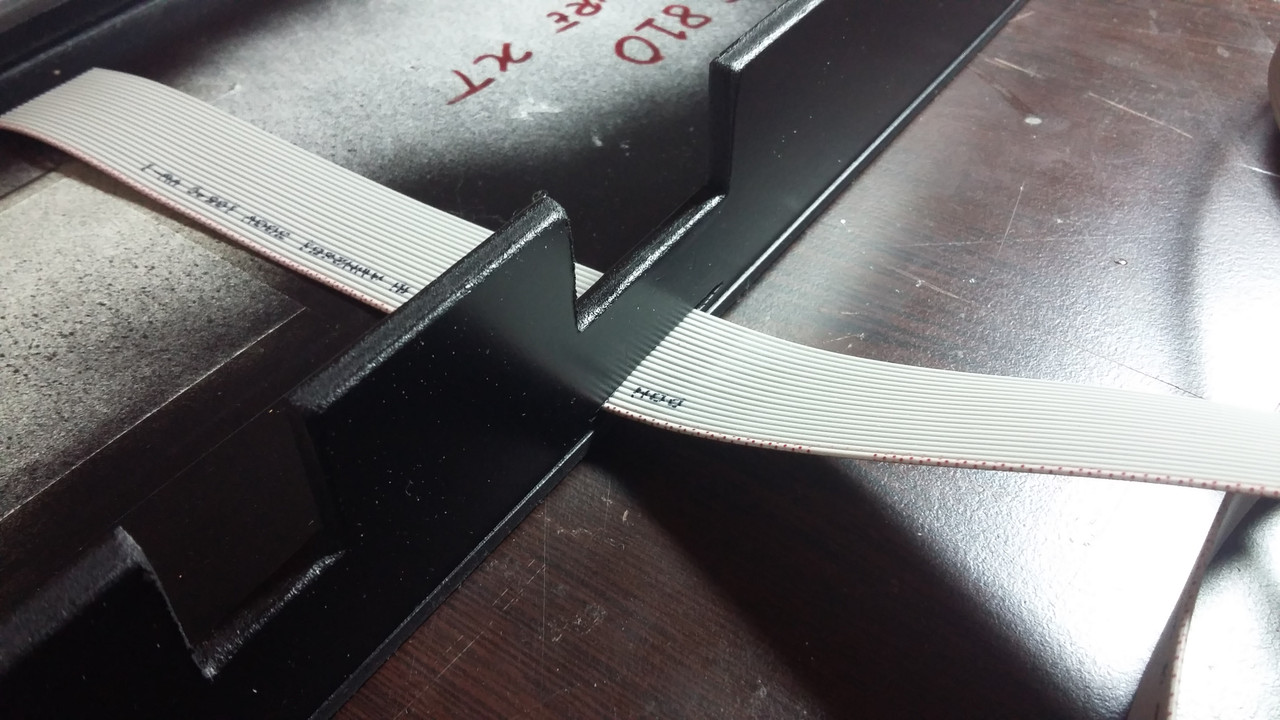
Here I cut my Logitech G810 plastic body with dremel tool so that the ribbon cable can go out from that tiny slot.
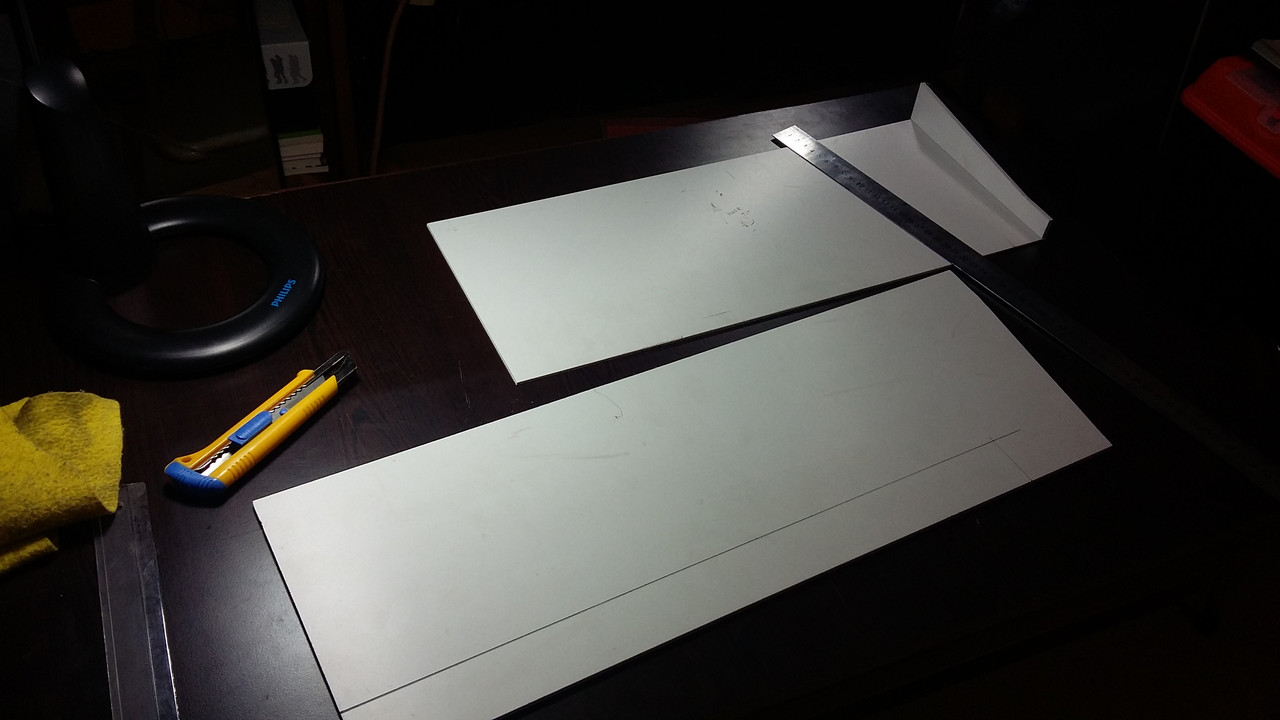
Started cutting PVC panels and gluing them using super glue:
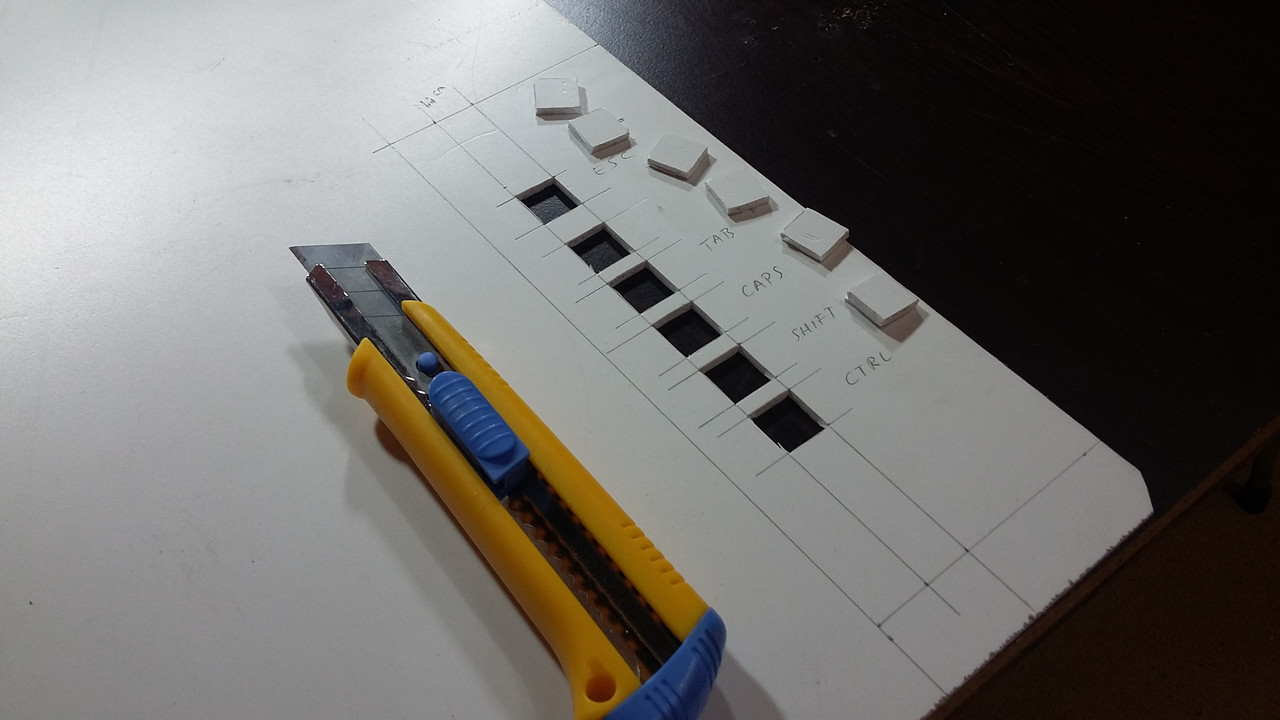
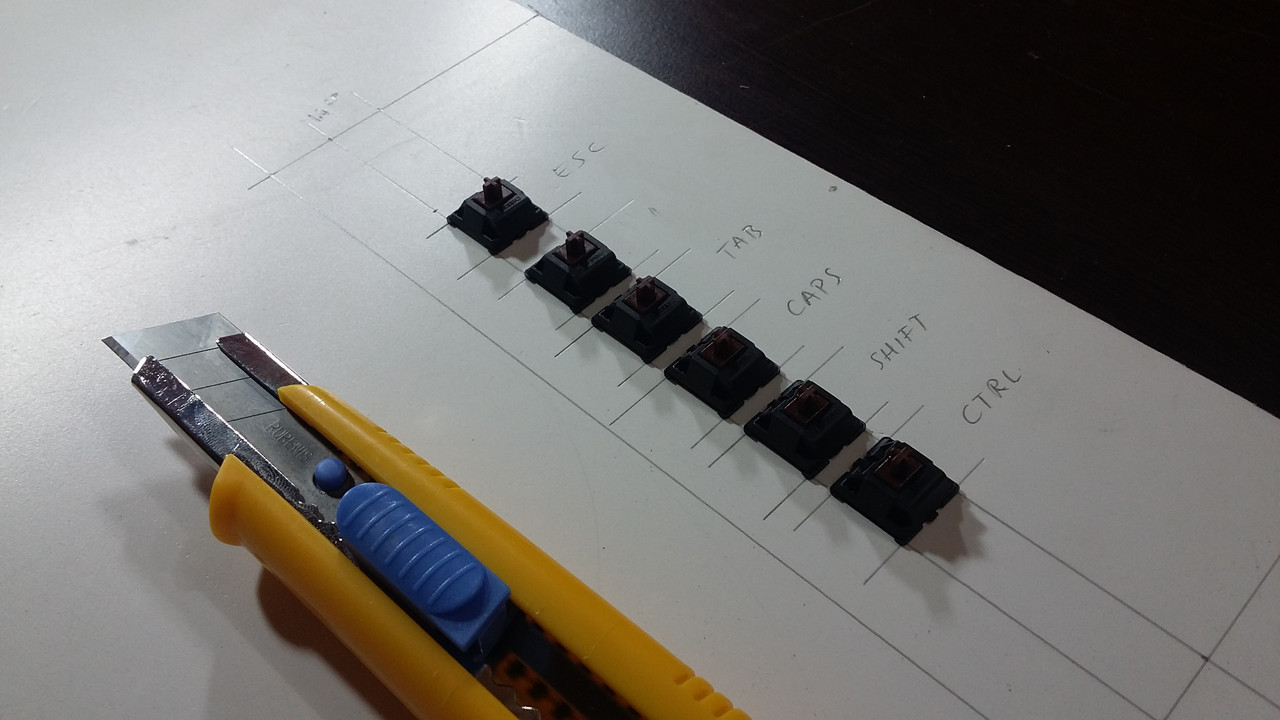
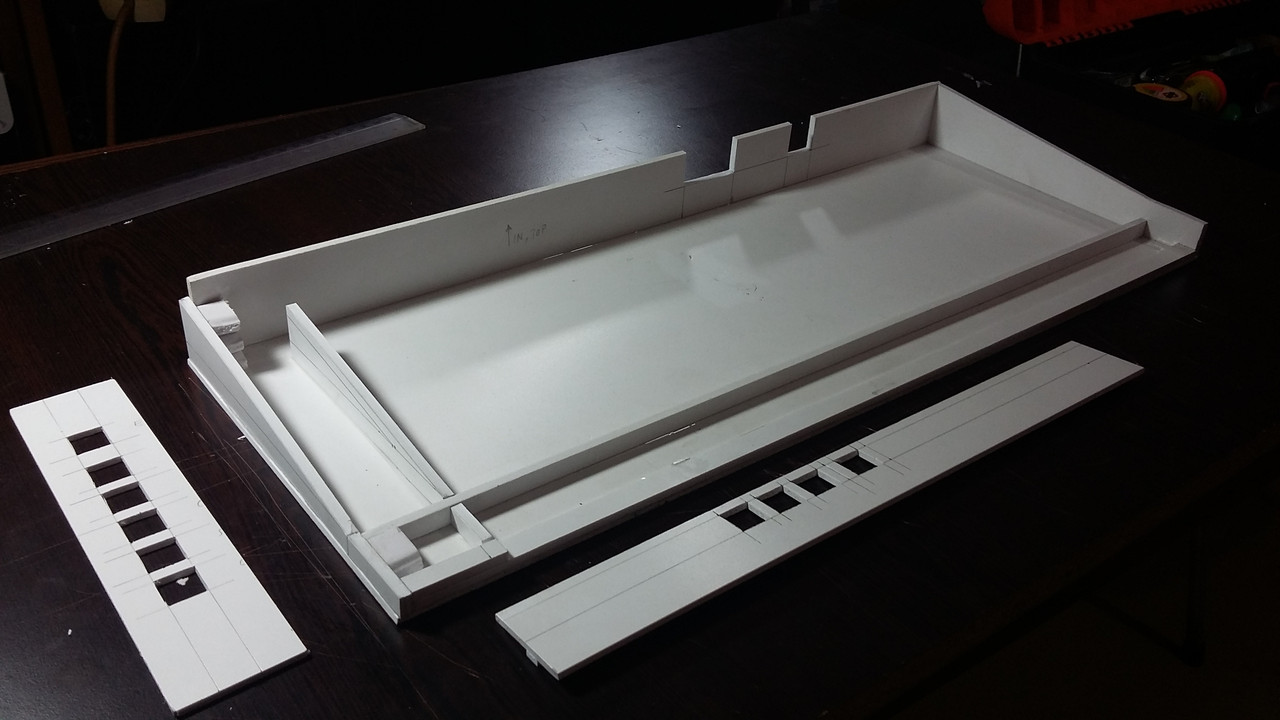
Early design stage for position and height of buttons:
By the way don't get confused by the "arrow" keycaps. I only have spare keycaps as arrow keycaps.
The actual buttons that I duplicated are:
the characters: * - ğ ü ş i , ö ç . (Total 10, in Turkish ISO layout keyboard)
these are the characters that is found on UK big entered layout (Turkish layout is a modification of ISO UK layout):
the characters: - = [ ] : @ # < > /
I think you get the idea of which keys I wanted to "duplicate". In game (almost in any game you want) you bind those characters to the spells you like of course.
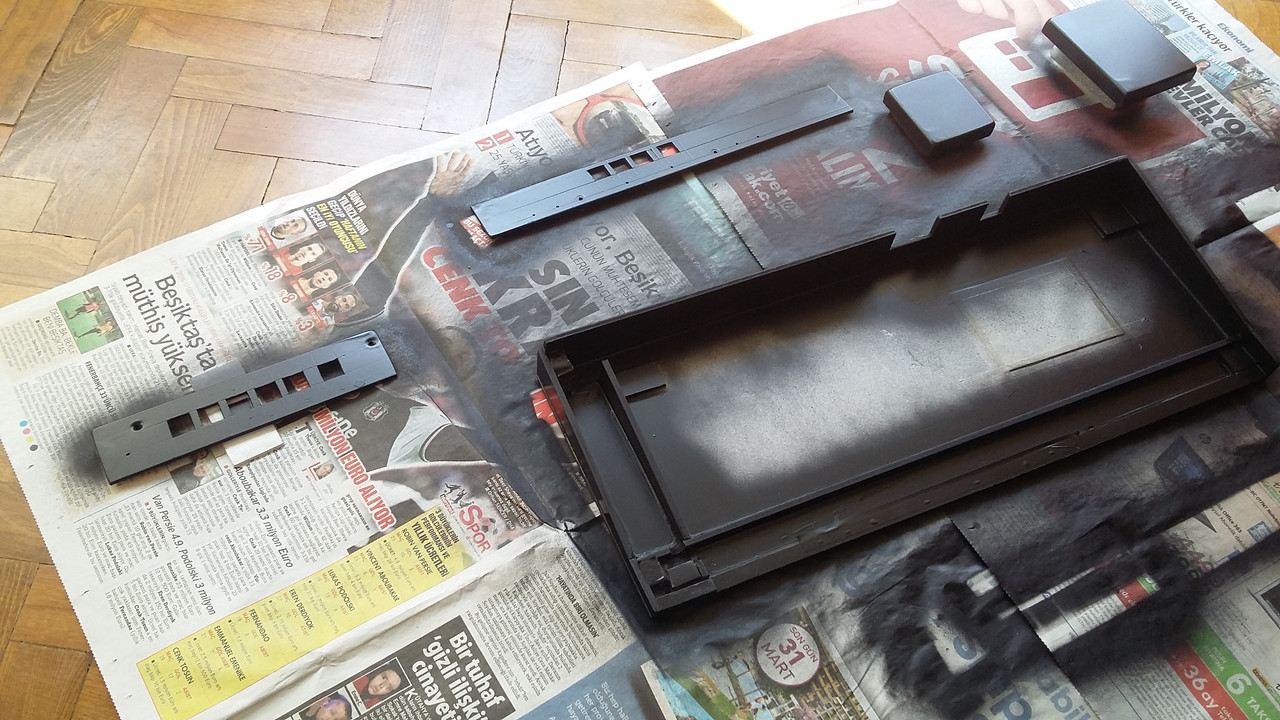
Started painting it after sanding the edges (I also built two small partial keyboard covers for the numpad and Print Scrn, Page Up, Page Down... group):
Keyboard sitting in PVC case without button panels, switches and cable connections...
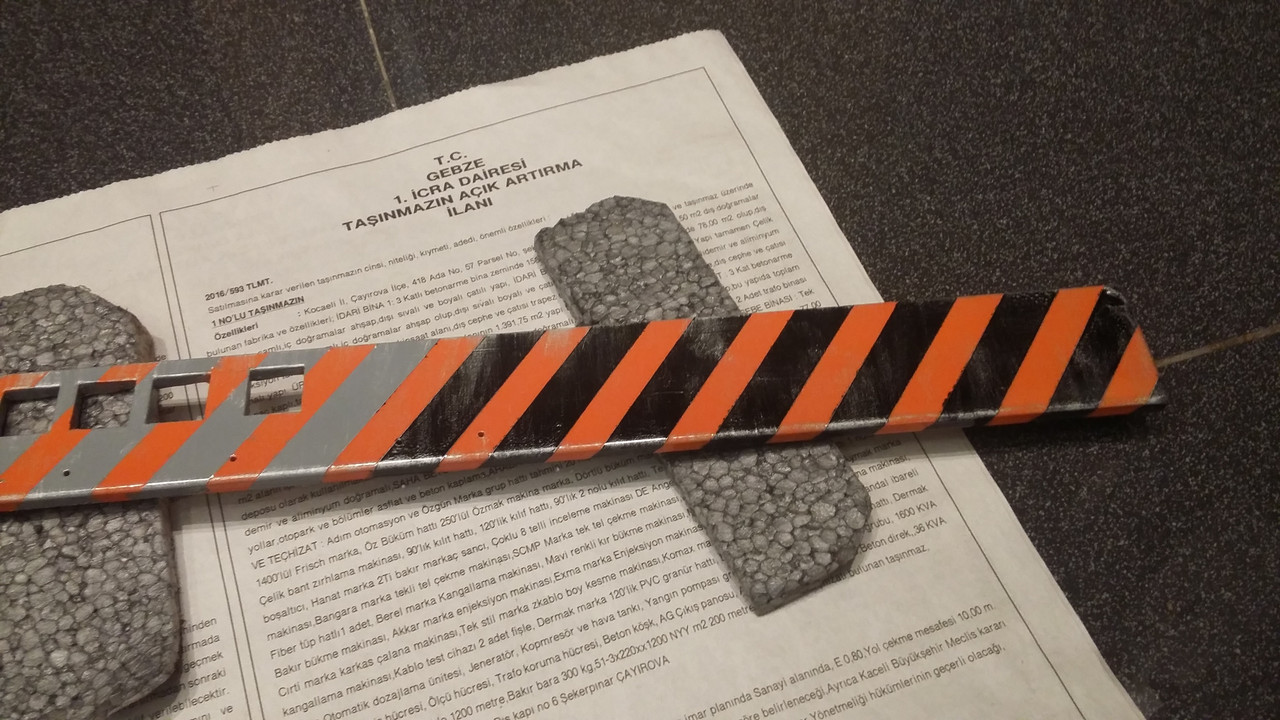
Adding some bling factor and weathering for a worn out metal look (Altough I am not very good at weathering):
There is also 2 layers of matte clear coat on the button panels.
Panels without switches and cable connections:
Here is the tiny slot that ribbon cable comes out. I cut the slit with dremel tool.
Started Soldering the switches of PVC case:

Attached the bottom panel to the case using some spare screws. This is also important for future serviceability of the panel and switches (The screw holes are drilled by dremel) Also by using screws at every centimeter in the future, I can slide the position of the bottom panel to the left or right if needed (Provided I have to cut the panel from edges of course)
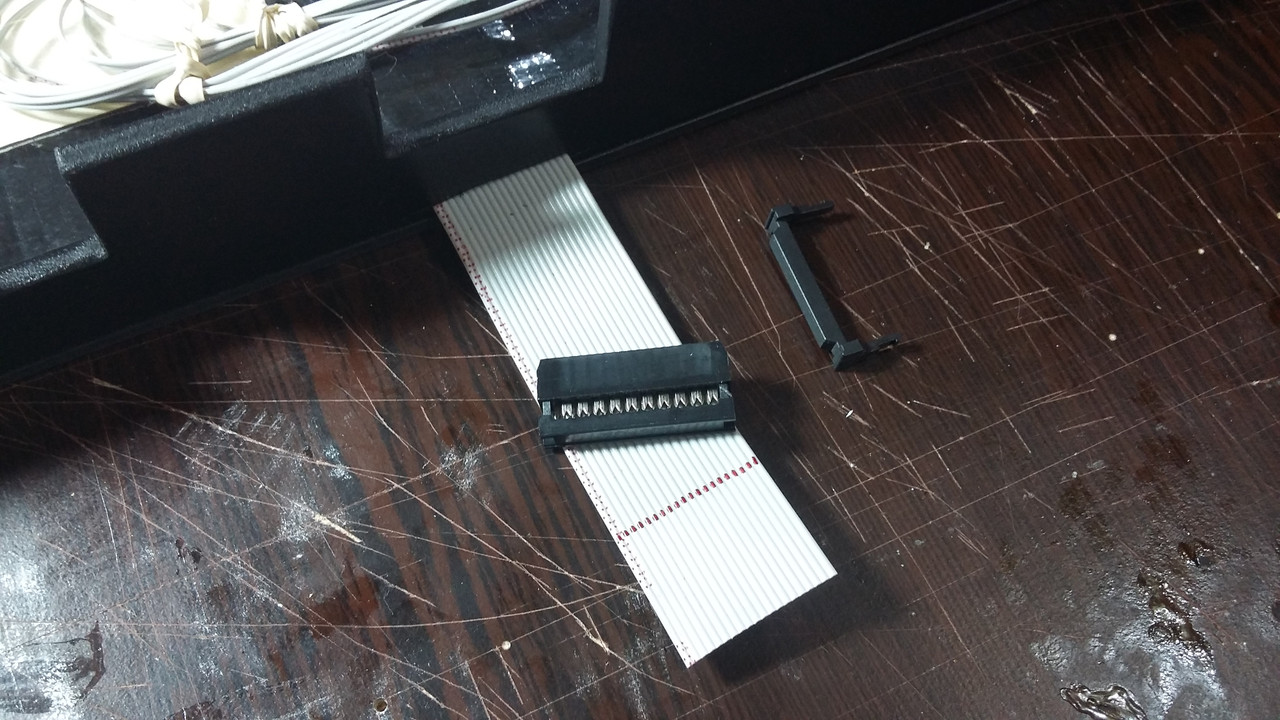
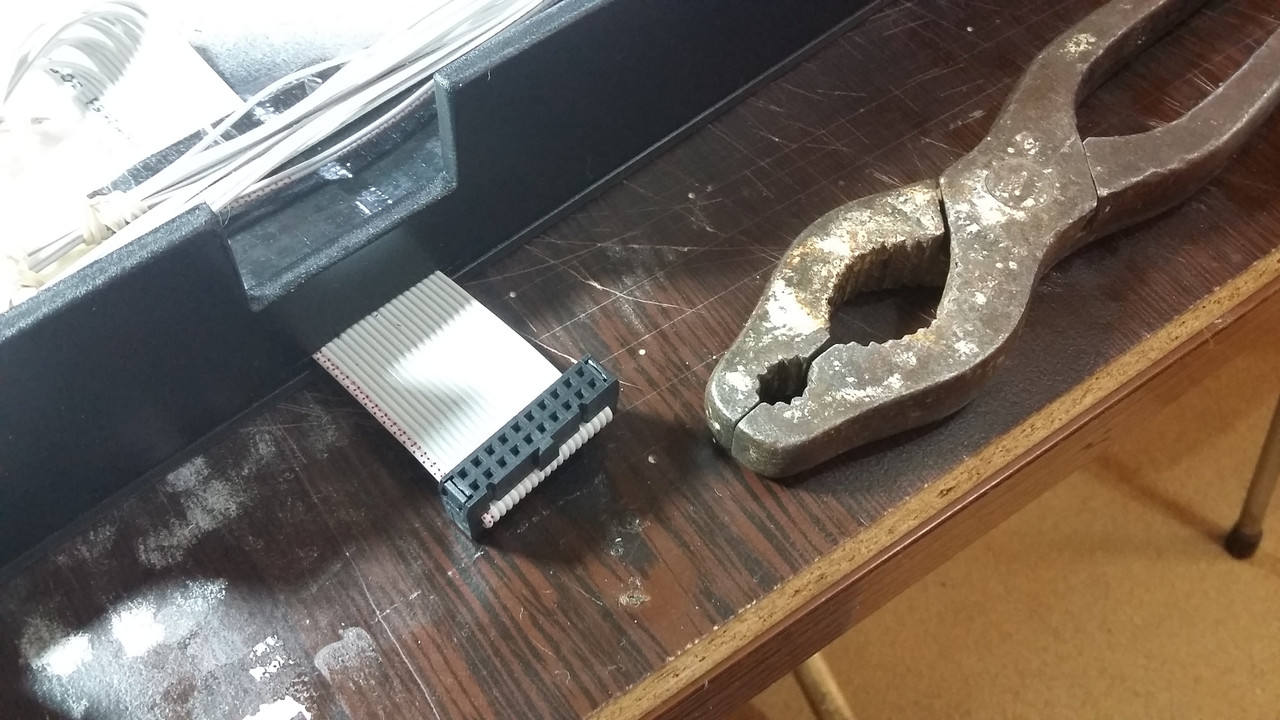
Finally started attaching the connectors for 20pin ribbon data cable:
Used this crude tool (pliers) to attach the connectors to the cable:
And here is the end result for PVC case itself:
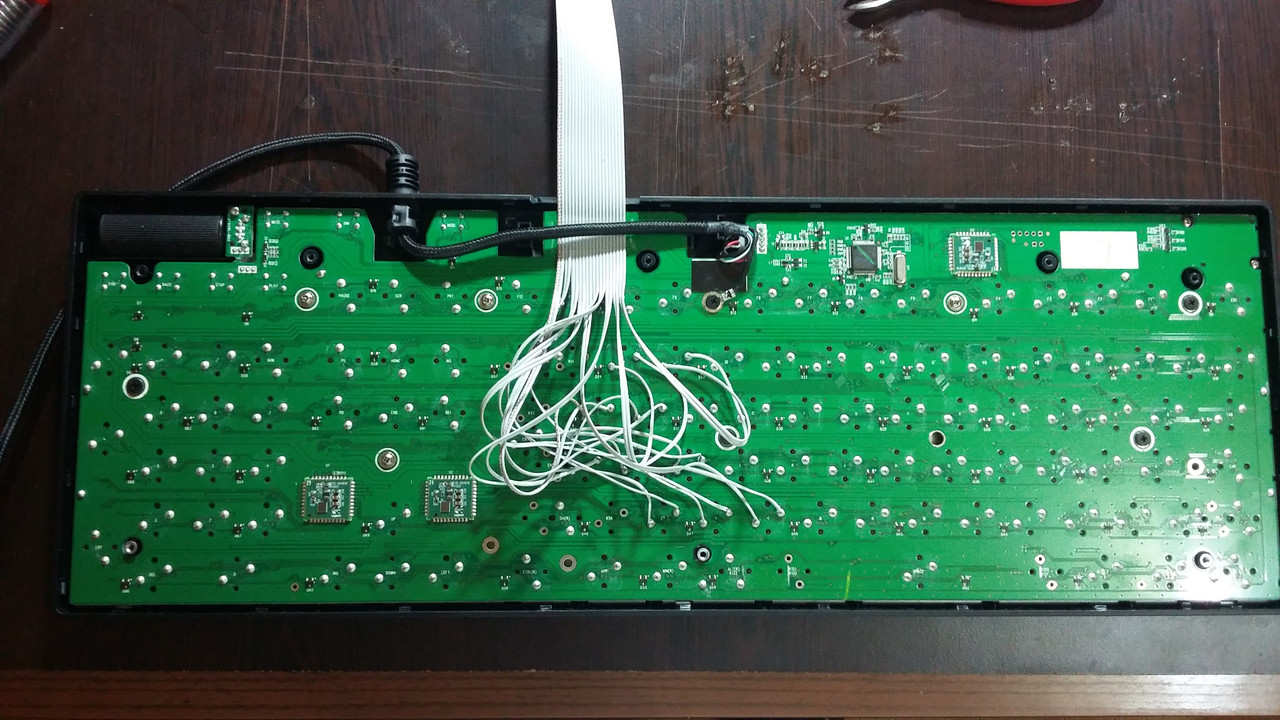
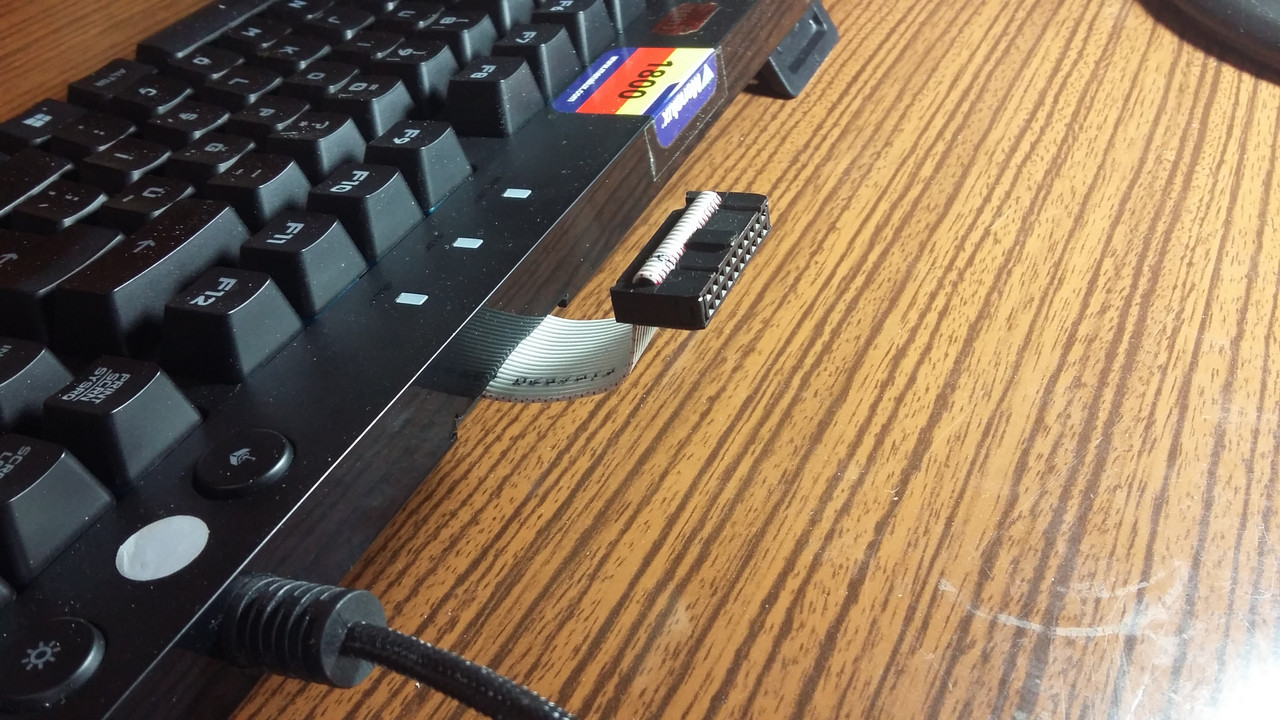
The ribbon cable of keyboard:
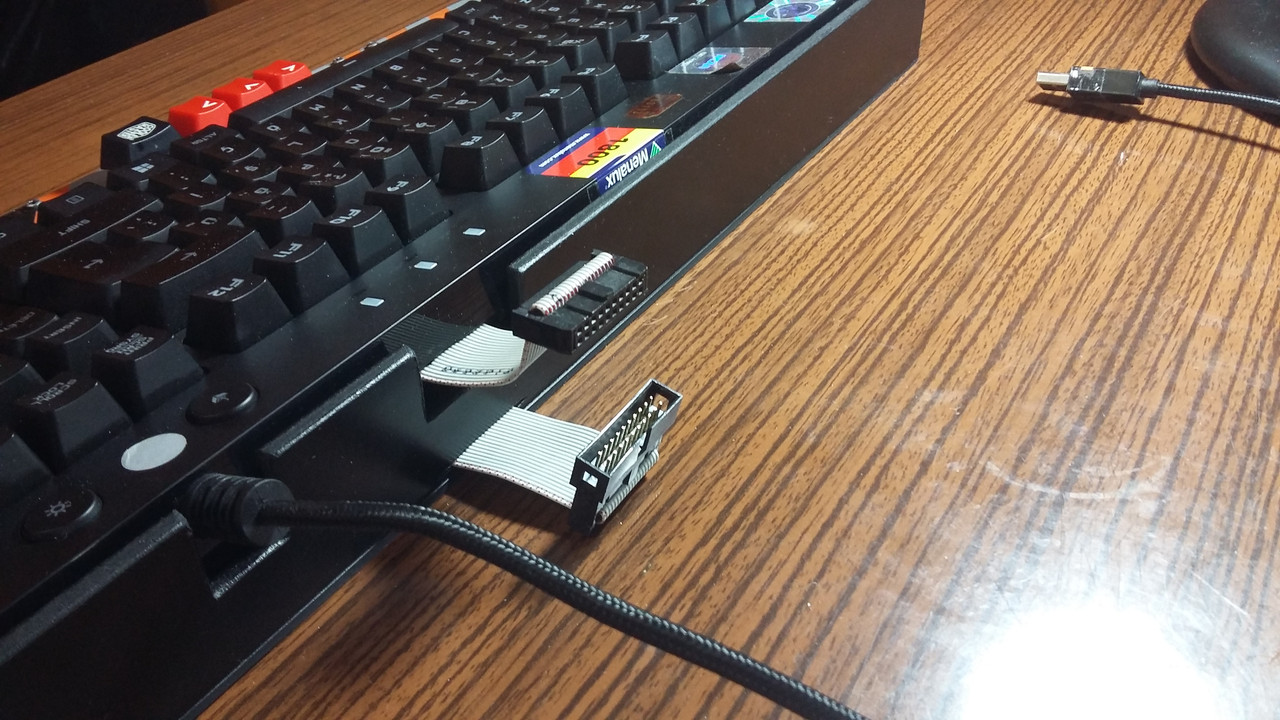
The PVC case with extra buttons and the keyboard itself is about to get "married". The idea is: By using detachable connectors, the keyboard can always be used alone anytime without the PVC case. The keyboard is also not glued to the case of course...
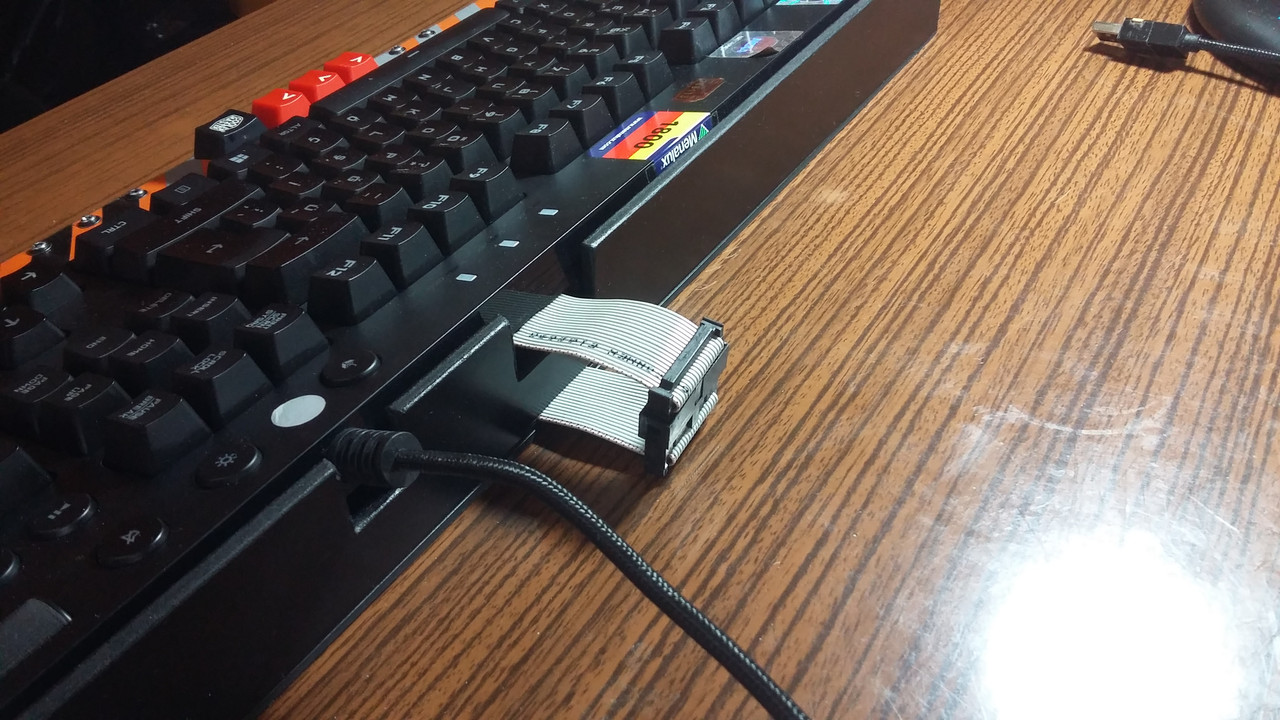
And finally they marry

It all works and adds enjoyment to my gaming experience and to my eyes of course
The only thing that concerns me is the durability. I wonder if it will last for years. Because the button panels are also soft PVC... Well we will see. Time will tell. Perhaps I will try to inform you all upcoming years.

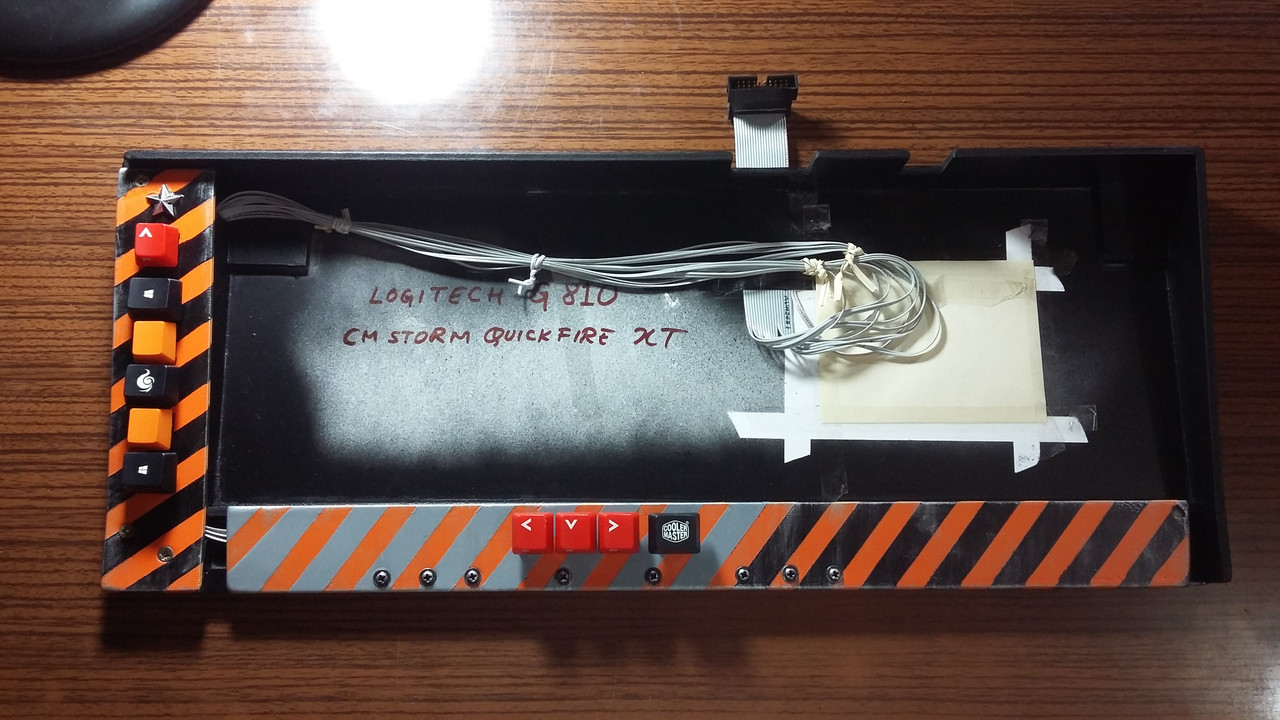
Ah by the way: Logitech G810 have Romer-G switches which are a little bit "mushy" and "membrane like" compared to Cherry MX switches. but it is fine by me. Besides this way keyboard is less noisier.
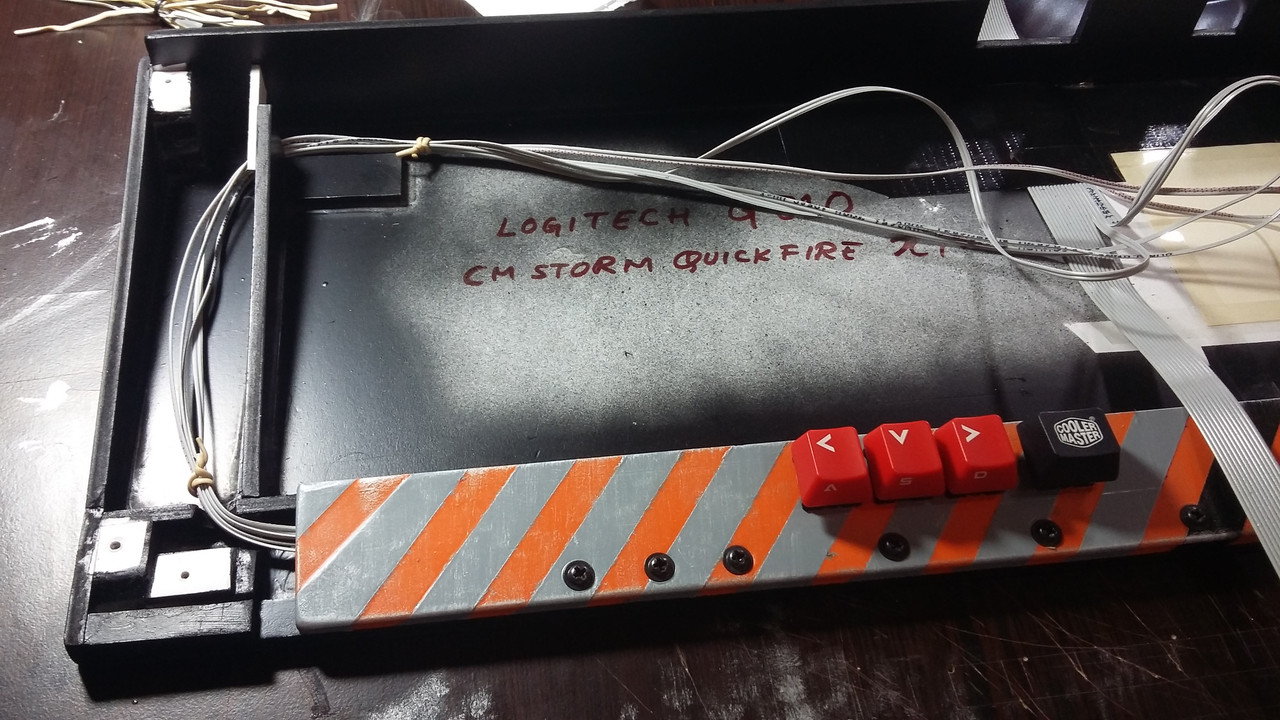
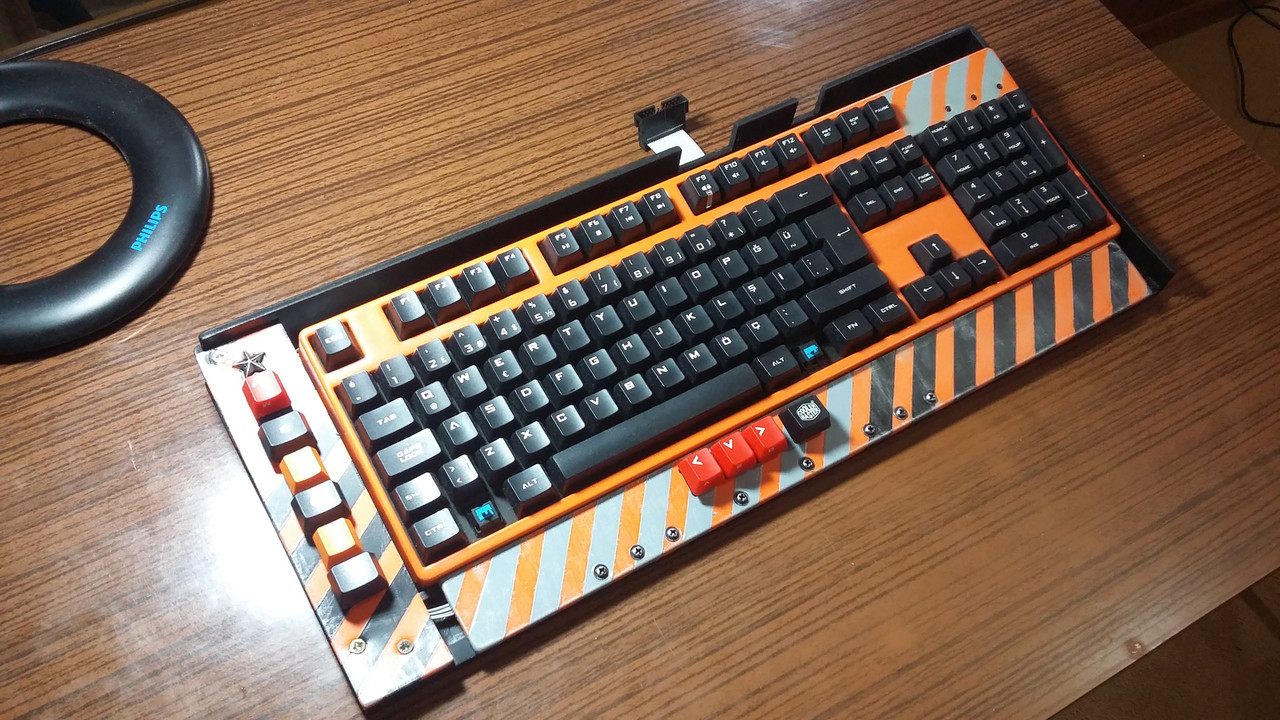
Also: My CM Storm Quickfire XT keyboard also fits the PVC case. However it needs another 20pin ribbon data cable soldered to its PCB. (Here in this picture I also painted my CM Storm keyboard to orange color 1 year ago. It has Cherry MX Blue switches. My number one keyboard for typing.)
This is the first prototype for my project.
I only used 3 types of PVC panels that have the thicknesses: 2.7mm, 4mm and 9mm. It is quite soft material. Can easily be cut and shaped by using snap blade knife.
Since the design and the style and measures for especially the position of thumb buttons are known, from now on perhaps I can use laser plexiglass cutting or even 3D printer technology for upcoming newer and more durable versions of it.
I am sure this kind of project has been done before in this site. But I wanted to show you my version of it. I hope you liked it. Thank you all for reading.