Sky Blue LZ-S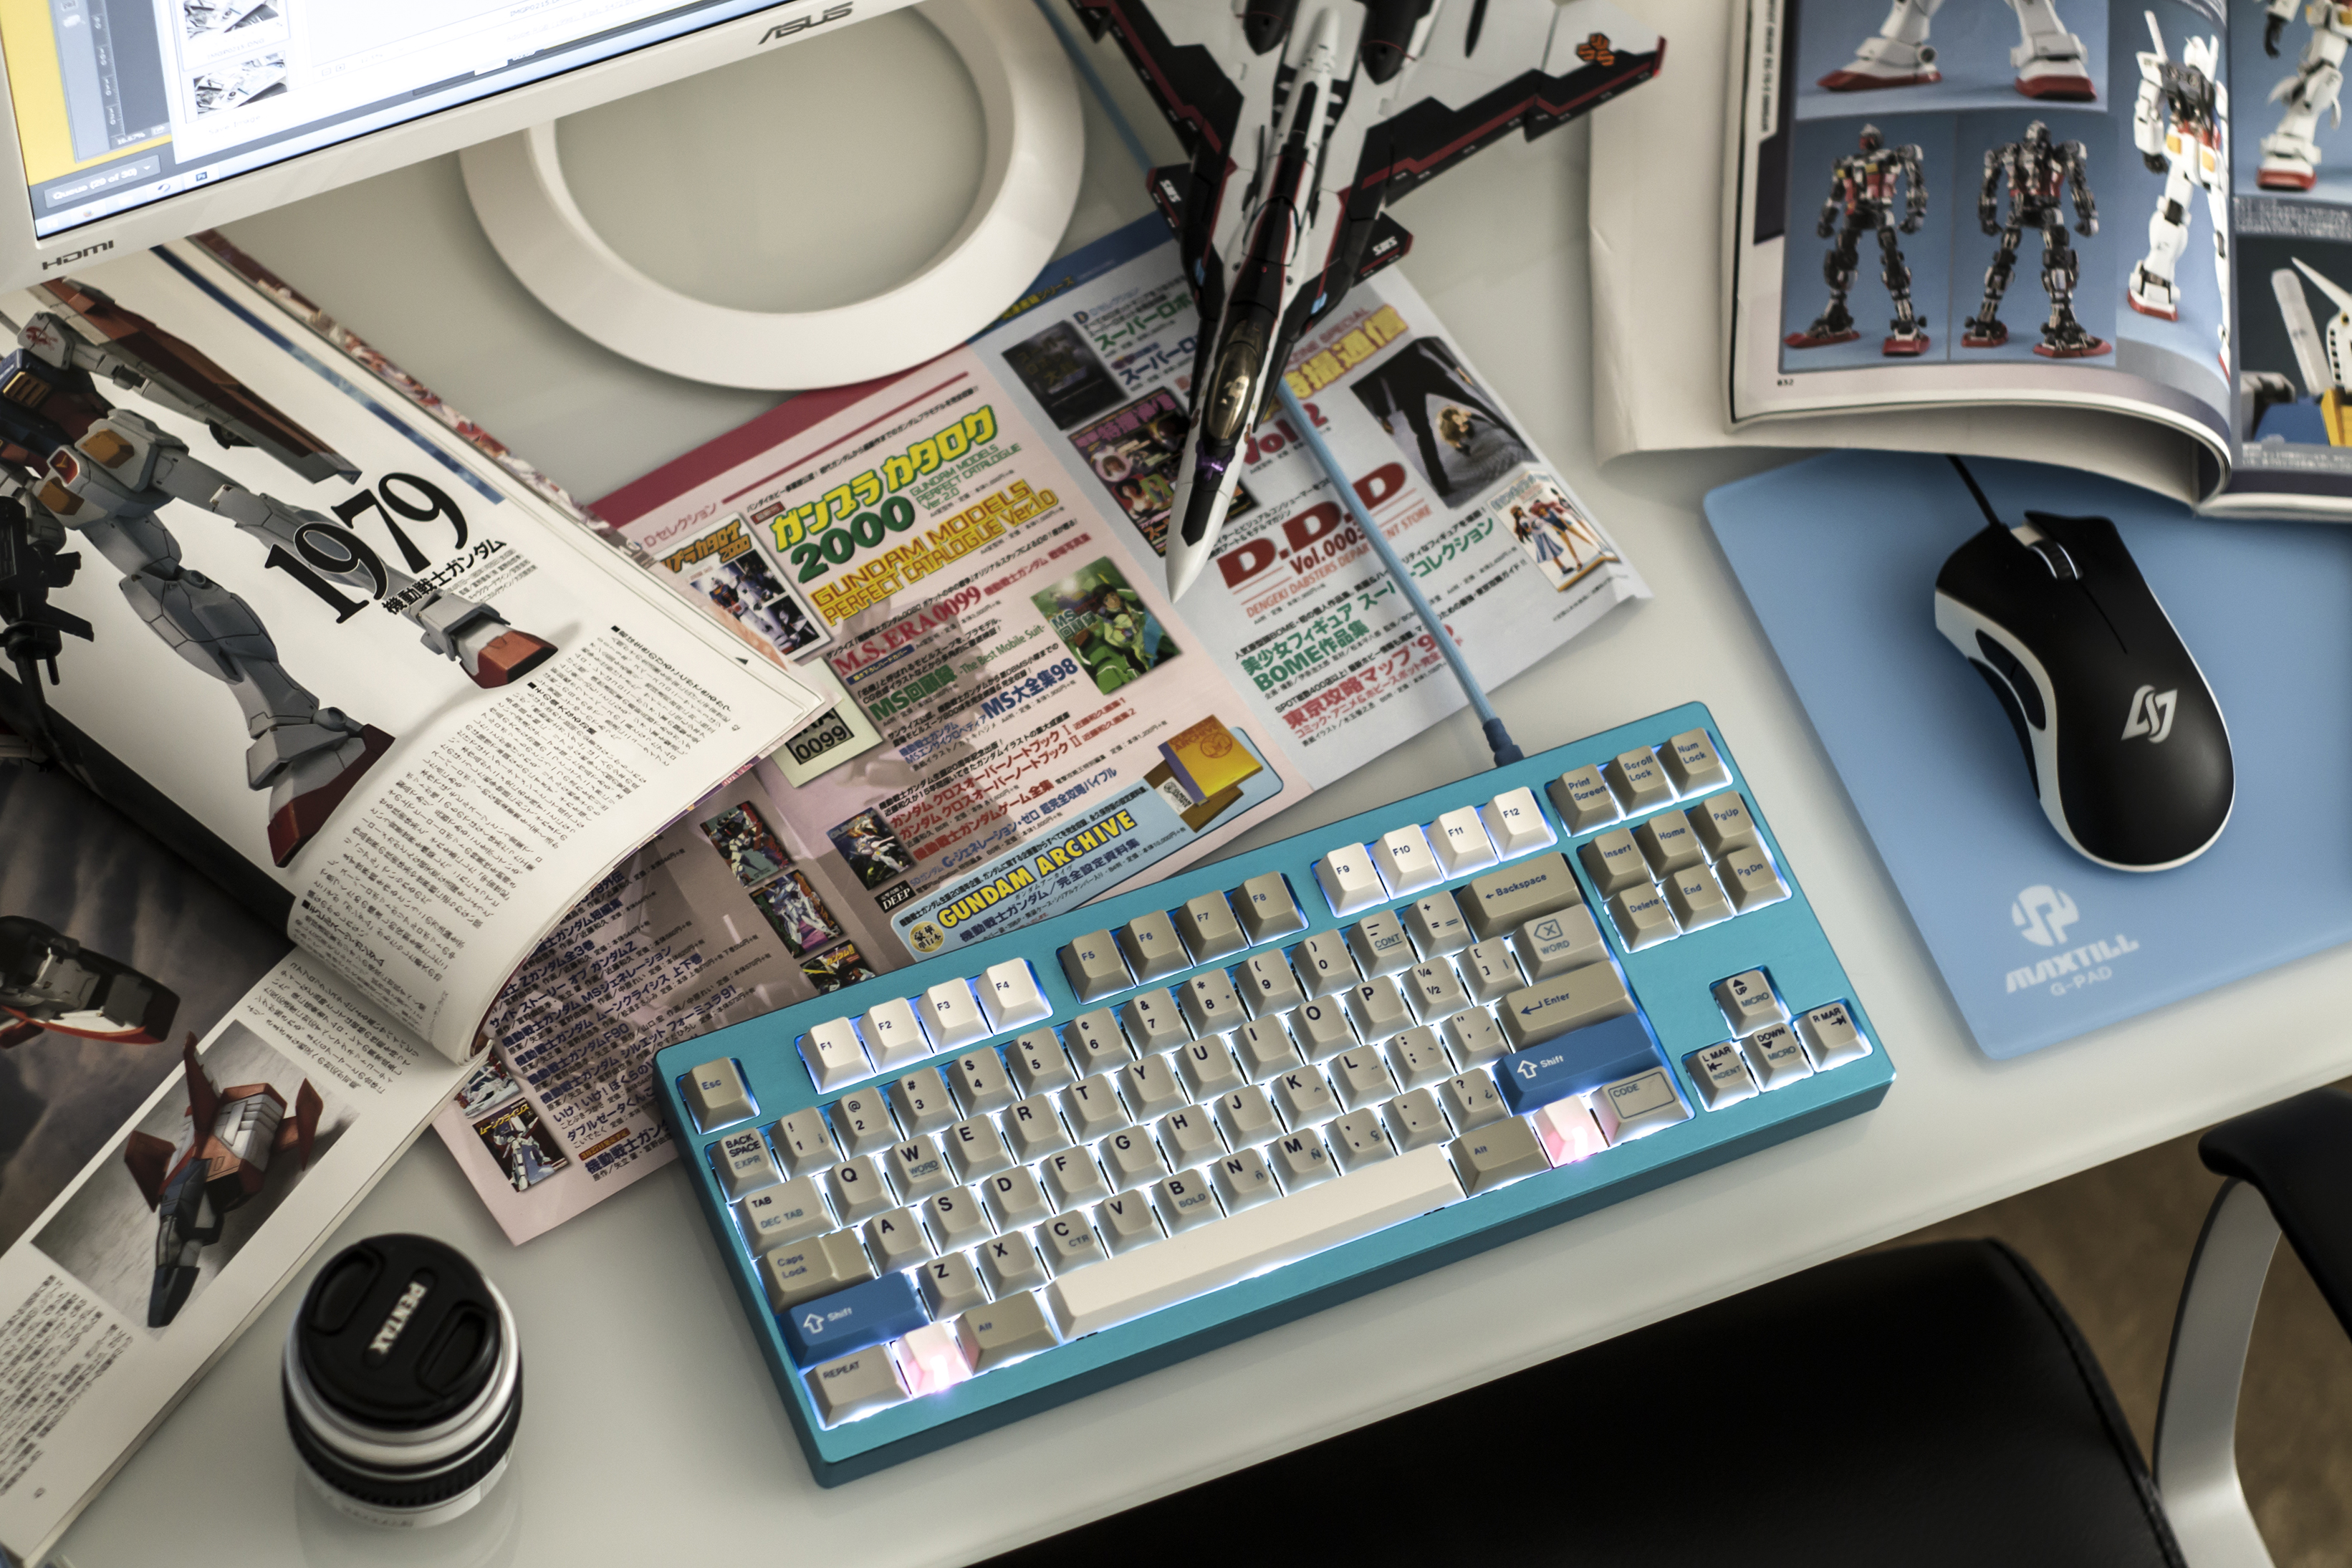
I. Intro
II. Build Log
- Dissassembly
- Switches
- Soldering
- LEDs
III. Conclusion
IntroductionHistoryAs far as Sifo and I know, there are 28 LZ-S keyboards in existence and only 3 of them were made in the Sky Blue anodized finish. Getting this board was a result of pure
chance, not work. I had just sold my KMAC LE in search for a full LED aluminum custom, but I did not have any Korean or US connections that had any inside information. I just kept an eye out on the classifieds and I got stupid lucky. As soon as I saw it, I bought it (February 22nd 2014). I've never looked back since.
Little did I know that the board came with the first version of the A87 PCB and supported even less LEDs than my KMAC. It had red switches which I used for a few months before being switched to 62g clears. After getting soldering equipment and doing a few first jobs, I did my first lube job and had lubed 62g clears. My lube kit did not come with a needle applicator so I had to use a fine paintbrush (which I thought was fine since that is what Vesper and WFD had been using). The rushed result as a kustom-crazed first-timer was less than ideal (frankly, I was embarrassed to the point that I did not want this board to make it to any meetups) and I had always planned on redoing it after gaining more experience and a new PCB.
Sky blue and magenta LED's had just been discovered a few months ago, so everything seemed to line up perfectly for a 1-year anniversary rebuild: I _just_ found a PCB, had months of soldering and assembling experience, "mastered" lubing, and now new LED colors - it's the PERFECT time to strike!
Goal#LEDisease - I need that full LED. Also needed to redo the switches to 65g. I knew that going to a heavier spring would help mitigate typing noise (this board was hella noisy compared to my GON - see
video) and at the same time give me something closer to my 55g topre board at work which I've enjoyed so much.
This is my favorite keyboard. Time to finally update it.
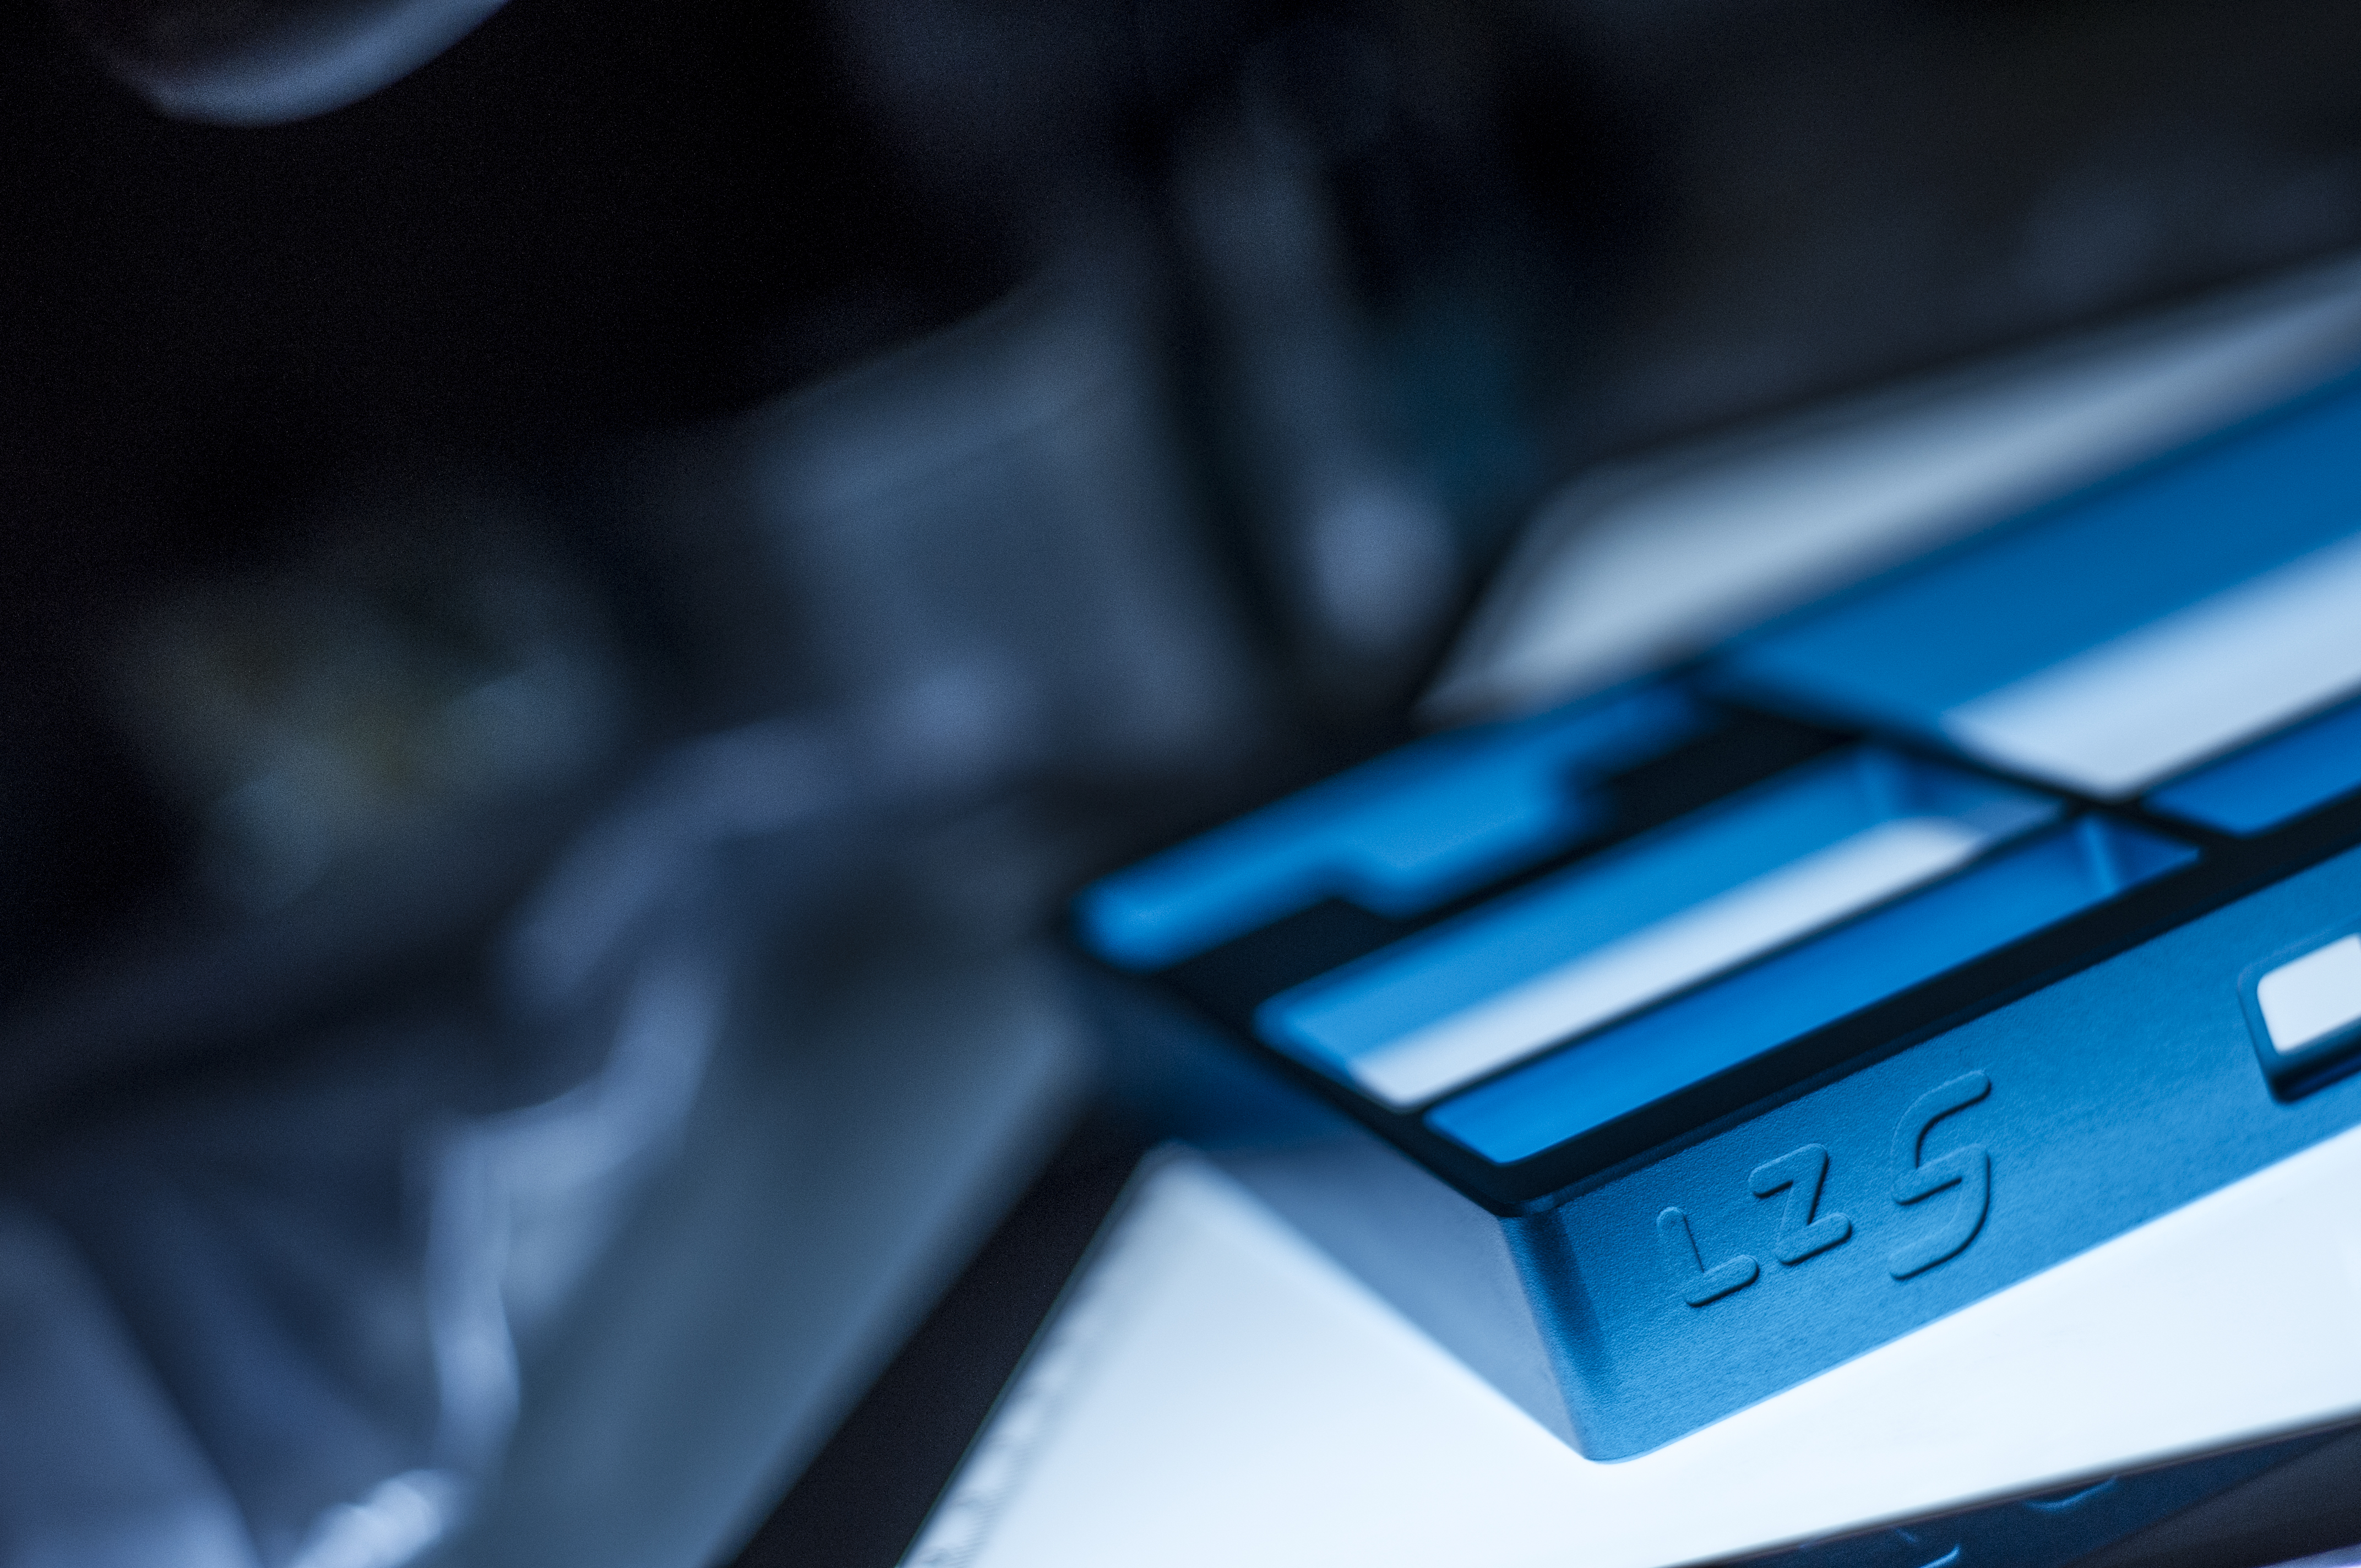
Build LogDisassemblyFriday - February 26th, 2015Standard disassembly, nothing notable to see here. Housing pieces are cleaned using paper towels and 99% isopropyl alcohol. Then the two pieces were stored in felt bags that my speakers came in and put away in a safe place in my closet. I felt a little pang of sadness when I finished taking off the keycaps.
Soon. I'll come back to type on you soon and it'll be better than ever.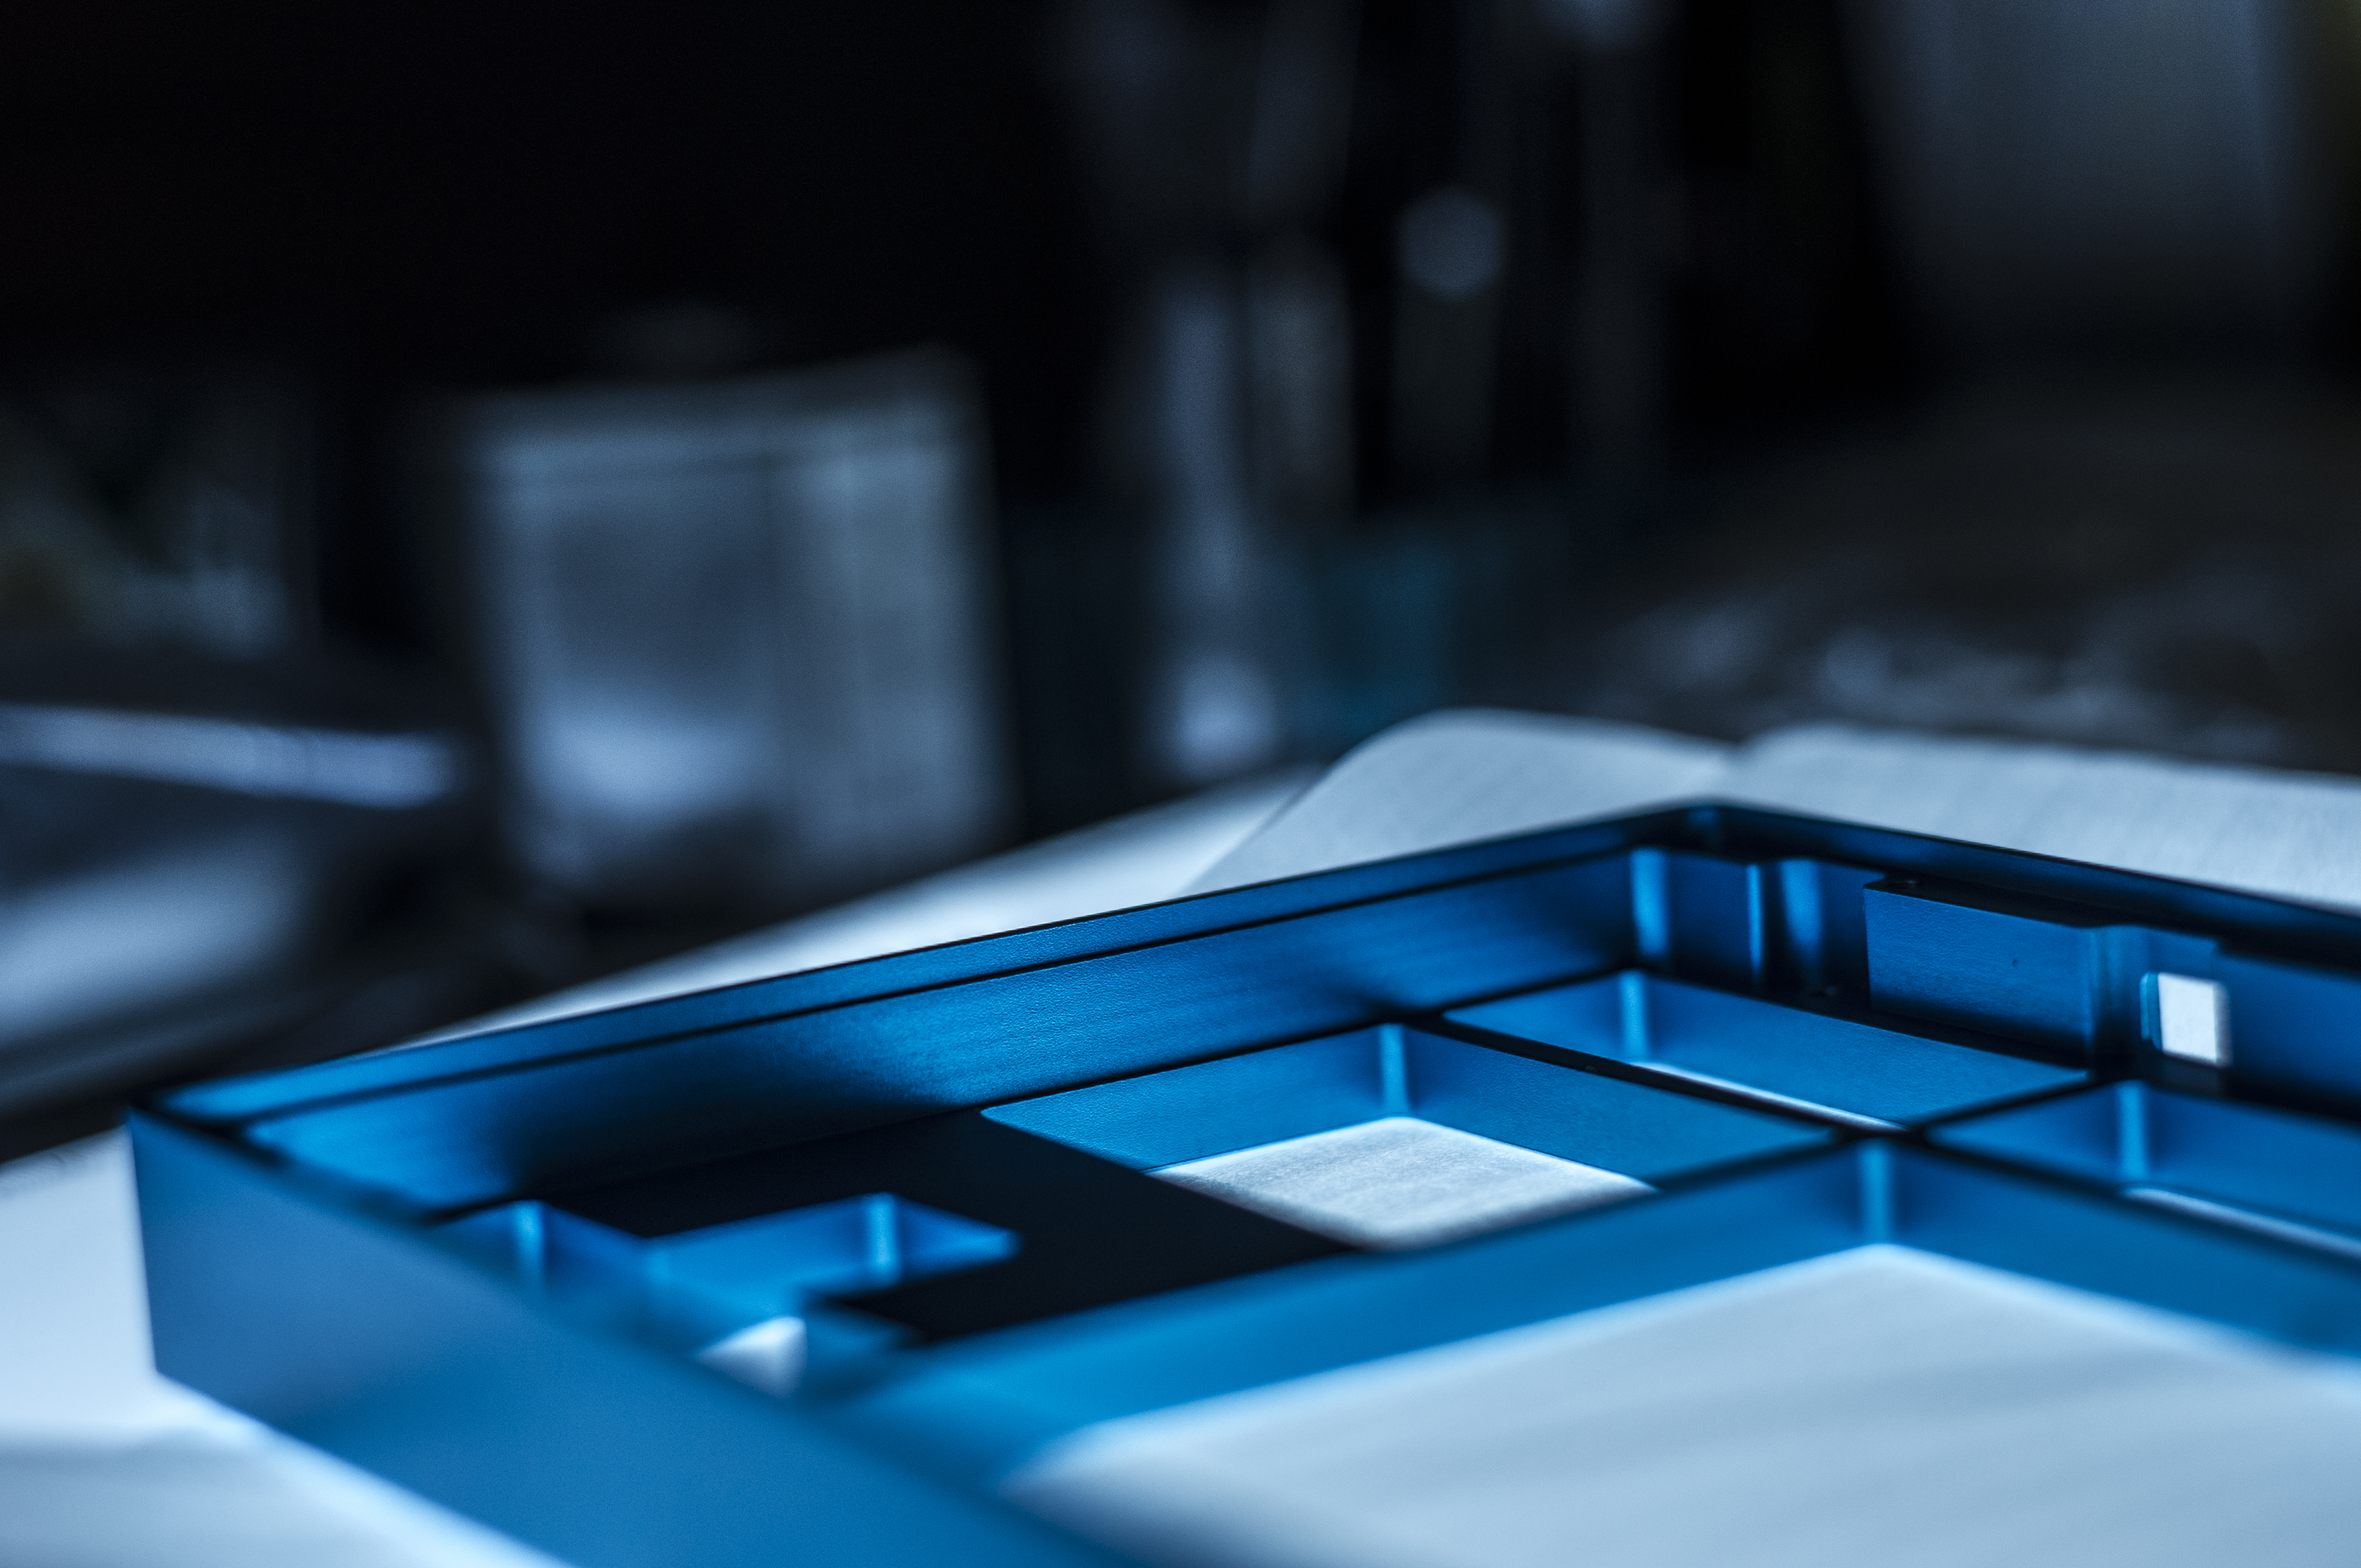
 Saturday - February 27th, 2015
It's an early morning because I have to pick up the PCB from the post office. I was at work when the attempted delivery happened yesterday - sadness. I have a good Hardee's breakfast - the double loaded omelet biscuit - highly recommended. Grocery shopping is done along with other menial weekend tasks. Food is important. Kinda.
That night, the Hakko 808 does its job perfectly removing the switches from the old green PCB labeled A87 WINKEYLESS. No version number so it must be early. It has LED holes for Scroll Lock, Caps Lock and Num Lock. That's it. This PCB sucks. It goes straight to my spare parts bin.
That's all for the day, because I know that I need all of Sunday to make the switches.
SwitchesSunday - March 1st, 2015Switches take the ENTIRE day and night. Taken apart in the daylight and reunited in the moonlight.
Lubing methods are done same way as my GON since the results were pitch perfect albeit maddeningly time consuming.
I purchased a new pack of clear PCB mount switches and 65g gold plated springs. I didn't want to reuse the old stems and switch housings in the fear of not being able to clean them thoroughly enough (without damaging the gold leaves) and end up with another uneven board. I'm confident in my lube skills now, so I know that the new switches are a sure investment. Using the_Beast switch tools to open the switches require a little of a technique to learn. My pair was uneven so I had to observe the tabs on the bottom of the switch and make sure I was opening all four at roughly the same time by properly adjust my squeezing power between the two tools.
If the opening process is too forced the gold leaf within the switch can be bent. This is an INSTANT KO for the switch. It will result in an uneven feel and even in some cases render your switch unusable. I've learned this the hard way. With this in mind, I take _extra_ care when "pulling" the top of the switch off. I have to wear gloves because my hands sweat from the squeezing force and my own nervousness. Out of this batch of ~90 switches, this happens twice to me - PHEW. I can finally breath normally again.
Once the switches are disassembled, springs and SIP sockets are inserted into the bottom housings. Each spring is lubed with Victorinox knife oil by dipping a fine brush into the oil before running it through the entire coil of the spring before being placed in the bottom housing of the switch. It's a relaxing process, especially after switch disassembly. A little messy after a while, but stress-free nonetheless.
With Vicorinox oil, I find that the difference in feel is negligible, but I feel that this will help the durability and consistency of the springs over time.
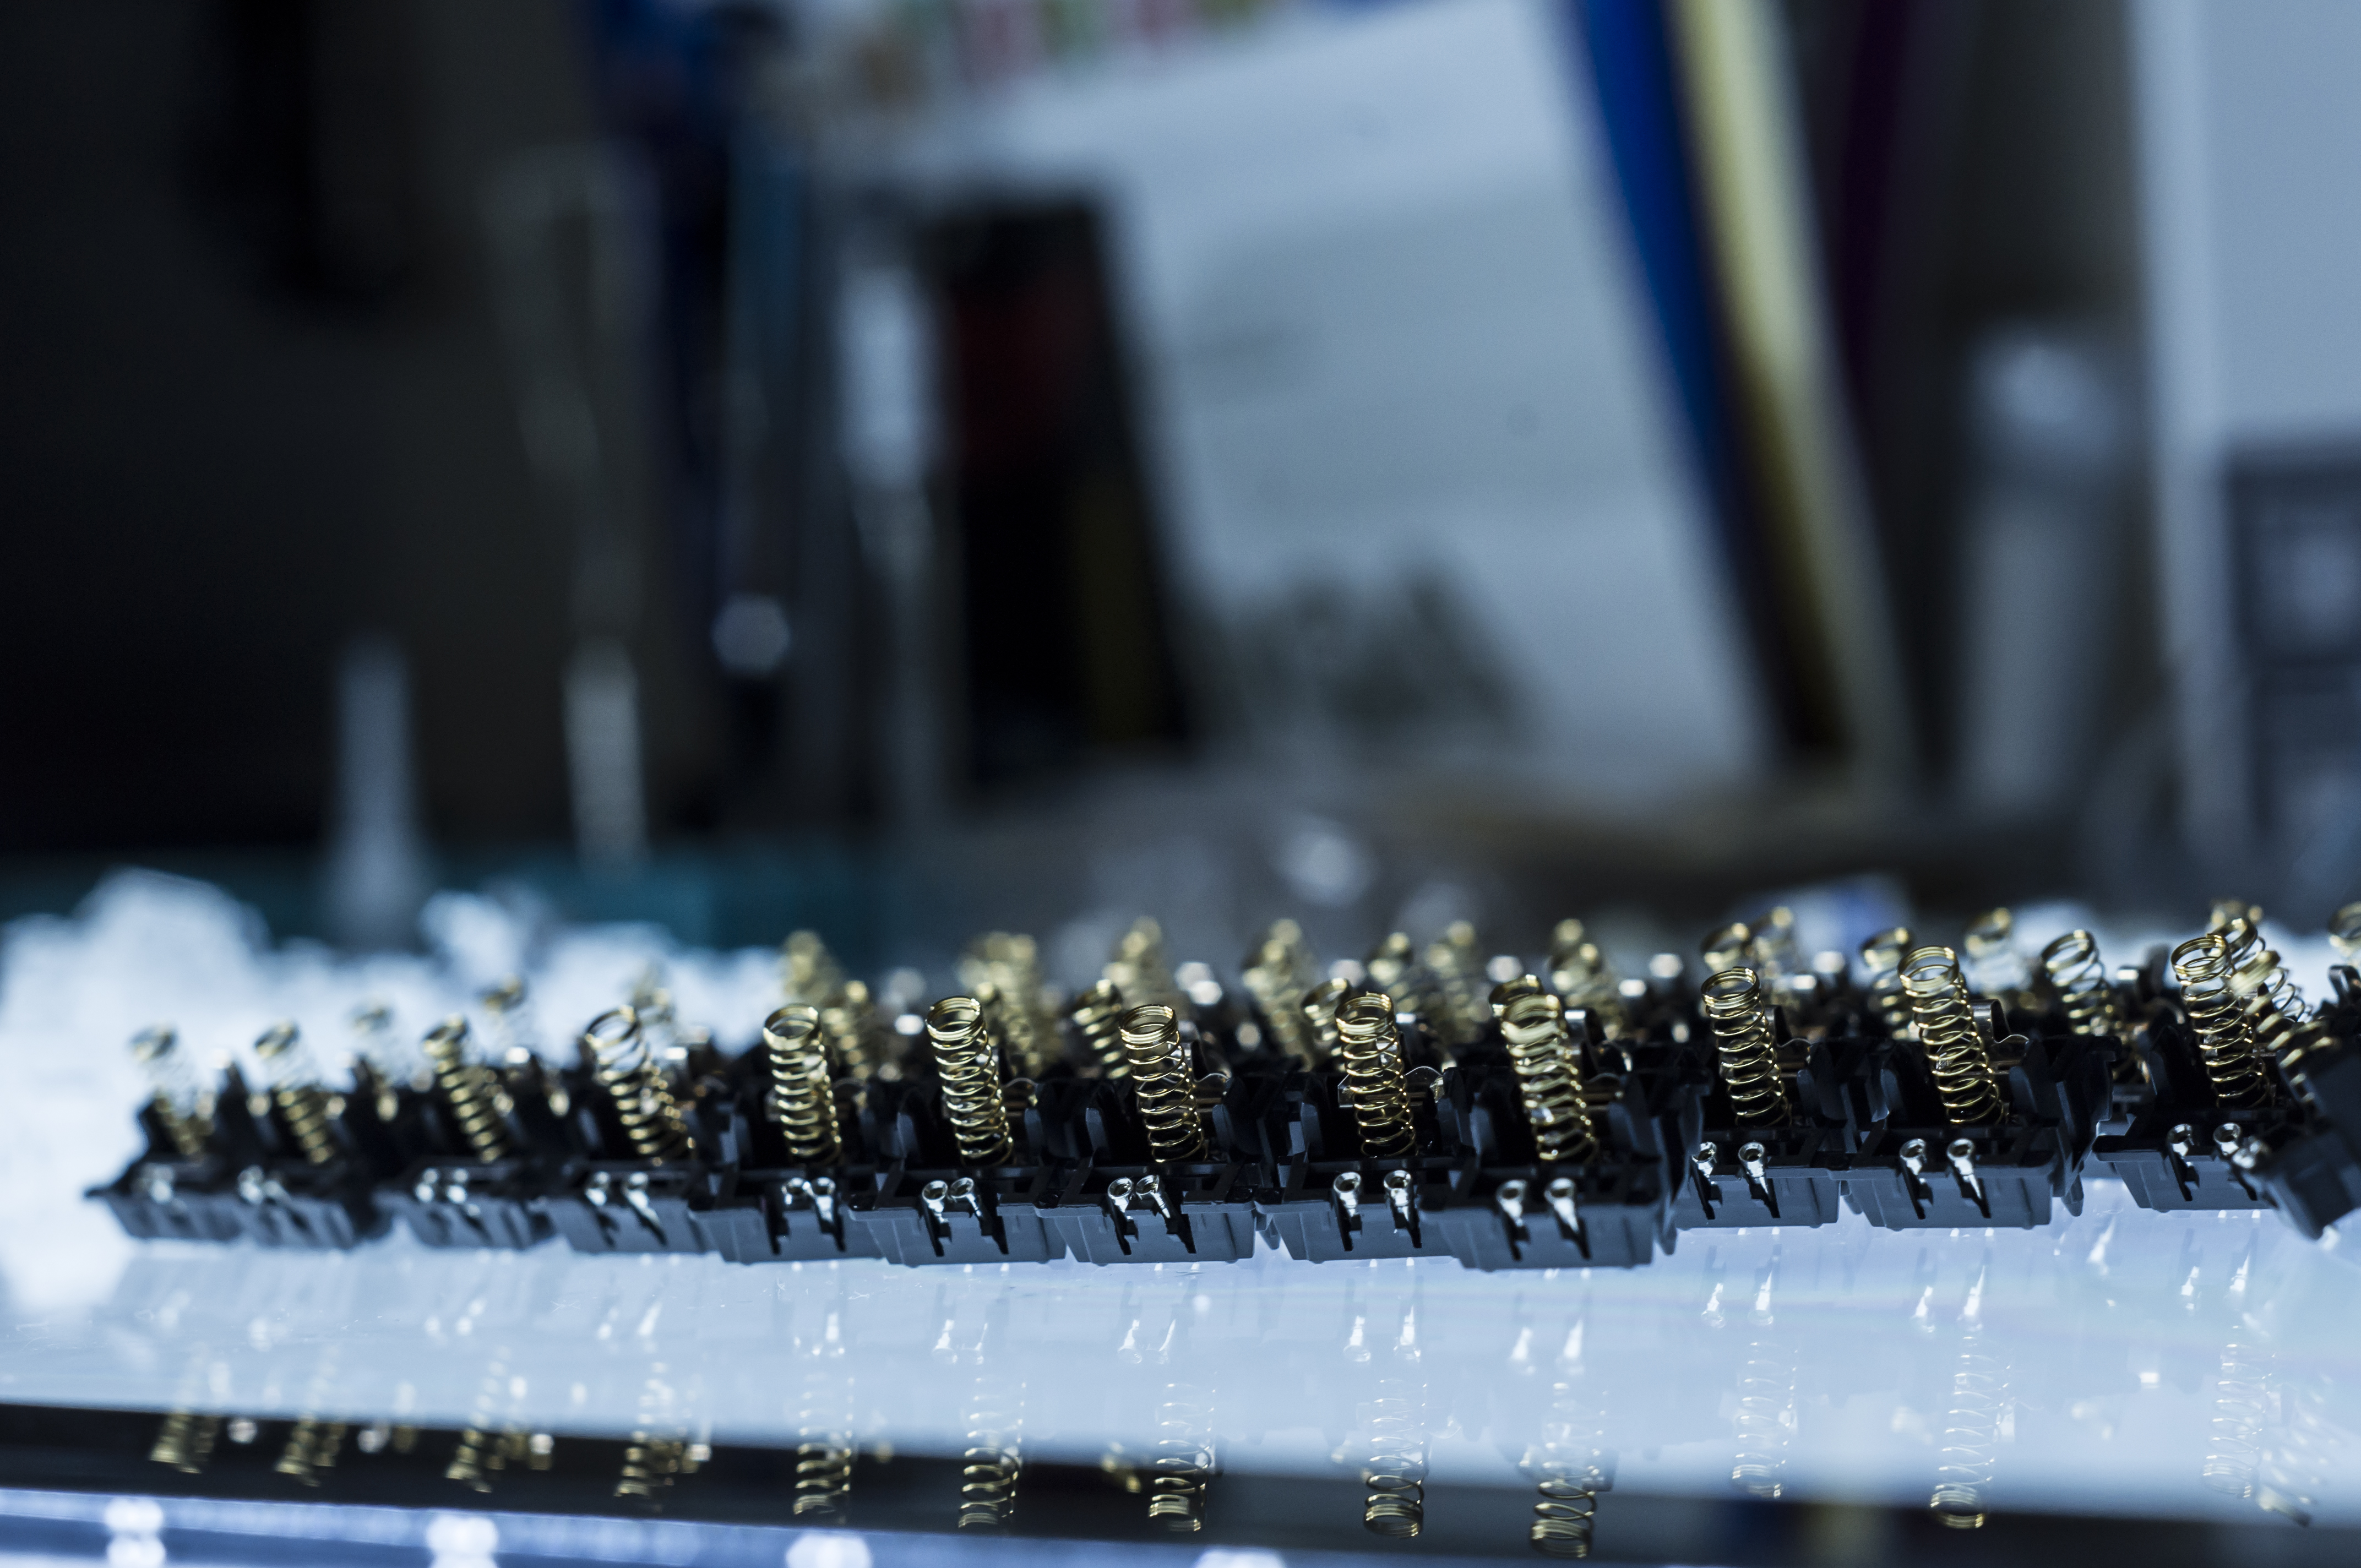
Stems are lubed with "Thick Formula" kit lube with a needle applicator. Reassembling the switch is a little tricky with the SIP sockets bouncing around, but I get faster as I keep going. Once a switch is snapped back together I immediately proceed with sound testing by holding it up to my ear and repeatedly activating the switch at different speeds and intensity.
It's important to hold the switch in the _exact same_ manner as well as place it at the same location from your listening ear with each switch. Altering either of these placements will result in a seemingly different sound.
When I find a "faulty" switch I first put an LED in to make sure the extra noise or feel isn't coming from the loose SIP sockets. If the noise continues, I try re-lubing. Every time I relube, a new switch top is needed because the AboStudio clear switch tops are really a one-time use affair. Out of the batch, 7 switches are thrown away - so I have to make 94 switches total - or 96 if you count the two I ruined during disassembly.
This attention to detail is demanding and is precisely why I reserve an entire day for switches. The only breaks I take are for the bathroom and quick eating. I keep myself hydrated and focused. I finish around 1AM.
I would really rather do it over the course of two days, but doing it all in one day helps me with technique consistency.
 Monday - March 2nd, 2015
Yes - while I did test each switch last night, I don't trust myself when I've been worked the entire day. Once I get home from the office, I start the second set of sound tests - this time using an LED to hold the SIP sockets in place. 3 more switches are discarded and replaced with newly assembled and lubed units. Two more sets of sound testing is done, but no deficiencies are found.
87 switches, 30 seconds a switch, 3 passes of testing = almost two hours of critical listening + 1 hour of dinner and breaks = I should go to bed around 9PM if absolutely nothing goes wrong and have zero distractions and I know exactly what to eat for dinner LOL.
I go to bed around 11 LOL.
SolderingTuesday - March 3rd, 2015Soldering is the fun part. I can finally listen to music again. No more brutal sound testing. Just takes me about an hour. Then I clip and place in the LEDs. Another hour. It was easy. A little TOO easy. Turns out my instincts are right. I put all the caps on the board and type on it - something is wrong. It feels plasticky. Weird. Travel seems a little shorter too. Does more spring weight do that? No. It's something else.
Dear god the LED's are touching the all the caps besides the top profile (F-row).
Dear keyboard god in the sky. Please help me.I try sanding some LED's and try it on the ZXC row - angled like I've seen it done in the "Post Your Korean Keyboards" thread - with the angled top. It doesn't work. The Triumph Adler keycaps have even LESS clearance for LED's than standard GMK. They are thicker, so traditional sanding wouldn't work. I pass it off as a failure and just keep the F-row lit. I try to convince myself on it.
Yeah just the F-row. That's tasteful right? Don't want too many LED's anyway, that's just overkill. I think I last maybe an hour before I'm trying to find new ways to make the LED fit. I try the whole night. No success. I go to sleep thinking about living with just the top row lit. Might as well be having nightmares.
LEDsWednesday - March 4th, 2015I try having a normal day. Work at the office is good. A little distracted but productive. I feel like I'm settling. But for WHAT? I've waited more than a year for WHAT?! I wanted FULL LED's dammit! I felt like a failure. Was I really going to do this? Post my LZ with just the top row lit? GHers noticed my GON so they know that I love having full LED's. I've bothered countless people over the past year trying to source the full-LED PCB - to the point where I was even asking for broken ones to try and repair. I even learned soldering and bought the equipment because I loved the LZ so much I wanted to work on it myself. I had simply gotten TOO FAR to just quit. The LZ chose me.
I go home reaking of failure. I don't even want to look at my board.
I can't help it but spend another night trying different things with LEDs - good thing I had plenty extras.
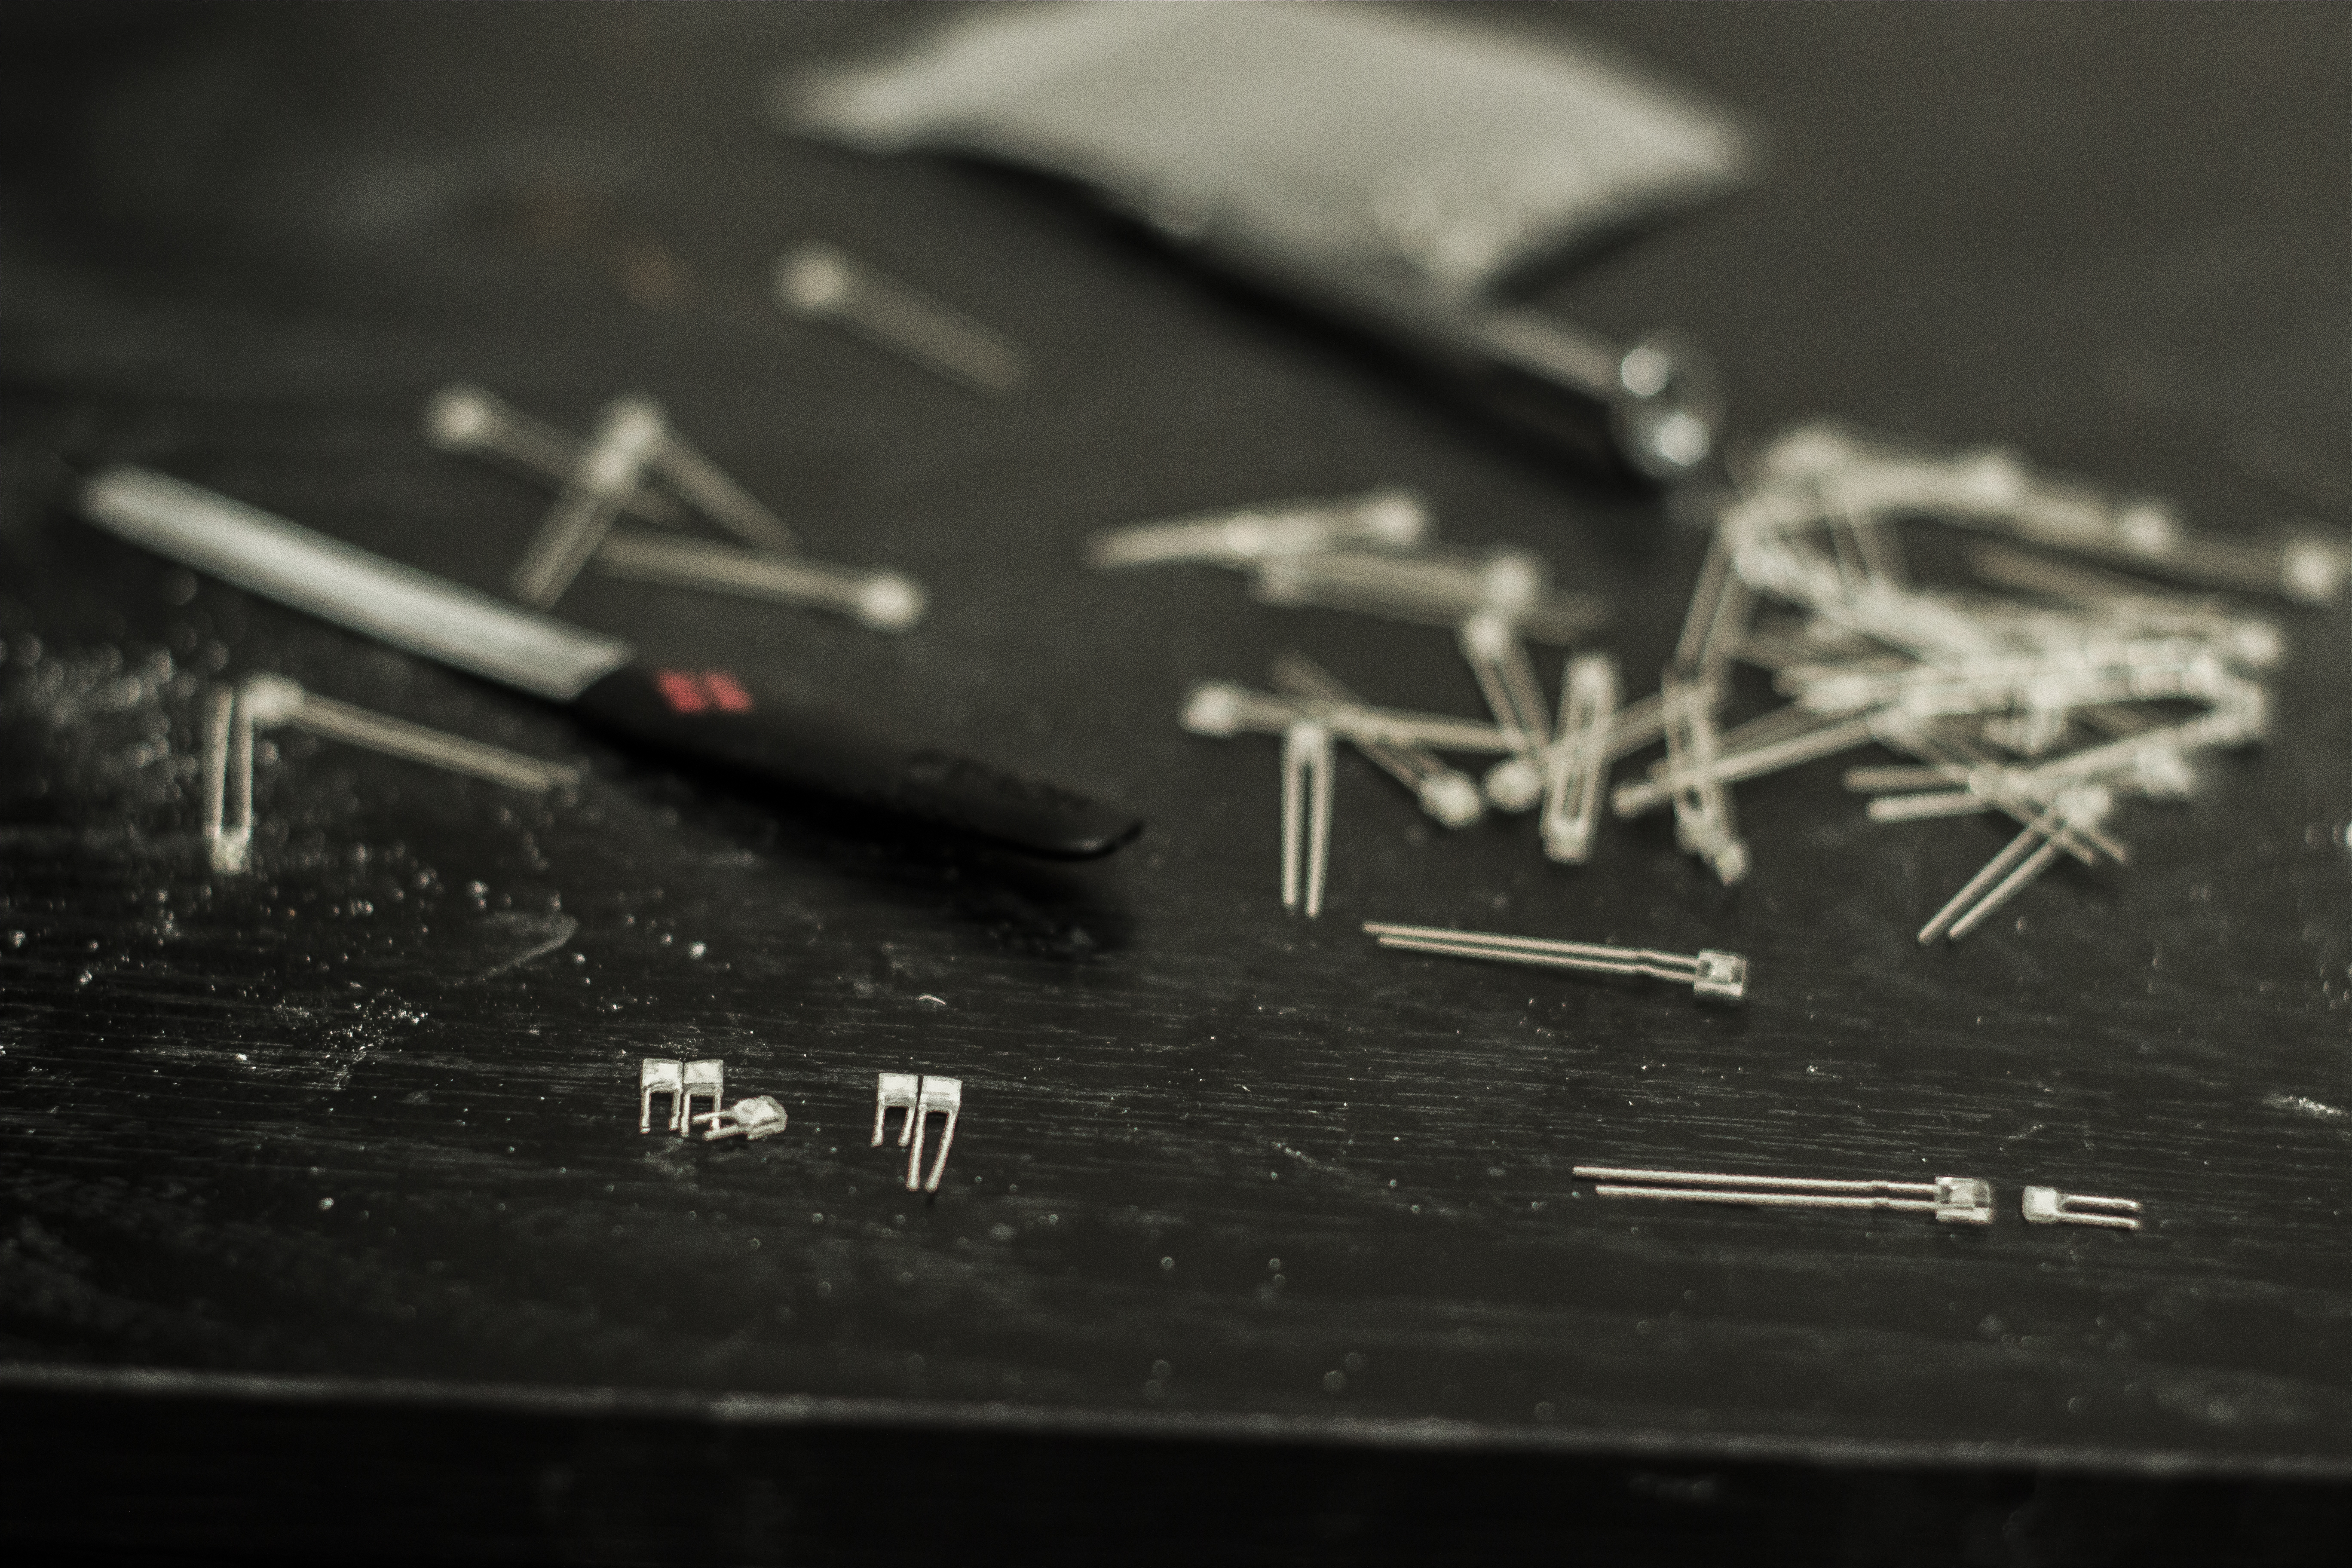
I try sanding 2 sides, then 3 sides, then finally come up with a solution - the "maximum sanded" LED. An LED sanded down to the wire from ALL SIDES - especially the bottom. It was clipped shorter than a normal SIP socket led. This would allow the LED to "sink" deeper into the switch housing and avoid touching the inside of the keycap. This technique with my standard nail filer that I used to clip stabs was time consuming. One LED could take 3 to 5 minutes. Jesus christ I have 71 of these to do. That's almost 4 hours minimum meaning two nights of weekday work if I wanted to eat dinner and relax a little when I got home.
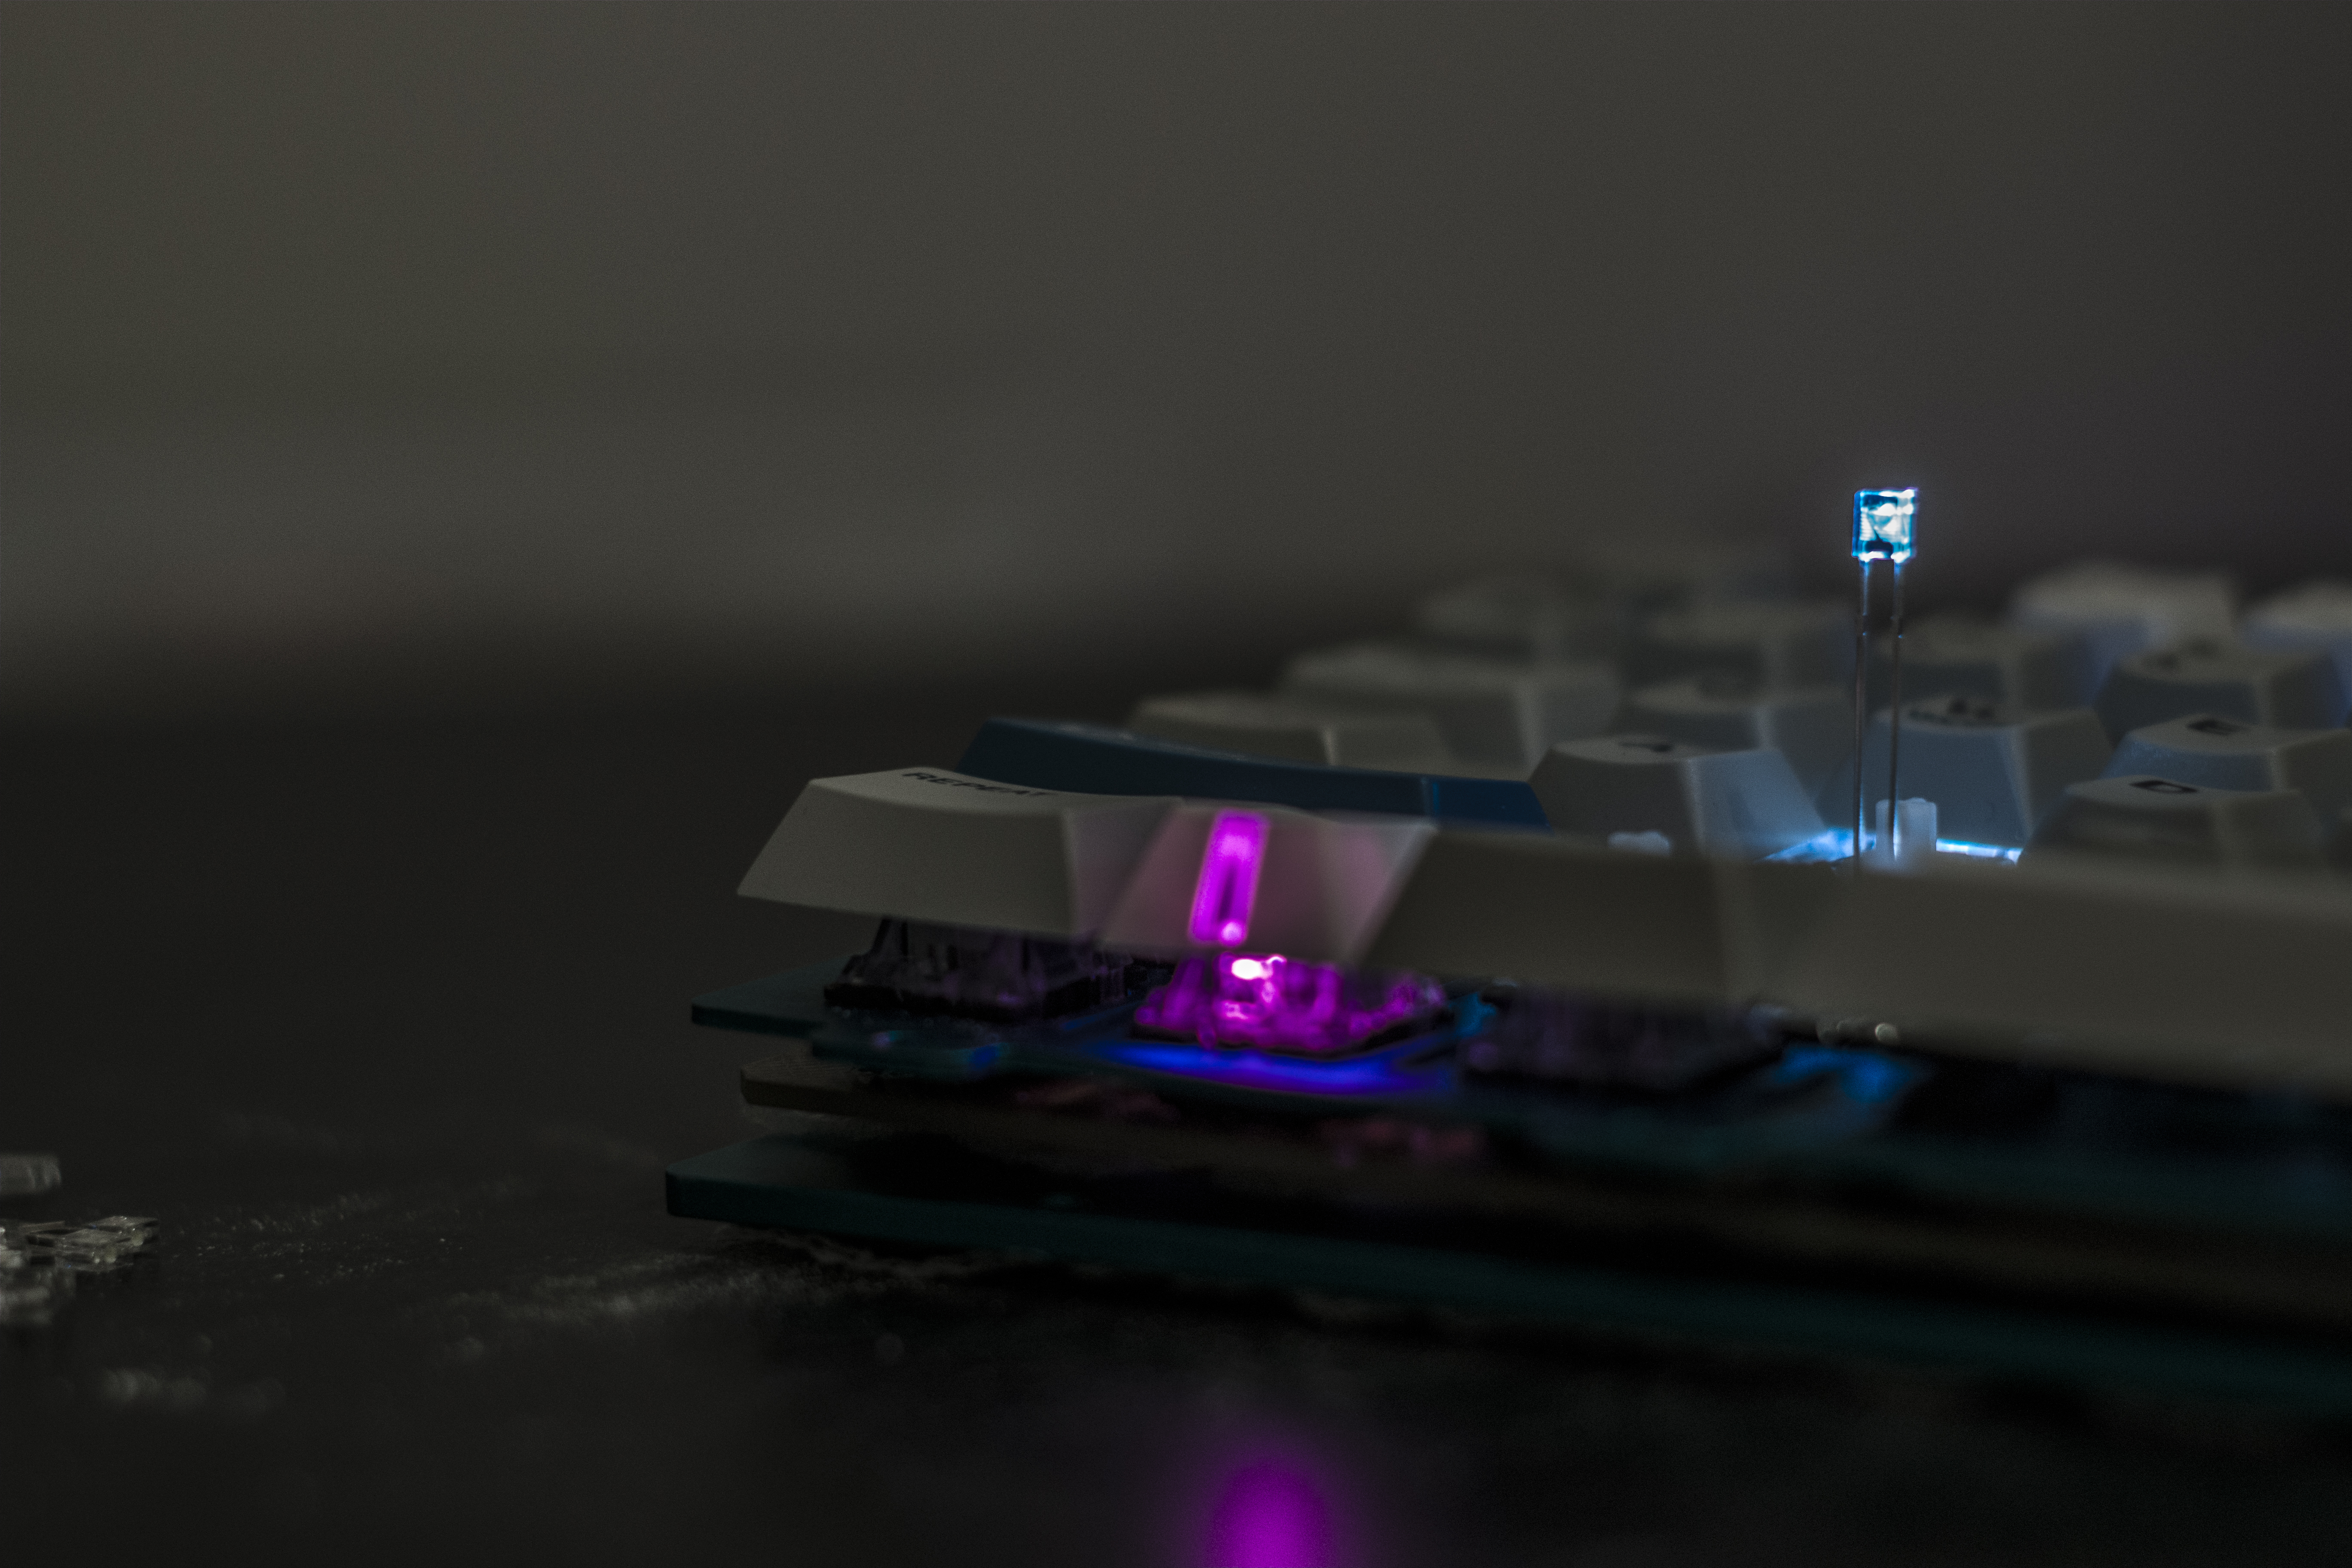
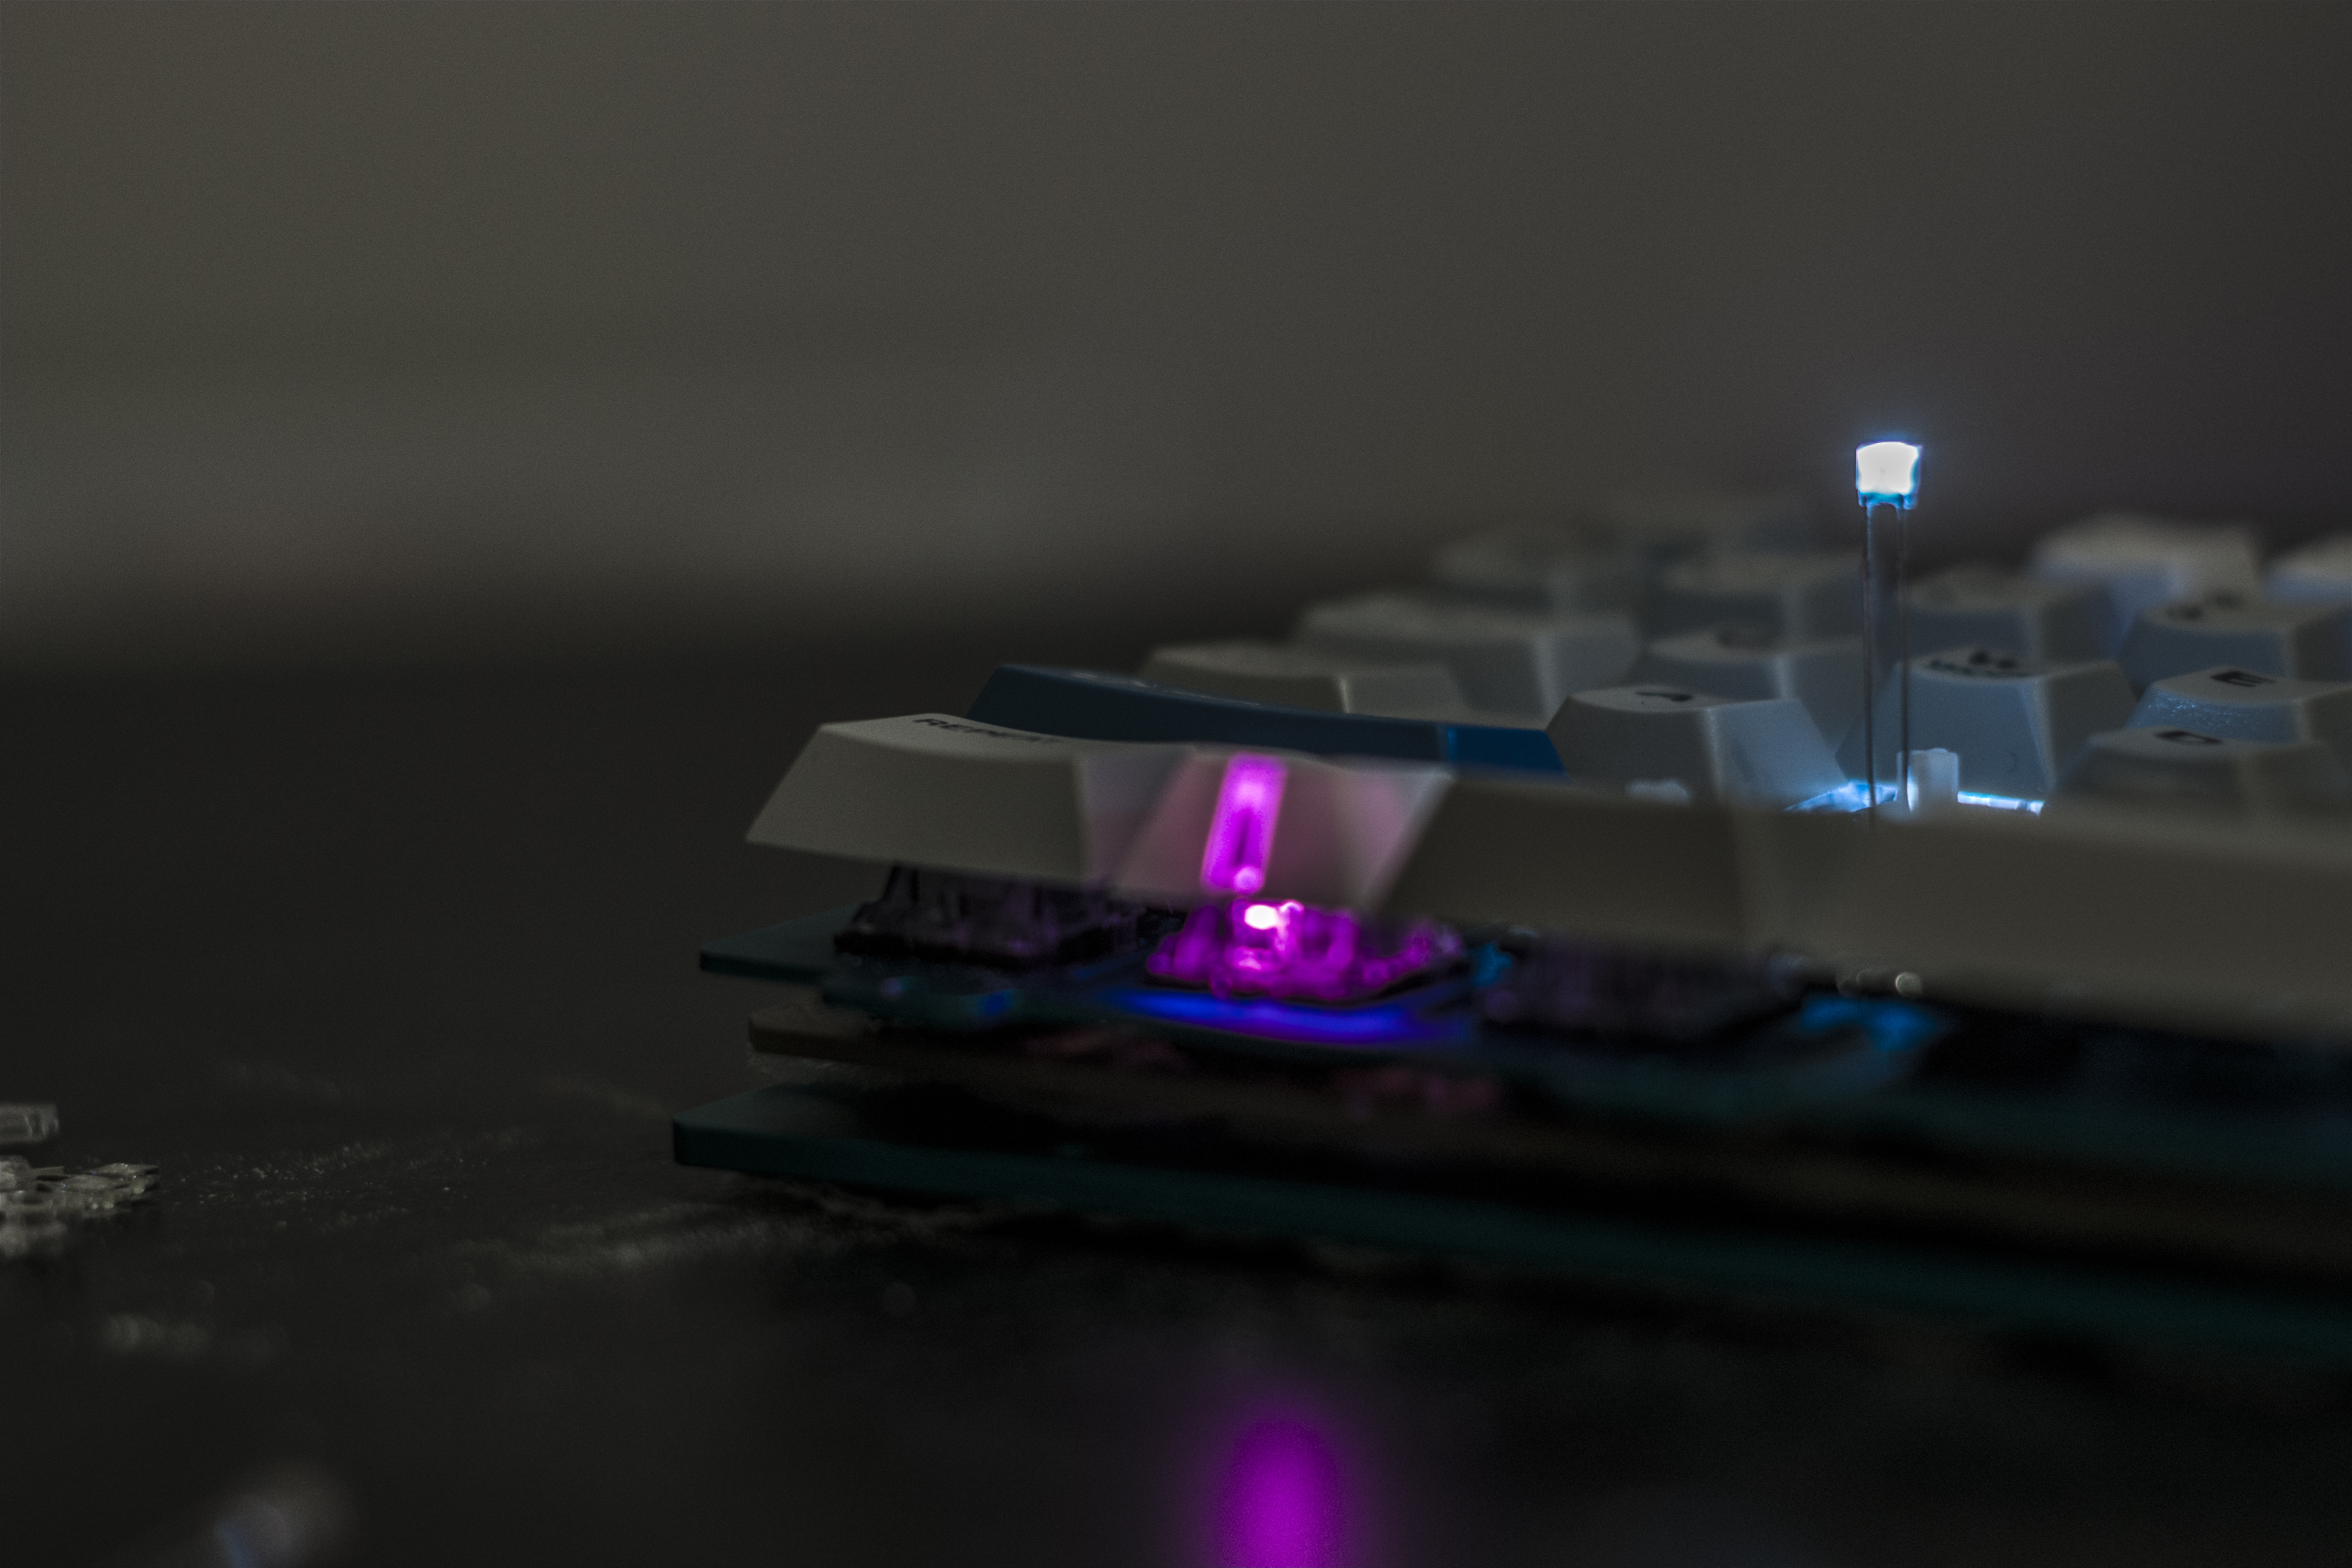

I make 34 of these "Maximum Sanded" LEDs to fill the num row and qwerty row. I place them on the board. My heart sinks as it only 10 of them work. After some investigation it had turned out that I had sanded the other 24 LEDs to the point of breaking the m-shaped circuit at the top of the LED. Again, I feel the heavy burden of the another failure with the LZ. But then again, 10 of them worked.
I latch on to this glimmer of hope and I stay up even longer, sanding 24 replacement LED's. I had set out with my goal to fill the first two rows and dammit if I'm going to stop now.
I go to bed exhausted just thinking about sanding all the LED's. But I'm happier than yesterday. At least I know there IS A WAY. The path exists. My persistence has rewarded me. I will have all 87 keys lit up with LED goodness so help me god.
My LZ will be lit this weekend. Just the thought of it makes me smile. Damn. I could even have pictures up Saturday.
It's 3AM. I go to sleep. The best sleep I've had in days. Also one of the shortest.
Thursday - March 5th, 2015My stress over this board is starting to catch up to me - I'm exhausted. I take it a little easy today - even though I secretly wanted to finish the board today. I assure myself that even if I did finish today, I wouldn't be able to make use of the morning sun for photos until Saturday. I make 13 LED's today - enough for the next row of keys. I don't even clip them. I'm pretty ****ing tired right now. And I'm already relieved that this is even possible. I deserve to relax a little.
 ConclusionFriday - March 6th, 2015
The day is full of smiles and excitement. Today I finish it!
As soon as I get home from work I finish sanding the last 23 LED's and reassemble the board. There is an immense relief as I type over the board for the first time. I type on it and test it for what seems like hours - mindlessly staring into it's newly lit face. Happy on the brink of insanity. It's too late to take pictures now. I'll use the early Saturday morning daylight for that.
My eyelids feel heavy as I lay down to rest.
It's been a long journey with the LZ.
I remember when I got it in the mail and I was terrified because it was wrapped in a ton of bubble-wrap without a box.
I remember inspecting it and being relieved that it had no scratches.
I remember driving two hours for its first switch swap because I was a total noob.
I remember the first time I typed on GMK keycaps.
I remember the first time typing on lubed ergo-clears.
When I clipped its stabs.
When I removed it's riser and typed without angle.
When I bought it a matching cable and a matching mousepad.
And the multiple times I've attached the bottom housing the opposite way.
These were all great moments.
Now I've completely rebuilt it and for the first time in my life the LZ feels complete.
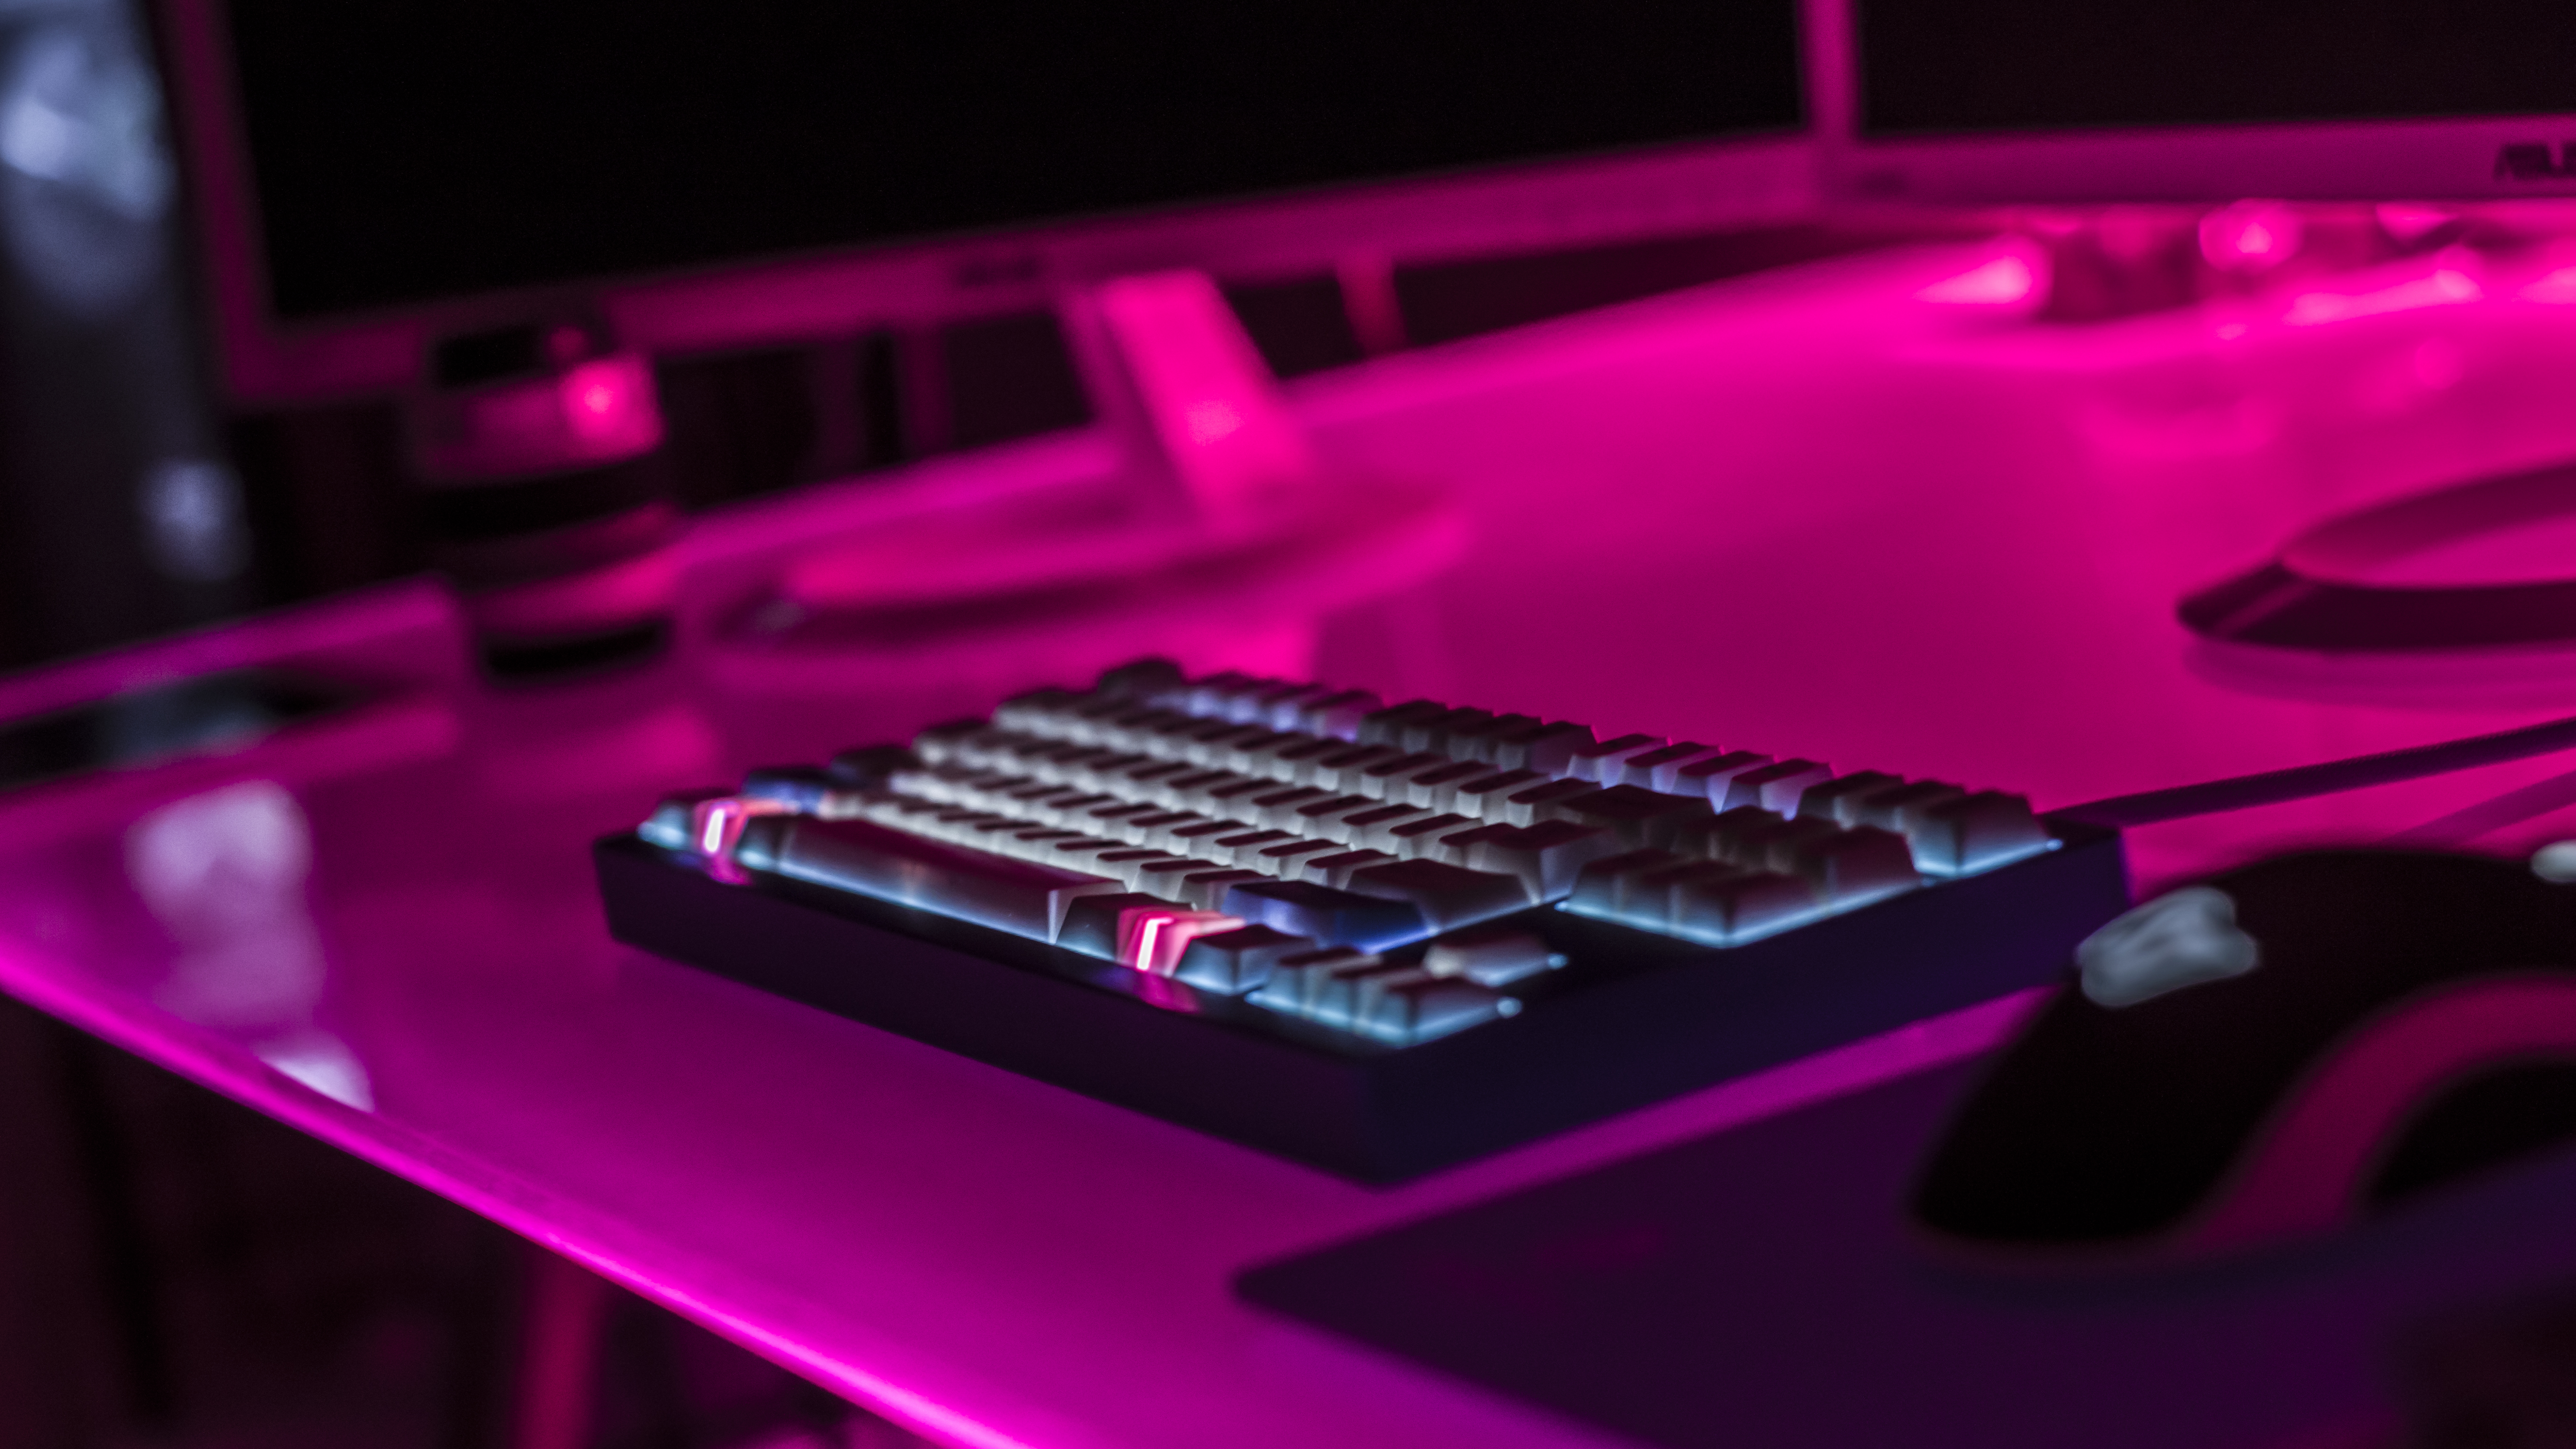
Saturday- March 7th, 2015I wake up, drink some coconut water and immediately start taking photos. I purposefully saved my Gundam magazines as a backdrop for this moment! It's a celebratory ritual - something you do when you're finally at the proud moment where you can share your happiness with others. I spend 2 hours in the morning just shooting photos. Another hour at night for a night shot.
Happy anniversary LZ!


