Linworks Montage
I had another board to build this week and I figured I'd do another write up.
Today I'll be going through the build of this Navy WK Lin Montage.
I. Build Log
- Unboxing
- Taking a Peek
- PCB check
- PCB build
- Assembly
II. Showcase
III. Conclusion
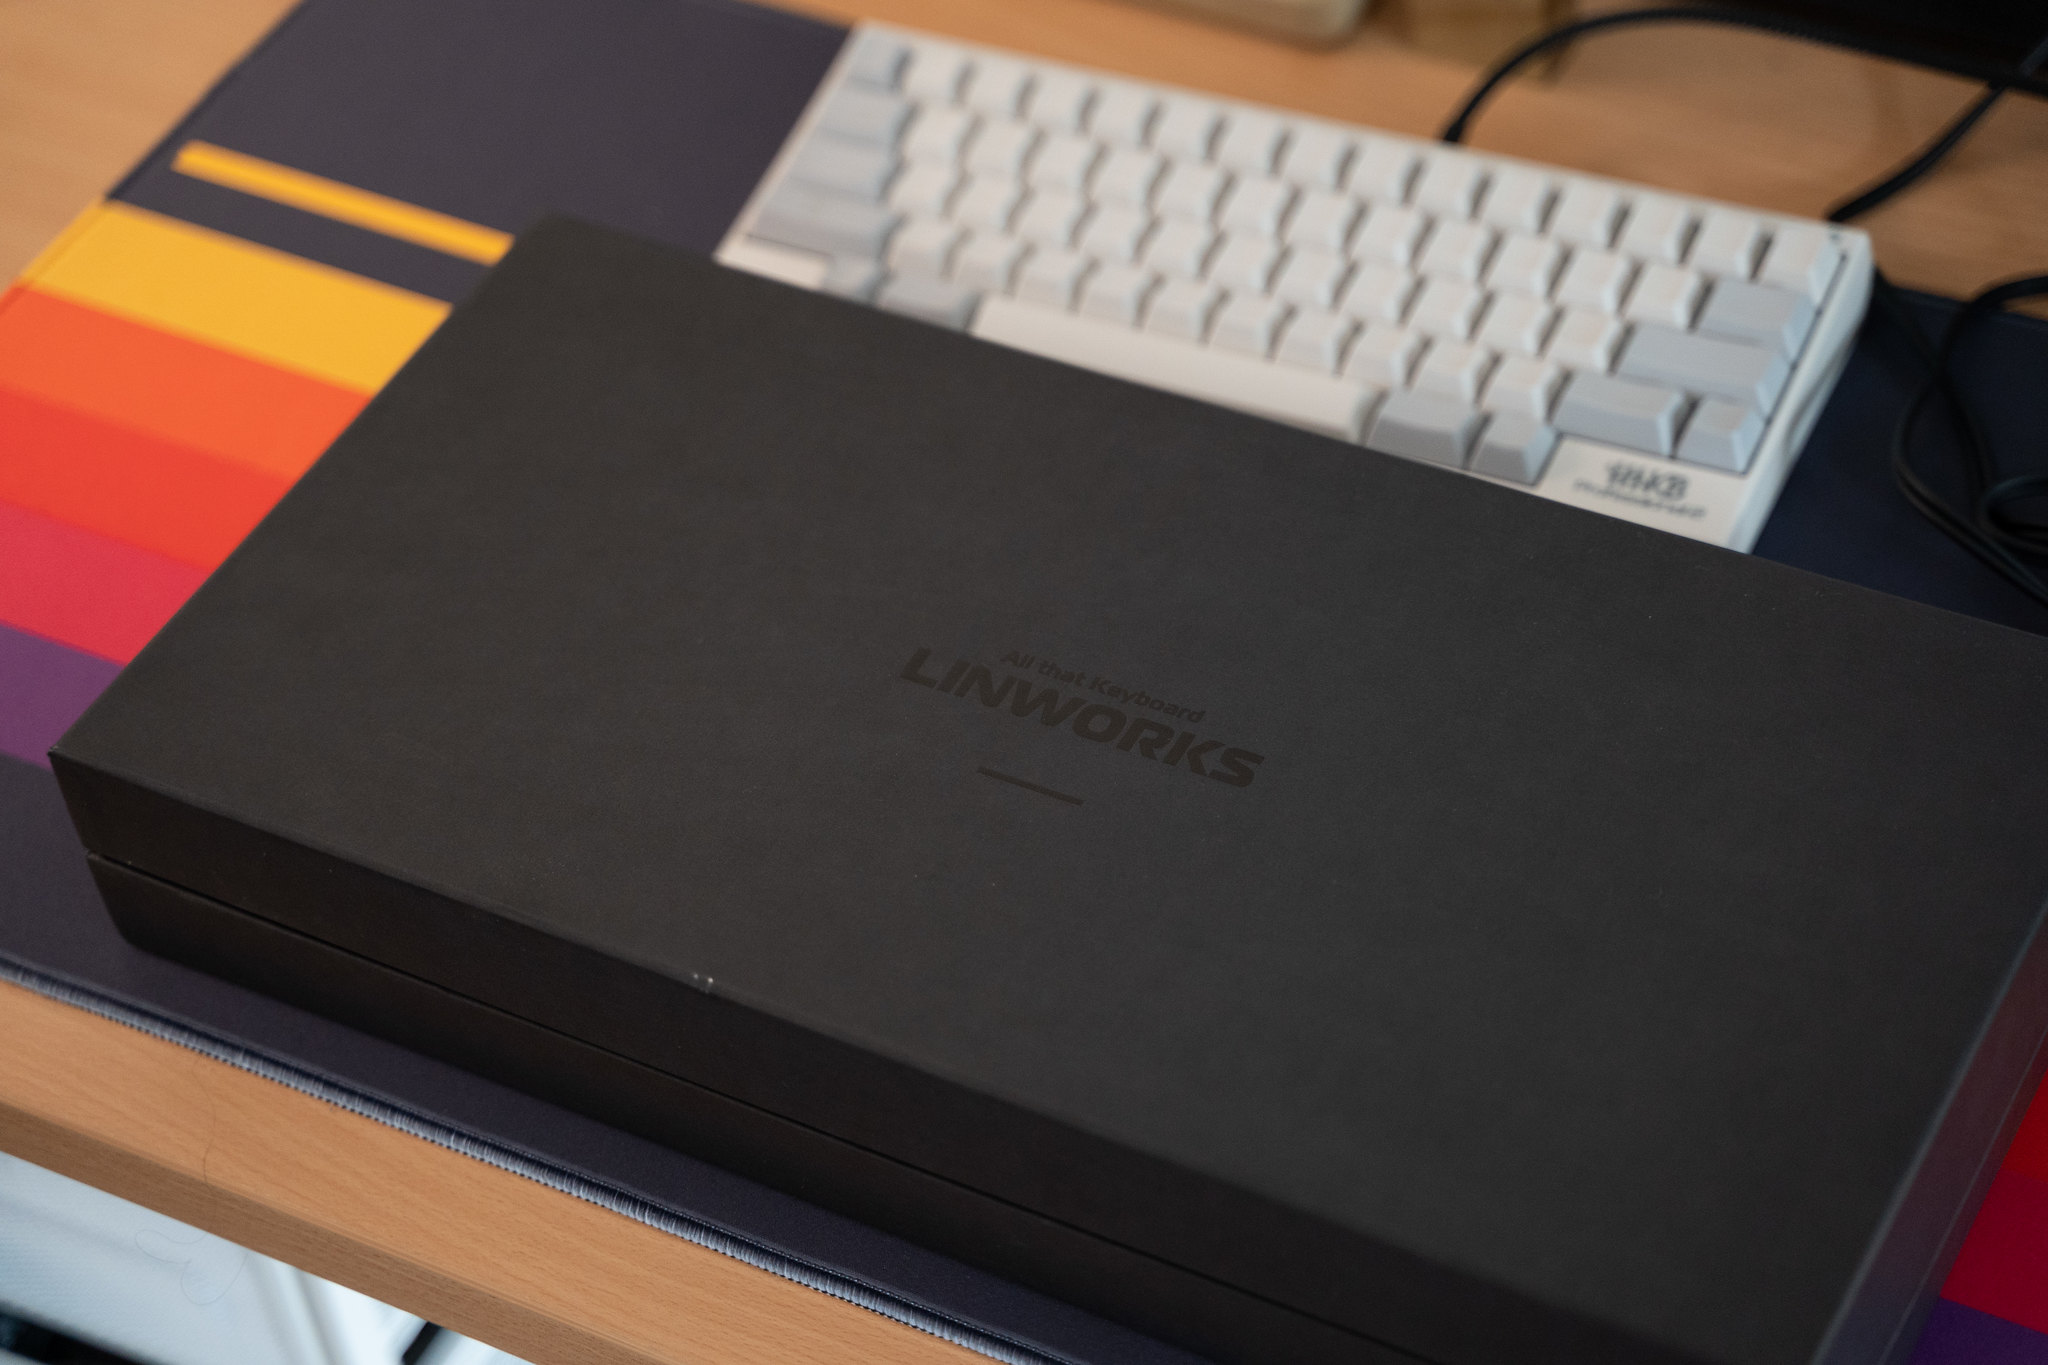
Build LogUnboxingThe Montage comes in a custom box with some Linworks branding on the top, the two halves separate and the board sits in a nice cutout, we also have the PCB sitting on top. You can also see some dampening foam peeking through the plate.


 Taking a Peek
Time for a bit of a closer look at the board itself.
The colour is really interesting, it changes so much based on lighting and what's around it, sometimes it looks more blue and sometimes it looks very grey. The silver plate is a nice contrast with the case colour - not that you'll be seeing much of it.

The rear engraving plate sits mostly flush with the back edge of the case with a simple 'Montage' engraving on the side, it breaks up the solid back nicely to balance the USB port on the other side.

The brushed brass weight is another nice addition, brass and navy always work well together but the brushed finish gives it a subtly different look that really changes the look of the underside.


Gold coloured screws blend in well to compliment the weight.

Now let's go inside.
Nice to see hex head screws again but the rear screw holes were very tight, to the point that most screwdrivers that use interchangeable bits won't fit.

The Montage has a very simple plate in terms of design with some basic layout support and no flex/acoustic cuts, it does have some interesting mounting tabs that allow for a few different mounting methods using the same case and plate.


Looking at the inside of the two case halves you can see the mounting cutouts that allow for the multiple methods, the threaded screw holes are offset on either piece with larger holes adjacent to them to give clearance for the screw heads when mounting to the other piece. This allows for - officially - top mount and bottom mount via the plate, but also opens up room for experimenting with other methods.
You may notice an omission of alignment pins/tabs between the case pieces that make it a bit troublesome to assemble, especially if you are doing a similar mounting method to this particular board.

Here you can see some of the dampening material that will be used to fill up the small internal cavity as well as the pre-cut o-rings I was provided to use for an attempt at an isolation sandwich mount.


Here are the switches for this build, Retooled Cherry MX Black switches, lubed with Krytox 204g2 and swapped with Gateron Yellow springs .
 PCB check
The Montage is supplied with a Fave87 PCB with a clean black solder mask, this one was provided to me pre-installed with lubed clear Durock screw-in stabilisers.


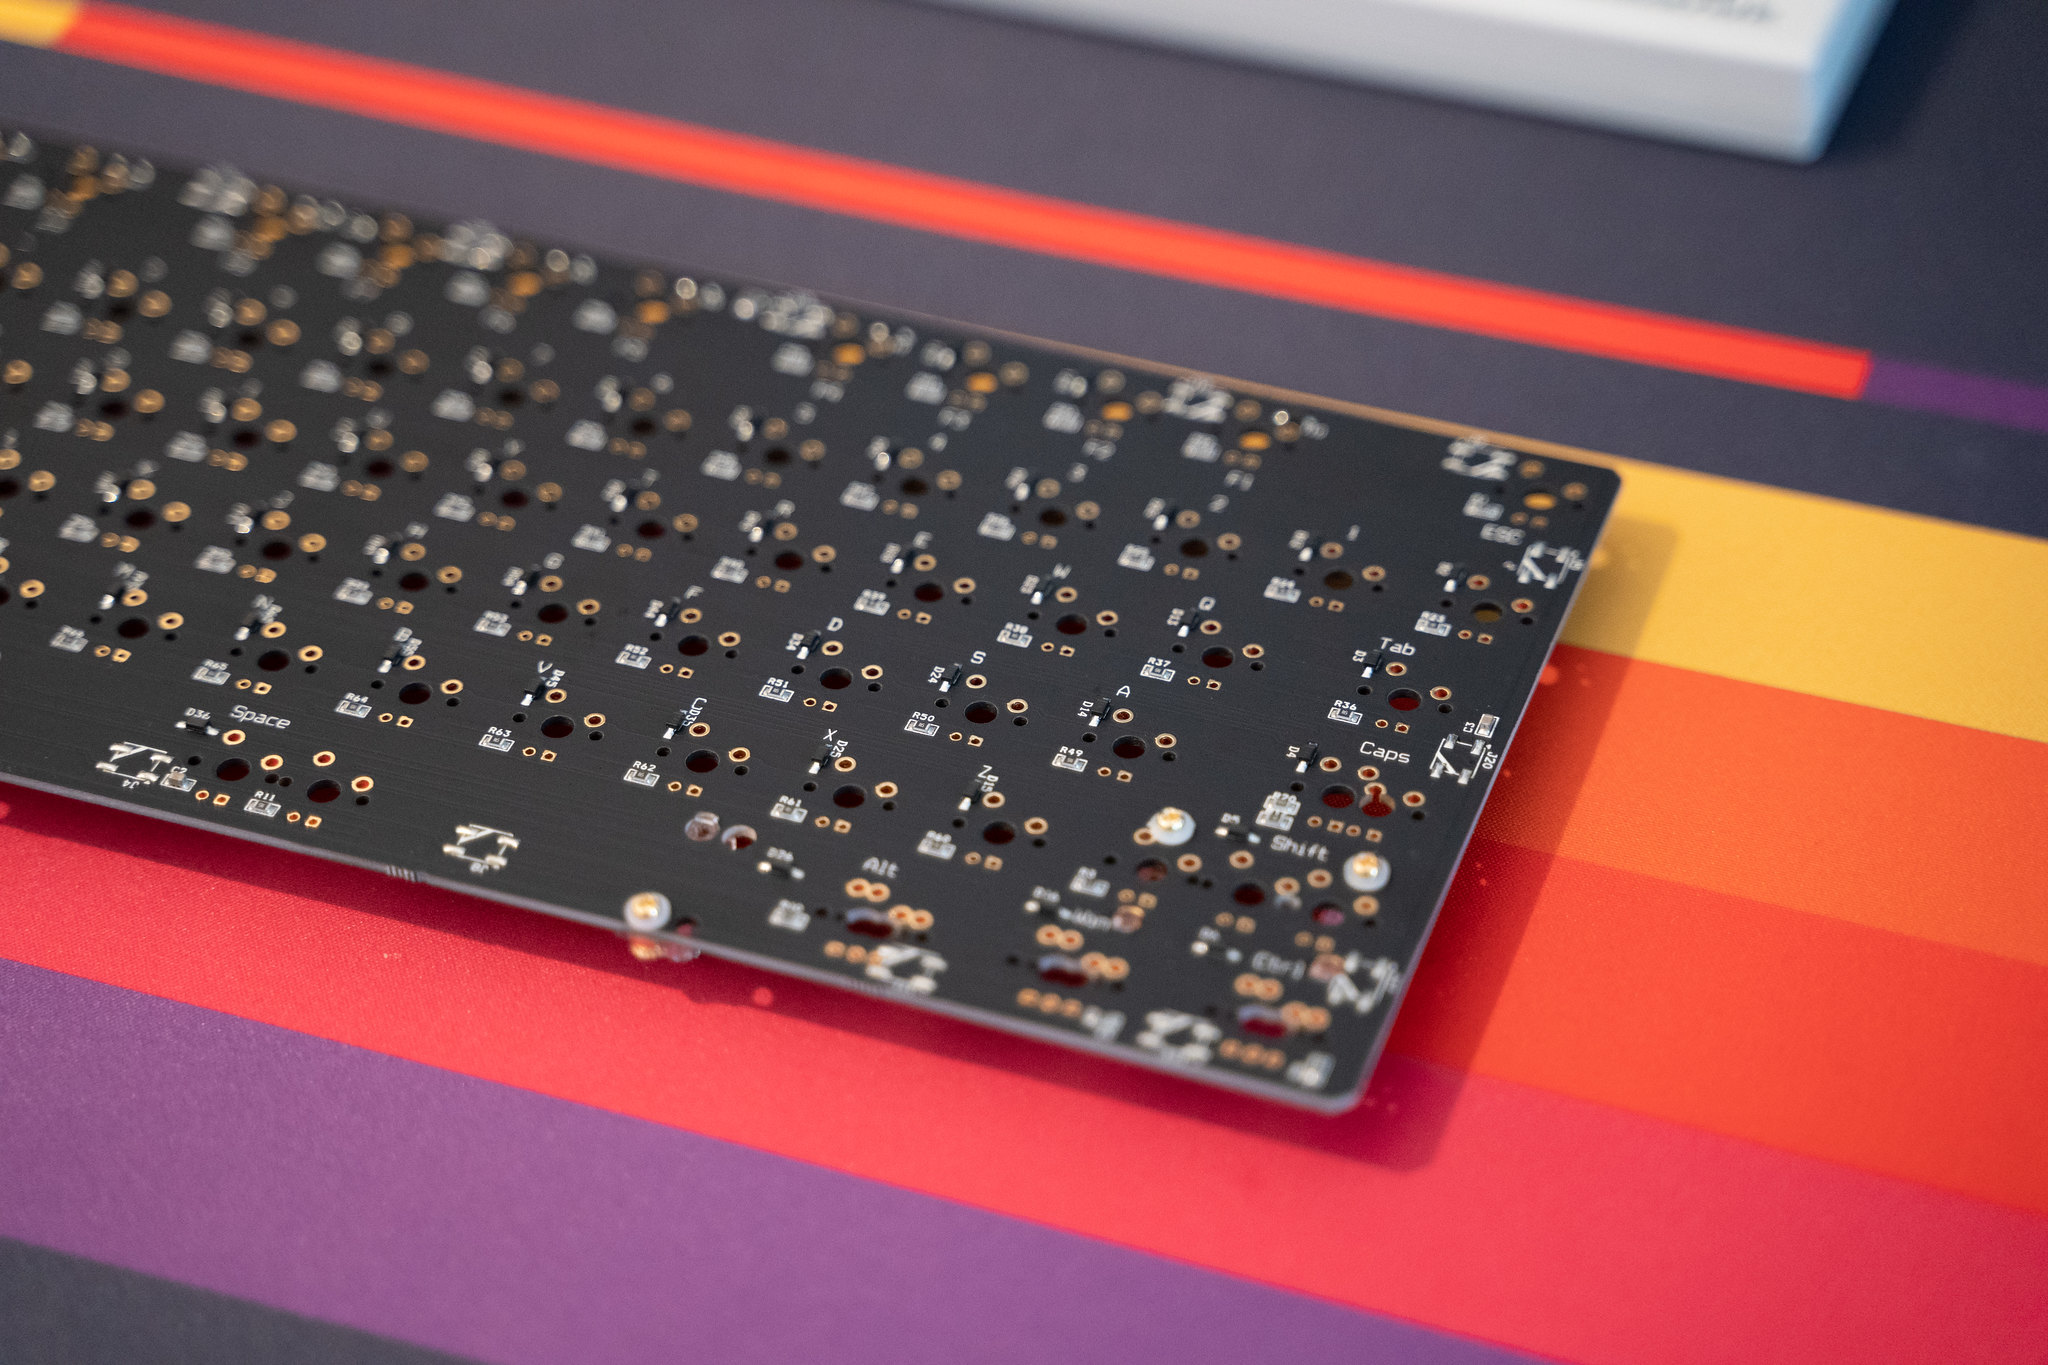
Before I test the PCB, these tabs that run along both edges have to be snapped off.
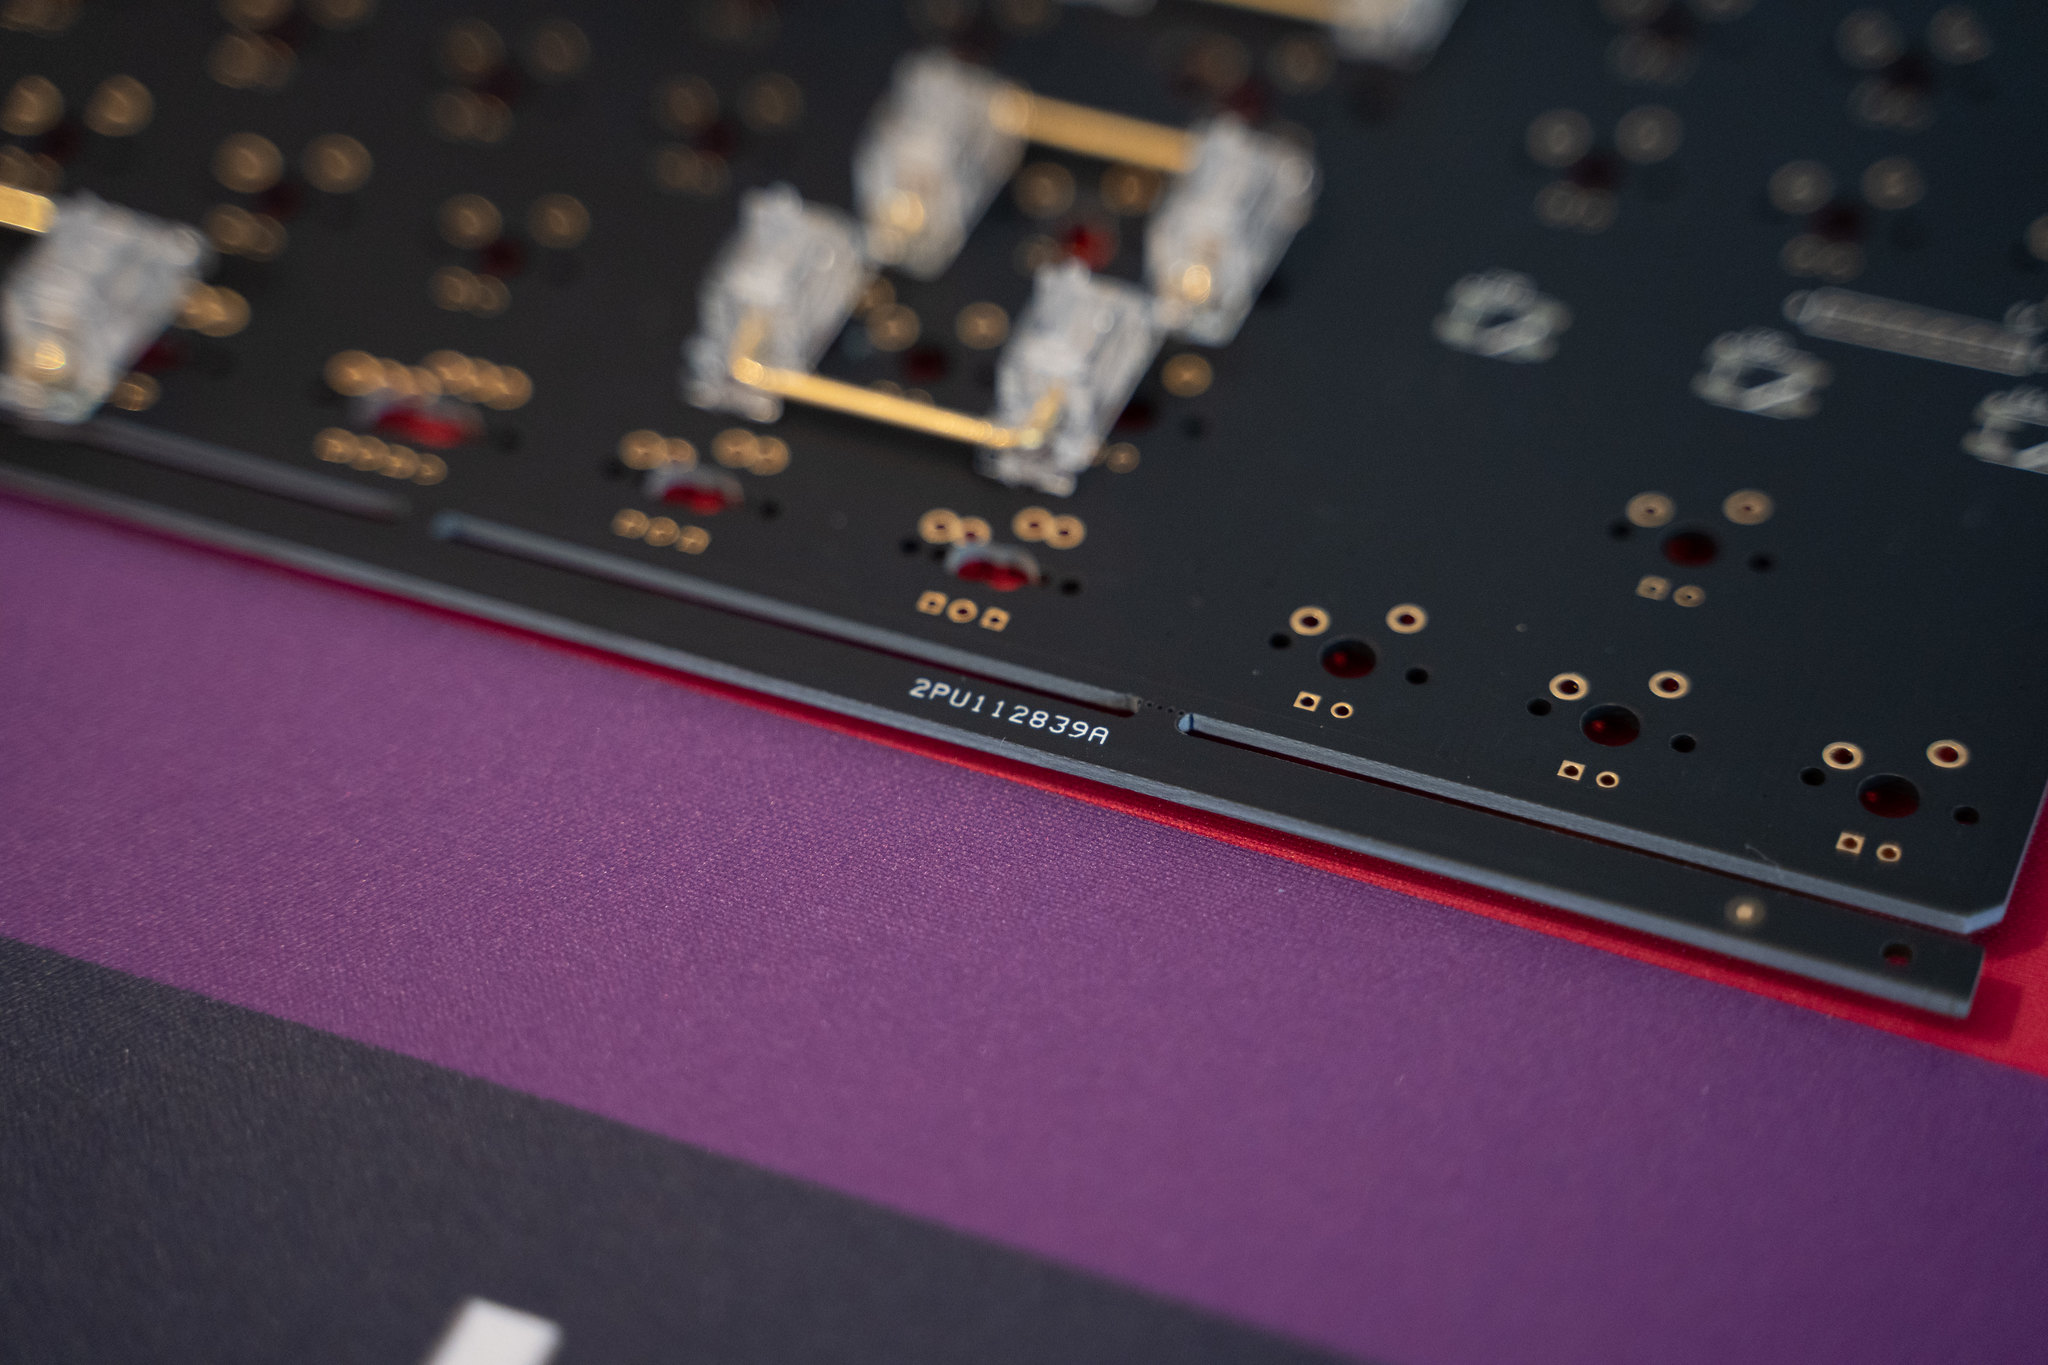
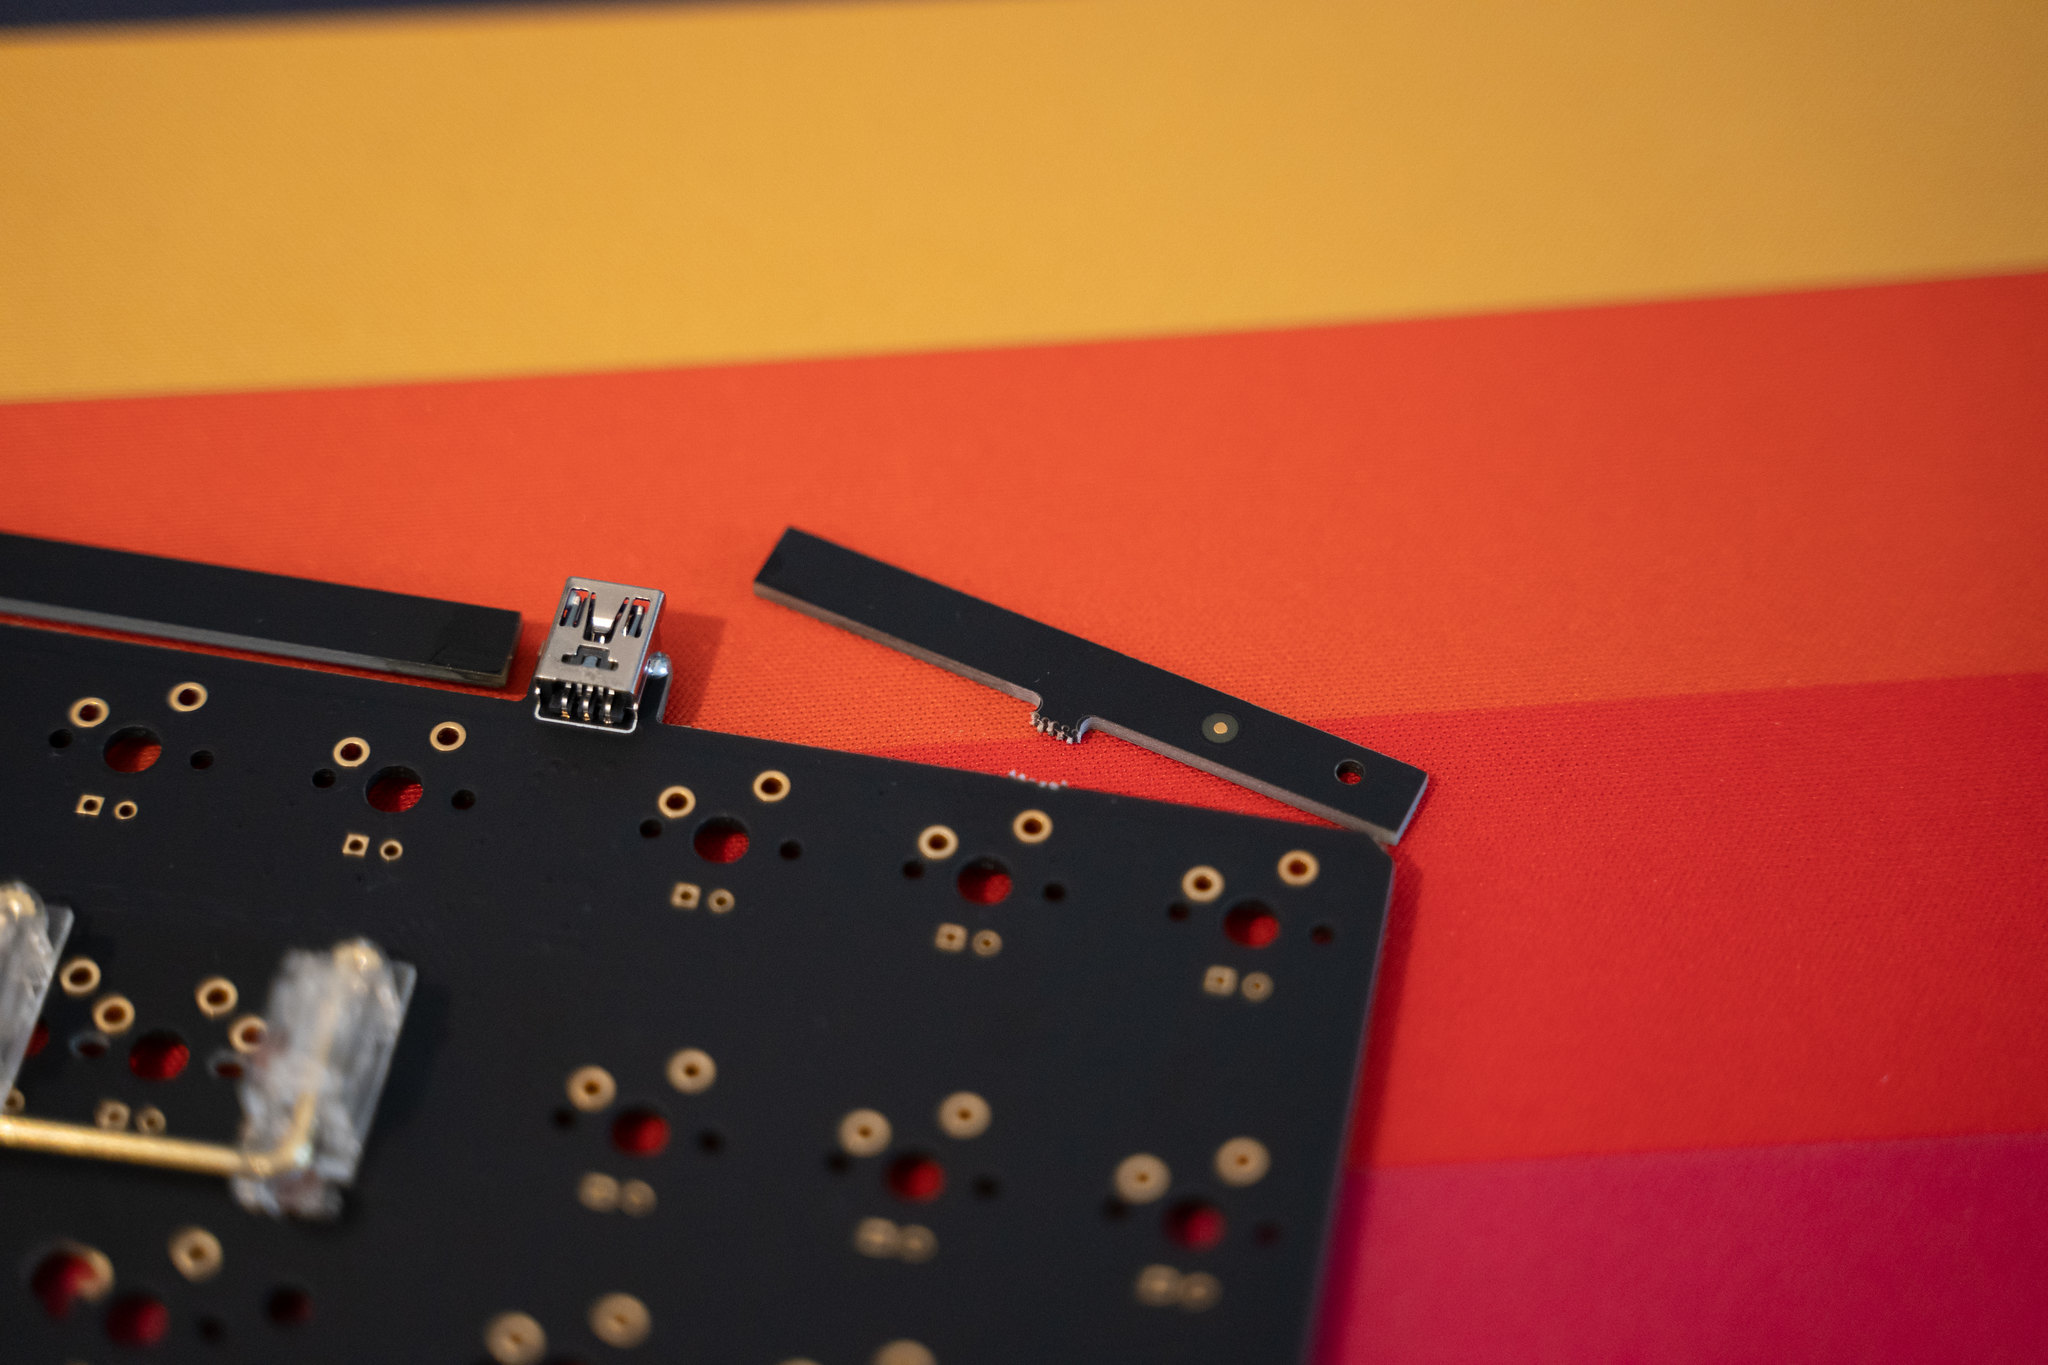

I filed the snapping points a bit to take the sharp edge off.


And now for a quick PCB test to make sure it's in working order.

 PCB build
Starting off with some switches around the corners of the plate and in the stabilised keys so I can check them.


The stabilisers feel good, now to fill up the plate with the rest of the switches.


Ready to solder.

All done.
 Assembly
As I mentioned earlier, this board will be assembled using some o-rings on all contact points above and below the plate for an isolated mount. The o-rings were first placed on the mounting points of the bottom case.


The plate and PCB assembly was then places on top and o-rings placed on the mounting tabs corresponding to where the plate would contact the top case.


And finally, the top case is placed over that, being careful not to dislodge any of the o-rings.

Then the screws can be inserted and tightened down to bring the 2 halves of the case together and hold the plate in place.

All together!
 Showcase
I think GMK Shoko was a great match for the Navy with the mods being a similar hue to the case, it also brings out the blue in the anodisation more.


 Click here for the full album with higher res images.Conclusion
Another fun build... apart from taking far too long to get everything aligned when closing the case up (please add alignment tabs when design a multi-piece keyboard).
The Montage is a very simple board that accommodates multiple mounting styles and has some nice external accents. The quality is relatively good with acceptable seams on this particular unit (although that may be down to the o-rings adding some extra thickness and pushing the case open).
Thank you for reading!
-King


