Author Topic: Drek's Keycap Journey  (Read 7919 times)

0 Members and 1 Guest are viewing this topic.

Offline drekfoo

  • Thread Starter
  • Posts: 10
Drek's Keycap Journey
« on: Sun, 16 September 2018, 07:09:00 »
My adventure into key-cap making began in the weirdest of ways - an order of a mechanical (without keycaps) keyboard that hasn't arrived got me excited to look around for keycaps and lo and behold, I got entrapped in artisan keycaps.  :))

The resources of ZorbCaps, Booper, Binge and everyone on this platform has really allowed me to learn and to be excited about making something with my hands. I hail from Singapore and am in the creative industry so to have something to meddle with after work hours always excites me.
 
I'm currently at the stage where I'm waiting for my pressure pot to ship from UK (it's painfully difficult to find a decent pressure pot in Singapore) so that I can make higher quality casts.

***

In Singapore, sourcing for materials necessary is extremely tricky. Being a tiny country (go ahead, look it up), there're just fewer resources here.

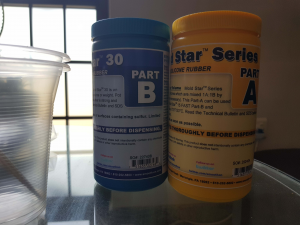
I managed to get a contact via a 3D printing friend for a Smooth-On distributor who hardly did any marketing on his own owing to the small market. Got the Smooth-On Moldstar 30 and the Smooth-Cast 356 for my needs. At an almost exorbitant price, might I add.

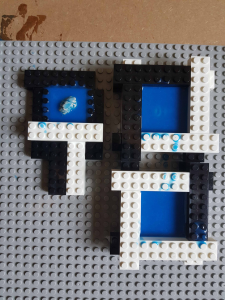
The polymer clay was easier to hunt down - we have a franchise for art supplies in Singapore (Art Friend) so I got two small packets of Sculpey Bake Shop. For the oven, I went on a second-hand product platform called Carousell where sellers could sell their unwanted stuff. I also managed to get my Lego parts from there.

Because $ynth was out of stock, I went with The Glyph's L2K adapter from Shapeways - shipping was immensely expensive so I decided to get 4 sets just to make it slightly more worth the money and effort.

First foray: Another reason
203659-0
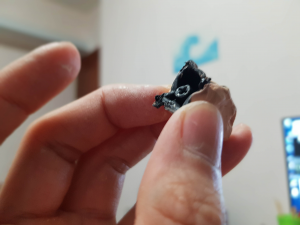
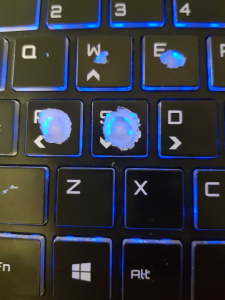
The keys of my laptop were terrible and that was one of the first reasons I went on to order a mechanical keeb.

Planning
203661-1
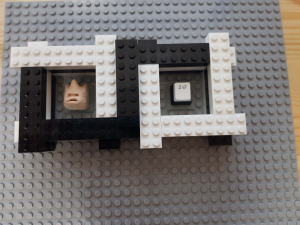
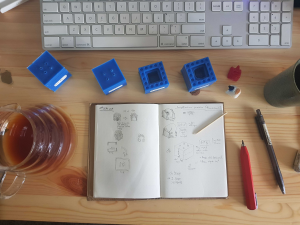
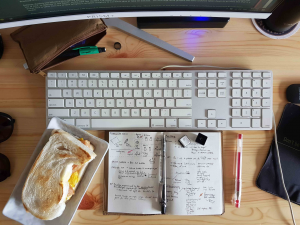
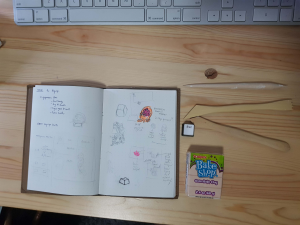
The planning process was the fun part - understanding their parameters and shortcomings, and sourcing for them.

203663-2
I also almost jumped the gun on a Kachakeys Brain Freeze but saw in the reseller's photos that the resin was a deeper shade of blue than I'd have liked. I was obsessed with the brain being encased in clear resin and planned several things around it, but it didn't materialize. It did make me think a lot about the entire process of keycap making though.

Master
203665-3
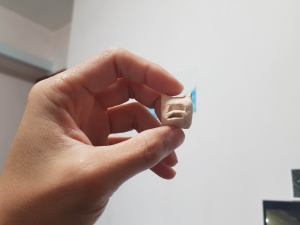
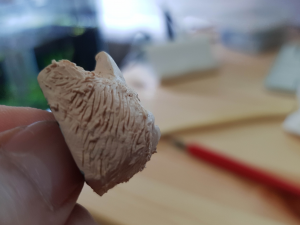
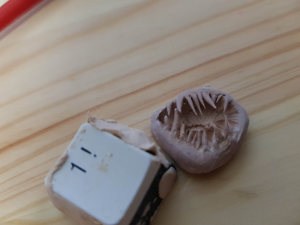
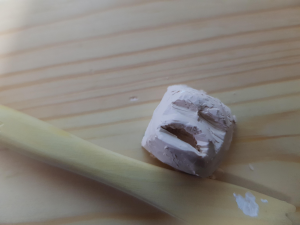
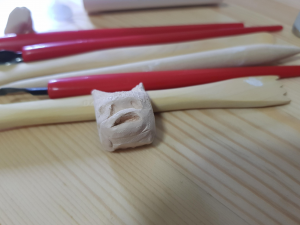
Working with clay was a challenge. I deal with filmmaking equipment so my hands aren't the nimblest, especially when handling soft, malleable materials like clay. My first version was a simple enough face, this was simply the raw form before I went ahead to add details.

203667-4

203671-5

203669-6
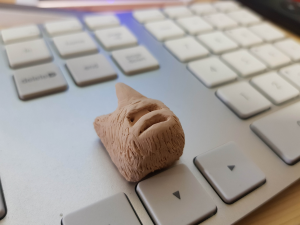
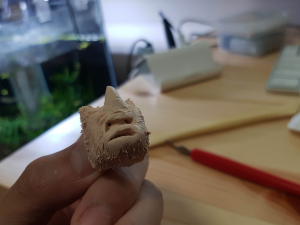
It was a Yeti-inspired design but it still felt flat, so I added a horn/party-hat of sorts to it. The details were tricky, and had a lot of run-off clay from the equipment I was using. A simple tip was to use a brush with rubbing alcohol to remove fingerprints and excess tiny bits of clay.

203673-7
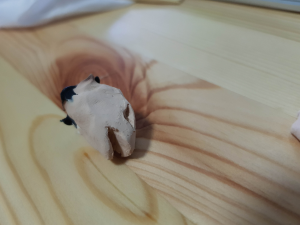
I fired it up in the oven and was pretty happy with the resulting baked master.


203675-8
A very rough placement on my mac keyboard (of course these have chiclets and will not ever take the keycap that I was designing)

203677-9

203679-10

203681-11

203683-12
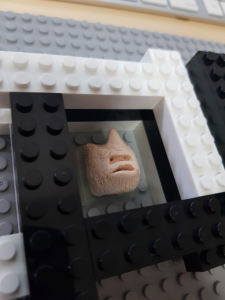
I also hit up a few other designs but unbeknownst to me, the keycap I was using as a blank was not 100% PBT, it was half and half, so things got a bit too hot for the blank I was using. :( The other design was too complicated and I knew that the master mold would never survive the amount of detail in them so I didn't bother casting it.

203685-13

203687-14

203689-15

203691-16


The Glyph's silicone calculator came in really handy here: http://artisanalliance.mx/tools/calculator/
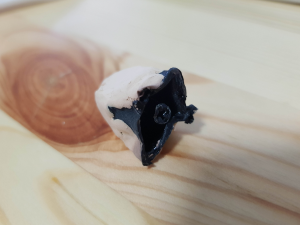
I also did a brain design (remember my obsession with Kachakey) but it didn't work out for me, the tiny spaces allowed bits of silicone to get stuck. My first butt also failed, as I couldn't find a needle thick enough to poke through the silicone to create sprue holes, so I had to cast another butt with old-school superglue and stick sprue method. There were bubbles and stuff and I forgot several things in the process of making the silicone mold (mold release etc).

First cast!
203697-17


203645-18

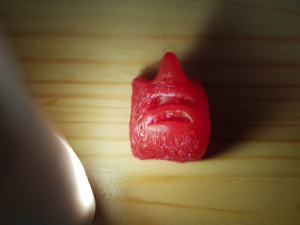
Bubbles in butt, but overall quite happy with it. The weird thing about making stuff is that once you start, you can't stop. I told myself that I'd wait to acquire a pressure pot before going on. But...

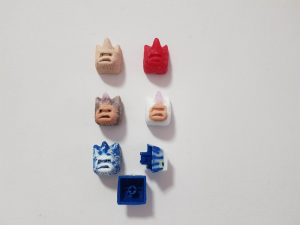
These guys kept spawning

203647-19

203651-20

203649-21

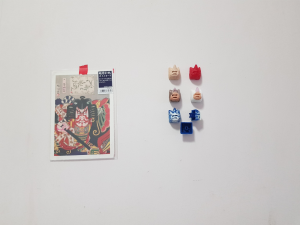
Decided to attach them to the wall to have them available at a glance (cos keeb not here yet)

203653-22
203655-23

And for now, this is it!

On to more designs, whilst waiting for the pressure pot! (And also the mechanical keyboard itself  :confused:)

203657-24
« Last Edit: Sun, 16 September 2018, 07:41:46 by drekfoo »

Offline drekfoo

  • Thread Starter
  • Posts: 10
Re: Drek's Keycap Journey
« Reply #1 on: Fri, 21 September 2018, 05:58:53 »
And... it has arrived!

Offline dgneo

  • Supervillain
  • * Curator
  • Posts: 2182
Re: Drek's Keycap Journey
« Reply #2 on: Fri, 21 September 2018, 06:11:35 »
great progress so far, keep up the good work!

Offline drekfoo

  • Thread Starter
  • Posts: 10
Re: Drek's Keycap Journey
« Reply #3 on: Sun, 23 September 2018, 21:03:22 »
great progress so far, keep up the good work!

Thanks! Still lots of work to get done! ;D

Offline drekfoo

  • Thread Starter
  • Posts: 10
Re: Drek's Keycap Journey
« Reply #4 on: Sun, 23 September 2018, 21:19:51 »
So over the weekend I went to get the air compressor. Decided to invest in an Italian model - the ABAC Vento Silent OM-200. Basically a 6L 1HP one. Yes, it takes me a longer while to get my 10L pressure pot to 60PSI (slightly less than a minute) but the low noise and quality build were determining factors as I keep both of these tools in my room.

--

I've been doing a bit of "r&d" whilst waiting for my $ynth to arrive.
204211-0
204213-1
I filed down a sacrificial PBT keycap to get the 'stem' and decided to incorporate this stem in my design.

204215-2
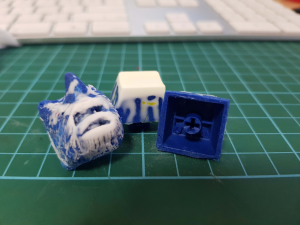
This guy is called "Triple Chin Pop"!
The stem you see in his mouth will be where I'll create a bubble-gum little sphere to accentuate the design. Yes, it is a bit thick and high for keyboards normal usage but I wanted to just create right now.

204217-3
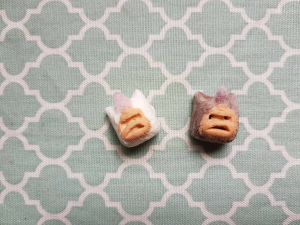
His buddy also spawned but I have yet to cast him in silicone, so for now his form lives solely in my master.

204219-4
204221-5
With the pressure pot, I casted Triple Chin Pop with clear resin to check for bubbles and there were significant reductions. There is a tiny leak at the handle of my pressure pot which I'll have to resolve to prevent the punctures from appearing in the cured resin.

204223-6
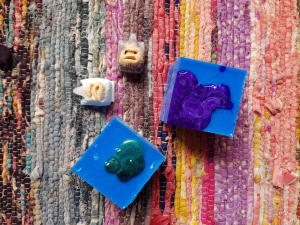
Triple Chin (without the Pop) currently lives in this teal that I was attempting. I need to add a couple drops more white pigment for it to be less dark. I can live with this for now.
*Teal = 2 units of Green to 1 units of Blue and lightened down by eye.

204225-7
204227-8
This is what Triple Chin (with the Pop) should look like. Currently trying to get the bubblegum shape right, and to cast it with a negative stem.

204229-9
I'll definitely need to work on the butt as it is right now.

204231-10
204233-11
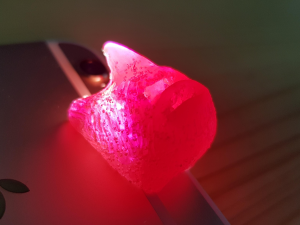
In the light (and dust).

204237-12
204239-13
Also did a pink-ish dye.
*Pink = Red + White, by eye

204235-14
204243-15
Family!

204241-16
And now, more tests and research on design before I get around to multishots!

Offline drekfoo

  • Thread Starter
  • Posts: 10
Re: Drek's Keycap Journey
« Reply #5 on: Tue, 25 September 2018, 22:57:19 »
Trying out a multi-shot orange-mint colorway.

Unfinished, unpolished - need to get higher (or is it lower) grit sandpaper to finish... And also more Moldstar30 for better blank.

How do I get thicker walls?

204352-0
204356-1
204354-2
204358-3

Offline drekfoo

  • Thread Starter
  • Posts: 10
Re: Drek's Keycap Journey
« Reply #6 on: Sun, 30 September 2018, 19:59:40 »
Progress Report

Been a month since my first mold and here are some pictures to chart the journey. On the way to making a 9-set mold for blanks. And then shift focus into artisan sculpting and them keycaps! Lots of murdered molds, stained tabletops (and walls).

Experimenting with L2K and $ynth and PBT blanks. Reporting back that the $ynth allowed me to create more consistent thick-walled blanks without having to acquire thick walled blanks. Made butts from the blanks created from the $ynth itself and overall very pleased with the quality and consistency!

204669-0
204671-1
204673-2
204675-3
204677-4
204679-5
204681-6

Even made L2K adapters and played with colourways.

What do ya'll think?  :p


Offline 9999hp

  • Posts: 157
  • Location: Present
Re: Drek's Keycap Journey
« Reply #7 on: Fri, 26 October 2018, 12:00:00 »
If you're interested in sculpting tips, there are some things I can recommend.

>Try using sculpey soft for "delicate training", it'll train your hands to work softly with your clay tools.

>Once you able to manipulate sculpey soft well, ime I moved on to sculpey firm (if you like polymer clays at all.), your trained hands will be able to manipulate finer details into the clay more easily, and your hands will have a greater range of dexterity/articulation with tools; if that makes sense. This is similar to playing the game "Snake" on a super hard setting, adjusting to the speed, and then turning the difficulty down. The difficulty will seem easier.

>Always, always, always use reference. Even when making fictional stuff. Until you can draw/sculpt something 1:1 using your own imagination, use reference. Guaranteed if you don't, there will be something "off". Even if it's only for certain details: hair pattern, eye socket, nose, etc. Pull up a similar nose on google and try to emulate it. It will add that spice of character to an otherwise ambiguous sculpt. There is obviously some leeway with this.

>youtube tutorials for other kinds of sculpting are invaluable, they will teach you how to make textures/layering/etc. You can pull useful bits out of any type of sculpting being it figurines, large clay props, masks etc; you just have to have the right questions.

Casting is a whole other bag of worms, but looks like you well have the basics. It's a fun journey to start on and it'll be fun to watch you progress. Good luck!

Offline drekfoo

  • Thread Starter
  • Posts: 10
Re: Drek's Keycap Journey
« Reply #8 on: Mon, 29 October 2018, 22:44:20 »
If you're interested in sculpting tips, there are some things I can recommend.

>Try using sculpey soft for "delicate training", it'll train your hands to work softly with your clay tools.

>Once you able to manipulate sculpey soft well, ime I moved on to sculpey firm (if you like polymer clays at all.), your trained hands will be able to manipulate finer details into the clay more easily, and your hands will have a greater range of dexterity/articulation with tools; if that makes sense. This is similar to playing the game "Snake" on a super hard setting, adjusting to the speed, and then turning the difficulty down. The difficulty will seem easier.

>Always, always, always use reference. Even when making fictional stuff. Until you can draw/sculpt something 1:1 using your own imagination, use reference. Guaranteed if you don't, there will be something "off". Even if it's only for certain details: hair pattern, eye socket, nose, etc. Pull up a similar nose on google and try to emulate it. It will add that spice of character to an otherwise ambiguous sculpt. There is obviously some leeway with this.

>youtube tutorials for other kinds of sculpting are invaluable, they will teach you how to make textures/layering/etc. You can pull useful bits out of any type of sculpting being it figurines, large clay props, masks etc; you just have to have the right questions.

Casting is a whole other bag of worms, but looks like you well have the basics. It's a fun journey to start on and it'll be fun to watch you progress. Good luck!

incredible thanks for this 9999, really appreciate it, will keep up with the sculpting & casting!

Offline drekfoo

  • Thread Starter
  • Posts: 10
Re: Drek's Keycap Journey
« Reply #9 on: Mon, 29 October 2018, 22:48:03 »
so this was my third time casting for kao-nashi - a very basic sculpt so it was easi(er) to manage. i decided to go with my marbled obsession and created r1/r4 keycaps alongside the artisan keycap. the glow in the dark powder helped bring out kao-nashi's ghostly characteristic.

206398-0
206400-1
206402-2
206404-3
206406-4

these bloodcubes are gettin' ready for the halloween festivities tonight (although we don't celebrate it that much in my country)!

Offline drekfoo

  • Thread Starter
  • Posts: 10
Re: Drek's Keycap Journey
« Reply #10 on: Tue, 05 February 2019, 19:37:01 »
Been ages...

Basically passed away in October due to some sensitization to the resin chemical. Stayed away, got back on my feet, got back into sculpting and casting. Got a bunch of new tools. Casted a great deal. Modified. Tweaked. Experimented.

Some updates.

212246-0
212248-1
212250-2
« Last Edit: Tue, 05 February 2019, 19:40:53 by drekfoo »

Offline skyyyy

  • Posts: 7
Re: Drek's Keycap Journey
« Reply #11 on: Tue, 26 March 2019, 07:30:34 »
Super inspiring. I've been lurking around the forum wanting to give it a try. Looks like you are doing fantastic work.

Offline RobotCandyCompany

  • Posts: 56
  • Location: California, US
    • RCC Instagram
Re: Drek's Keycap Journey
« Reply #12 on: Wed, 27 March 2019, 23:25:18 »
Those half-and-half faces are really trippy to look at!

I also like your resin L2K army! I try to pour my excess resin into L2K molds so I always have extras laying around.
MX and Topre caps are available at http://robotcandy.company/
Follow us on Instagram for release announcements

Offline drekfoo

  • Thread Starter
  • Posts: 10
Re: Drek's Keycap Journey
« Reply #13 on: Thu, 12 September 2019, 22:10:52 »
been an eternity since i last posted/updated. got washed along with the flow of life. haven't been making caps either. upon joining the local keyboard discord community got reminded of why we all do documentation - to teach and share.

so i got my hands on some monster clay - it's impossible to get it in singapore - so i had it shipped from m'sia. it works way better (for me) compared to the normal bake-clays cos i don't need to have super nimble fingers as they harden when cool.

i was also experiencing some dismay at the standard of my cap butts. have gotten a 3d printer to experiment more but haven't had the time to set it up -_-

this again was in feb earlier this year. unfortunately haven't managed to find time to finesse this up:
226244-0
226246-1

also explored with some pours but mold quality wasn't top notch:
226248-2
226250-3
226252-4

will be open to sharing whatever knowledge i have, so ask away!