Keycult No. 1/65 Rev. 1
I was given this Keycult No. 1/65 kit to build for a local friend and I never say no to a board build.
I came across the legendary Lastpilot build logs recently and I was inspired to do something similar, I figured it was a good excuse to give my new camera a workout too.
I. Build Log
- Unboxing
- Taking a Peek
- PCB check
- PCB build
- Assembly
II. Showcase
III. Conclusion
Build LogUnboxingThe Keycult experience doesn't disappoint, a classy box with a nice details sticker to seal it up


Inside the other smaller box we have a cloth holding the PCBs and plates, including 2 aluminium plates, a polycarbonate plate and the brass plate we're going to be using.


And here are the rest of the parts for the build, Holy Panda switches and Zeal stabilisers.
 Taking a Peek
Now let's have a look at what's inside.
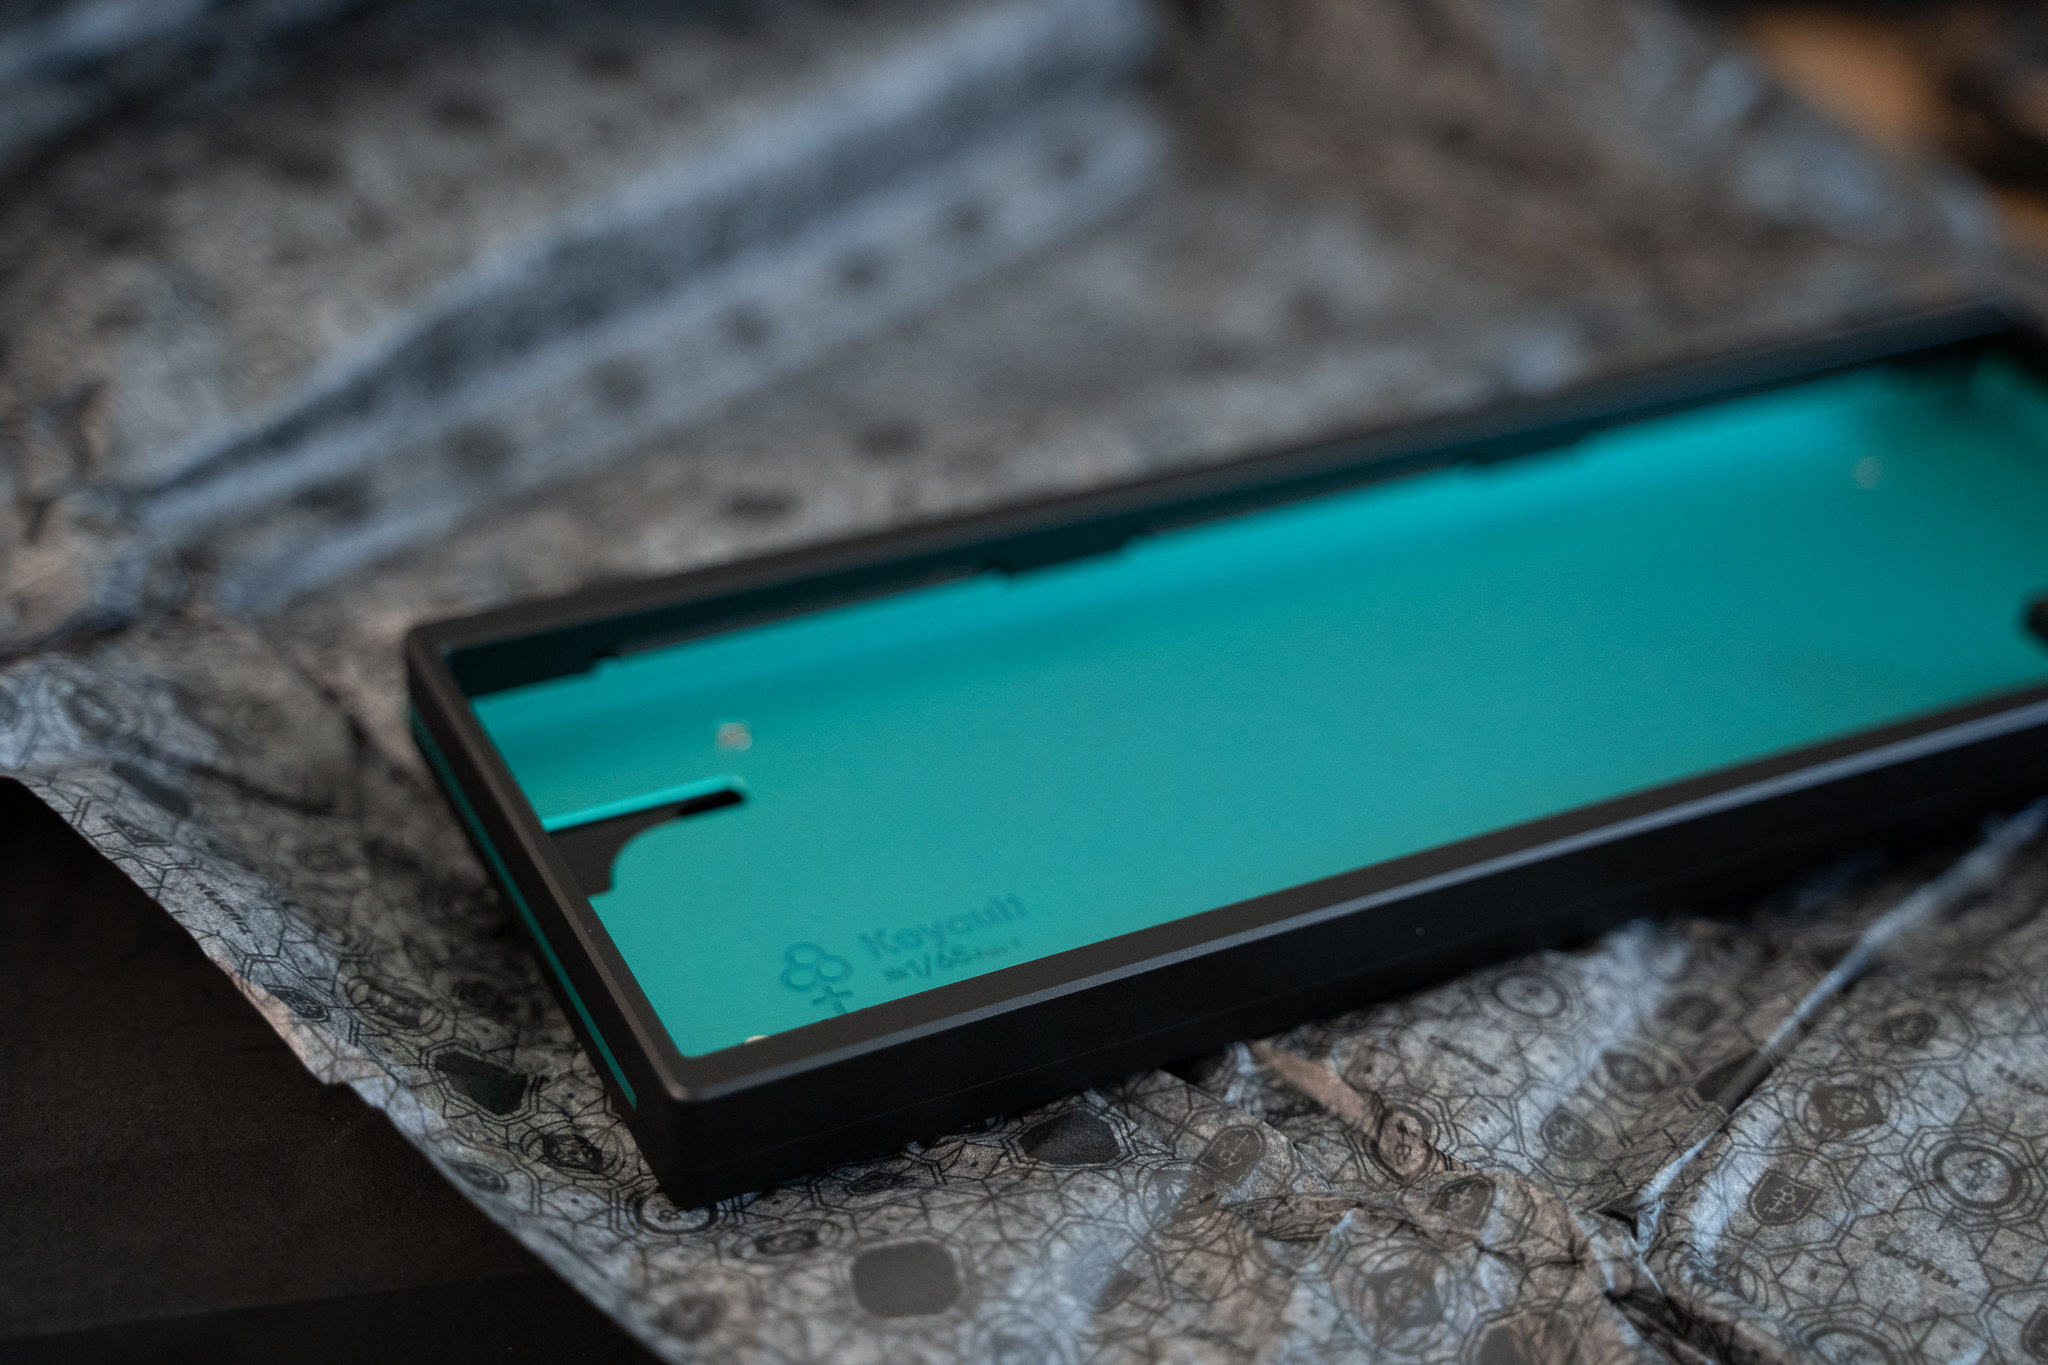
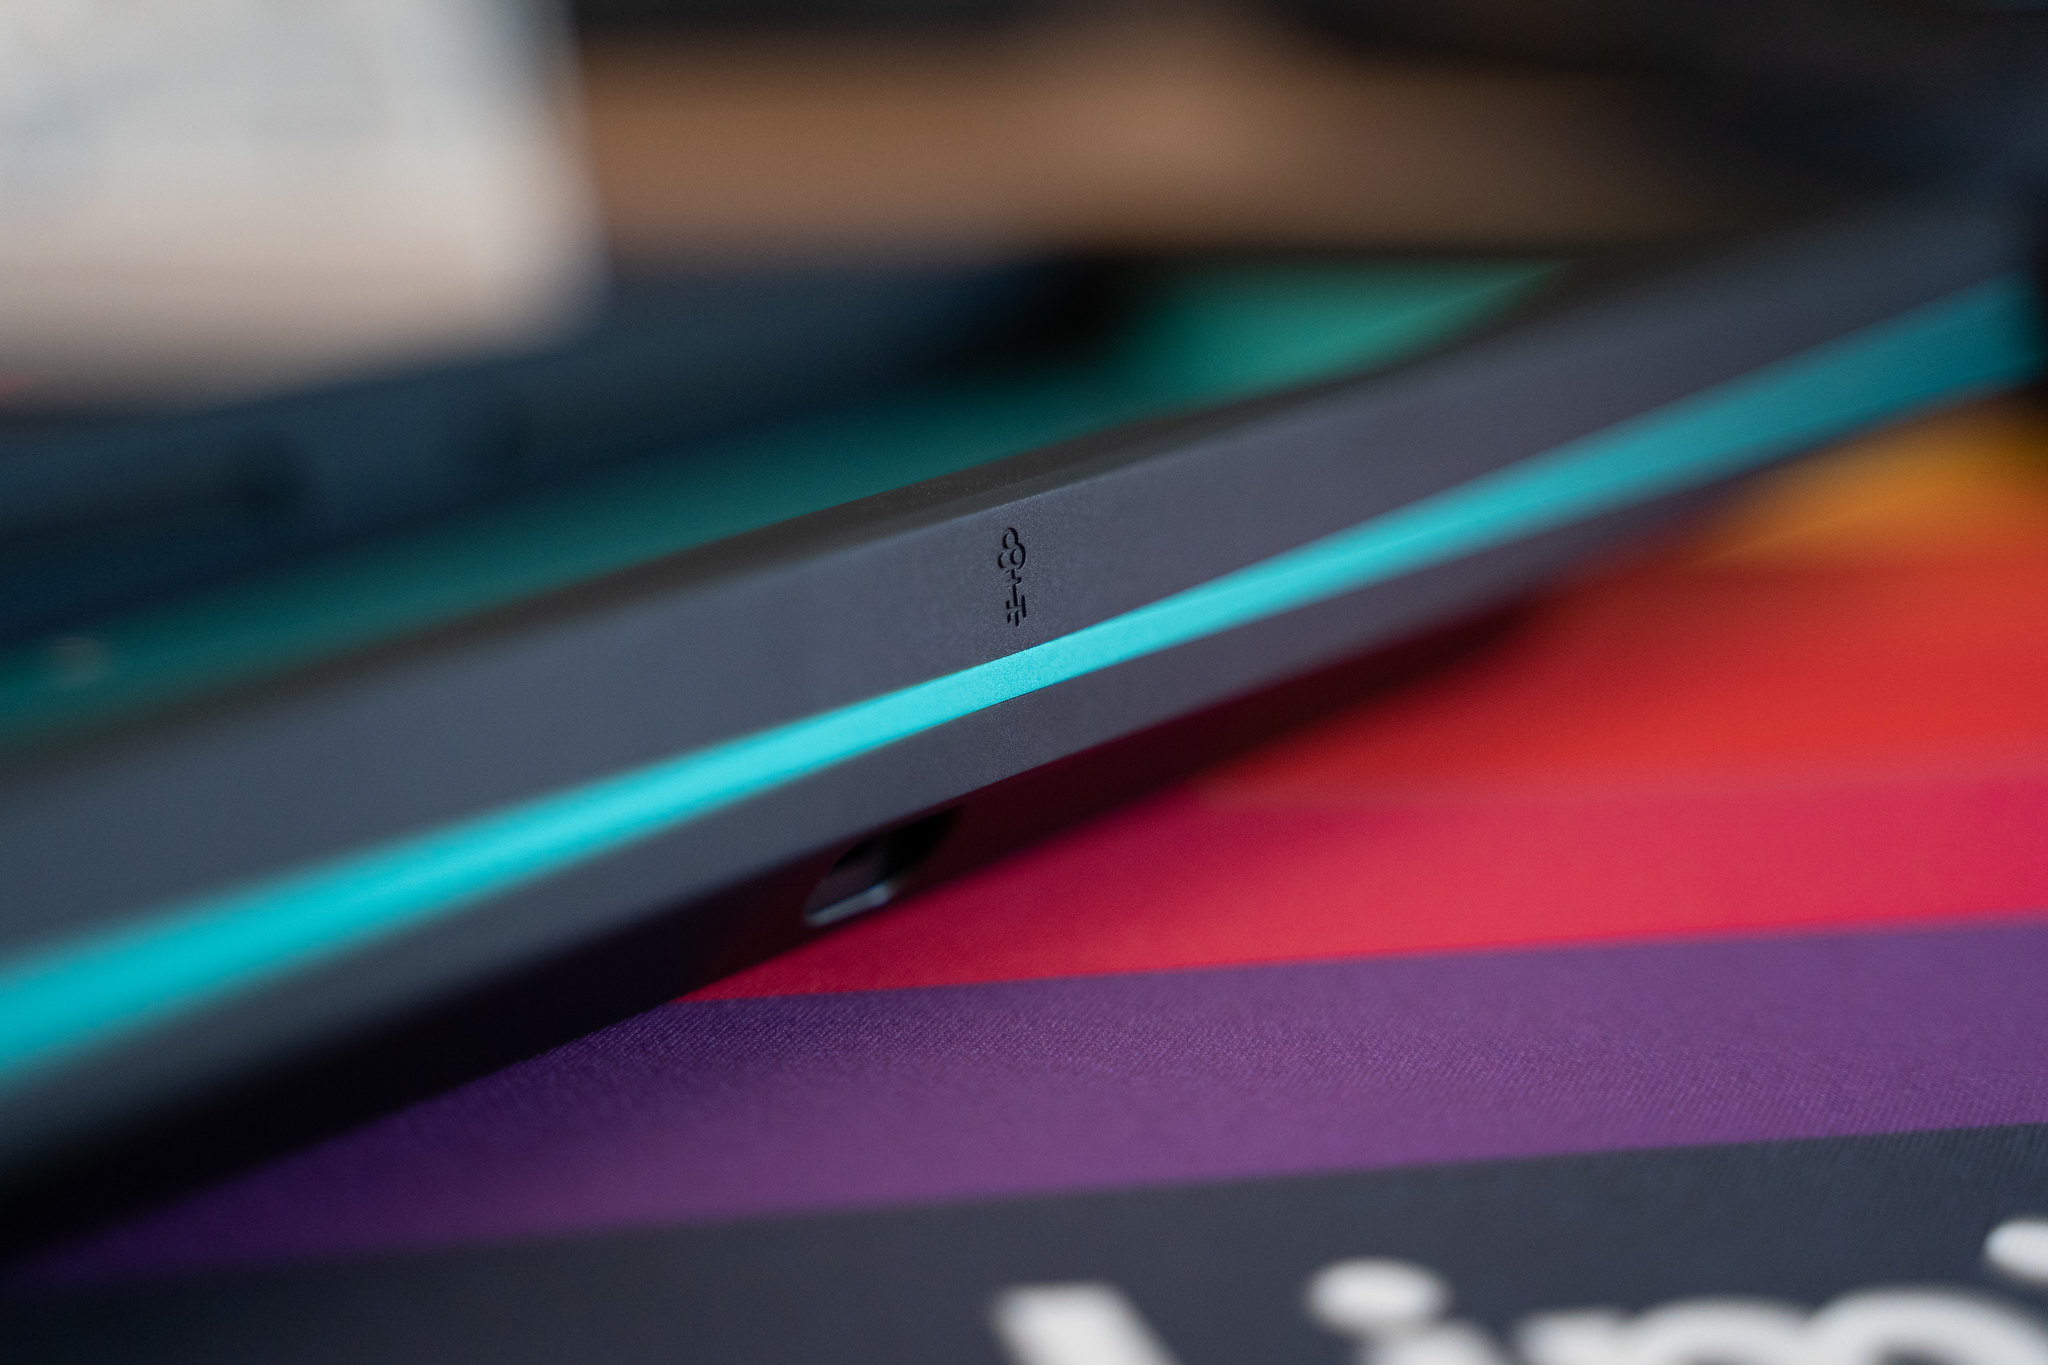
First up, the board itself, sporting very nice, smooth black anodisation with a teal mid piece that serves as an accent around the sides and back of the board as well as the underside.


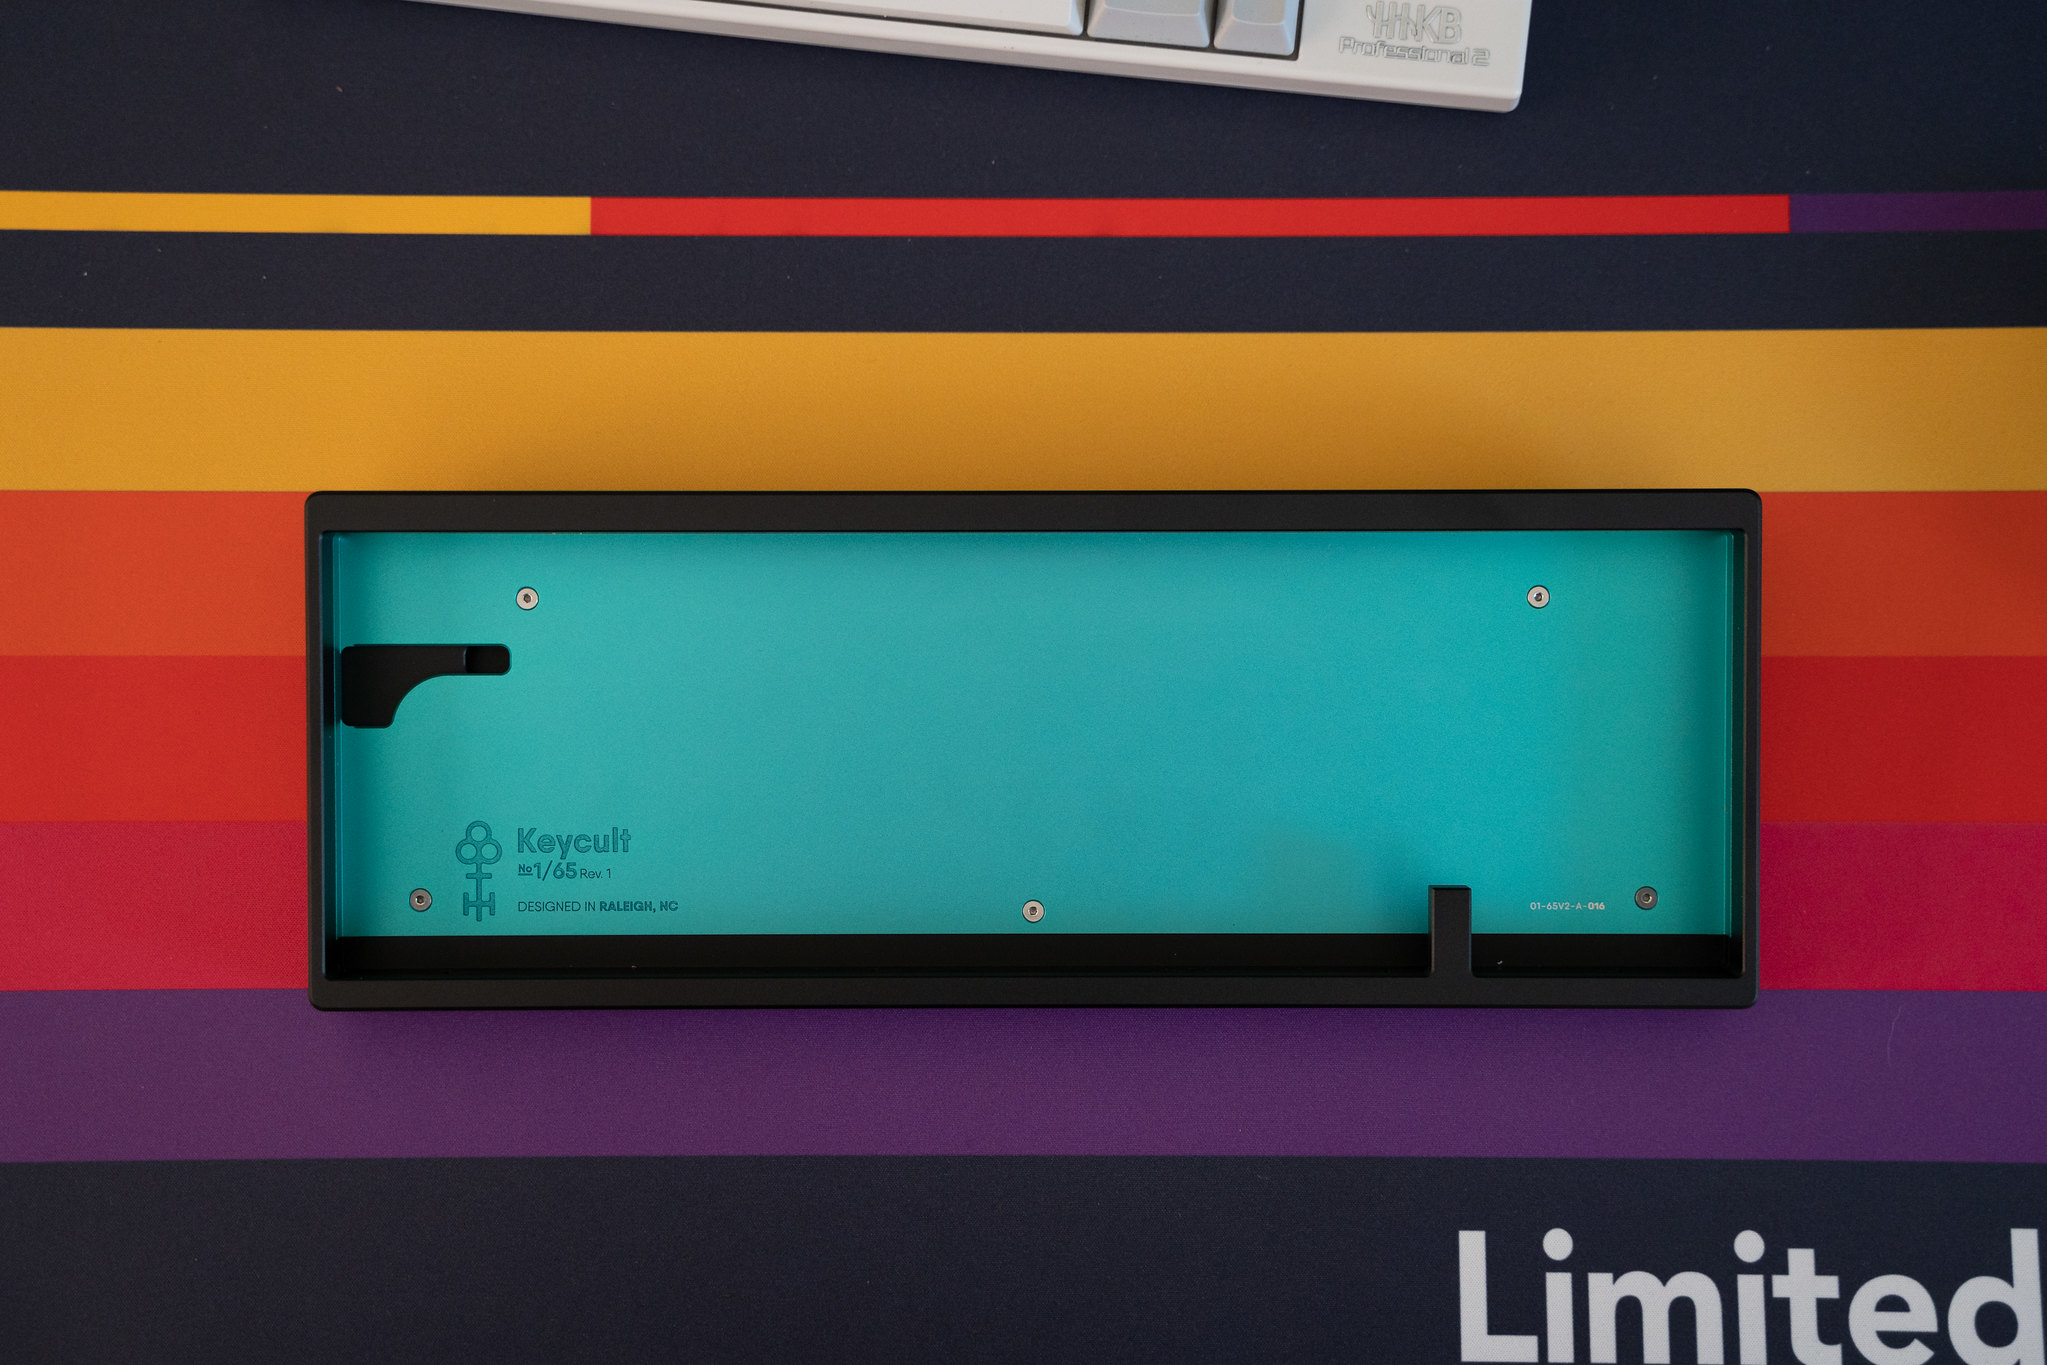


There's a very subtle Keycult logo engraving on the back of the board above the USB port cutout, nice way of doing external branding while keeping a clean look.

And here is the plate we'll be using, the 1.5mm sandblasted brass option.

The case is shipped with the bottom, mid and top piece assembled so let's open it up and have a look.
Hex head screws are nice to see, bye bye stupid phillips.

The top piece separates leaving the bottom and mid piece as one, here you can see the vibration-dampening gaskets pre-attached to the various case pieces, the case alignment slots, and the holes for the PTFE plate alignment pins.

Now we can get a better look at the internal engraving.

Unscrewing the 5 smaller hex head screws releases the mid piece from the bottom case.

Under the mid piece you can see the cutout for the USB-C daughterboard and the channel to route the JST cable, you can also see some anodisation streaking here around the screw hole where - I assume - the piece was hung to be anodised, this is inevitable but it's a smart idea to hide it under the mid piece.
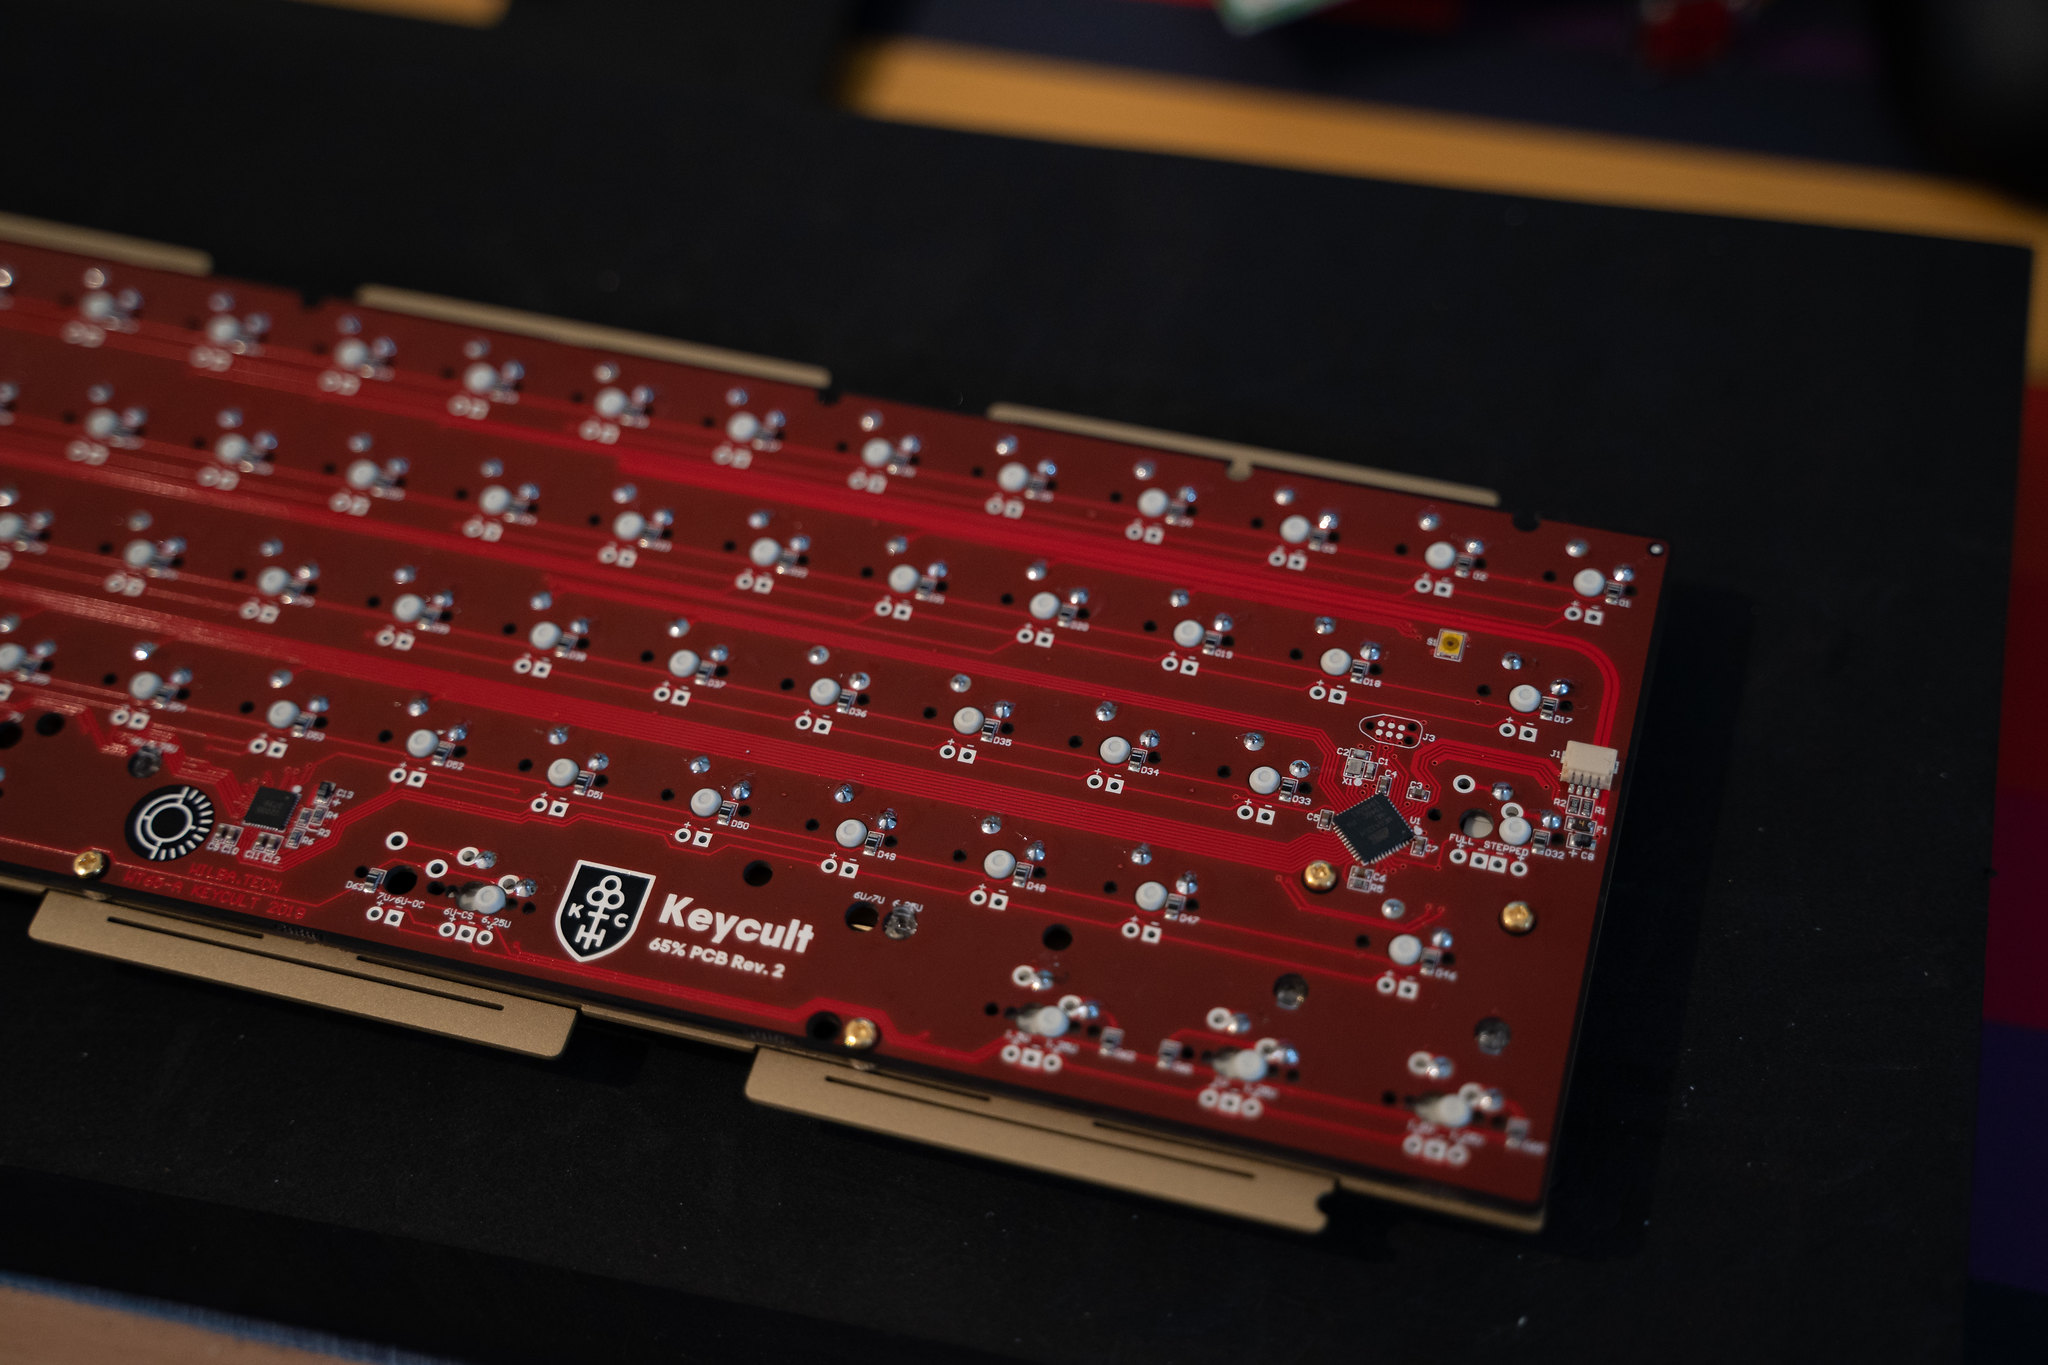
 PCB check
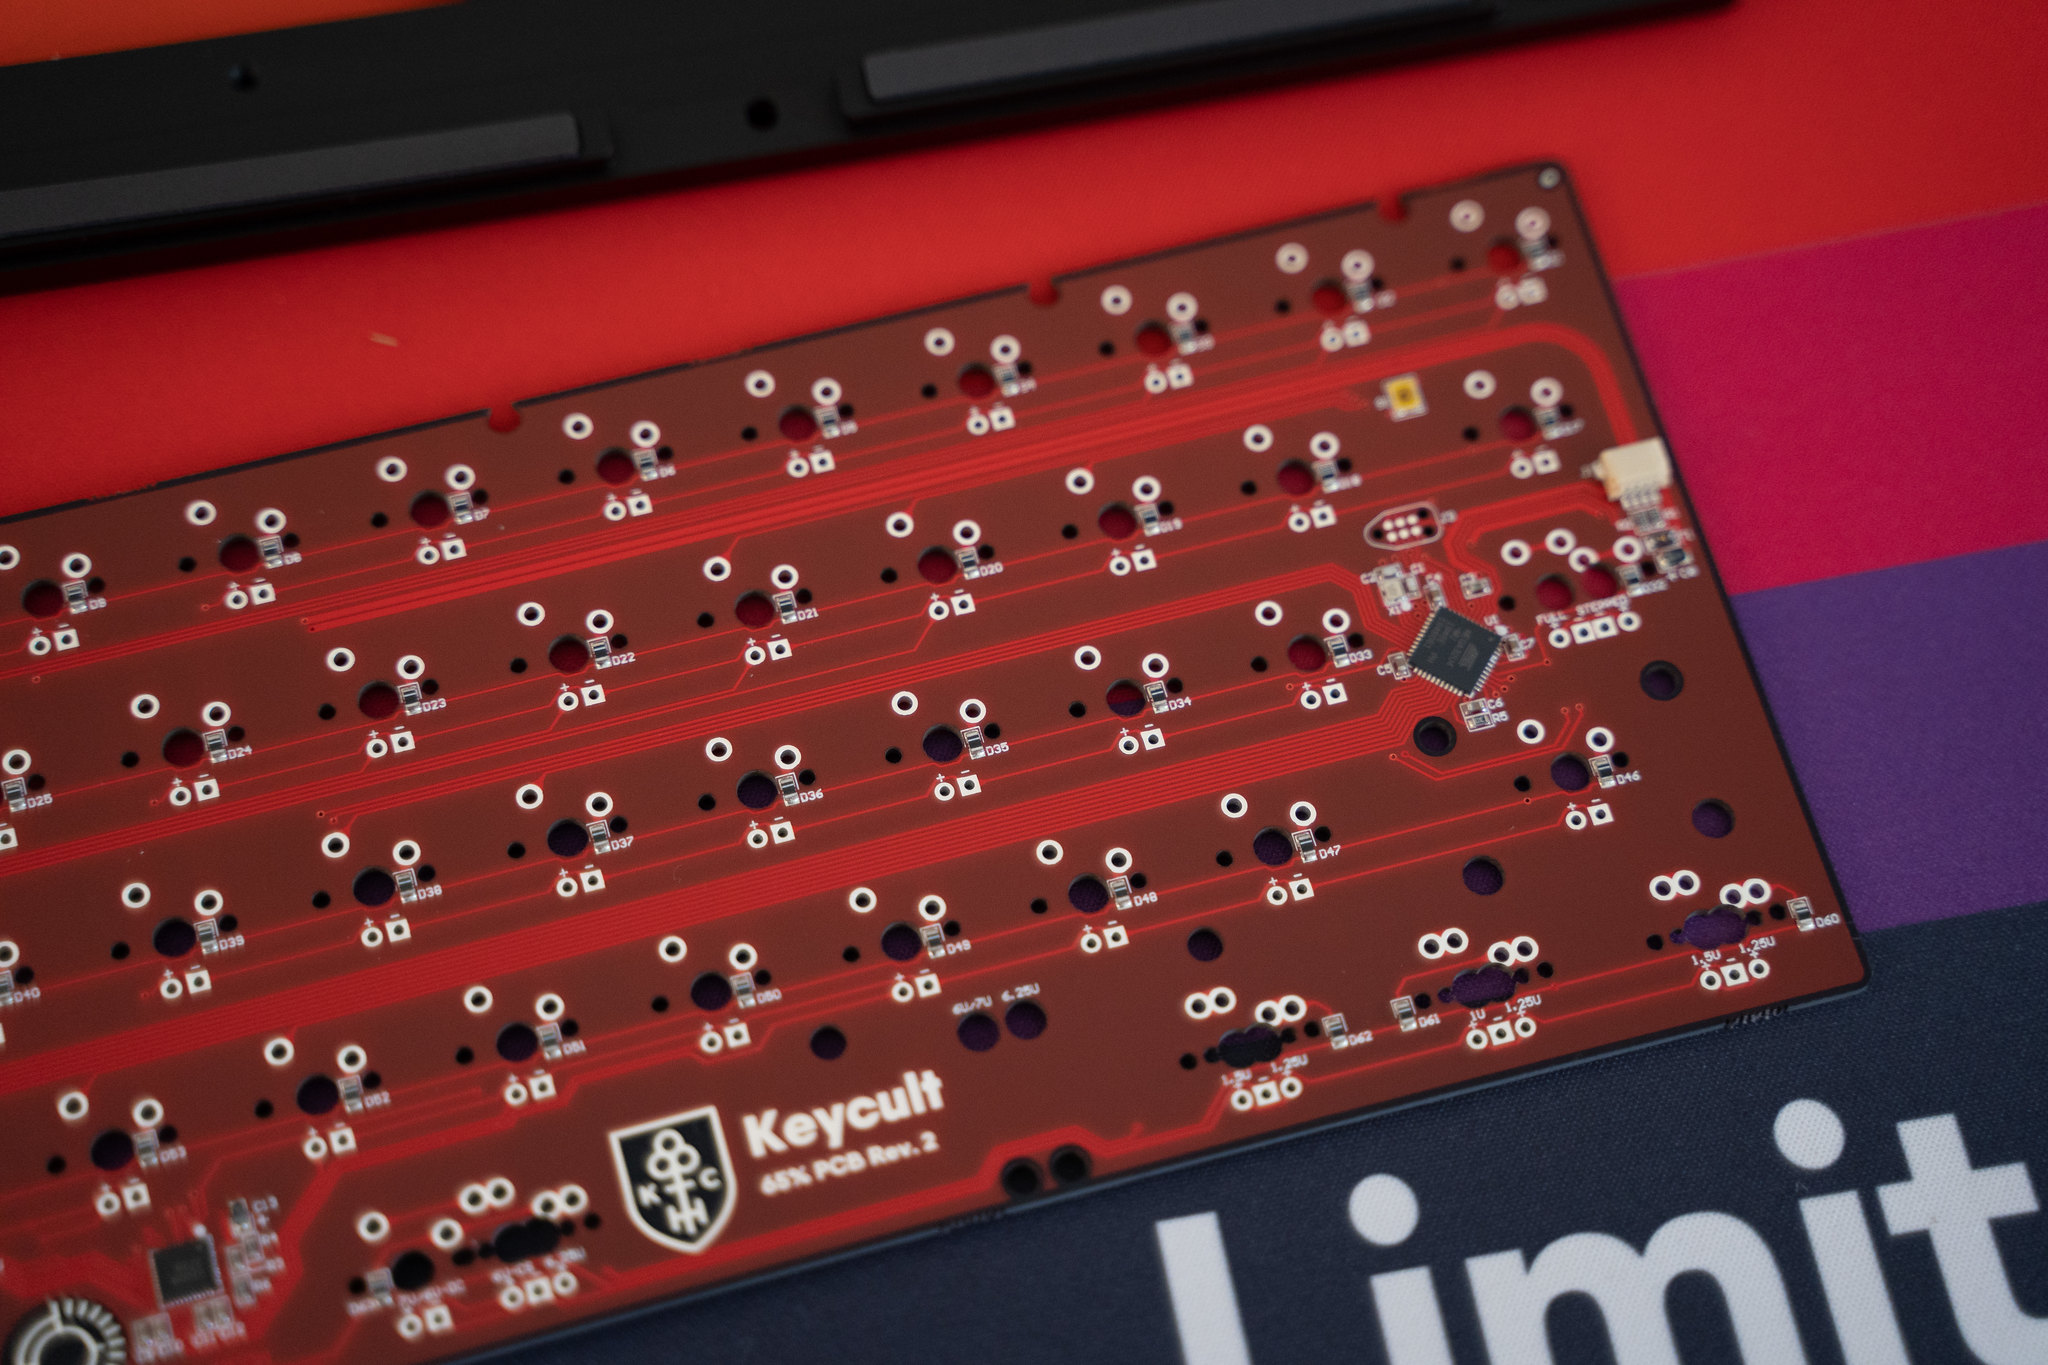
Let's have a closer look at the two toned red PCB and daughterboard.

And here is the USB-C daughterboard that attaches to the JST connector on the side of the PCB and allows for more flexible USB port position.

Of course, plug it and test the PCB because everyone hates desoldering.


 PCB build
First up is the stabilisers, after lubing the sliders, housings and gold wires, they're assembled and inserted into the PCB with the gold screws tightened to hold them in place.


Then the switches go in, starting with the corners to hold the plate in place and the switches under stabilised keys so I can test the stabilisers before soldering everything.


After soldering those and making sure the stabilisers were acceptable, the rest of the switches went in, the plate was very tight and some switches didn't want to go in so it took a bit longer than I was hoping :c
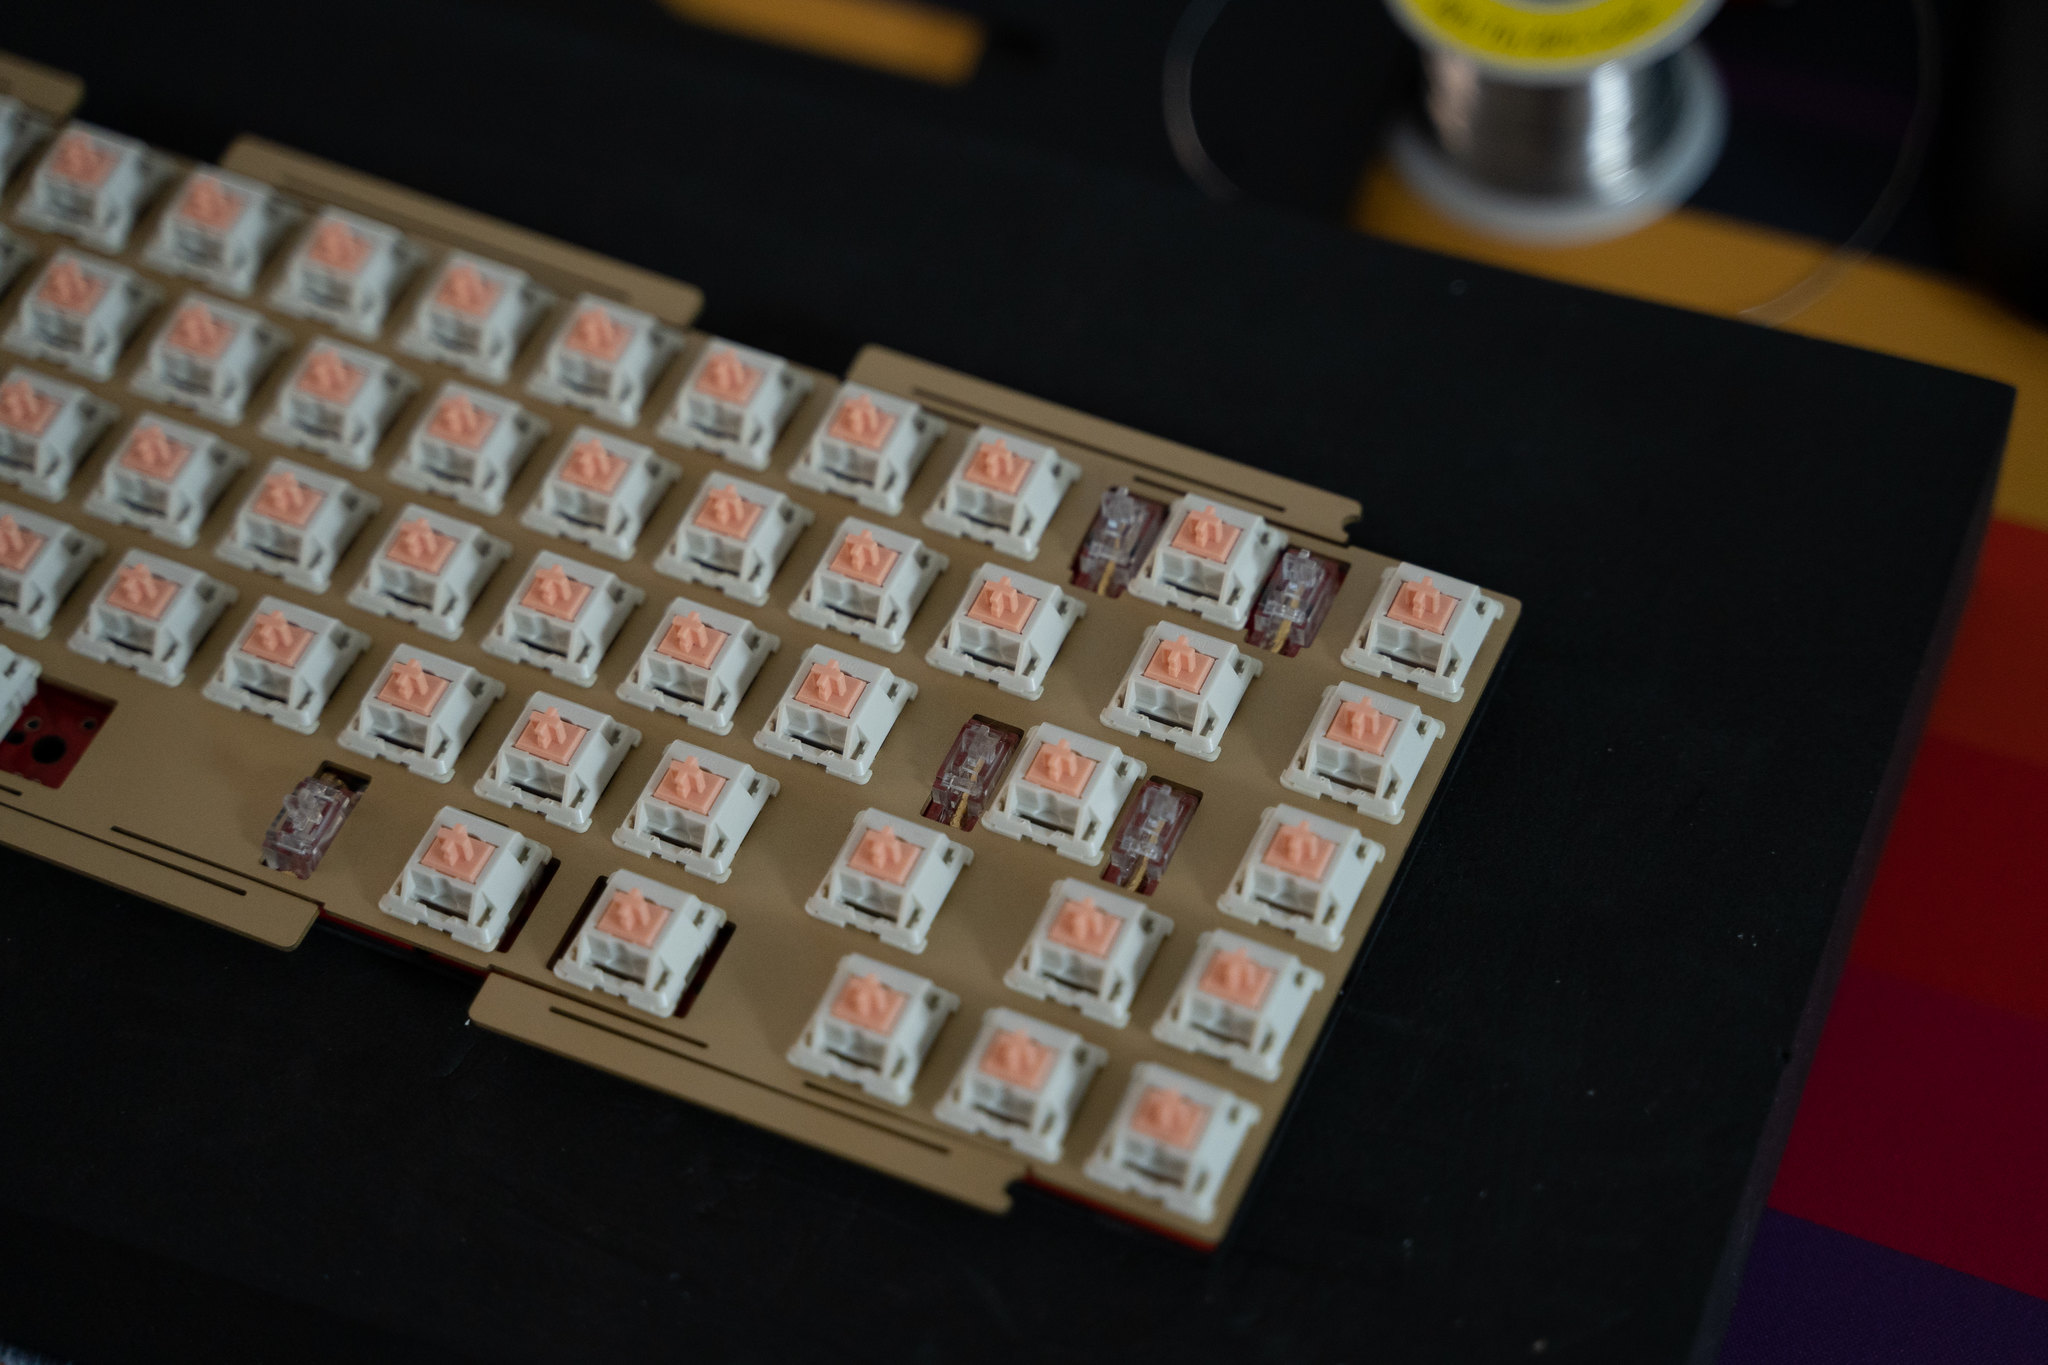

Ready to solder!

All done! If only it was that easy.
 Assembly
Time for the final part of the build, putting it all back together!
The daughterboard is inserted into the cutout and screwed in with the supplied screws.

Then the mid piece is placed on top, making sure the JST cable is in the channel so it doesn't get squished and damaged.

After plugging the daughterboard into the PCB, the PCB and plate assembly can be placed down on top of the gasket strips, the PTFE alignment pins can then go in to make sure the plate is sitting in the right place for even gaps. It's probably intended to insert these pins before the plate but I didn't realise what they were for until afterwards, it worked fine regardless.

Finally, the two halves can be put together and the six case screws inserted and tightened, completing the assembly of the board.


 Showcase
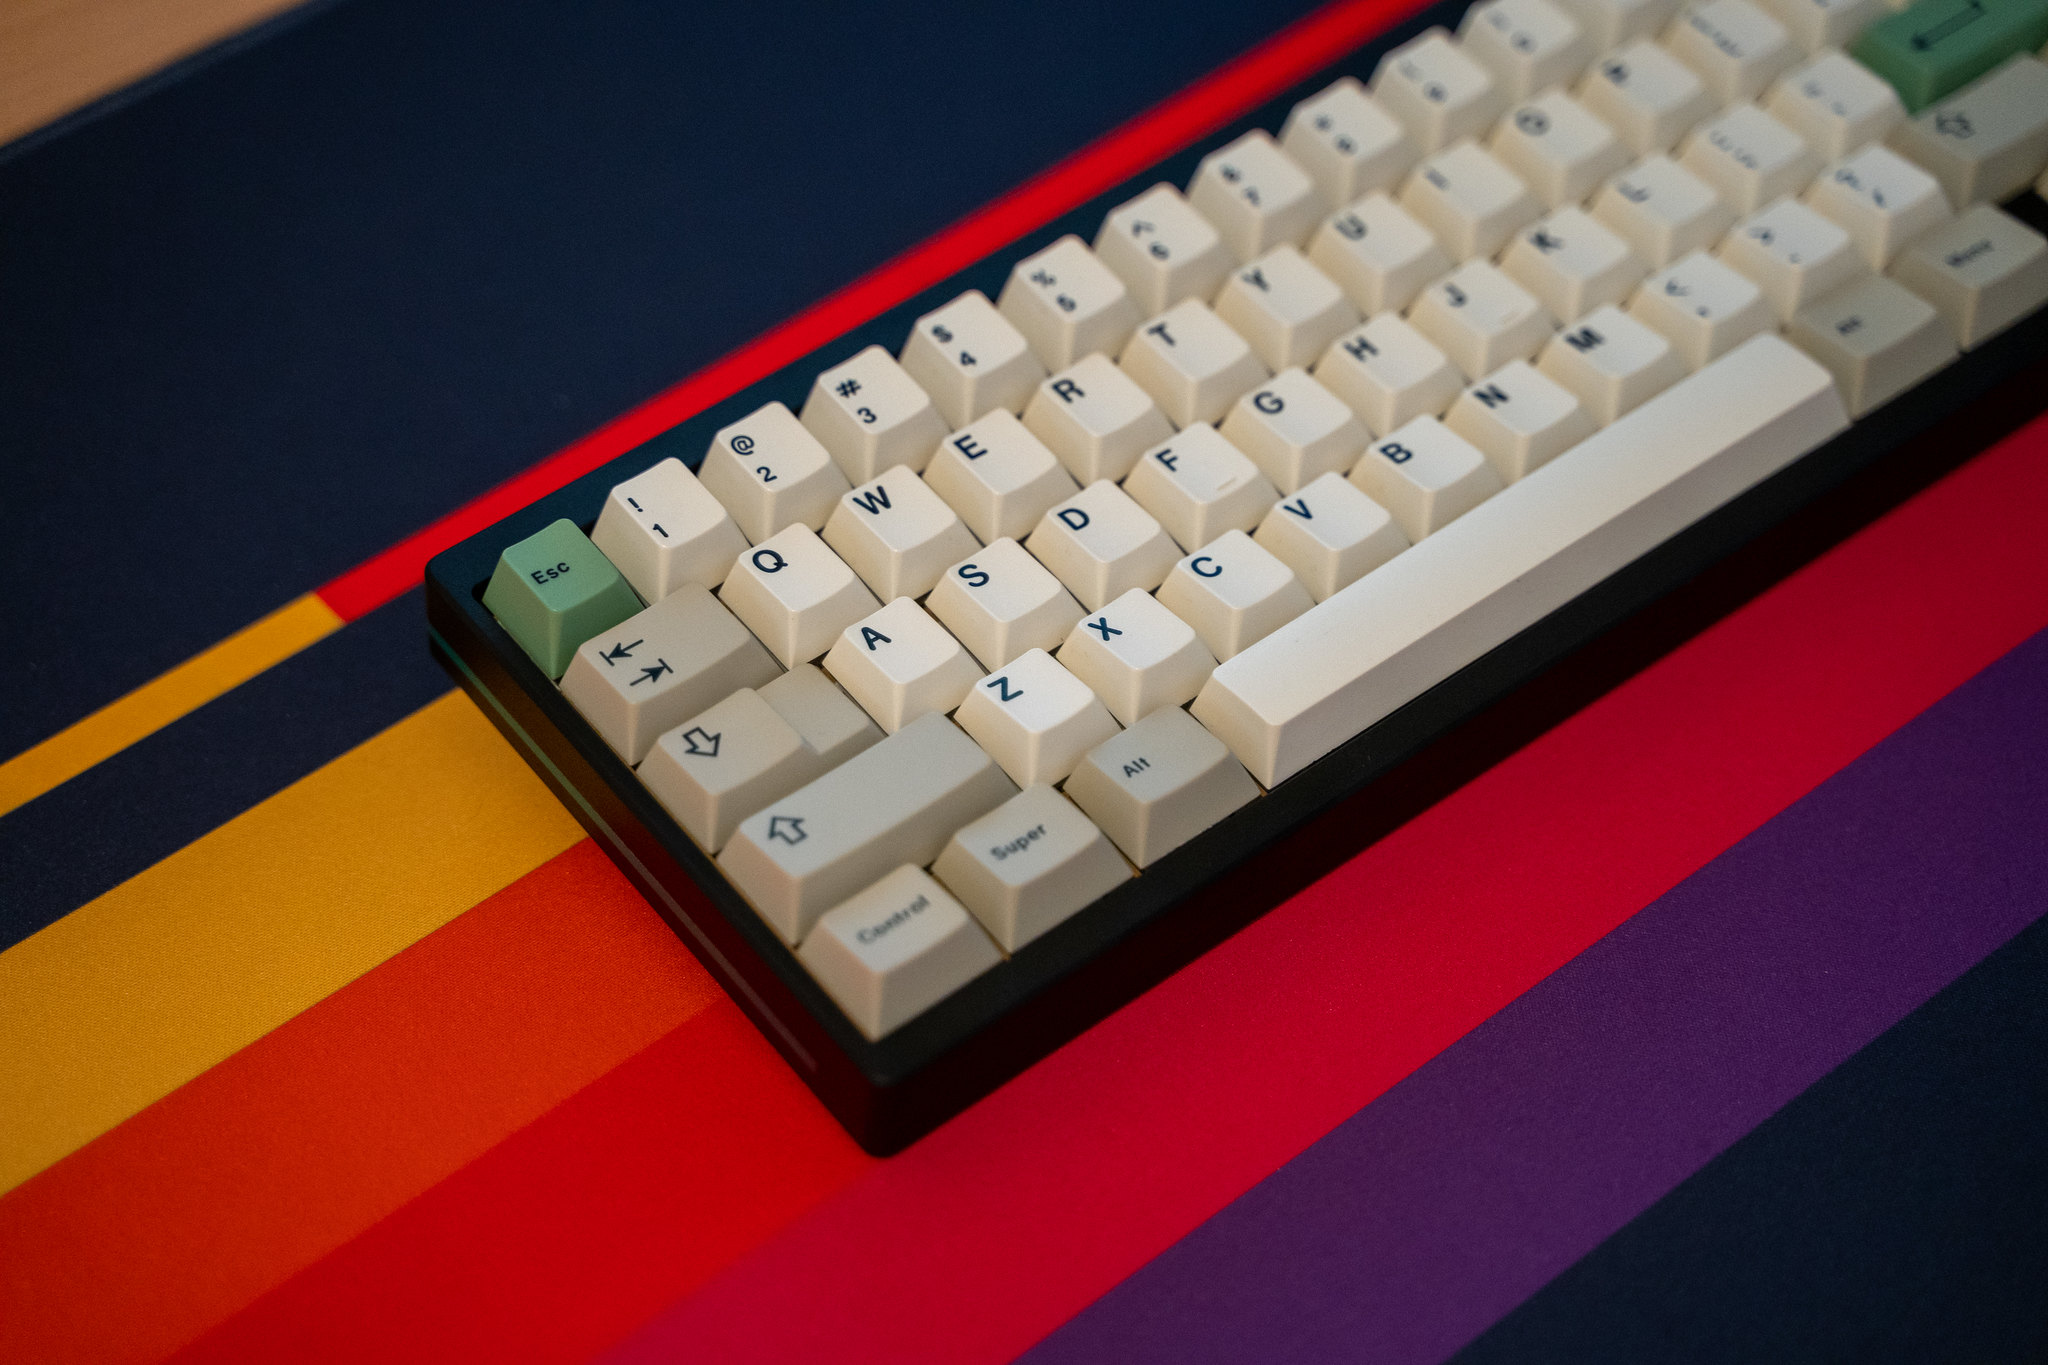
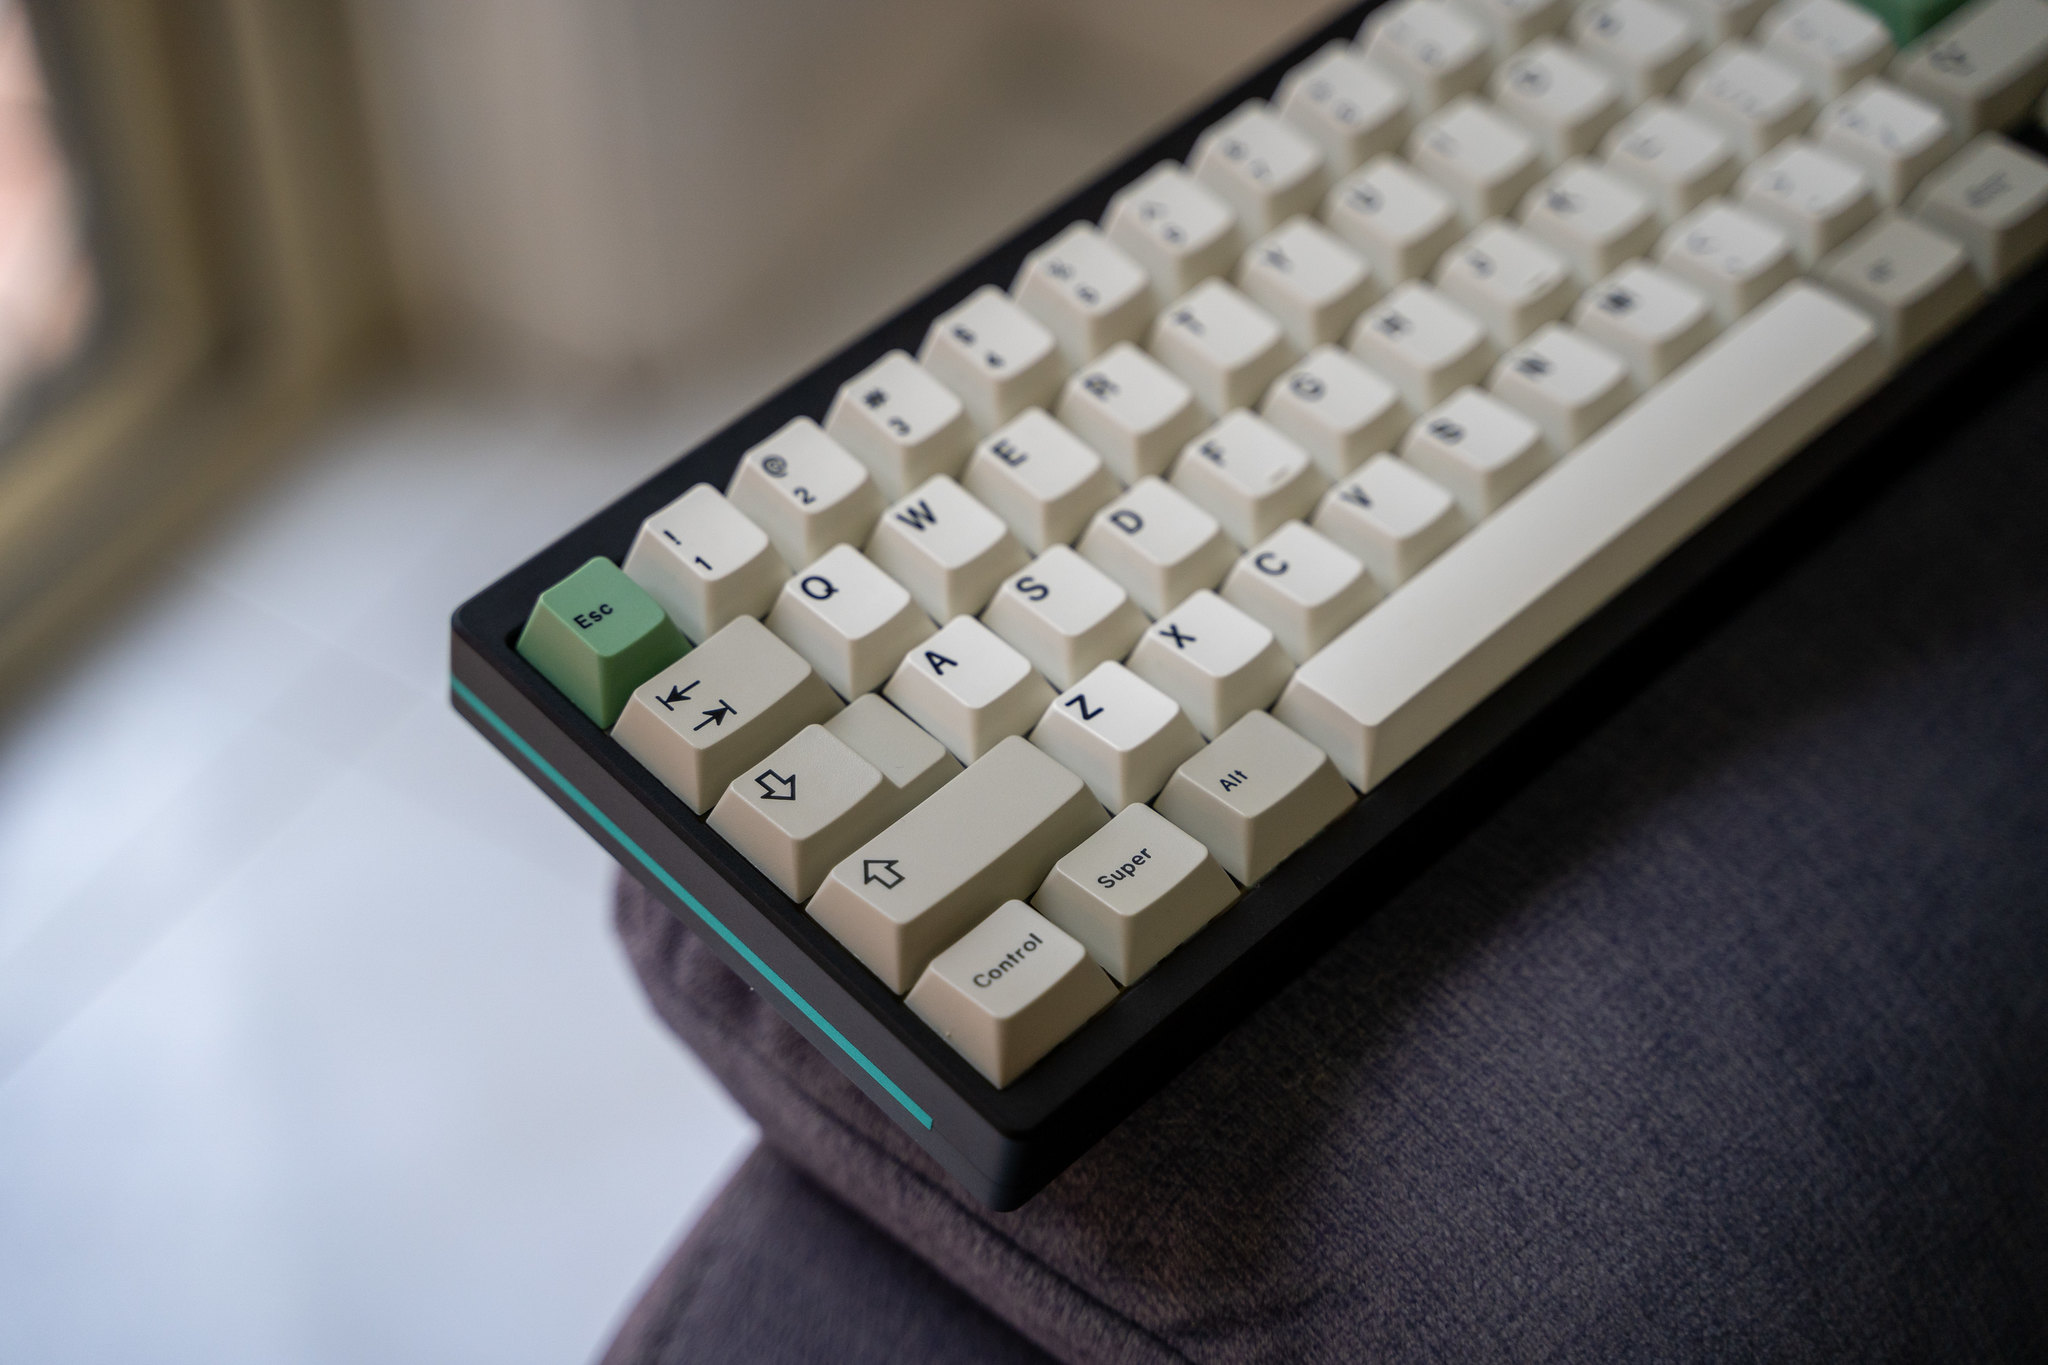
Unfortunately I didn't have any keycaps that matched the teal accent better, but i think 9009 still looks great on the board, can't go wrong with beige.
Enjoy these pics


 Click here for the full album with higher res images.Conclusion
I always enjoy building keyboards and this was no different, the attention to detail by Keycult is obvious throughout the whole process, little things like the unboxing experience, the pre-attached gasket strips and the plate alignment pins (I wish more people implemented this) make the experience just that little bit better.
Thank you for reading!
-King


