I used the second option Tactile linked with an old Scorpius board with an integrated trackball, it worked great. For a quick and dirty (if you have the room to not lop all of the connectors off of everything and/or don't care about packing it all in the case) you just need to plug the bluetooth adapter into the keyboard and then into one of any number of USB power banks and you're off to the races. If you want to do an internal mod, you might want to desolder all of the big connectors (especially USB type-A) and figure out where everything will fit in the case (especially if you want any external status indicator LEDs), then solder the keyboard's USB data and power leads to the bluetooth adapter. From there it depends on what sort of features you want to bother with supporting. If there's no interest in wired use at all, you could solder positive and ground to the battery bank and route the battery bank to a USB connector of your choosing with access on the external part of the case for charging. You probably want a kill switch of some kind somewhere between the batteries themselvses and the bluetooth adapter. If you want to be able to use it wired, you want to also connect the data +, data - and ground contacts of the bluetooth adapter to those of your external USB connector.
Here's the wiring diagram that the company put together in their manual:

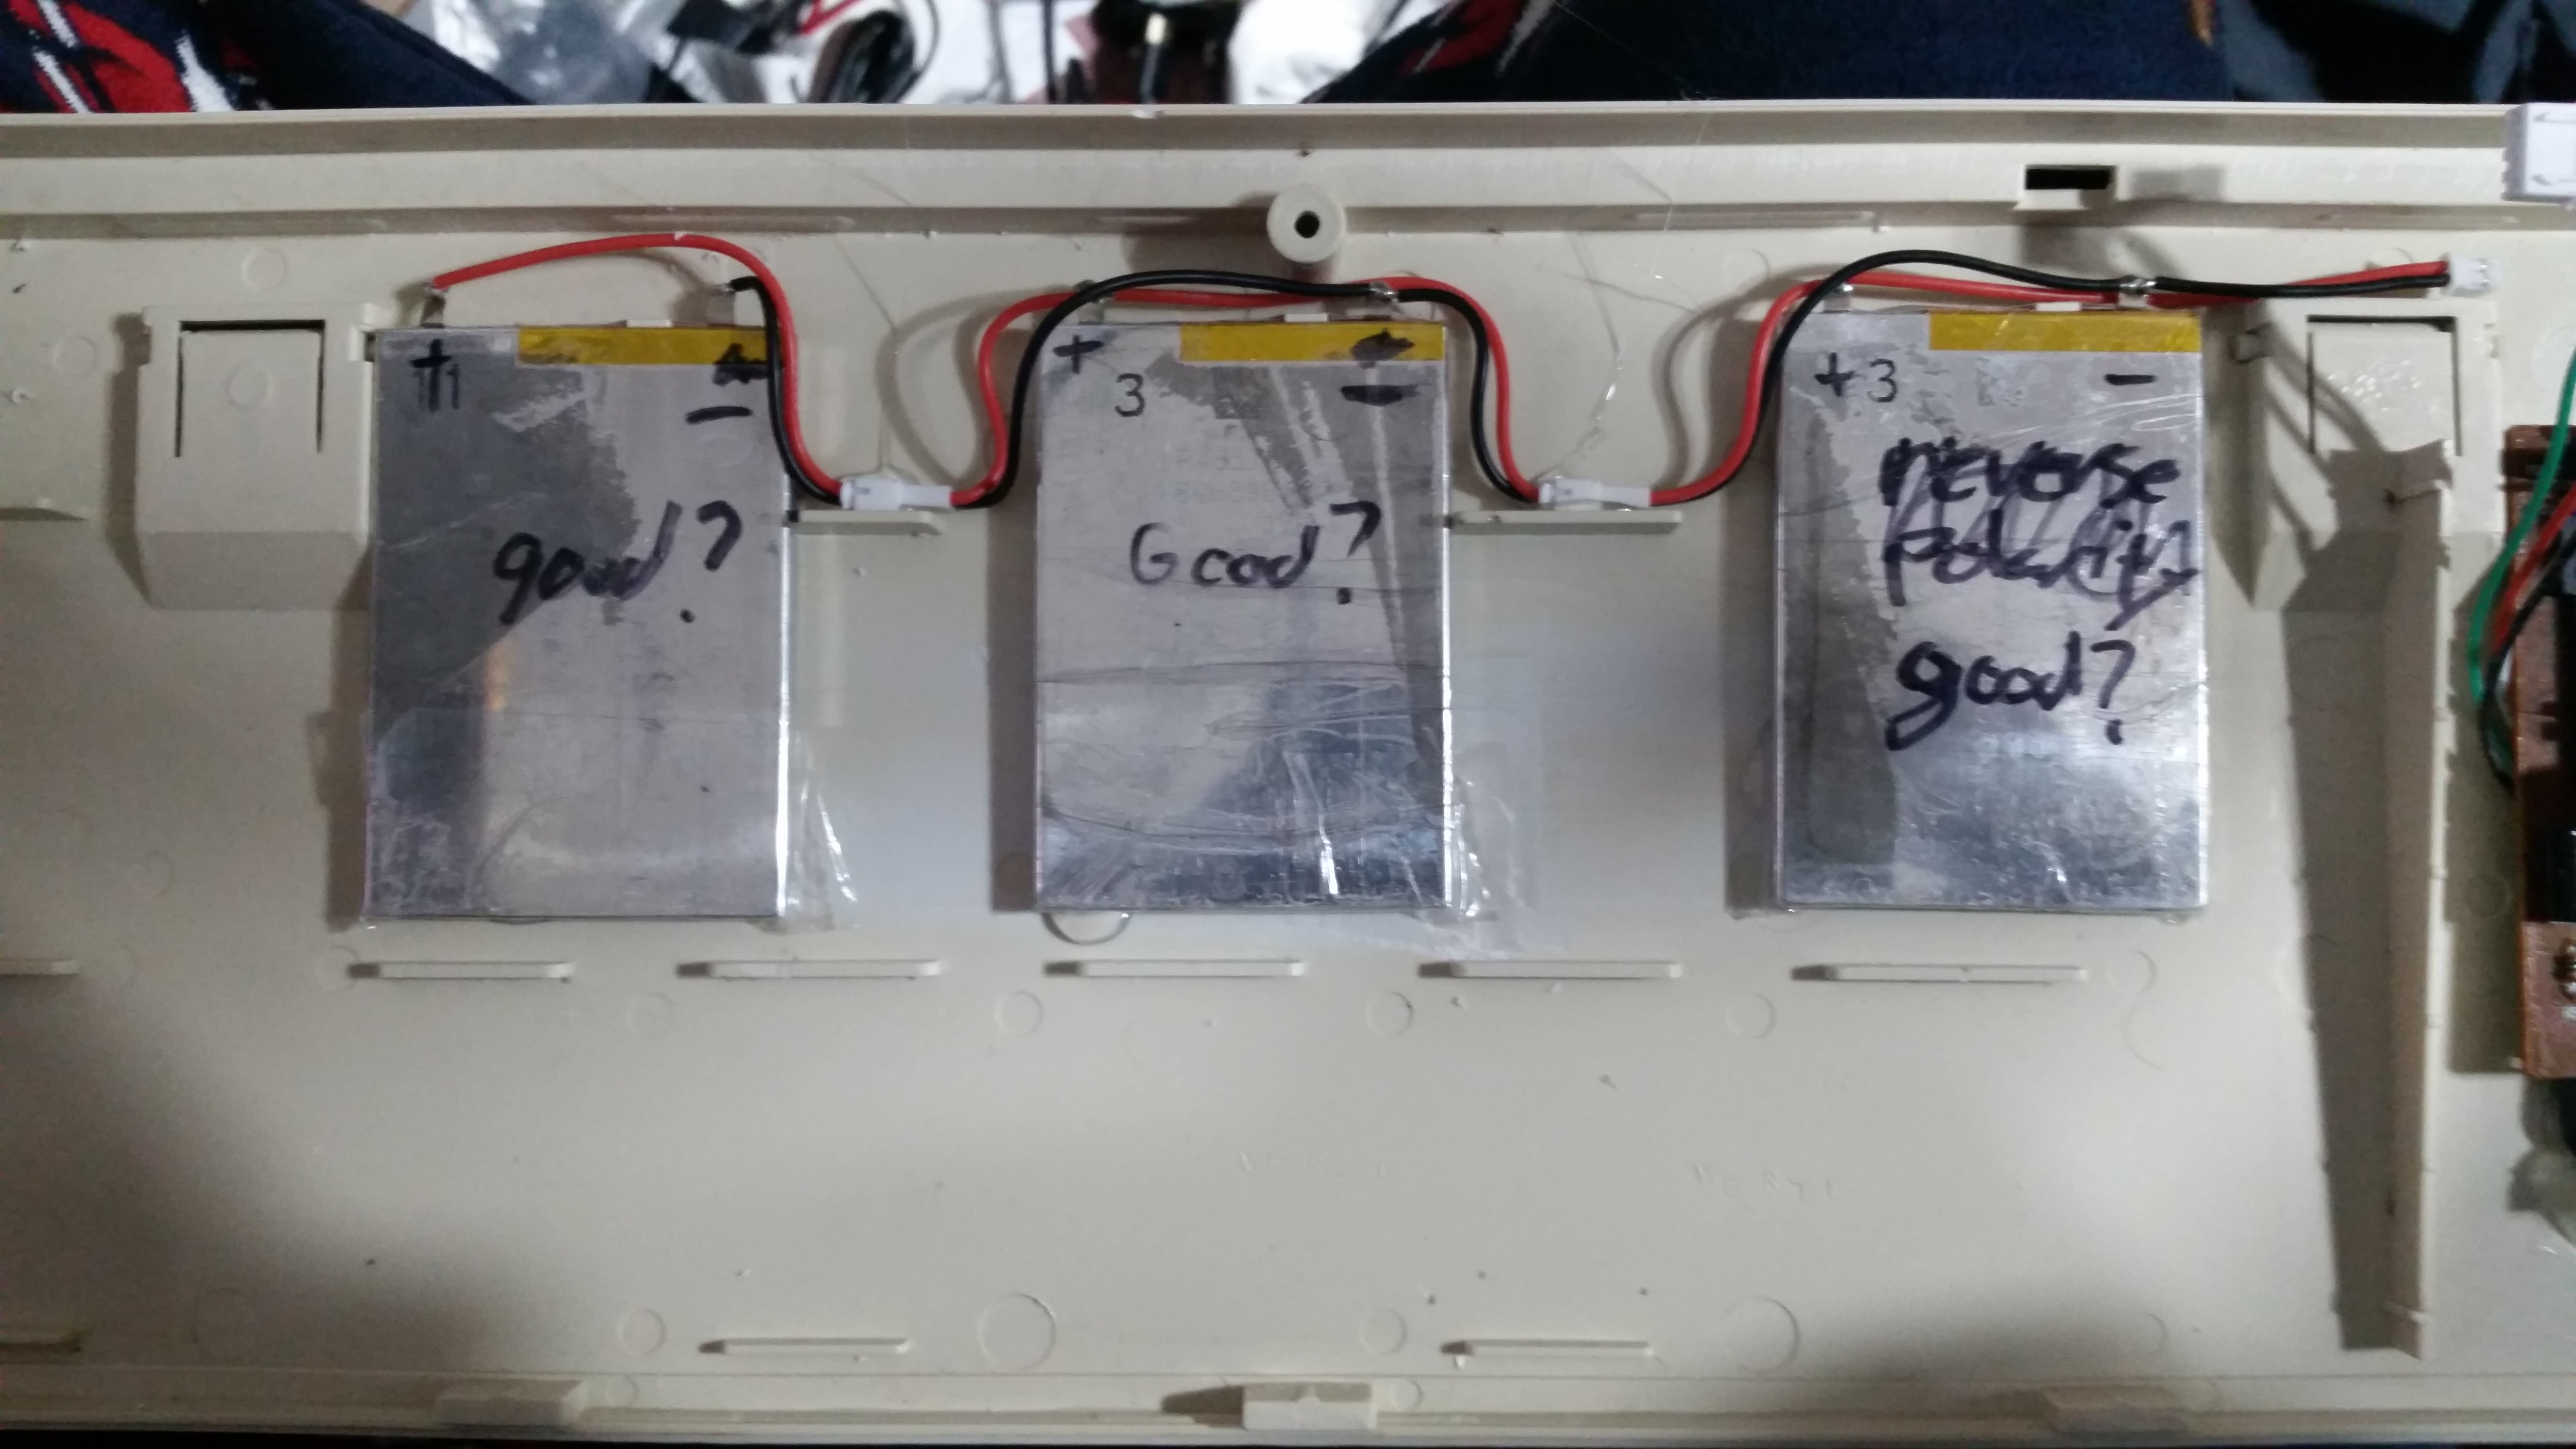
My keyboard was too thin to fit the cylindrical batteries that came in my power bank, so I used harvested Chromebook battery cells from junk packs. I just hot glued them down to the bottom of the case, just below the PCB. Even with these I had to do some insulating and trimming of proud leads on the bottom of the PCB to get everything to work reliably. I used JST connectors so they can just be disconnected entirely when taking the board apart and I can swap different cells in modularly if I really wanted to.
I put my kill switch between the batteries themselves and the power bank because I hadn't played with lithium polymer batteries in parallel before and thought it probably gave me the best chance of not burning the building down in testing, and it should mean less drain on the batteries when out of use, though the plus of putting it between the power bank and the bluetooth adapter would be that you can remove the keyboard entirely from the equation when charging if you like (could do both).
Some battery banks apparently don't support charging of other devices while they themselves are charging, so you may want to watch out for that if planning to use the keyboard while plugged in. In my case, either the current was too low for the bank to care or it did support it (I don't even know). You'll probably want to add some external switches to the keyboard case for the bluetooth adapter and battery bank's functions as well.
My bank came with a white LED meant to be used as a flashlight, which I thought would be cool to mount in the case of the keyboard since I meant it as a HTPC keyboard anyway. I also desoldered all of the status indicator LEDs on the battery bank and the bluetooth adapter and mounted those in the keyboard case. Handy, if desired. All of the wiring for possible LEDs does end up taking substantial amounts of limited real estate in the case unless you try maybe using some ribbon cables.
I think mine turned out pretty well.


