Hey,
Id likes to introduce my debut project. I've been running Logitech keyboards for time (and frankly, I did enjoy them). A year ago or so, my Logitech G810 started losing keycaps, so I decided to get a broken old G810 to salvage parts from it. I desoldered all of the switches (yes, it's as much fun as it sounds), and while doing that, I had this idea of using all the parts that I could salvage from the old board to try to create a completely new keyboard from them.
I aim for a 60%

ISO
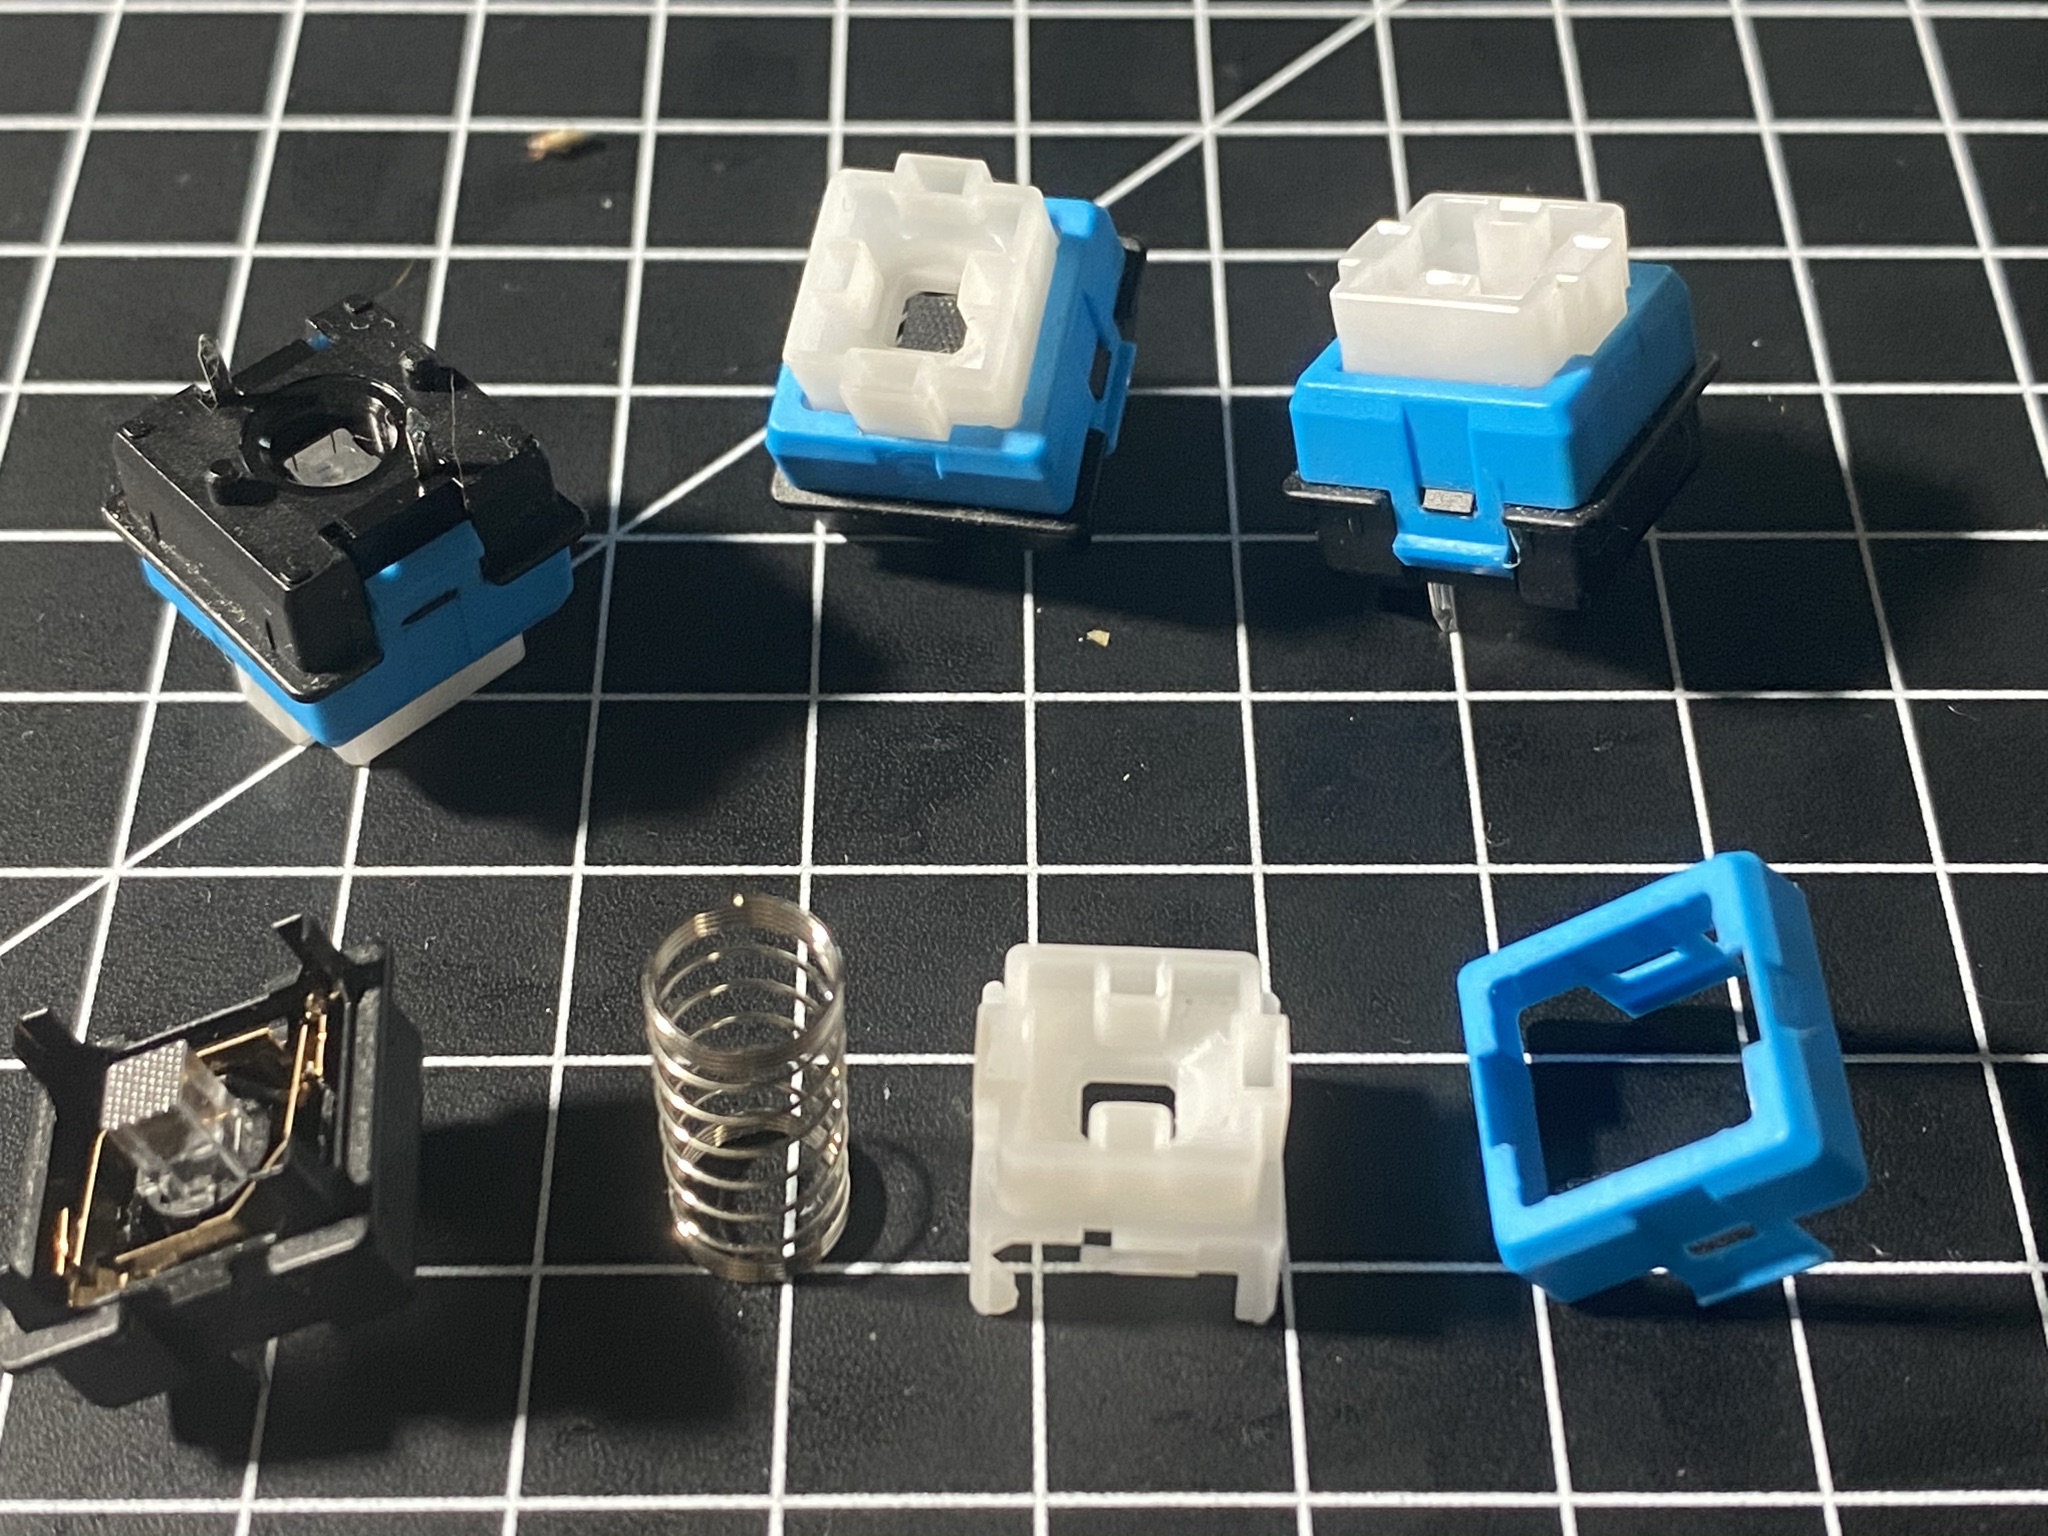
build. I will have to design a custom PCB (probably going to base it on a GH60 or any other open-source 60% board around). The Romer G switches have an O-shaped stem with an acrylic pice for the RGB led's (possibly WS2812b-mini) - I don't want to reinvent the wheel entirely. So if possible, I will try to use a standard 60% case and plate. However, I will try to improve the sound and feel as much as possible (lube all the things!).
However, wish me luck, and ill try to keep this post updated.
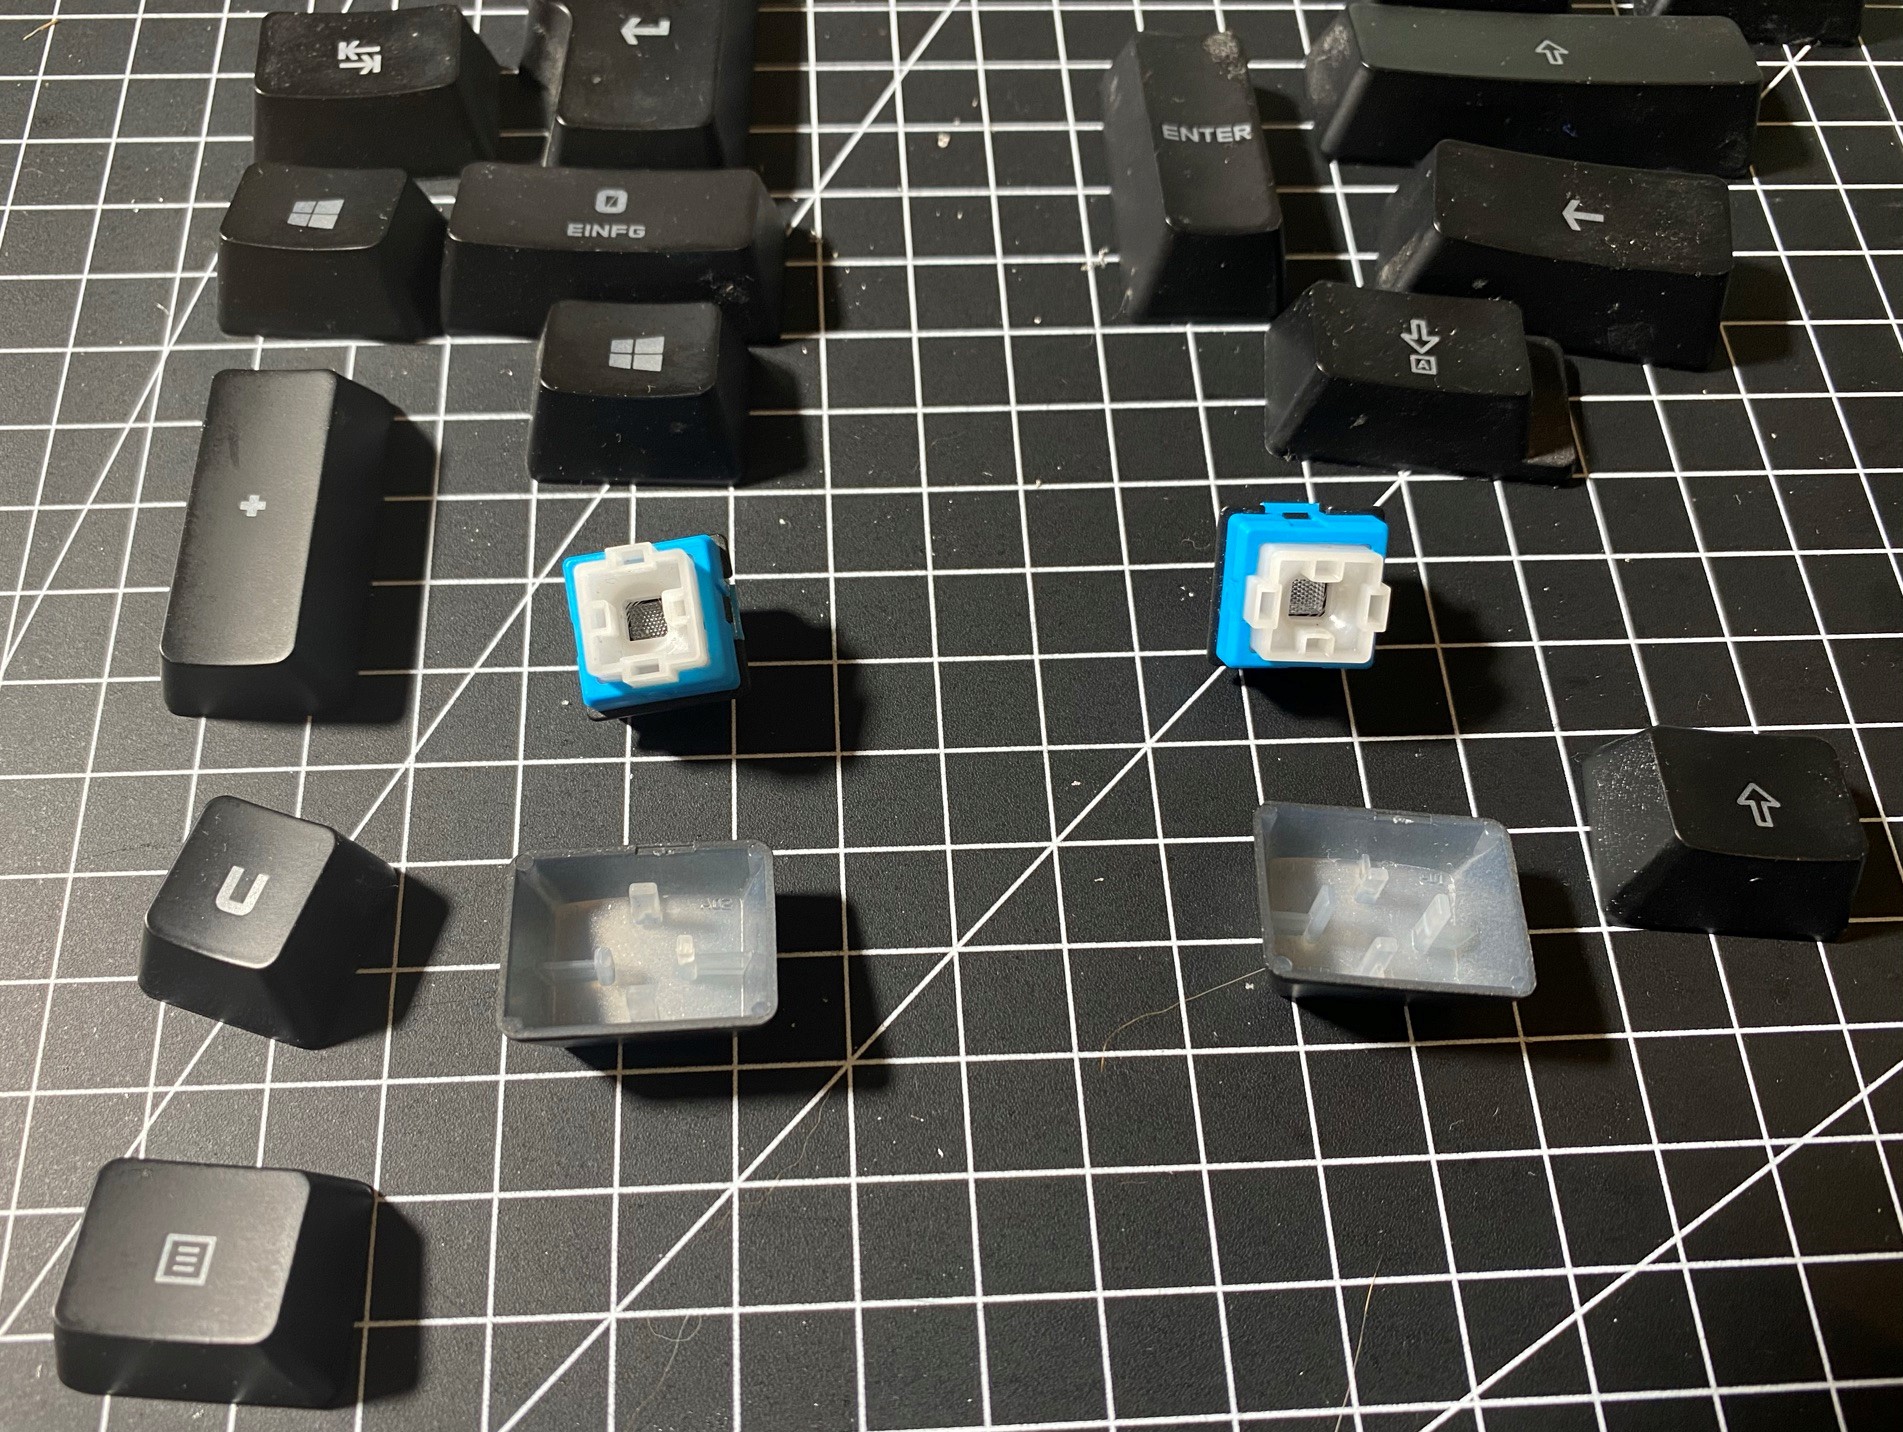
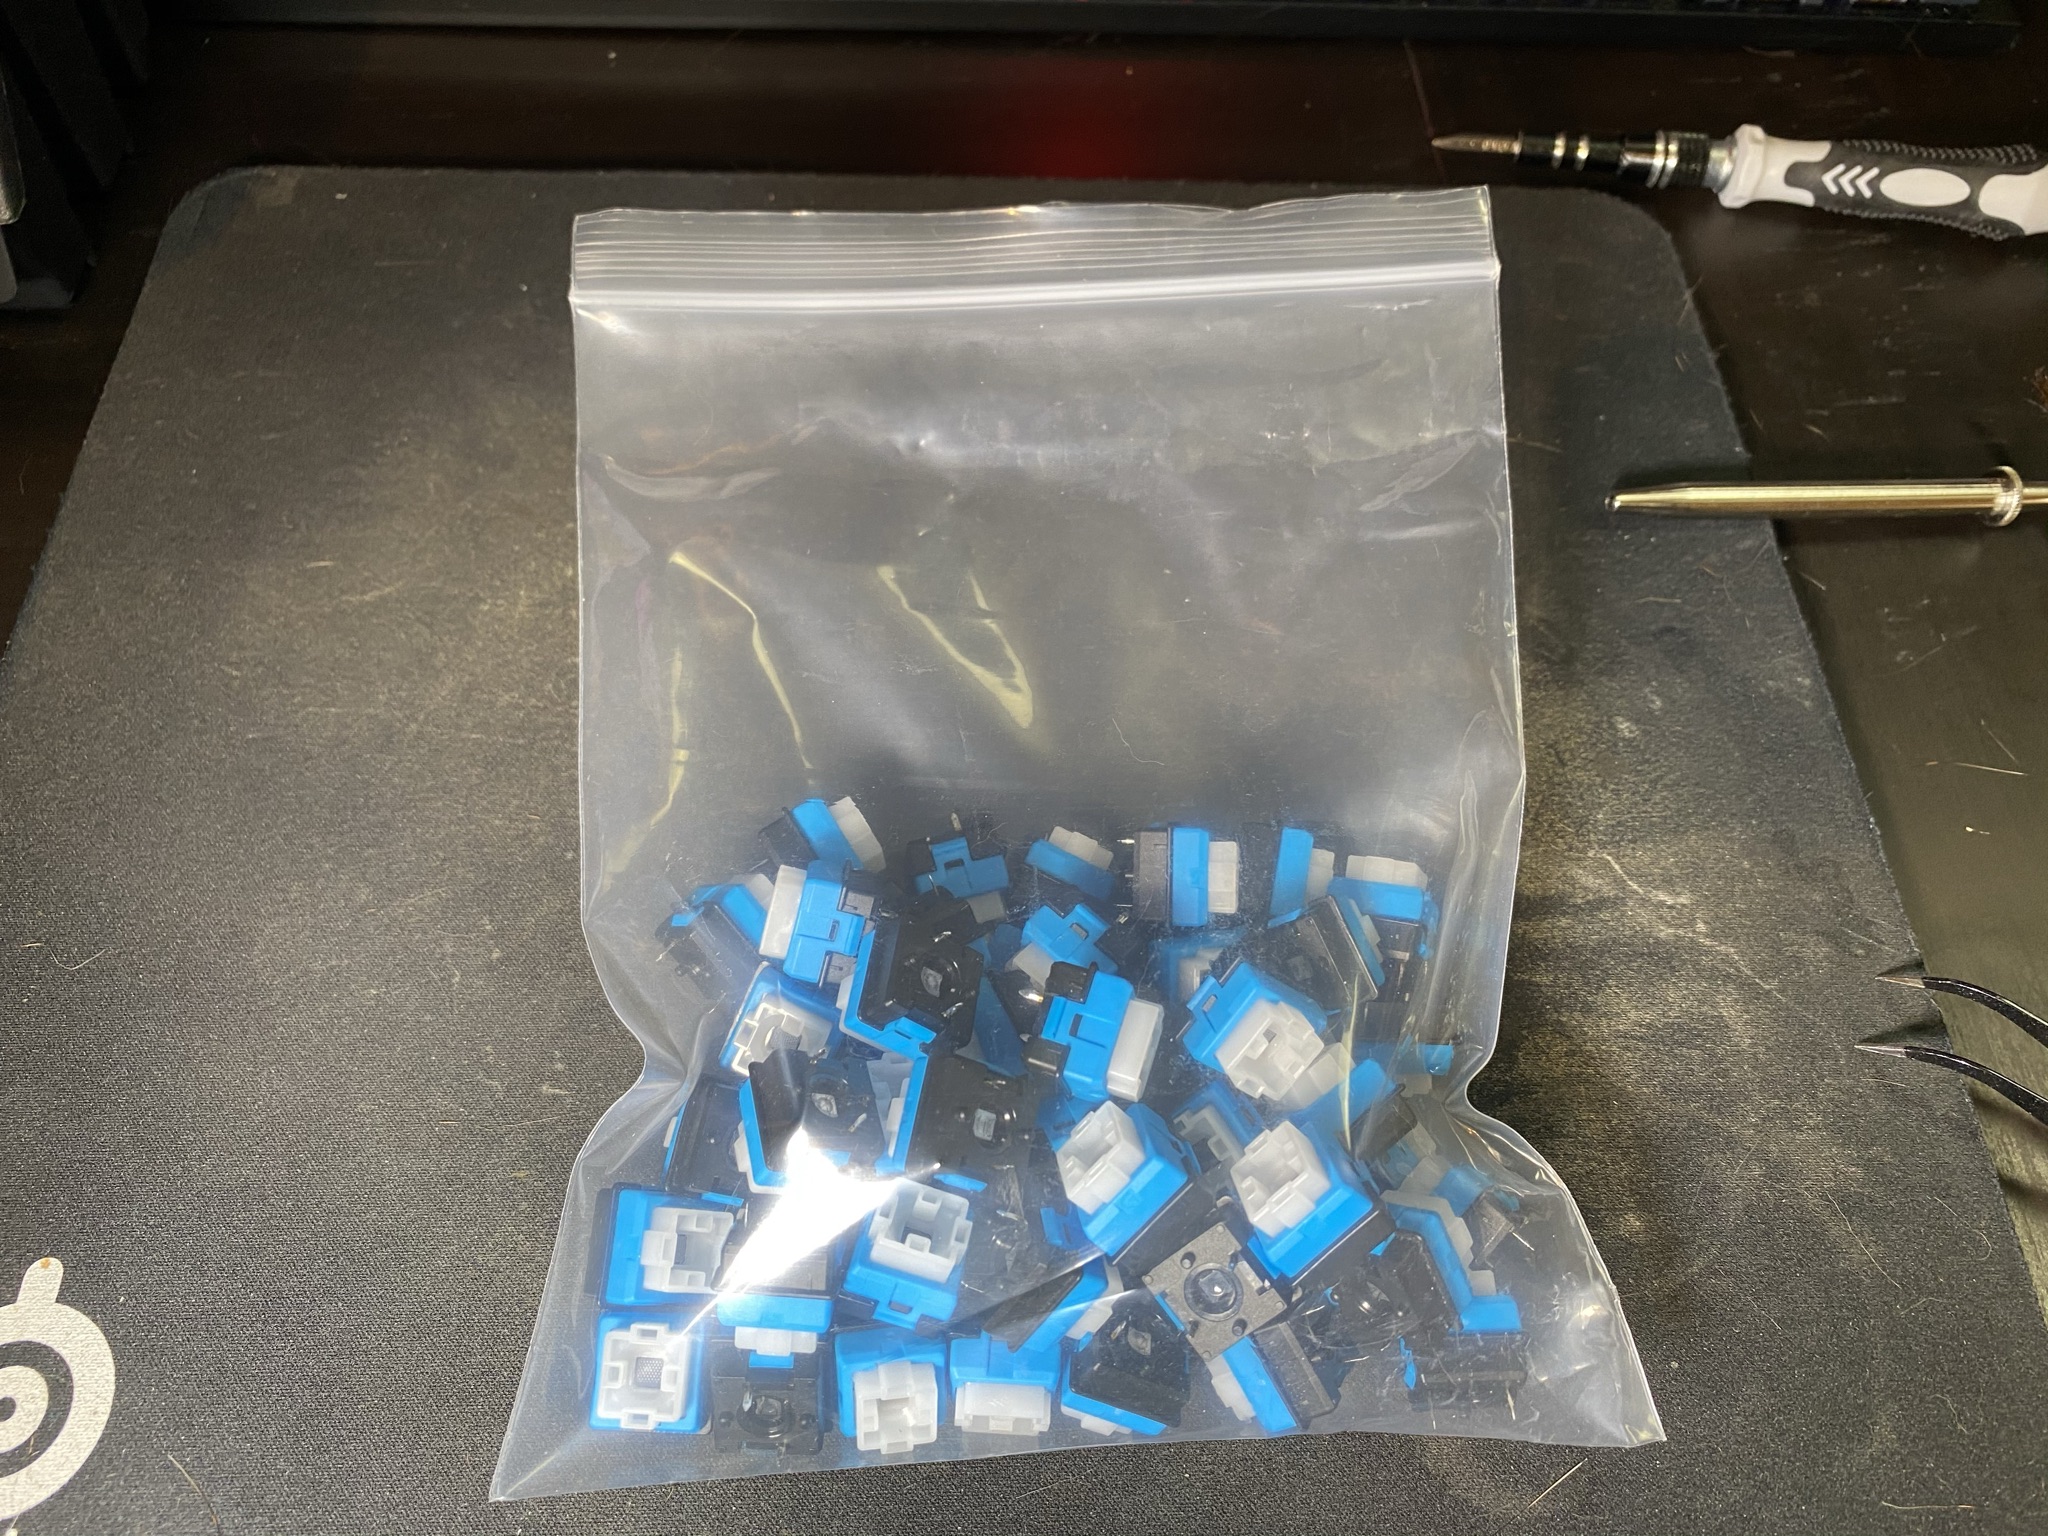
Cleaning :S
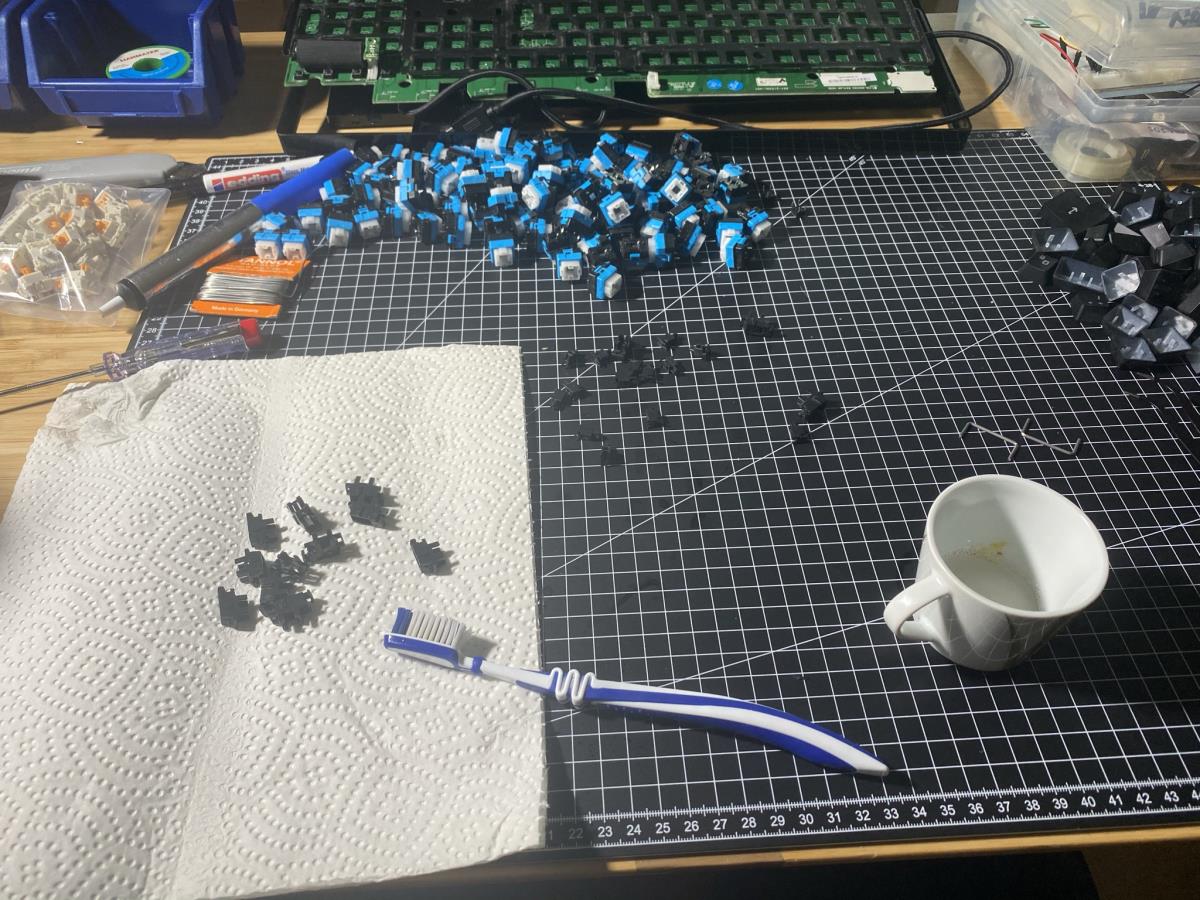
Yes they are blue, no they are not clicky (those are tactile - well in terms of Logitech tactile)
11/25 25.11;): Things are getting strange...
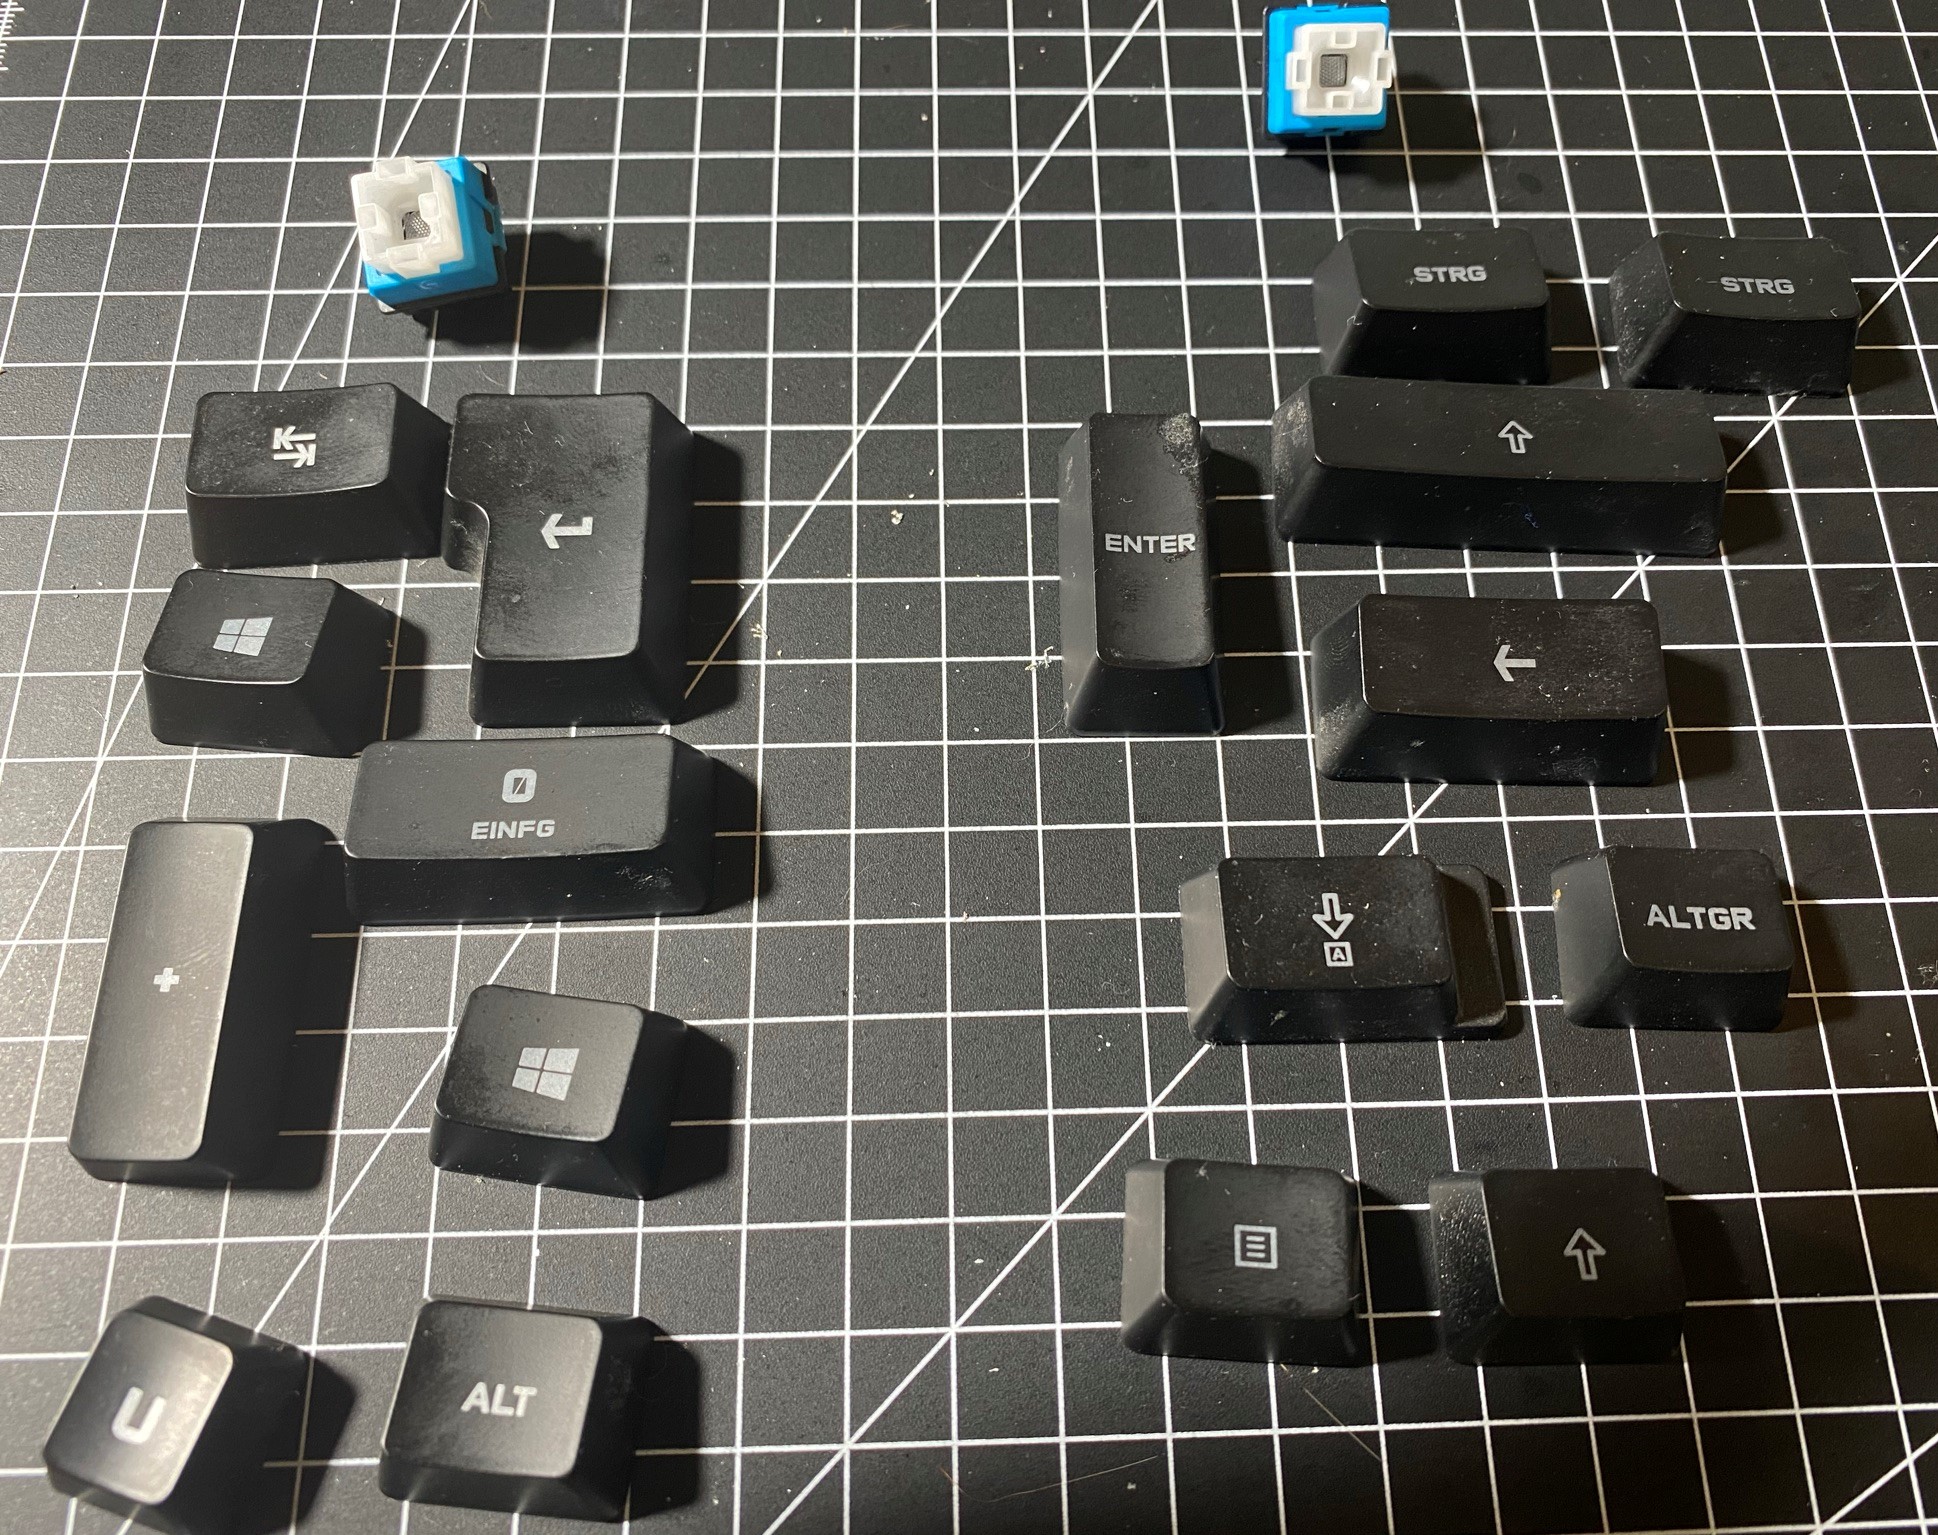
It turns out there are like 0 3rd party keycaps for Romer G Switches, which lead me to the decision to use the stock keycaps. Upon checking them, I saw that the little pieces that sit in the stem are rotated on some of the keys. This is something I have to take into consideration when designing this part of the PCB

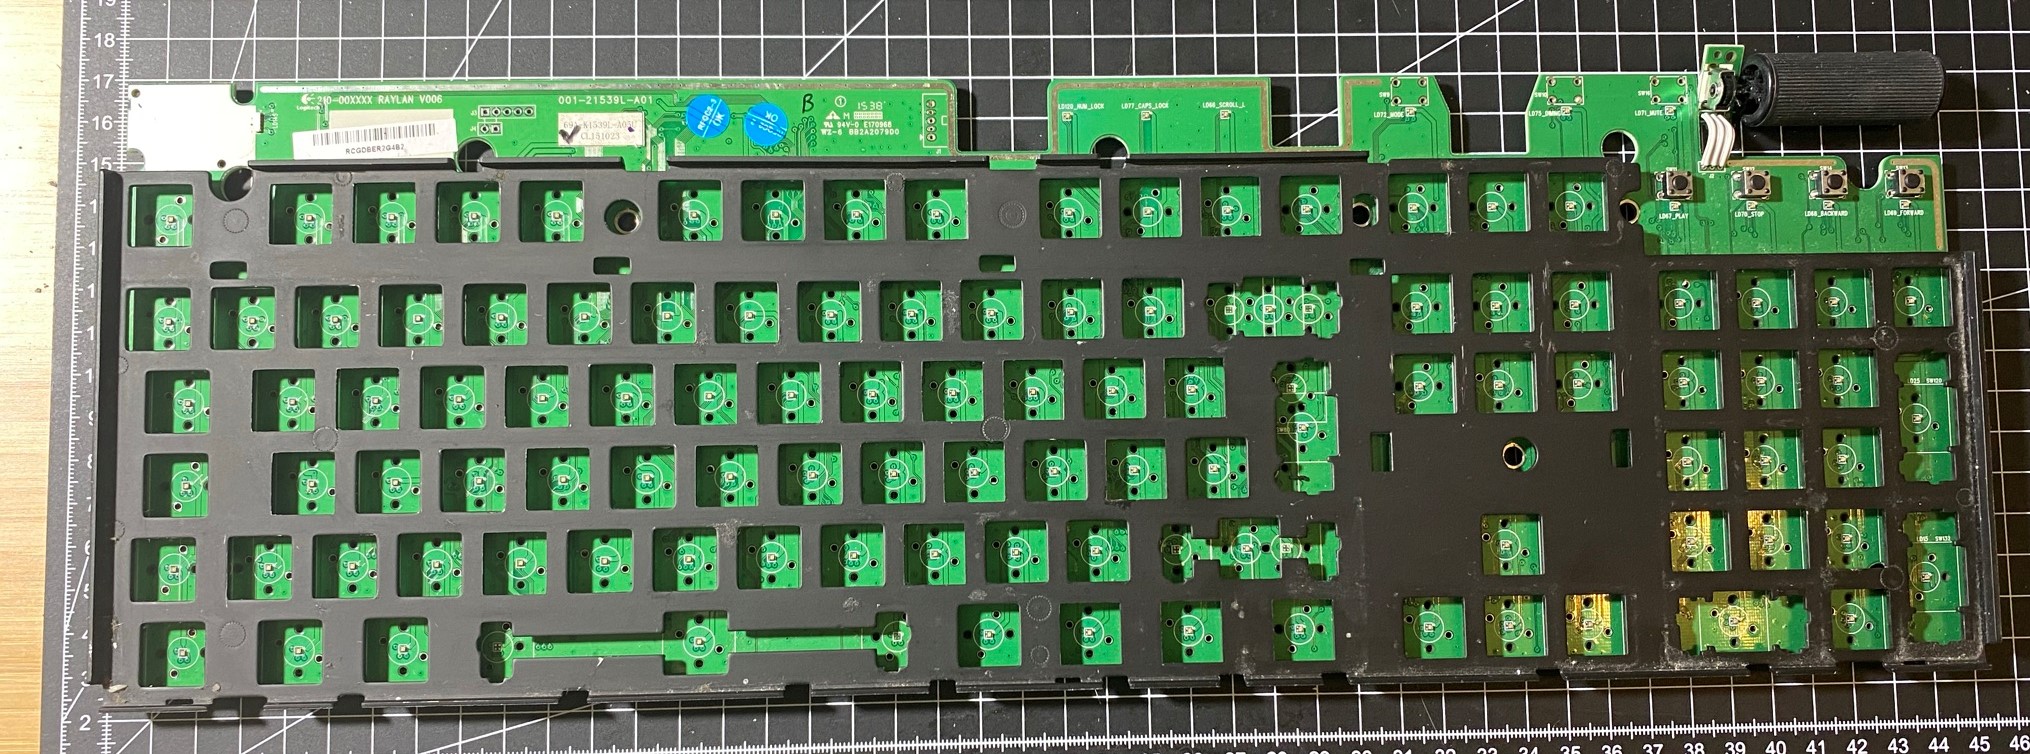
A bonus here is that the G810 comes with a robust plate that I can probably salvage and rework with a Dremel to fit my needs
11/26 - 26.11.:
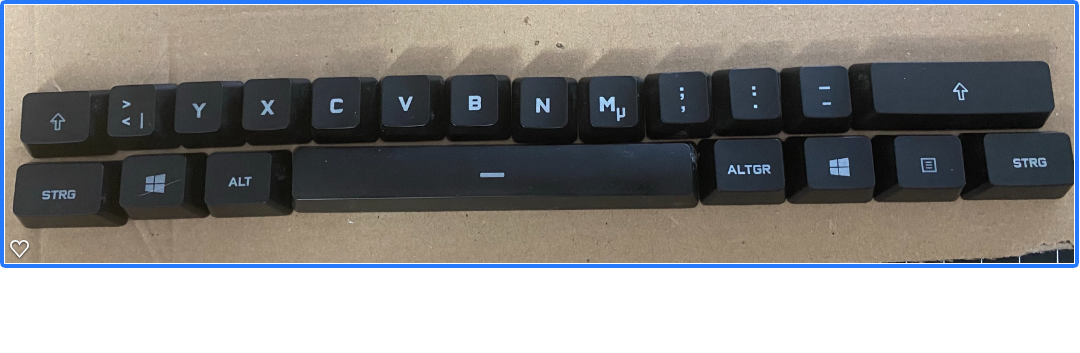
Stuff is getting weird. Been playing with the KLE tool, so I have a visual representation and the correct U sizes for each key. I noticed that Logitech uses a little padding between cols in different rows.
This is the 4th and the 5th row. They need to have the same size on the board, but in kle, there is 0.25U missing in the 4th row.
This leaves me pretty unsatisfied, but until my Calipers arrive, I at least can work on the schematics.
11/27 - 27.11.:
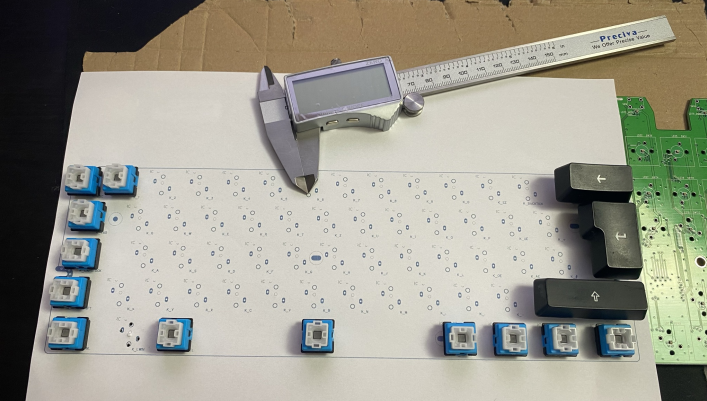
To test if my PCB layout would fit, I came up with the idea to export the whole thing to an SVG and then print it. I used the original PCB alongside my print to test if all the holes fit... And first, try - EVERYTHING DID FIT!
11/28 - 28.11.:
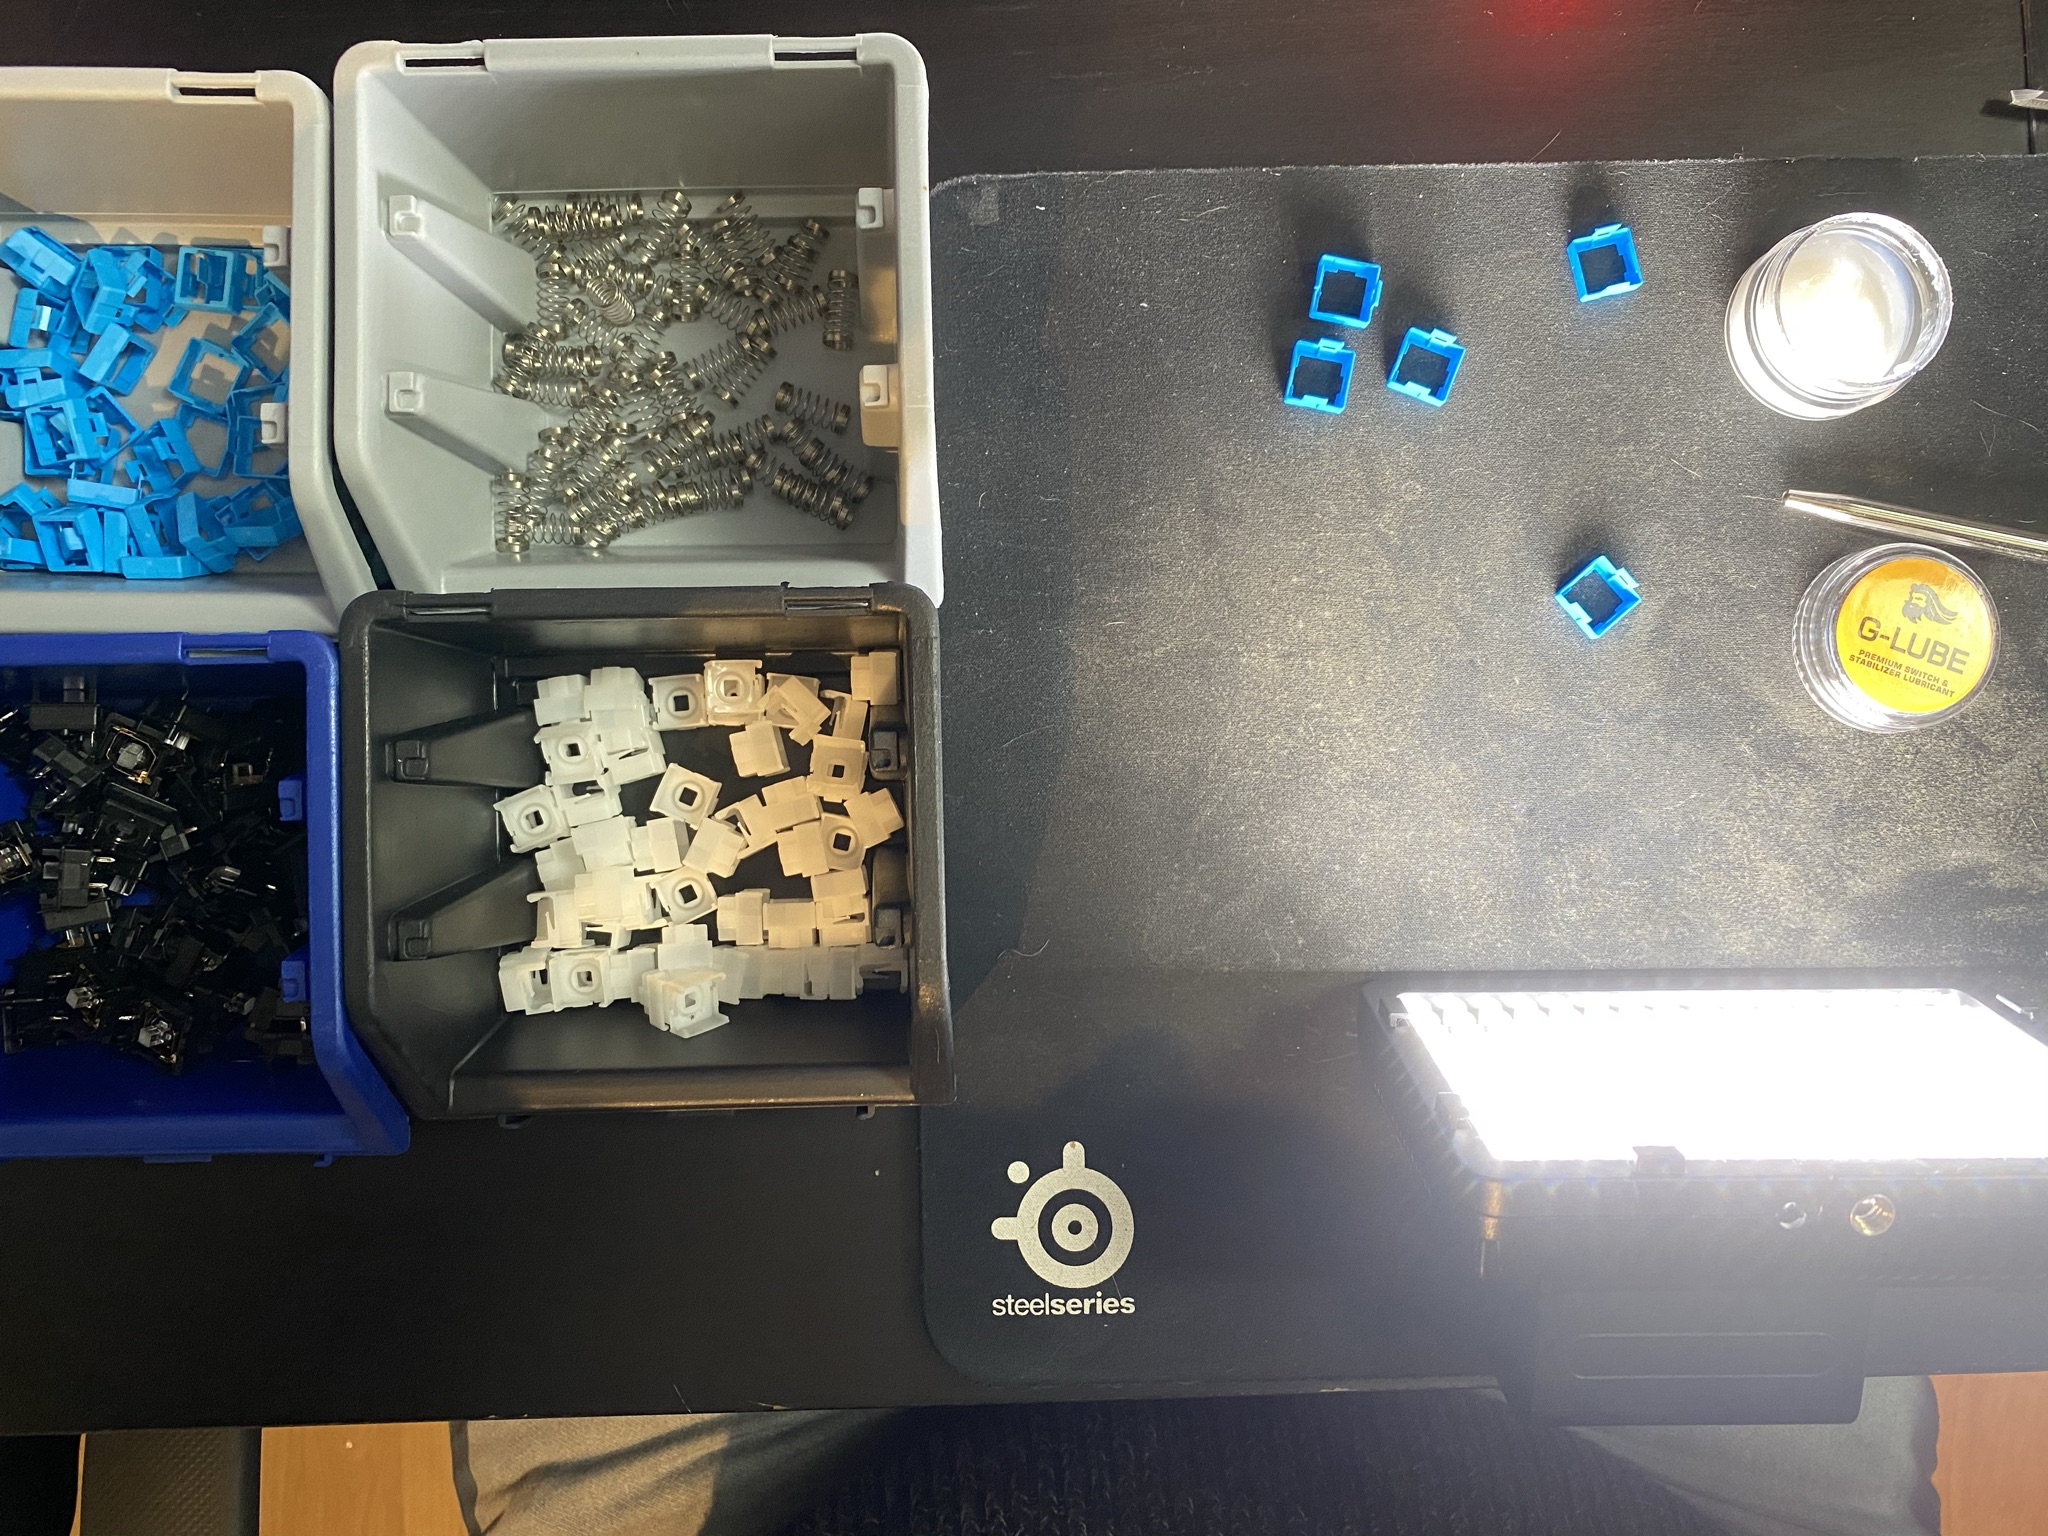
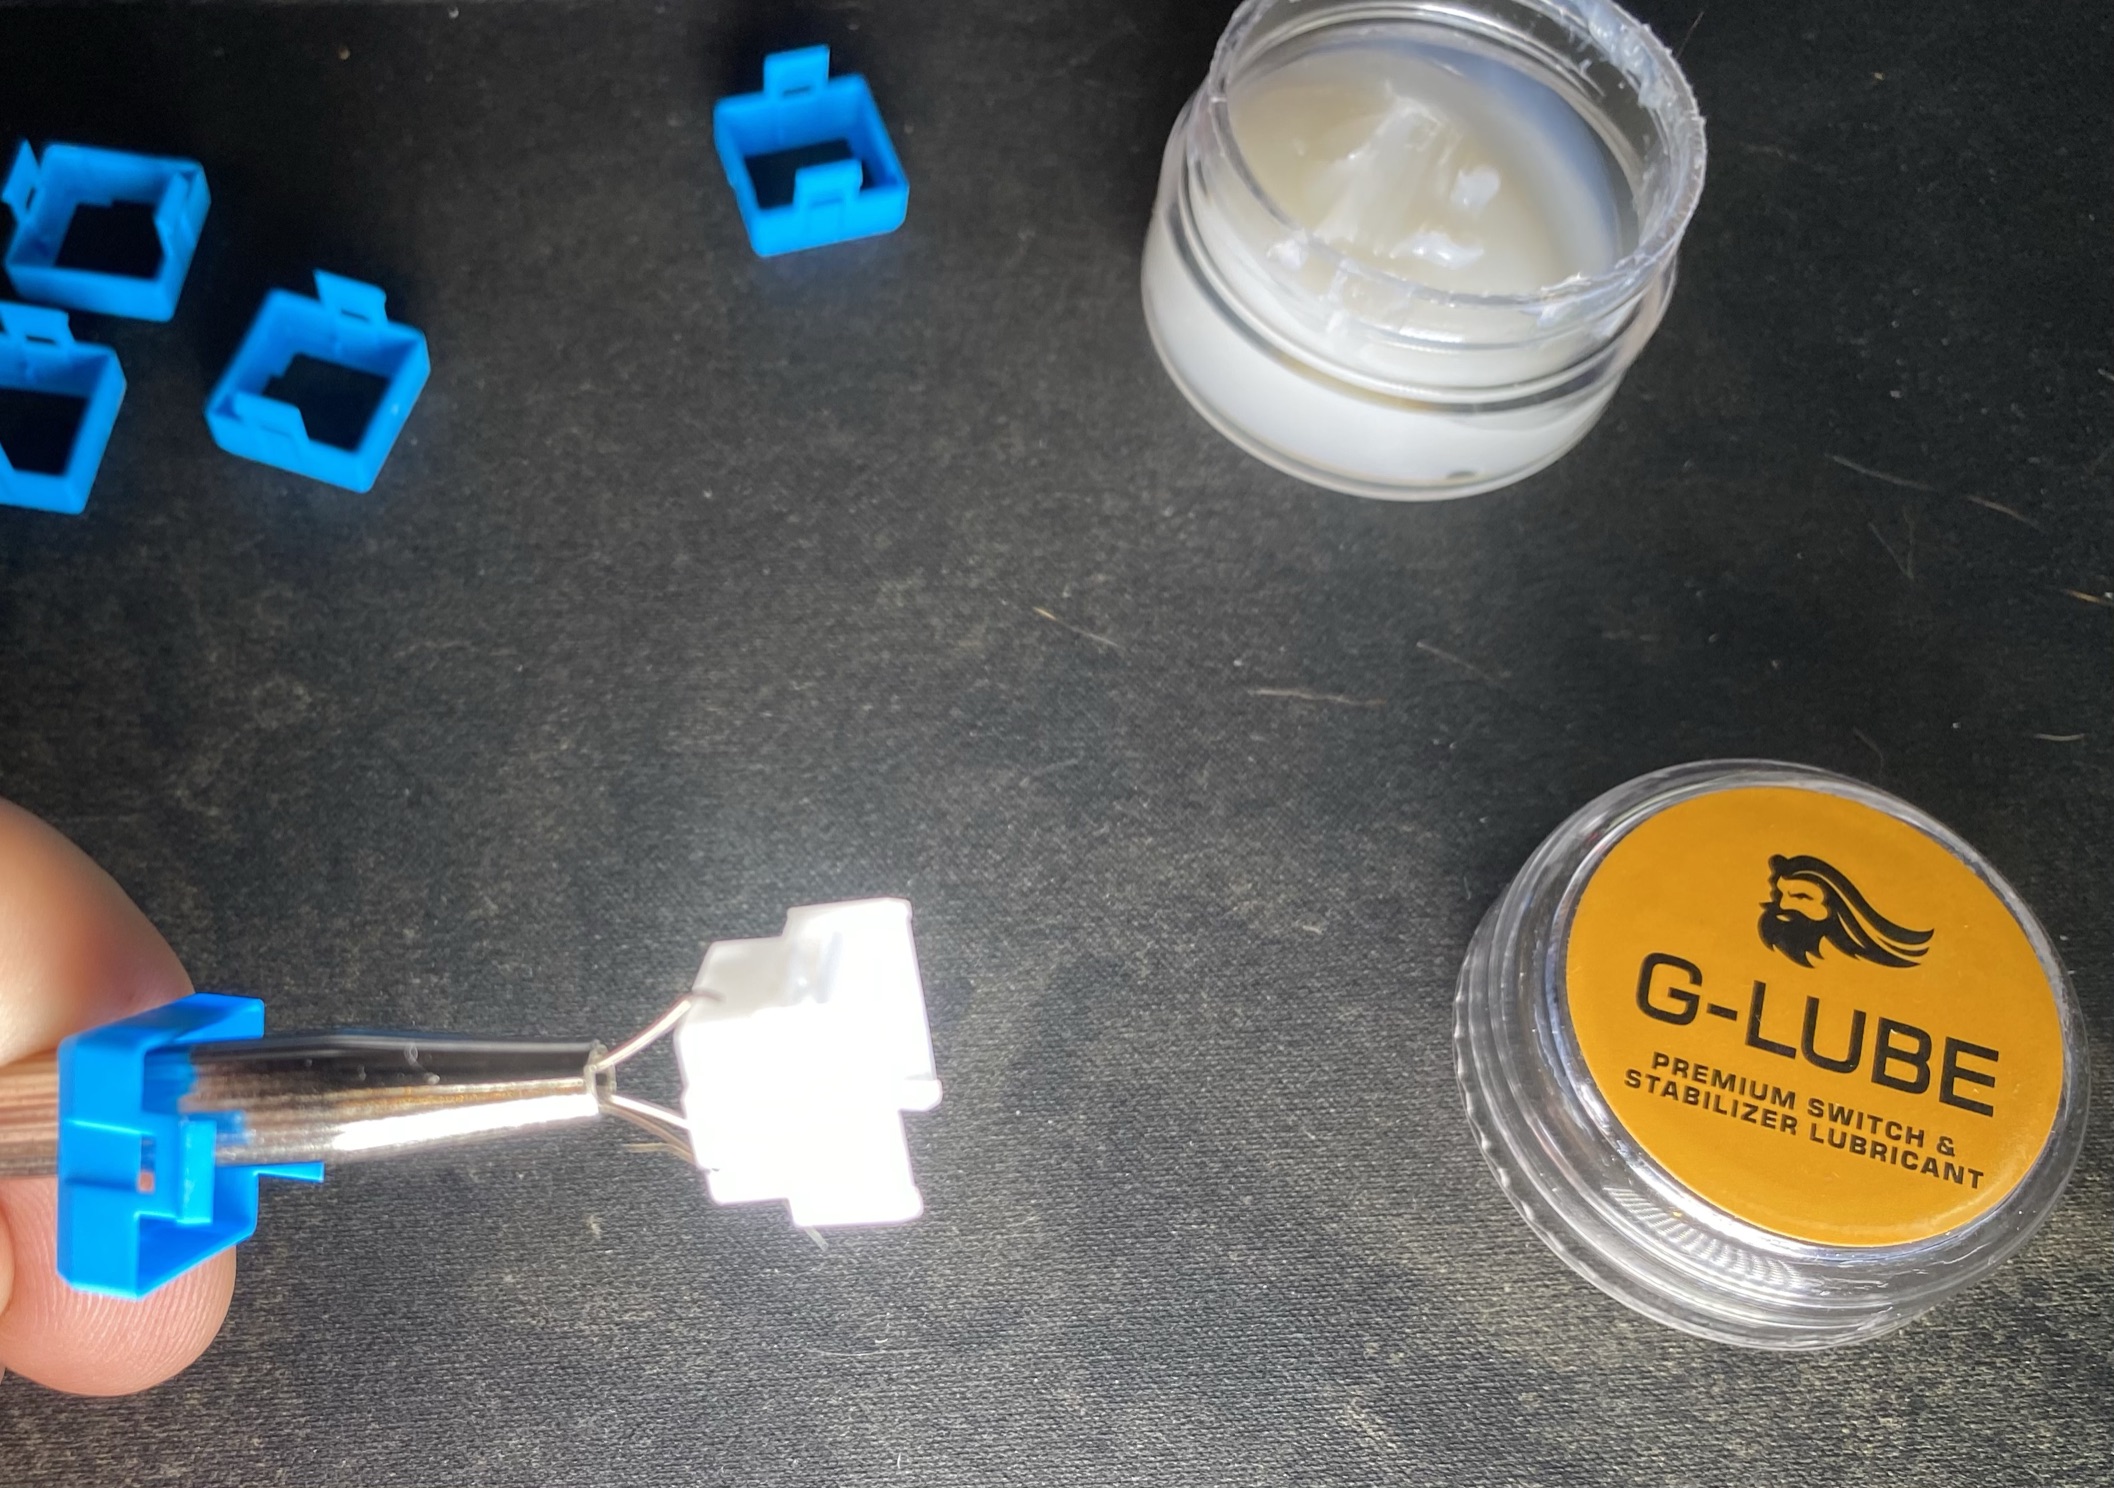
I decided to lube the switches today. I used the GM G-Lube for the switches, because you know its the Logitech G, Romer-G switches

. The process was indeed tedious and took around 3 hours for 62 switches. But in the end, they turned out really well. There is a clear difference in sound. All the rattle, scratch, and spring noise are gone. So I consider this a win.
Once my 3D Printer is not running, and I find a little time, I will upload an audio sample of the lubed and unlubed switches
11/30 - 30.11.:
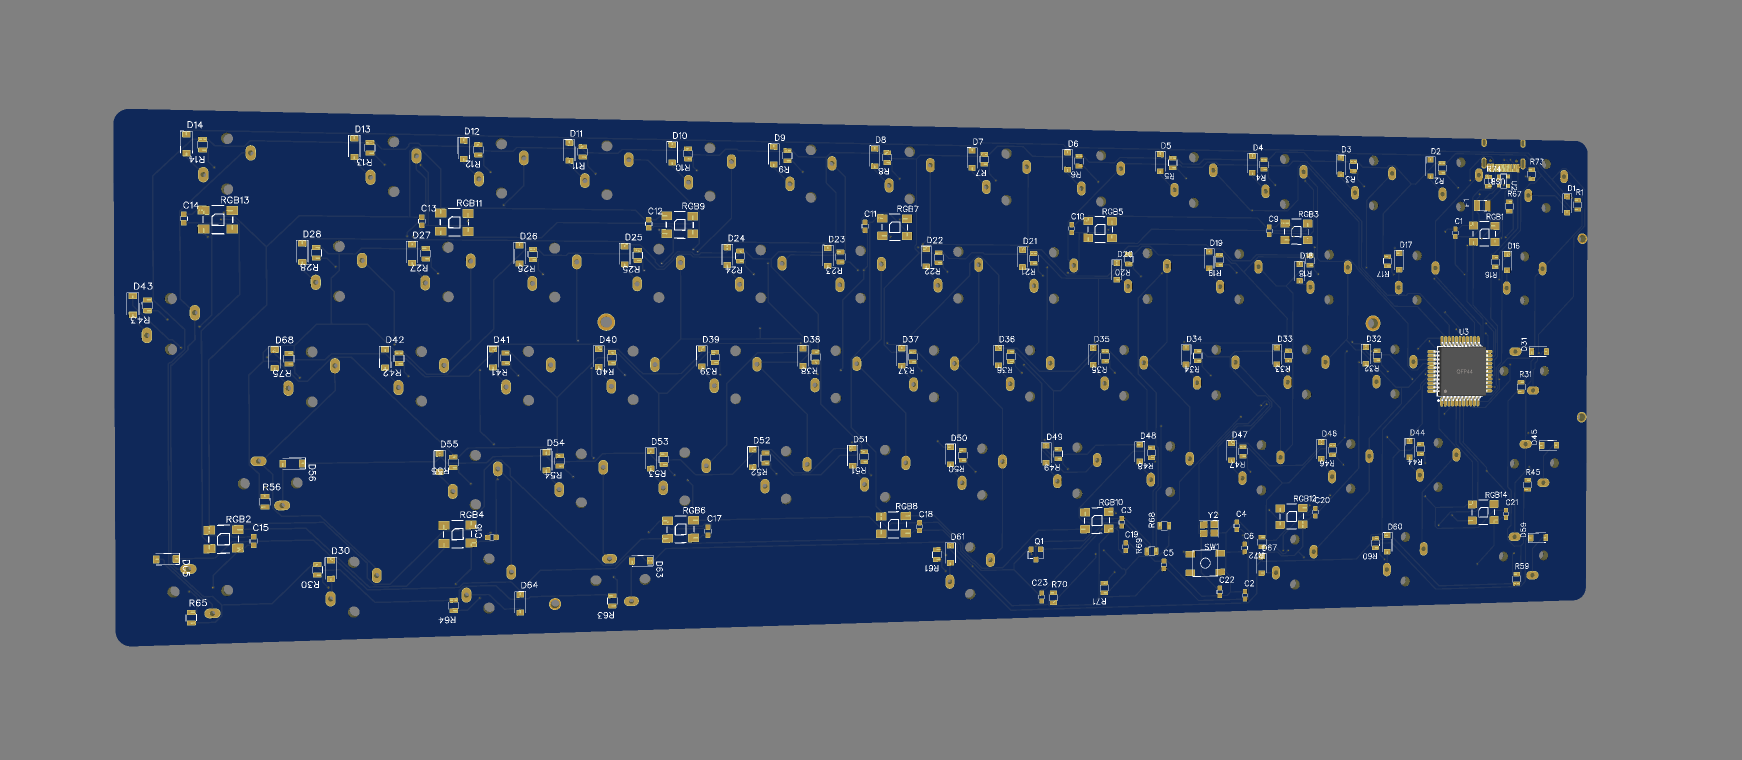
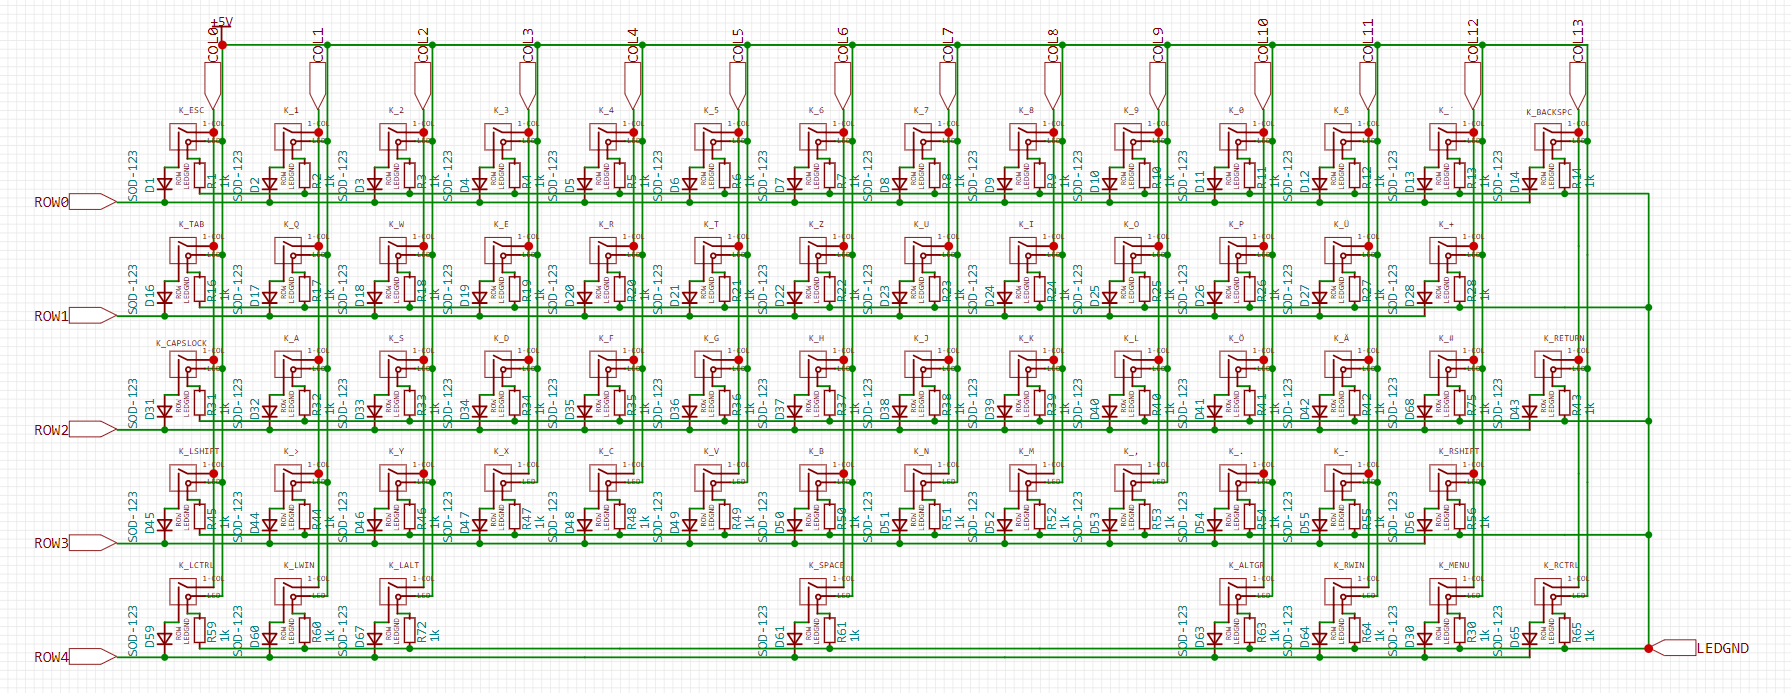
I finished the PCB design today - I have no clue if it will work. I placed the order... Time will tell if things work out