old thread:
http://geekhack.org/index.php?topic=23722.0====================================
So I figured to start a new thread on this topic since its been so long. I've also seen a few other try doing some DIY caps.
I will be updating this regularly as I test out new mixes.
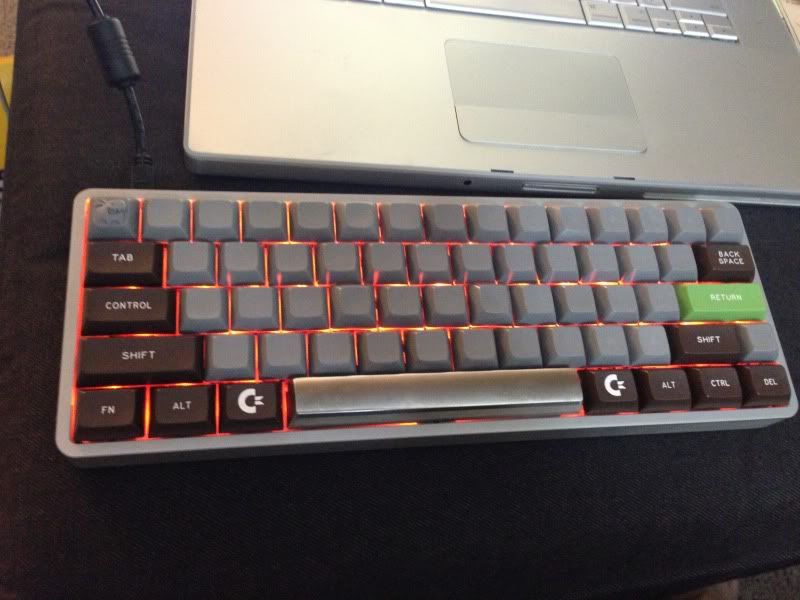
using 2 molds of a modified DSA cap, I was able to make an entire set of thick DSA for my DOXish
Materials for casting:
TASK2
Crystal clear
Materials for dye:
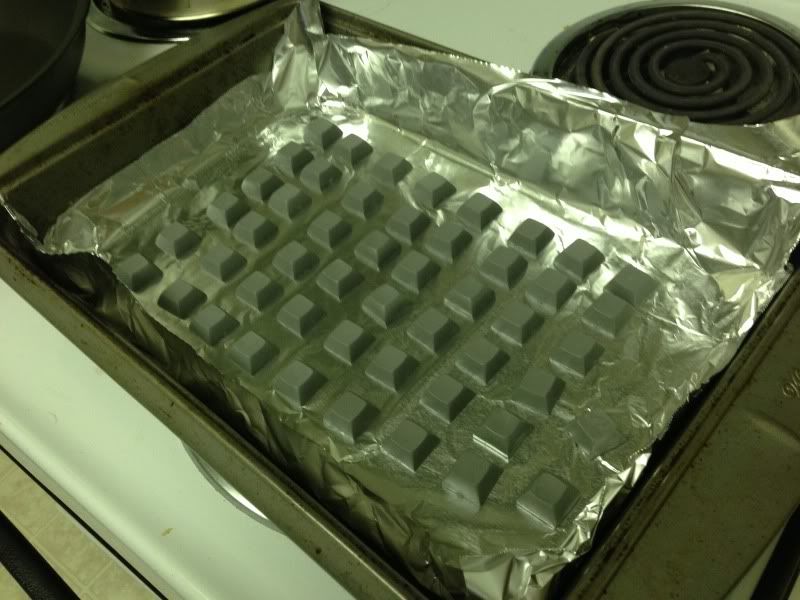
Post curing:
TASK2 and other high strength urethanes gets improved strength. The instruction says to let the item cure for 60 min at room temperatures first, than heat it to 150 degrees for 4 hours to improve thermal resistance and strength
what I've found is given the small size of keycaps, whatever reaction needed for the curing process does not occur as quickly as advertised, if you follow this post-cure instruction you will end up with warping and bubbling. I waited 24 hours before I headed the keys.
I'm hoping those who are doing this would be able to share their successes and tips that may help others who wish to attempt this succeed.
and please note, I do not support casting and copying other people's designs, please, original works only unless they are for you own personal use.


