So its kind of my thing to make my own stuff whenever I get into a hobby, so keyboard wasn't so different either.
I've started out plain, going to try different dyes and maybe even transparent ones (with dye.. mmmm translucent red here we go!)
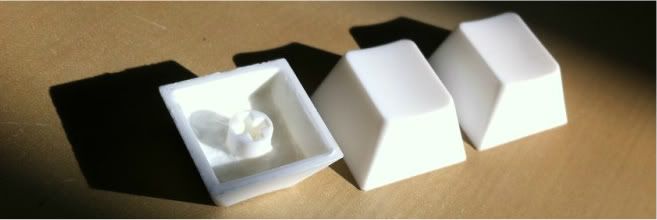
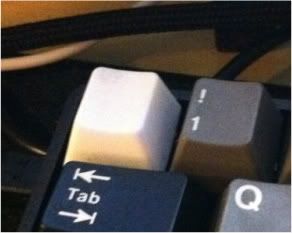
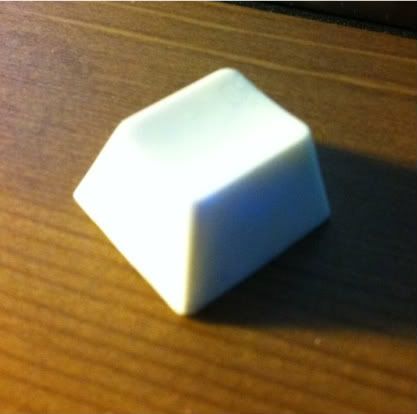
Here's the product of 2 attempts so far, I will be making another mold with things i've learned from this one to hopefully get an even cleaner impression.
 Good tutorial on how to make the mold w/o equipmentsHere's a good tutorial on how to cast parts w/o equipments
Here's my experience for making your own mold and casting a resin (polyurethane?) cherry MX keycap.
Before we start, remember Safety first! Get some mask, eye protection, gloves, and some clothing that you dont care about. This stuff sticks eveywhere, and can irritate the skin if stuck to you for too long.
What you need:
- protective stuff (glove, mask, goggles, etc)
- a small container (about 3x3x3 inches should be fine, i'm using my ipod nano's plastic box it came in)
- 2x paper cups
- A metal spetula (make sure never use this for icing cakes ever again)
- Clay or green stuff
- The keycap of your choice, if you do this right, it should not get damaged.
- Vaseline
- stirring rod and toothpicks

This is where I got the molding supplies: [URL=http://www.alumilite.com/products.cfm]here[/URL]
Some tips I can give you from my experience:
DOs:
- Find a leveled table, it will make your life sooo much easier.
- Good lighting is important.
- Coat the 1st half well with vaseline, or it WILL get stuck to the other half when you pour it in.
- When casting the resin, take a toothpick, and pre-fill the whole where the stem goes, make sure you remove all the bubbles! this is important if you want a good fit.
- After the 1 hour cure time for the resin, put it in the oven @ 150F for 30-45 min, this will help harden the thin sections. Let the mold sit, and do not disassemble it until it is 100% cooled, or you may warp the cap
- take pictures if you try this! I want to see you guys do it :D
DON'Ts:
- Don't rush
- Don't poke at the mold after the plastic is in -__- you will get some odd looking caps, trust me...
- Don't forget to wear gloves!!! Part of my thumb is peeling know because some of the catalyst got on it during my first attempt (without glvoes)
1st you need to get a silicone casting putty or mix, i used the mix, find a small container and also get yourself some clay (play dough, or if your into miniatures, green stuff = awesome)

Next, you mix the silicone, and mix SLOWLY so it does not bubble up, i've screwed up 2 mold casting so far going too fast, bubbles on the keycap surface = *sad face*
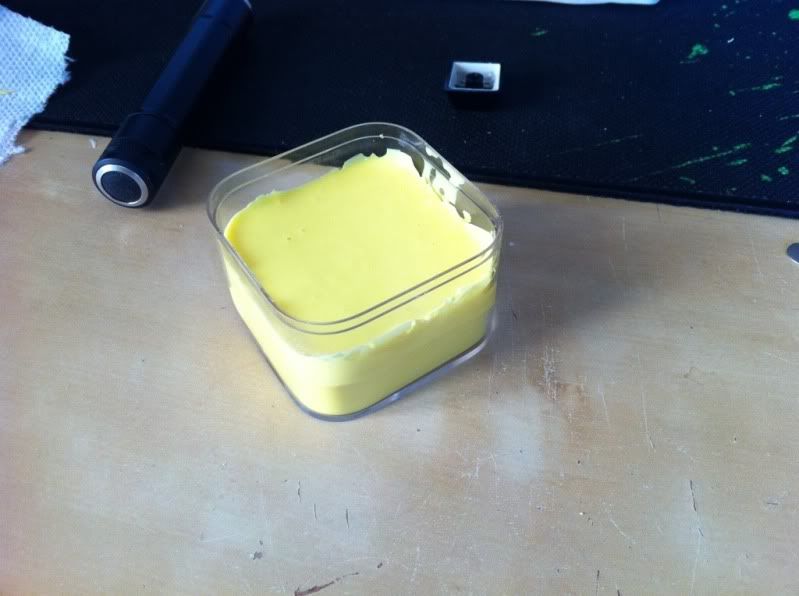
Let it sit overnight, then dig it out of the container carefully, leave the keycap and the stem in, but remove the little dots
flip this silicone mold upside down, and shove it back into the container, this is going to be your lower half of the mold, we will be doing the top half now.
Make sure the entire surface is covered by vaseline, even the inside of the stem!! (very important if you want to have a clean mold)
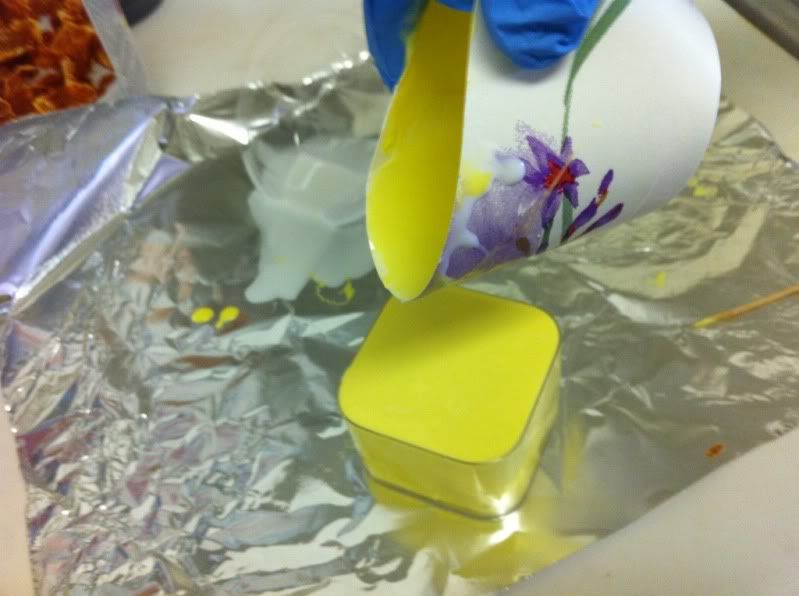
Do the same thing as earlier and mix another batch of silicone and pour.

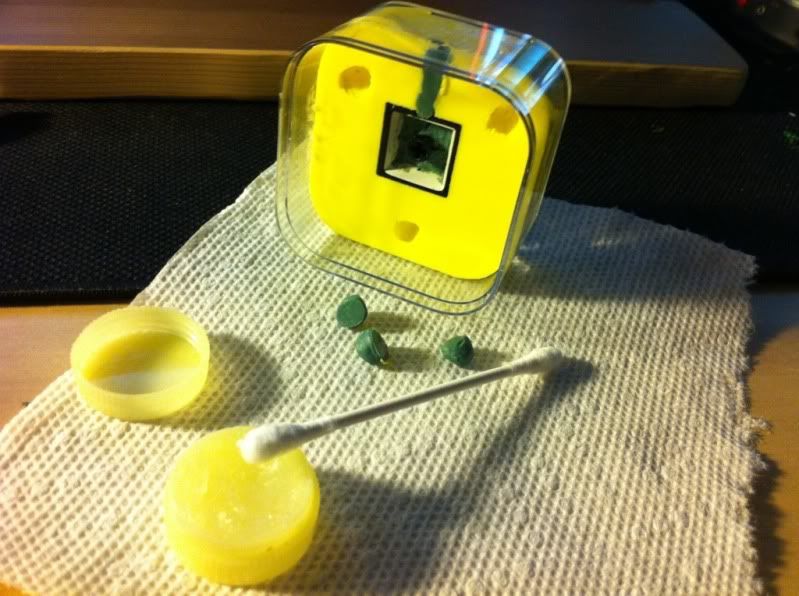
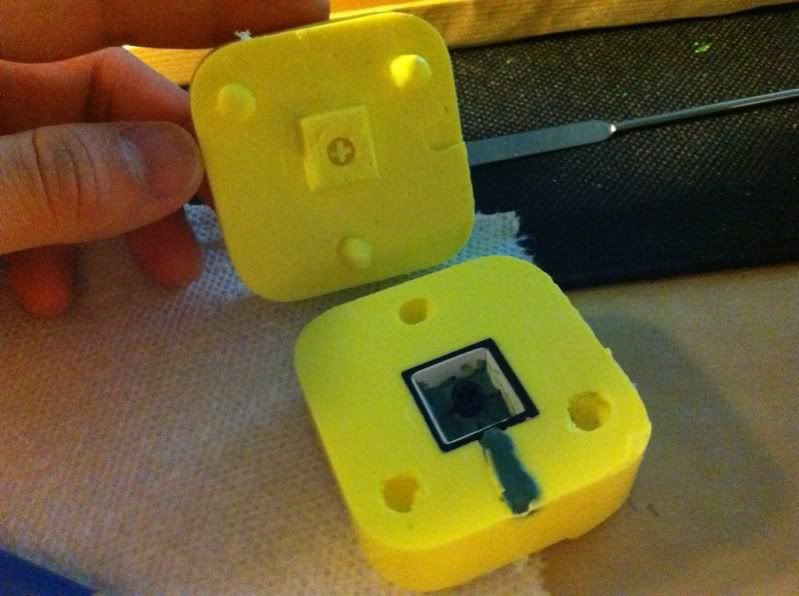
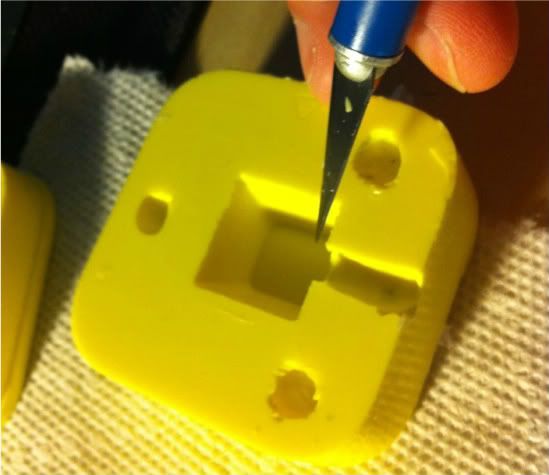
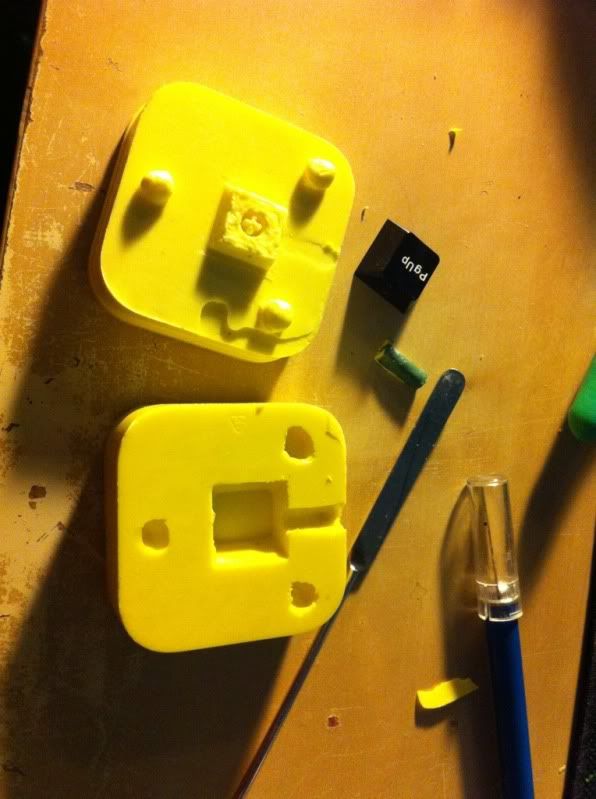
let it sit overnight, and then carefully take the whole thing out, you get this:
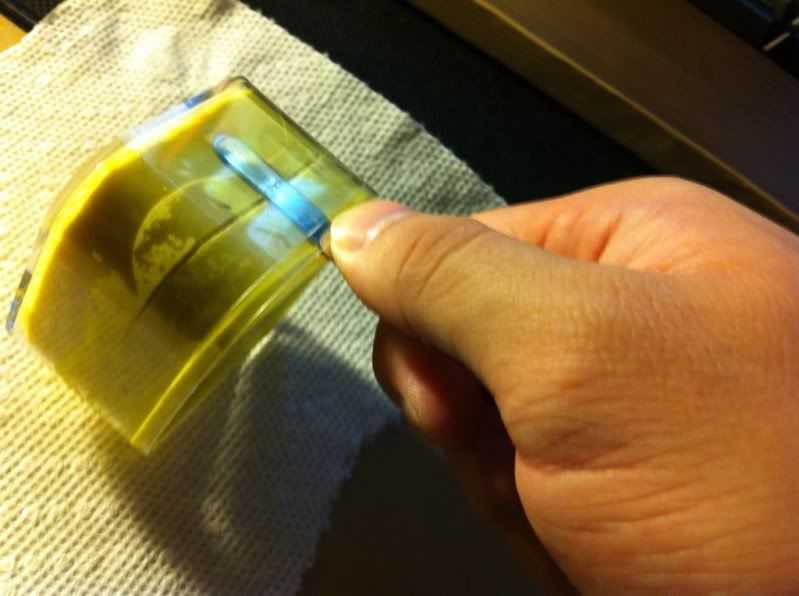
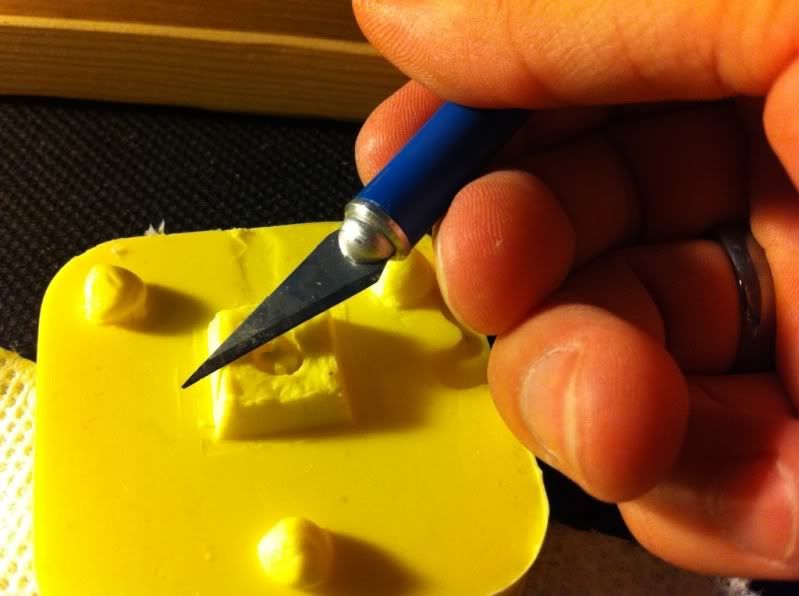
sometimes the silicone may spill over a little over to the 1st 1/2 and make the 2 pieces stick, use an exacto knife to lightly draw over the boundry to seperate:
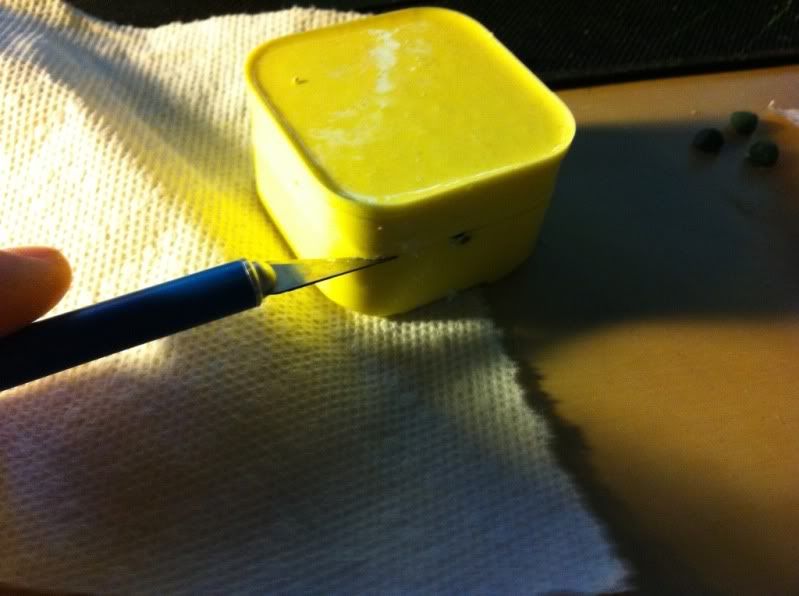
now clean up the edges where either side may have squeezed out a little during the molding process
Next choose whatever casting resin or material you like and treat this like any other resin casting.
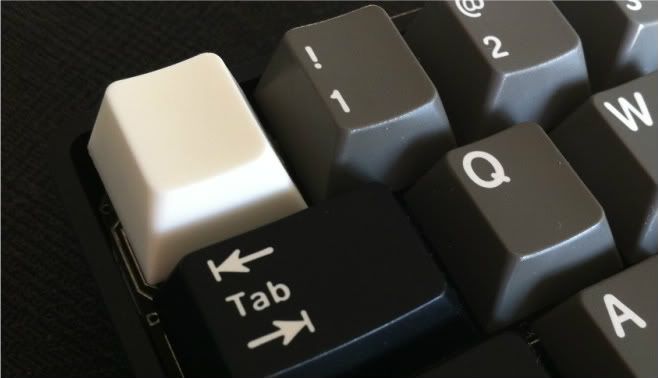
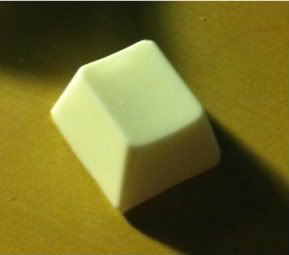
Second attempt: much better this time. Try filling in the stem portion of the cap before putting it over the mold. I am also thinking the channel into the cap may be un necessary, I'm going to be making another mold sometimes this week to try to get it even cleaner.
i also added a little bit of blue glow in the dark powder to mixture A when mixing the plastic

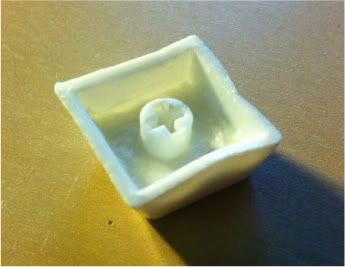
here's the result of my first attempt:

I did not put enough plastic in, nor did I tap the mold after putting in the resin, so you cansee a bubble near the top, and the upper edge is much thinner than the bottem.
make sure to mix the resin 1:1, as exact as possible. this the result of one that I tried to eyeball:
cheers.


