NEW: Launched a website to cover some of the prototyping and such...
blog.swillkb.comPROTOTYPING...These sessions are in reverse order. The newest is at the top...
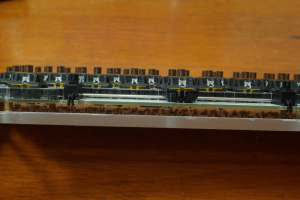
Back to business. This is the most minimal case I have come up with so far. It is simply a single sheet of acrylic with holes tapped for mounting the PCB. I can get away with this because all the components are about the same height and acrylic is not conductive. I may put a silicon sheet in between the PCB and the back plate, but I will put about 100 hours on this board like this before I decide what I want to do. I added rubber bumpons on the back to add a little tilt and a strip of no slip tape along the front edge (not pictured). It is pretty solid and a comfortable typing feel, so I may stick with it like this for a while...
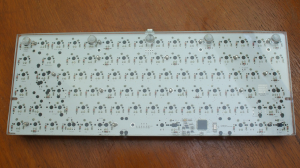
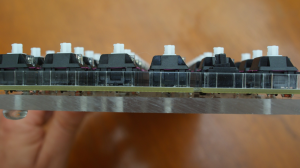
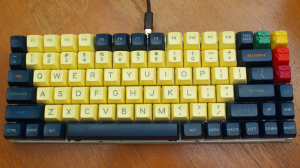
Something for fun. Here is what I did to my 40% board. It is basically an all silicon case. The PCB sits on the inside silicon layer and the PCB is hugged by the top layers. This is a SUPER stable case because it is a full sheet of silicon making contact with the desk surface. I was actually planning to put the backplate on, but I got this far and fell in love.

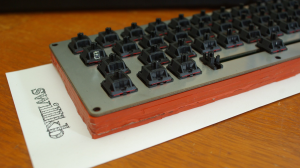
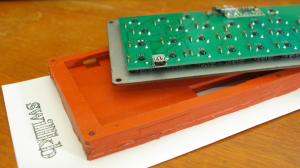
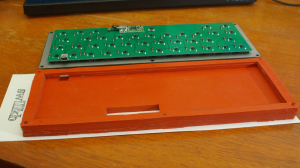
In this second round of tests, I did not use any brass threaded inserts or any brass standoffs. Instead, I just tapped the acrylic directly and put a silicone sheet between the PCB and the backplate. I have not yet tested the solid core silicone sheets. In this case I used a closed cell silicone foam sheet. It has a very low durometer (I think its like 20A), but since there is so much surface area touching it has a pretty comfortable typing feel. So far this is the best feeling setup. On this one I also added rubber bumpers on the back and I wrapped the front edge with an aircraft tape that has a reasonably high coefficient of friction. It sticks to the desk about as much as my Filco does with this setup, so that is pretty good considering it is a 60%.
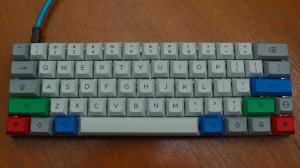
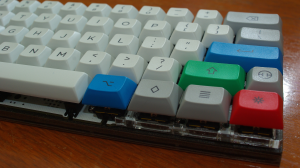
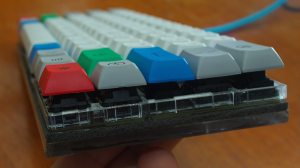
The first prototype with an acrylic base plate, brass threaded inserts and male/female brass standoffs... I am pretty happy with the initial result...
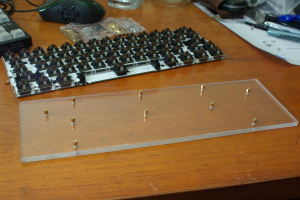
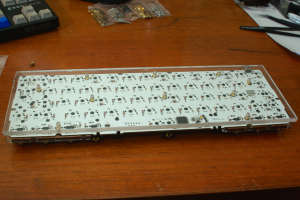
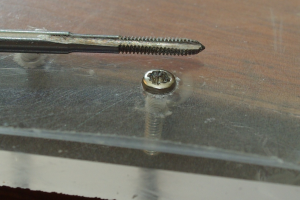
Tried tapping 5mm acrylic (just over 3/16") and I am super happy with the result. I was able to strip the screw without any damage to the threads. I will be doing more tests with 1/8" acrylic as I think that will be a really nice thickness.
 Basic description of my case (images attached):
- 1/8" Aluminium bottom plate || 1/16" Stainless Steel || Wooden wedge
- 1/8"-3/16" Silicon pad; Thickness TBD based on max component height; Cutouts for taller components
- PCB + optional plate
- Rubber stick on adhesive feet to control the prefered keyboard angle.
- Bolts to hold the three layers together.
Motivations for my design:- I want the solid feel of plate mounted switches, but without having to use a plate (can if you want to). By having the PCB bolted to the back plate via the silicon pad, I should be able to get a very solid feeling PCB mount.
- I wanted to get some of the benefits of PCB mounted switches. Easy access to open switches. I also want the dynamic feel of a PCB mounted switch.
- By using the silicon, I hope to achieve lots of the benefits of the Trampoline Mod. Basically, it will be quieter than most cases and should have a little bit of a bounce/spring/feedback on bottom out.
- I want a super simple and rugged design that can be easily adapted to different PCB layouts.
- I want a very low cost case that is very accessible for prototyping. The total for this case should be in the ballpark of around $30.
- I want a relatively low profile, but with the ability to increase it by adding larger feet. Gotta have a low profile for my new SA caps that are coming.

I am targeting smaller boards with this case. It could potentially work on a TKL, but I will be focusing on designing for boards in the size range of 40%, 60% and 75%.
Here are some very basic renderings (I am a noob with CAD so forgive me). They are still very rough and none of the dimension are final, but I used the GH60 layout for the initial design.
Metal back plate and rubber feet:(the holes in the metal plate will be threaded so the pcb will be bolted directly to the back plate.)

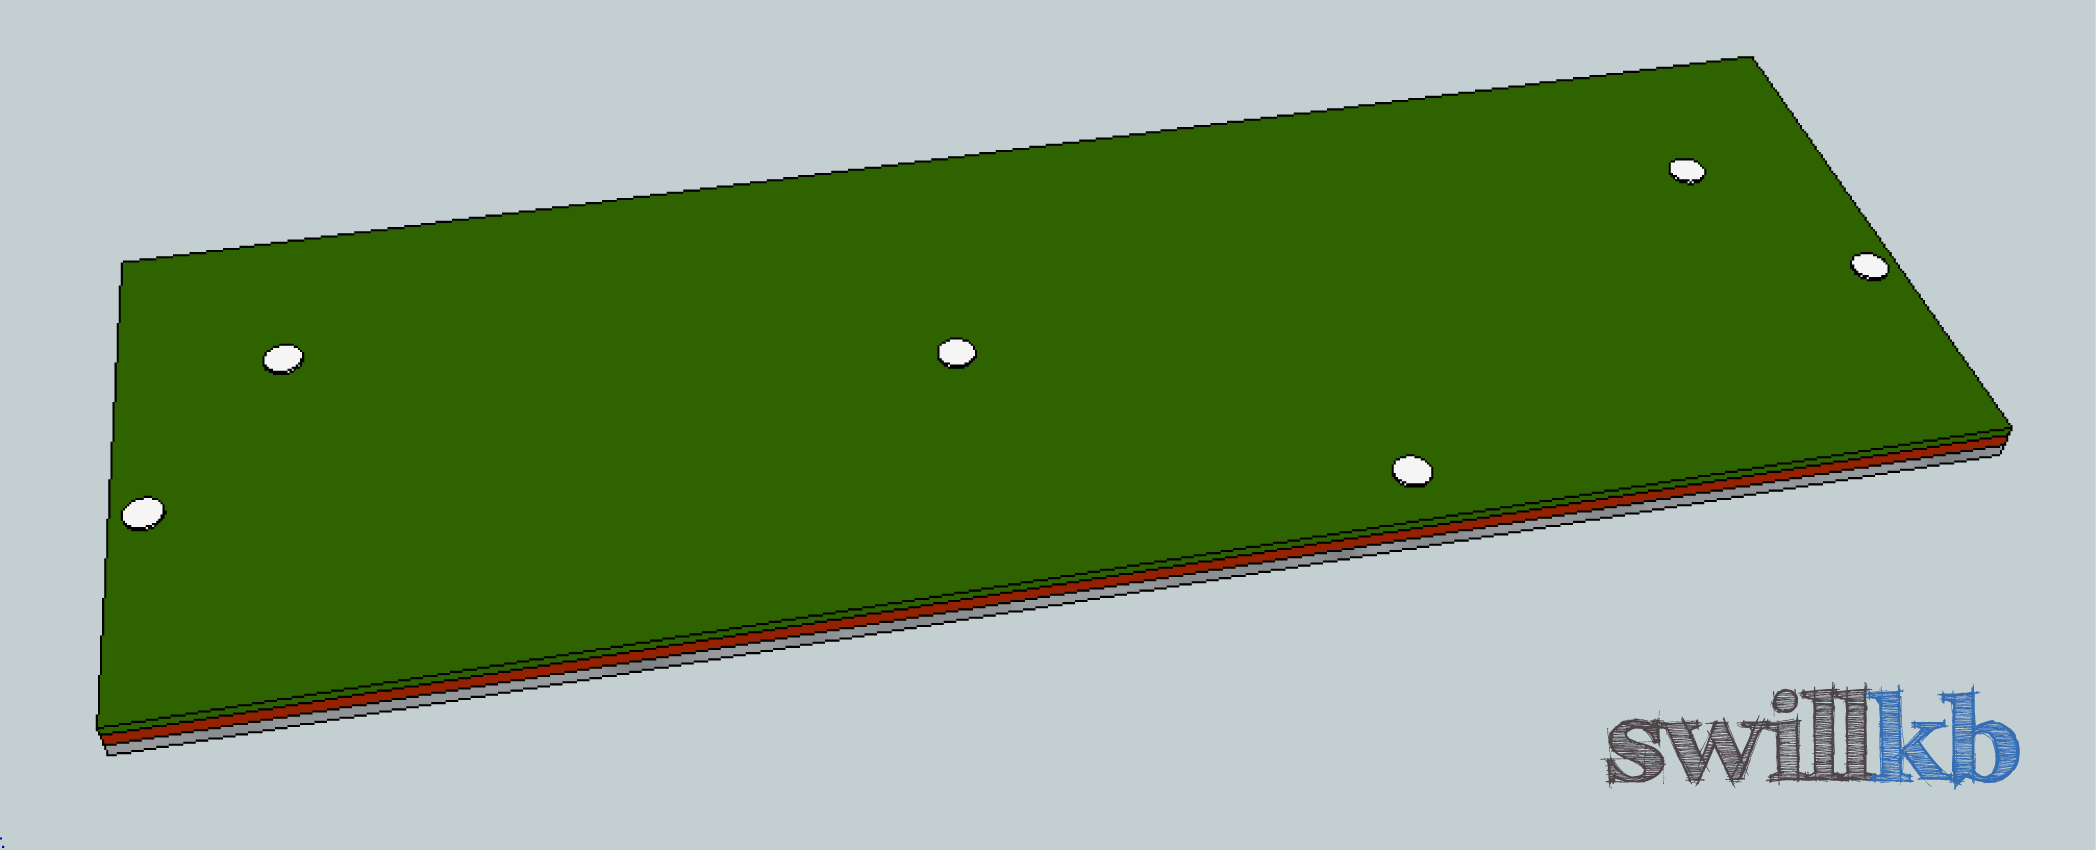

 Wood wedge base:
(this would have threaded inserts mounted into the wood,
like this)
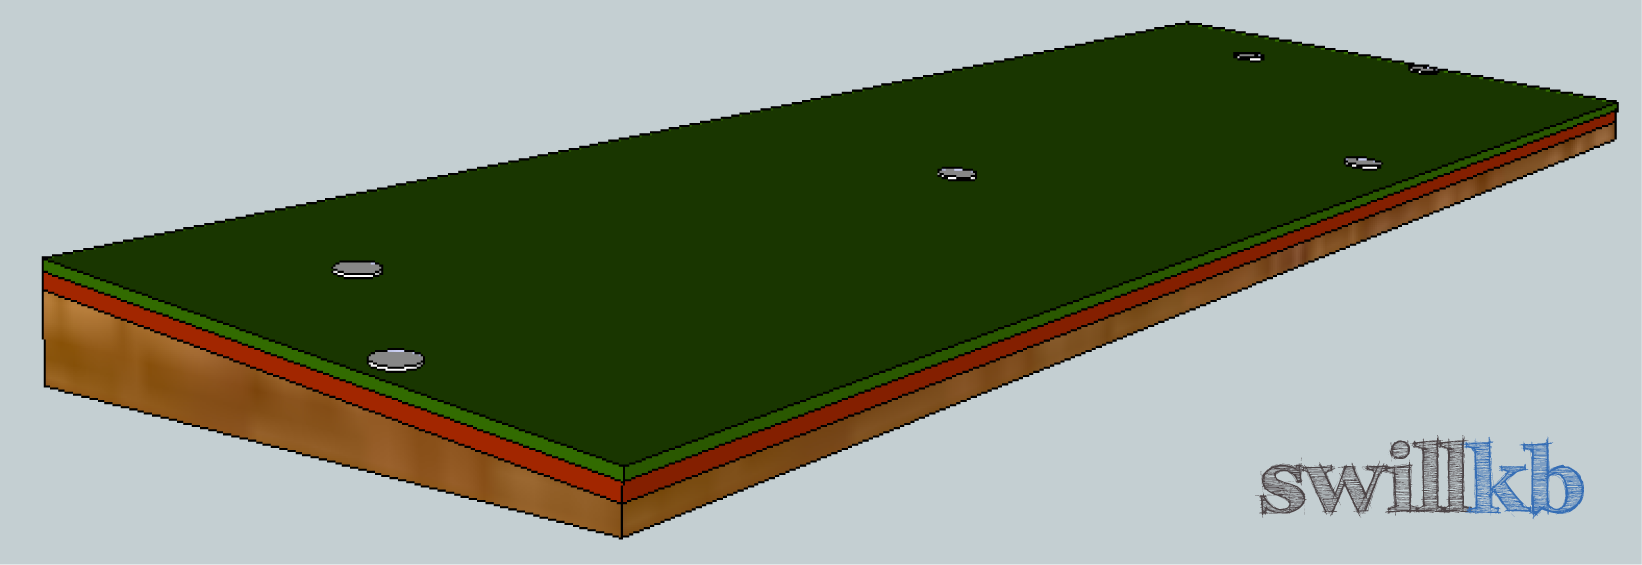

 Acrylic/Plexiglass base:
(this would have threaded inserts mounted into the plexiglass for the screws)


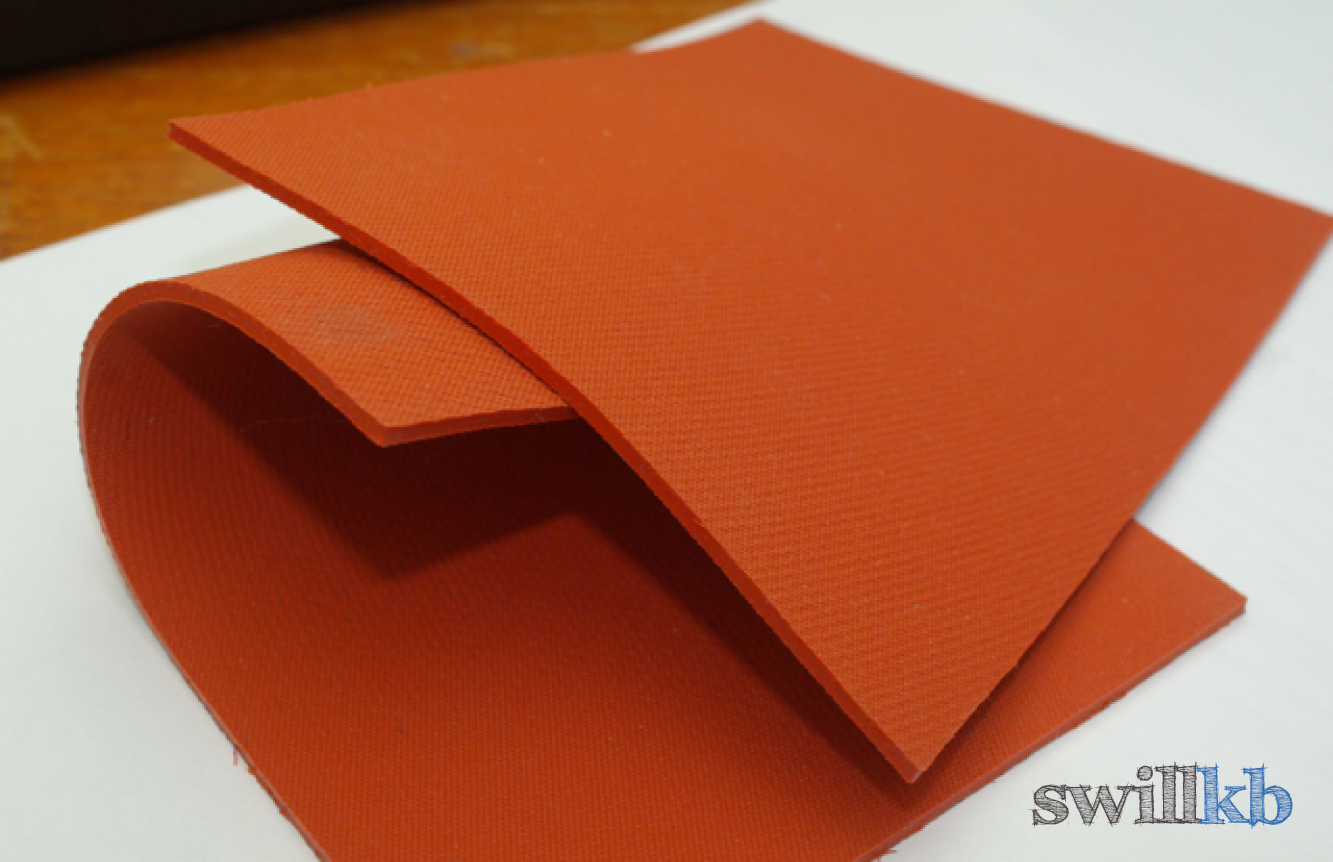
And a shot of the silicon pad. This is what I currently have, but I have a supplier for this already because we use this at
www.kiteaid.com to distribute iron pressure.
