First and foremost, I want to give people some shoutouts forhelping me on my little Orbweaver mod journey: Binge,
Peter Pinard, Melvang, and
Explosivo. Melvang answered all my random questions. Peter Pinard and Explosivo posted some helpful pictures. And of course, Binge is the man and sent me a Razer Orbweaver FOR FREE.

Now I was pretty happy with the Orbweaver. The layout took a little while for me to figure out. And it was a little awkward until I took Binges advice to extend the base all the way. You then rest your palm on the curved surface, not the flat one where the logo is. Anyways, I got used to it, I enjoyed this, and it was interesting
.but not good enough. I mean look at this (Three pictures all borrowed from
this lanoc review):

Orbweaver with the Green LEDs on
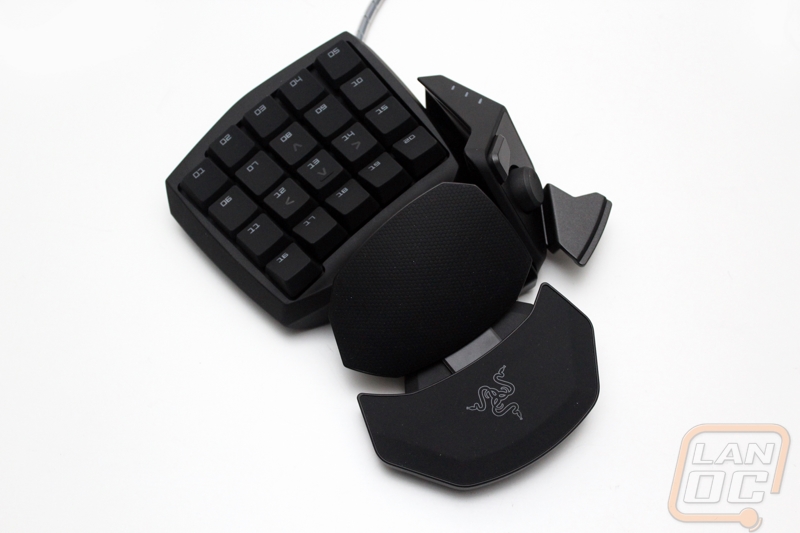
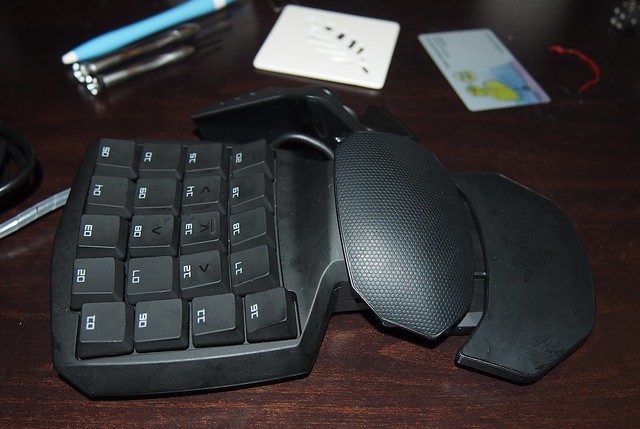
Stock Orbweaver Top view
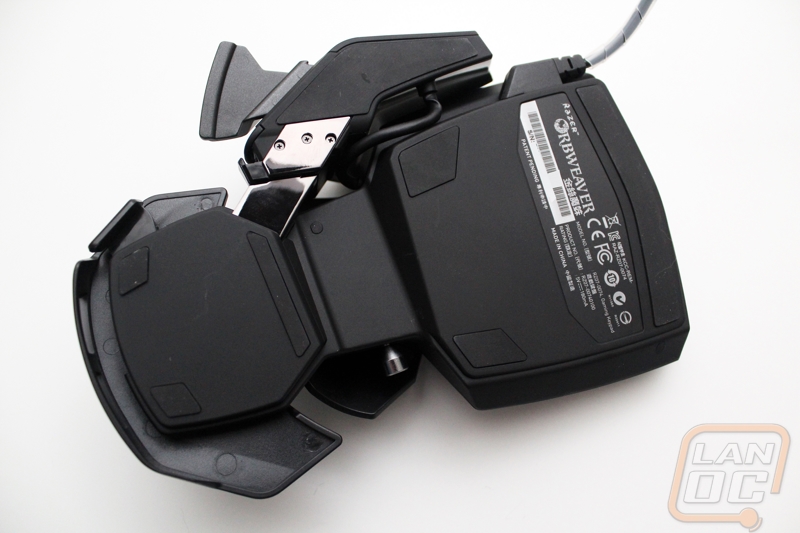
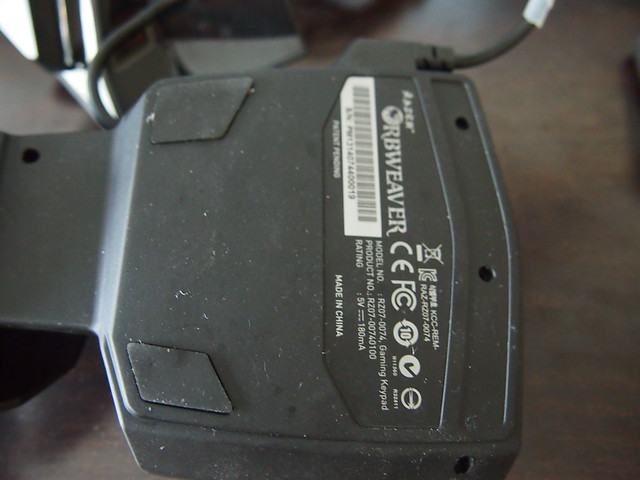
Stock Orbweaver Bottom viewIts so normal!! And green. We all know I like purple/pink/magenta. So I make it that color and then added vintage MX Blacks. This mod wasnt very easy because it was hard to open the case and there are a lot of very small parts. I ended up with four extra screws. And theres a tiny ball bearing in the arm that I managed to lose. If youre going to do this mod, TAKE PICTURES OF WHAT YOU TAKE APART. Literally every step, take a picture. I shouldve taken more. So here goes: a walkthrough of my mod.
This is my Orbweaver, there are many like it but this one is mine. And since its mine, I need more purple.

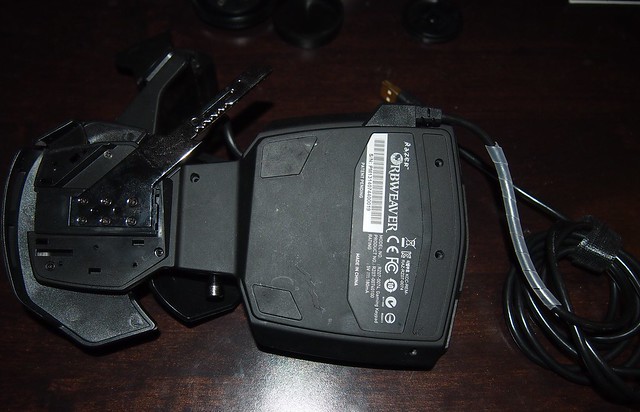
Removed thumb cluster
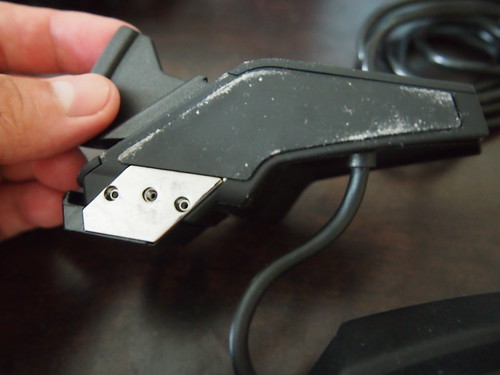
Bottom of the thumb cluster arm, note the removed bolts
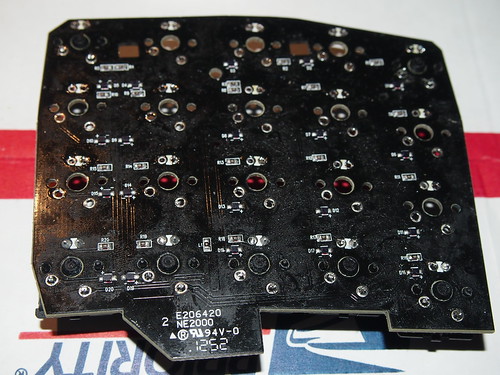
This is a close up of the bottom, underneath the switches
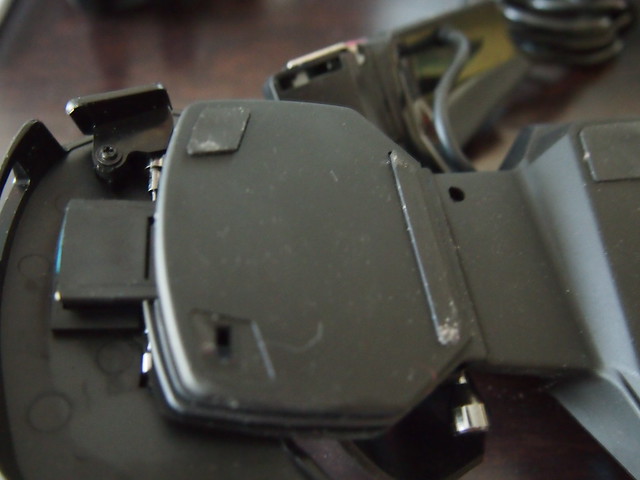
Another close up of the bottom, underneath the palm rest
First, remove the three exposed screws that you see underneath the thumb cluster. Gently try and slide this off. The arm has a groove that a small ball bearing sits in. SAVE THIS SOMEWHERE SAFE AND NOTE HOW THE BEARING RIDES IN THE GROOVE. I managed to lose mine. The arm still moves but its not as smooth. The thumb cluster will stay attached due to the cable but it will be out of the way for now.
Next you take off all the little plastic strips on the bottom. There will be screws like
these from Peter Pinard on the top side underneath the switches. Under the palm rest, in the second photo in this set, you pull the bottom plate off. Its glued on so you might need to pry it off. Dont poke in the holes. Hold the Orbweaver around the palm rest, then put your flat head screwdriver in the little slot where the silver arm is. Gently pry up until it separates and then work the head around.
Bottom plate removed

Just the bottom plate pulled off
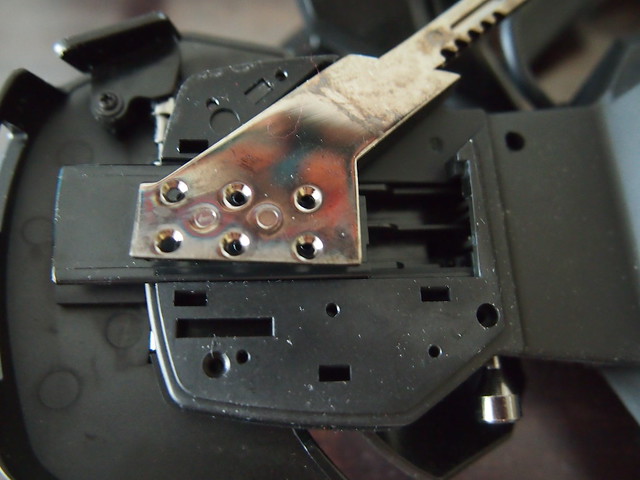
Thumb cluster arm with the screws removed.
Take out the screws in the bottom of the thumb cluster arm and pop off the arm. Extend the Orbweaver and then recline the wrist rest as far as you can go. Then you have to work what Im calling the top plate. There is a lip on it that press fits against the bottom. Youll have to work that off then slide it out from underneath the palm rest. This might take some time and is hard. When removed, it will look like this:
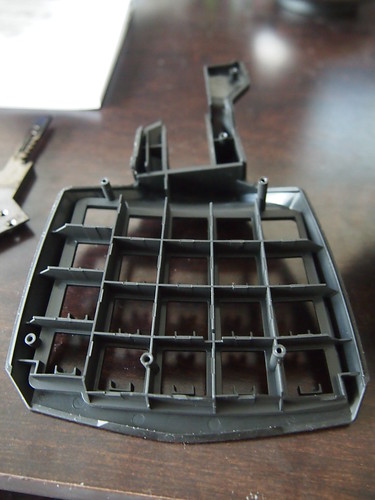
Bottom of the top plate
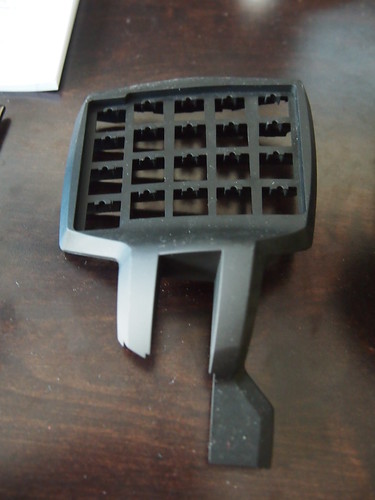
Top of the top plate
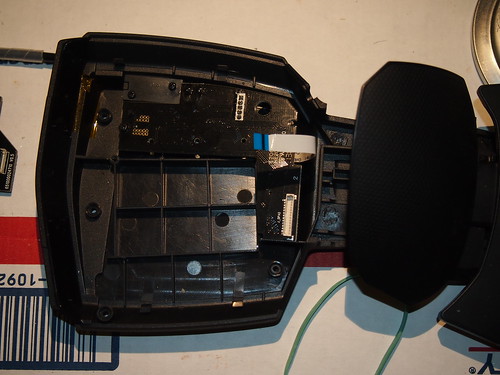
Now you have this: Exposed PCB
Remove the thumb cluster finally by unhooking the cable and sliding the cable out of the connector. Then work on the PCB.
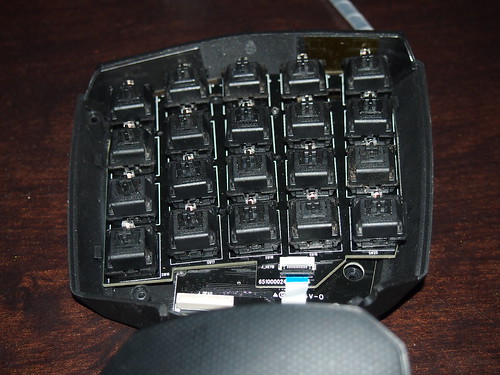
The exposed PCB has two (or three) screws. Remove those. And then the PCB has four retaining arms that are molded into the case around the PCB, holding it in. YOU WILL HAVE TO BEND AND BREAK THESE. Literally just bend them aside to free the PCB. When youve bent the PCB arms, then flip the ribbon cable connector up. The little black thing will flip out. You can then remove the PCB. Then you swap in the switches like any other PCB. This solder on the PCB is terrible, so if youre having a hard time, add a bit of new solder and then the joint should become wet.
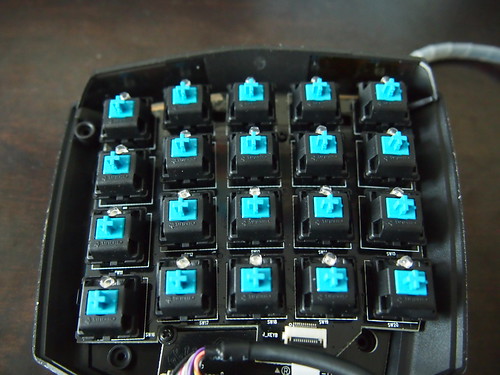
Freed PCB with MX Blue switches
Bottom of the switch area, note the loose ribbon cable
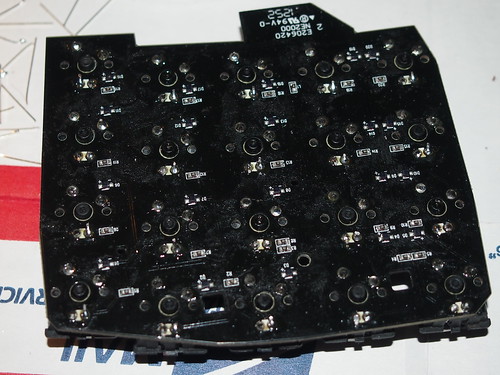
Bottom of the PCB
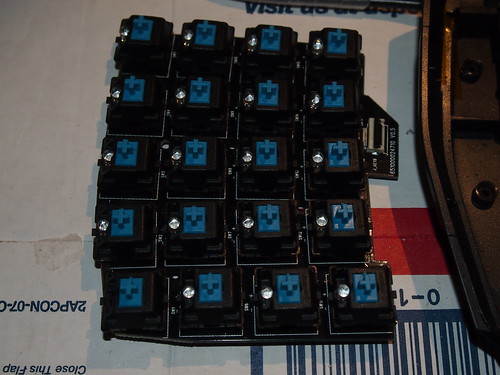
PCB with MX Blacks partially swapped in
Once all the switches are swapped, then just work the process backwards. Put the PCB into the clips that remain. Put the screws back in, etc etc. When you reconnect the ribbon cable, you dont need to force it. Just let it go in as far as it can, then flip the black bit down. MAKE SURE YOU TEST THE LEDs FIRST. It will light up even mostly unassembled.
ITS SWAPPED BABY
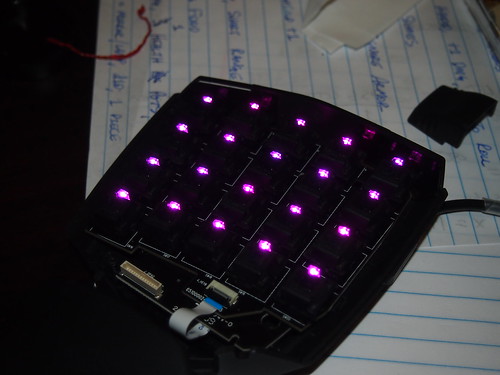
LED check one two, one two
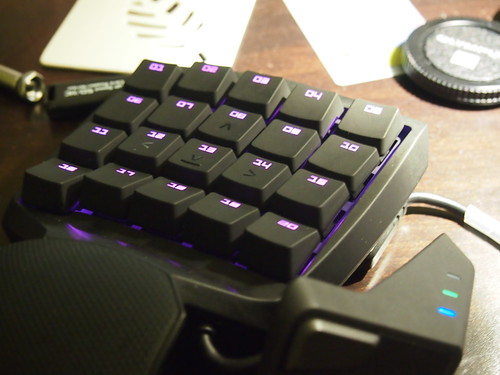
I dont care if this pictures lighting is off. I like how it looks. Assembled.
Better representation of the LED color

Me testing out the Orbweaver controls in Borderlands 2. I have a Level 58 Gunzerker right now.
Done. It works; even if I missed a few bits of hardware.
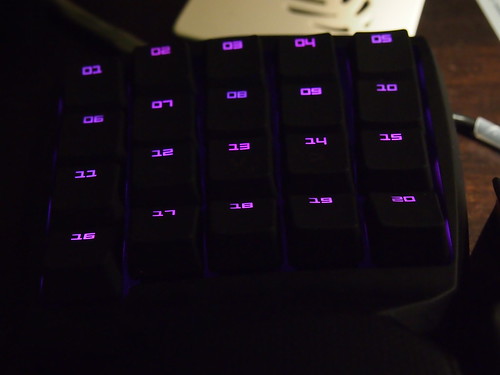
Question I have for all of you. Do you think I could dremel out the top plate so I can fit actual caps? The caps that are on it are currently derpy.
The plate has this weird design that is blocking the use of regular caps. So they have a super weird cap profile.


